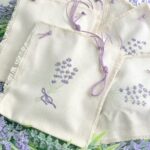
Easy DIY Dried Lavender Sachets (no sew)
Simple no sew lavender sachets made with canvas.
Instructions
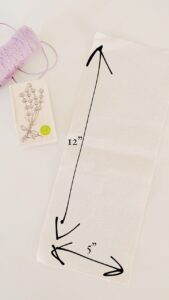
- Start by gathering all your supplies. For each sachet you are making - with your scissors cut a 12" x 5" piece of canvas. (you will be folding the canvas in half to make a 6" x 5" sachet)
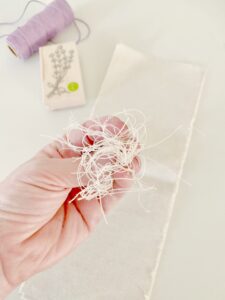
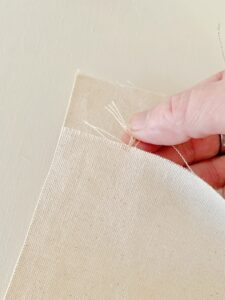
- By simply pulling the edges of the canvas begin to fray the edges. This step is optional but I love how the edges look when they are frayed.
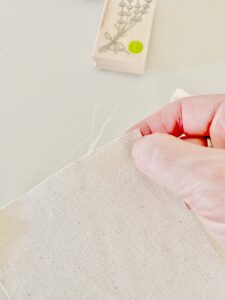
- Discard the fabric you pulled off of the edges.
- Fold the fabric up to create a 6" x 5" sachet. The fold will be on the bottom of the sachet.
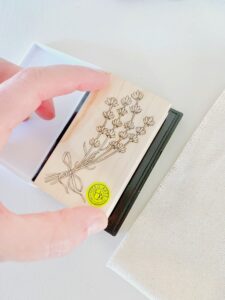
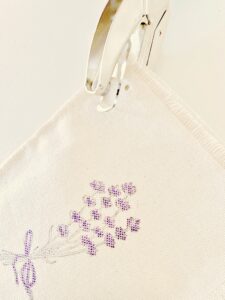
- Press the lavender bunch stamp on the ink pad to transfer the ink to the stamp.
- Move the stamp to the front of the sachet and press firmly to transfer the image.
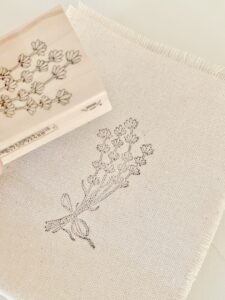
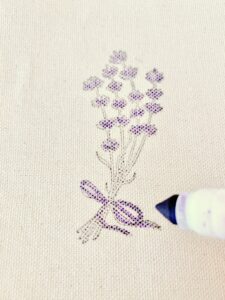
- With a purple marker of your choice, simply color in the lavender flowers.
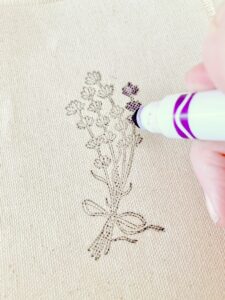
- Then color in the bow that is tied around the lavender stamp.
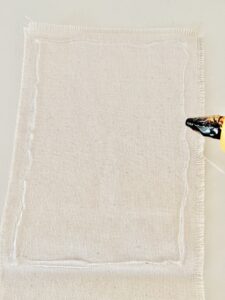
- Unfold the canvas and with your hot glue gun, add glue around the top 6" x 5" section of the canvas cloth. This outline of glue will go above the fold.
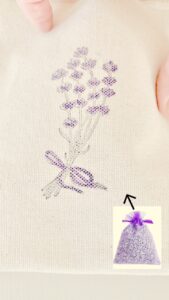
- Nestle the lavender bag in the center of the top portion, in the center of the glue and fold the bottom 1/2 up to meet the top and press to seal.
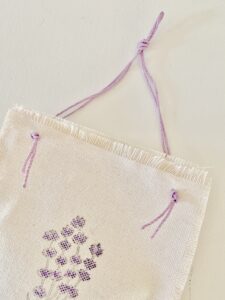
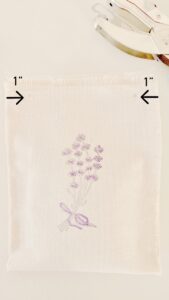
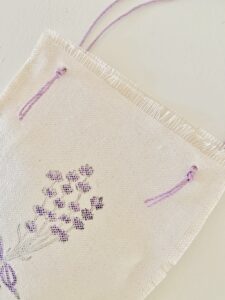
- With a hole puncher punch two holes at the top of the sachet. This is where the string will go.
- The holes should be approximately 1" in from the edge of the sachet.
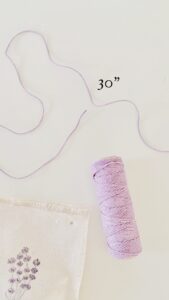
- Cut a 30" section of the light purple string (or piece of ribbon)
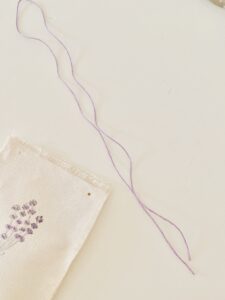
- Fold the string in half - essentially doubling it.
- Feed the double string through the hole from back to front.
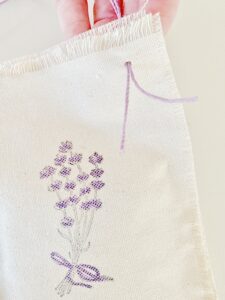
- Repeat on the other side.
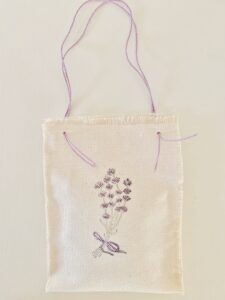
- Tie a simple knot on the end of the string.
- You may leave the string (which is now a hanger) as is or tie a knot on the top.