Valentine's DIY Decorative Book Stacks (with vintage doilies)
Materials
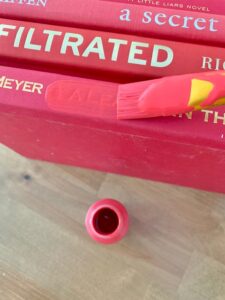
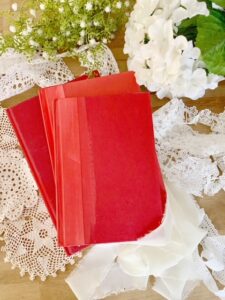
- 3 red hard-covered books
- 1 red craft paint
- 1 paint brush
- 3 vintage doilies
- 1 hot glue gun / glue sticks
- 1 roll of chiffon ribbon
- 1 sprig of faux hydrangea (sprig = small cluster)
- 1 sprig of greenery (sprig = small cluster)
Instructions
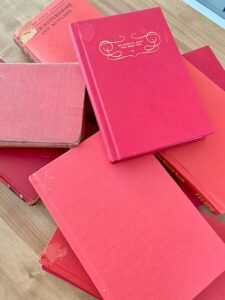
- Collect 3 red hard-covered books that are similar in size but not exact. You want the 3 books to create a pyramid once they are stacked.
- With craft paint and a paint brush apply 2 coats of matching red paint to the book spine. Repeat for all the books. This will cover the title of the books and result in a cleaner looking book stack. You may skip this step.
- Let the paint on the books dry for 30 minutes or until dry to the touch.
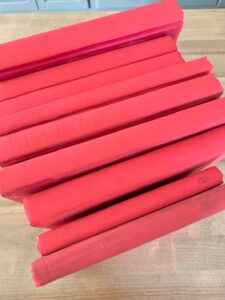
- Lay out how you plan to stack the books. The largest will be the base, the smallest on the top.
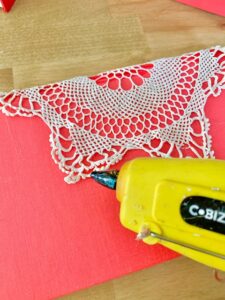
- With your hot glue gun, glue the vintage doily to the spine of the book. First glue the center of the doily to the center of the spine of the book. You can do this by applying the hot glue to the book then carefully laying the doily in place. Then move to the outside edges of the doily and tack them down with the hot glue.
- Repeat this process for all three books.

- Stack your books to make sure they sit well. Again largest on the bottom, smallest on the top.
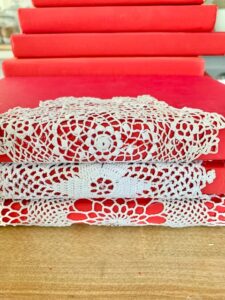
- Between each layer of books add some glue to secure the books together. You want to match the center of each book and layer right on top. Pyramid style!
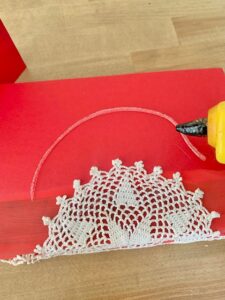
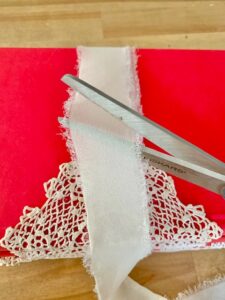
- Next take the chiffon ribbon and run a piece under the bottom of the book and wrap the book stack with one layer of ribbon. Then cut the ends where they meet.
- With your hot glue gun add a dab of glue to secure the two ends of the ribbon. Do not be concerned that you can see the glue, it will be covered with flowers.
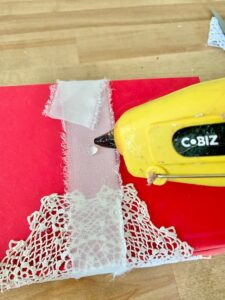
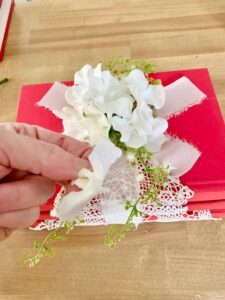
- To create ribbon tails cut strips of ribbon the size of the top book and lay diagonally. Adhere with a dab of glue.
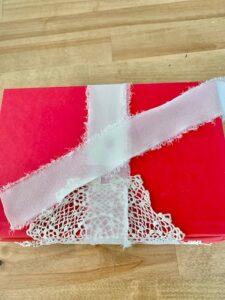
- Repeat the step above by laying a same size strip of ribbon in the opposite direction. Then begin gluing some sprigs of greenery stemming from the center of the ribbon.
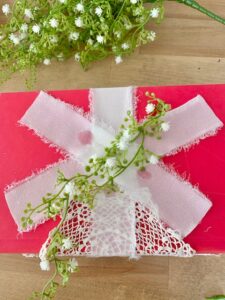
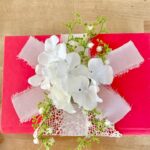
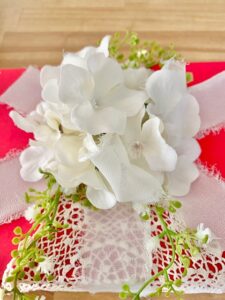
- Add a few more sprigs of greenery starting from the center but heading in various directions. You want the greenery to extend beyond the hydrangea blooms. Then take a cluster of hydrangea and add glue to the stems and press the cluster into the center of the book. Hold in place until glue adheres.
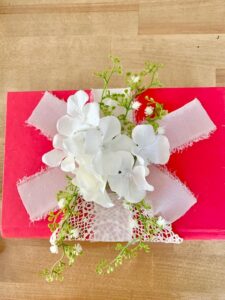
- If needed cut individual hydrangea blooms and glue around the cluster to fill in.
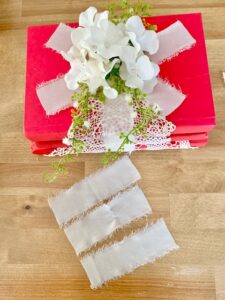
- Next to create the illusion of a bow, cut 3 pieces of the chiffon ribbon in 4" strips.
- Add a dab of glue to the end of each strip.
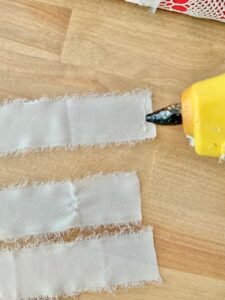
- Pinch the end where the glue is (carefully!) so the loop will "puff".
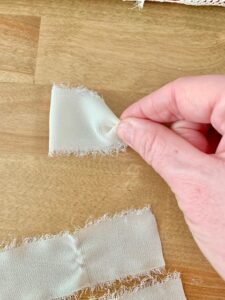
- With your glue gun, add another dab to the pinched end and place the loop in with the hydrangeas. Repeat for all 3 loops.
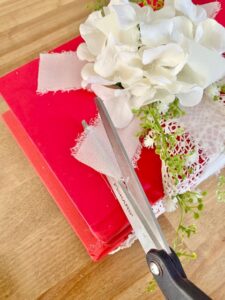
- For the final step, with scissors cut the ribbon tails at an angle to complete the project.
Notes
This blog post shows 3 different book stack styles. To make the lace only stacks you simply omit the doilies and follow the rest of the directions.