

DIY Pottery Barn Inspired Faux Snowed Pinecone Garland
I was so inspired by the magical winter garlands featured in the latest Pottery Barn catalog. Those petite pinecones clustered on branches with faux snow? Truly charming. However, dropping that designer price on decor right before the holidays isn't practical. I knew a DIY Pottery Barn Inspired Faux Snowed Pinecone Garland was in order!
Luckily, I discovered a way to recreate a remarkably similar frosted pinecone garland masterpiece at home for a fraction of the cost. Just a few basic craft supplies like floral wire and artificial snow transformed ordinary store-bought pinecones into a breathtaking garland fit for any holiday mantel.
In this post, I'm thrilled to show you how I mirrored that catalog-worthy wintery Pottery Barn look in my own home with this easy DIY project. Follow my step-by-step pinecone garland tutorial to style your space with some gorgeous designer details without draining your holiday budget. Let's craft!


Content may contain affiliate links. When you shop the links, we receive a small commission at no cost to you. Thanks for supporting my small business.
Jump to:
Why you'll love this project
- Budget-Friendly vs Designer Piece: Save a significant amount of money by crafting your own garland instead of purchasing a similar designer piece, making it a wallet-friendly project for the holiday season.
- Magical Wintery Texture: Capture the enchanting essence of winter with the magical texture of faux snow on mini pinecones, bringing natural elements and a touch of seasonal charm to your home decor.
- Opportunity for Creativity: Unleash your creativity by customizing the garland to match your unique style and home aesthetic. Choose colors, sizes, and arrangements that resonate with your personal vision for a truly one-of-a-kind creation.
- Easy to Complete Over an Afternoon: Enjoy a hassle-free crafting experience with this easy project that can be completed in just one afternoon. This DIY garland offers a quick and satisfying way to enhance your home with a cozy, handmade touch.
- Pops of Faux Snow Set It Apart: Elevate the garland's visual appeal with strategically placed faux snow, adding eye-catching pops of winter magic that set your creation apart from store-bought alternatives.

Supplies and materials
- Mini pinecone picks - I found them at JoAnn's ($1.20/each) and Michael's ($1.99/each)
- Several Yards from this Brown floral wire
- Faux snow spray
- Wire cutters
- Optional extras: Twinkle lights (with batteries), a bit of festive ribbon
Step by step tutorial
- Carefully open the mini pinecone picks and spread out the wired stems so they are untangled and lying flat.
- The next step is to lay one pick on your work surface, then take another pick and position it so the wired stems overlap on the bottom portion.
- Use the brown floral wire to securely wrap the two picks together where the stems overlap.
- Continue laying picks end-to-end, ensuring the wires overlap. Secure each joint by wrapping wire around the stems.
- Once all picks are connected in a garland style, use faux snow spray to generously coat the pinecones. Allow to dry completely.
- Fluff and shape the garland, then hang proudly in your desired location! No other embellishments are needed.

Printable guide
DIY Pottery Barn Inspired Faux Snowed Pinecone Garland
Equipment
- 1 Pair of wire cutters
Materials
- 10 pieces Mini Pinecone picks
- 1 can Faux Snow in a can
- 1 roll Brown wired ribbon
Instructions
- Carefully open the mini pinecone picks and spread out the wired stems so they are untangled and lying flat.

- Lay one pick on your work surface, then take another pick and position it so the top of the second pick overlaps with the bottom portion of the first pck.
- Use the brown floral wire to securely wrap the two picks together where stems overlap. Wrap tightly and overlap when needed to secore the two picks together.
- Continue laying picks end-to-top, ensuring the wires overlap. Secure each joint by wrapping wire around stems.
- Cut the end of the wire with wire cutters when done wrapping.
- Just like the Pottery Barn Snowed pinecones garland, the garland once completed will be aprroximately 70 inches long.
- Once all picks are connected in a garland style, use faux snow spray to generously coat the pinecones. Allow to dry completely (approxmately 4 hours)
- Fluff and shape the garland, then hang proudly in your desired location! No other embellishments needed.


Where to hang
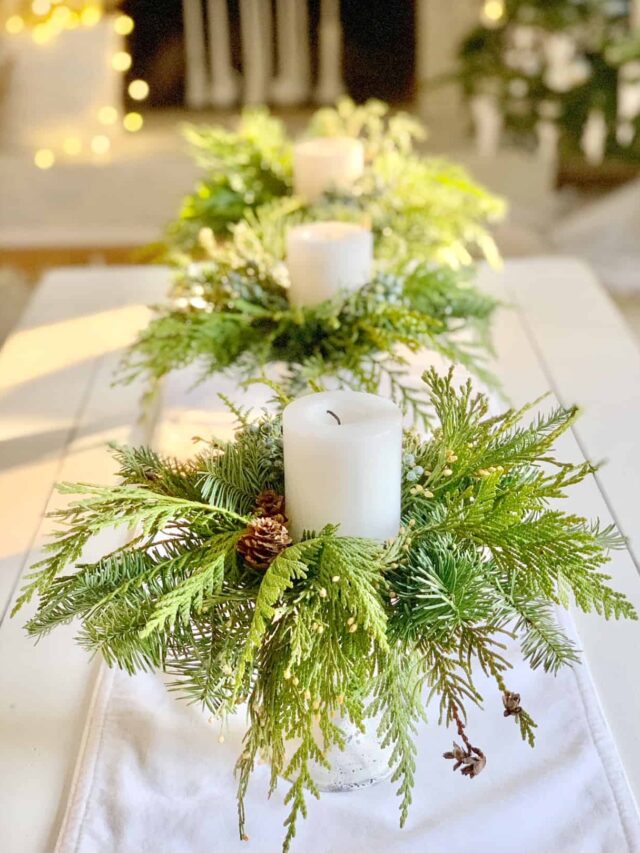
- Living Room Ideas:
- Drape the garland across the mantel alone or in with your pine garland for a sophisticated and cozy winter touch.
- Intertwine the garland with fairy lights on your Christmas tree to create a warm and inviting ambiance during the holiday season.
- Rustic Kitchen Charm:
- Adorn kitchen cabinets or open shelves with this rustic pinecone garland to infuse rustic charm into your culinary space.
- Pair the garland with small LED candles or string lights for a delightful, festive glow.
- Bedroom Whimsy:
- Frame a headboard or a bedroom mirror with the dainty garland for a fun way to introduce a touch of winter whimsy.
- Combine the garland with soft, snowy-hued bedding for a serene and dreamy bedroom atmosphere.
- Dining Room Festivity:
- Lay the garland along the center of the dining table as a charming table centerpiece.
- Enhance the festive feel by placing the garland around dining room window frames or doorways.
- Office Desk Cheer:
- Bring a hint of holiday spirit to your workspace by draping the garland along the edges of your office desk.
- Combine the pinecone garland with small, glittering ornaments or mini baubles for a cheerful, work-friendly decor.
- Entryway Warm Welcome:
- Frame the entryway mirror or hang the garland along the stair railing to welcome guests with a touch of seasonal warmth.
- Pair with a festive Pinecone wreath on your front door for a cohesive and inviting entrance on your front porch.

Frequently asked questions
Expertly fluffing the pinecones is a great way to do this. Gently separate the individual scales of each cone, enhancing the overall lushness and charm of your garland.
To preserve the magic year-round, store your garland in a cool, dry place. Consider placing it in a breathable container or hanging it to prevent any compression, ensuring it stays enchanting season after season.
If faux snow poses challenges, ensure the pinecones are clean and dry before application. Using a light touch, building up layers gradually for a perfect winter wonderland effect is your best option when working with faux snow. If needed, secure the snow with a clear sealant for long-lasting charm.
Absolutely! Get creative by adding tiny ornaments, red berries, ribbons, or LED lights to personalize your garland. The possibilities are endless, allowing you to tailor it to your unique style and festive vision.
For the supplies needed for this garland project, you can find a variety of options at your local craft store, such as Hobby Lobby, JoAnn's, or Michael's. Additionally, stores like Dollar Tree may offer budget-friendly choices. Battery-powered lights can be sourced from these craft stores or purchased online through Amazon. For a more general selection, Walmart is also a convenient option to explore, where you can easily pick up AA batteries for your project.

Pottery Barn Inspired Snowed Pinecone Garland with Twinkle lights.
Cost comparison
| My Cost | Pottery Barn |
|---|---|
| Mini pinecone picks - 10 x's 1.20 = $12.00 Can of Spray snow - $1.98 Brown wire - $2.00 Total: $15.98 | $79.00 plus shipping |

For more Holiday decor inspiration visit:
Green and White Christmas Decor: In this post, you'll discover enchanting ways to infuse green and white Christmas magic into your home. From a living room adorned with fresh Christmas trees to a dining room featuring festive hutch decor, join the journey of creating a magical winter wonderland. Explore delightful touches in the kitchen, coffee bar, and entryway, inviting you to embrace the beauty of green and white holiday decor. So, get inspired this Christmas season, and let your home sparkle with the charm of a New England Christmas!
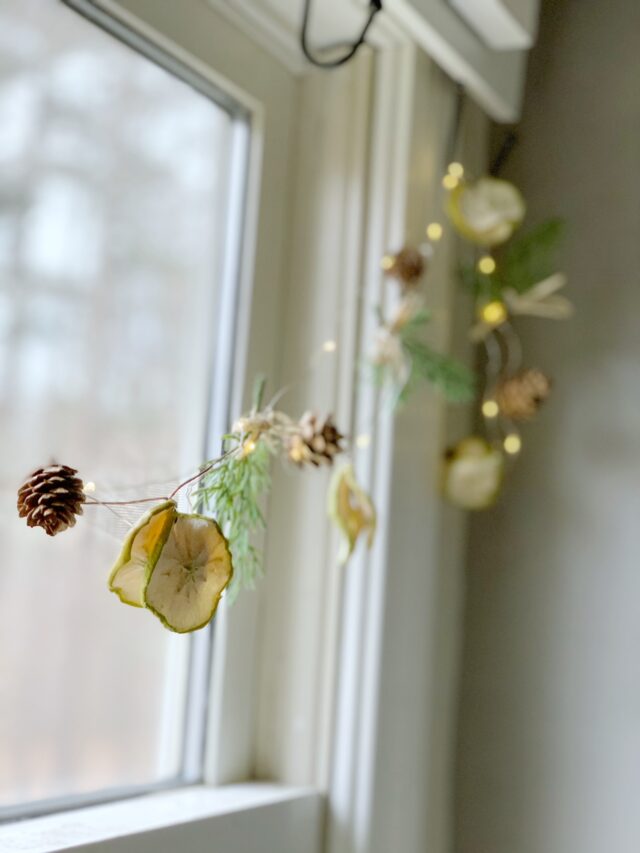
Make this Dried Fruit Garland: Get ready to bring a cozy, homemade vibe to your holiday decor! In this post, I'll walk you through making your own dried fruit garland, sharing tips on how long it lasts and a simple tutorial. Create a custom garland with apples, oranges, and more for a touch of fruity charm that'll last through the holidays. Hang up this simple DIY using my practical suggestions, and enjoy your DIY creation as a festive addition to your decor for years!

DIY Advent Wreath Centerpiece in Soft Colors: A Fresh Take on Tradition: This fresh interpretation of the advent wreath tradition combines the beauty of muted purples and pinks with the character of vintage pieces, anchored by a repurposed soup tureen filled with fragrant winter greens. Step-by-step instructions show how to create a centerpiece that honors tradition while complementing contemporary holiday décor. The finished design blends seamlessly with mercury glass, vintage silver, and off-white linens for an elegant, collected-over-time aesthetic.
This DIY Pottery Barn-inspired Faux Snowed Pinecone Garland proves that a sprinkle of creativity can transform simplicity into pure charm. The project's easy-breezy nature doesn't compromise on the magical impact it brings to your space.
What's even more delightful? Your pocket stays happy as you can't tell the difference between this handmade masterpiece and its designer counterpart.
Now, roll up your sleeves and embark on your crafty winter journey. The satisfaction of creating your winter garland, not to mention the money saved, is unparalleled. Sprinkle that faux snow liberally and infuse every pinecone with your magic touch.
Capture your DIY triumph! Share photos of your completed garlands because, let's face it, your wallet is smiling, and your space is sparkling with winter charm. Embrace the joy of saving and crafting. Winter magic just became budget-friendly and utterly chic!
For those interested in buying the real thing, here's a link to the Pottery Barn Snowed Pinecone Garland. Thank you for visiting the blog today for this DIY Pottery Barn Inspired Faux Snowed Pinecone Garland post!
Happy Crafting Friends!


You nailed the look Stephanie. So pretty!
Thank you Sara!
Love this craft project! So pretty!
Thank you Ladies!!