
How to Make a Lamp Cordless in 3 Easy Steps (No Electrician Needed)
You can make a lamp cordless by using a rechargeable battery backup light bulb instead of rewiring the lamp. First, fully charge the battery bulb in a plugged-in lamp. Next, unplug the lamp you want to convert and cut or neatly hide the cord at the base. Finally, screw the charged battery bulb into the lamp and turn it on. This method takes about 10 minutes, requires no electrical work, and works with most standard table lamps for soft, ambient lighting.

Content may contain affiliate links. When you shop the links, we receive a small commission at no cost to you. Thanks for supporting my small business.
You know that perfect spot for a lamp that never quite works because there is no outlet nearby? Same. I used to think cordless lamps were either dim battery powered options or wildly expensive designer pieces. Turns out, neither is true.
You can make almost any lamp cordless in about 10 minutes using one simple trick. No electrician, no rewiring, and no compromising on style. If you are tired of extension cords, want more freedom with your lighting, or just love a good design hack, this method is a game changer.
Let's get into how to make a lamp cordless.
Jump to:
Why go cordless? The game-changing benefits
Before I started using cordless lamps, I owned plenty of lamps I loved but never actually used. Every time I found the perfect spot, there was no outlet nearby. So those lamps ended up tucked away, looking pretty but serving no purpose.
Add kids and pets to the mix and cords quickly became more than just an eyesore. They were something to hide, reroute, and constantly worry about. Once I made my first lamp cordless, everything changed.
Here's why going cordless makes such a difference.
Safer for homes with kids and pets
Removing the cord instantly reduces tripping hazards and keeps curious hands and paws out of trouble. There are no dangling cords to pull and no extension cords running across floors or behind furniture.
Total freedom with lamp placement
When a lamp no longer needs an outlet, you can place it exactly where it looks best. Kitchen islands, coffee tables, floating consoles, bathroom vanities, guest room nightstands, mantels and bookshelves are all fair game. You are no longer designing your room around outlet locations.
A cleaner, more polished look
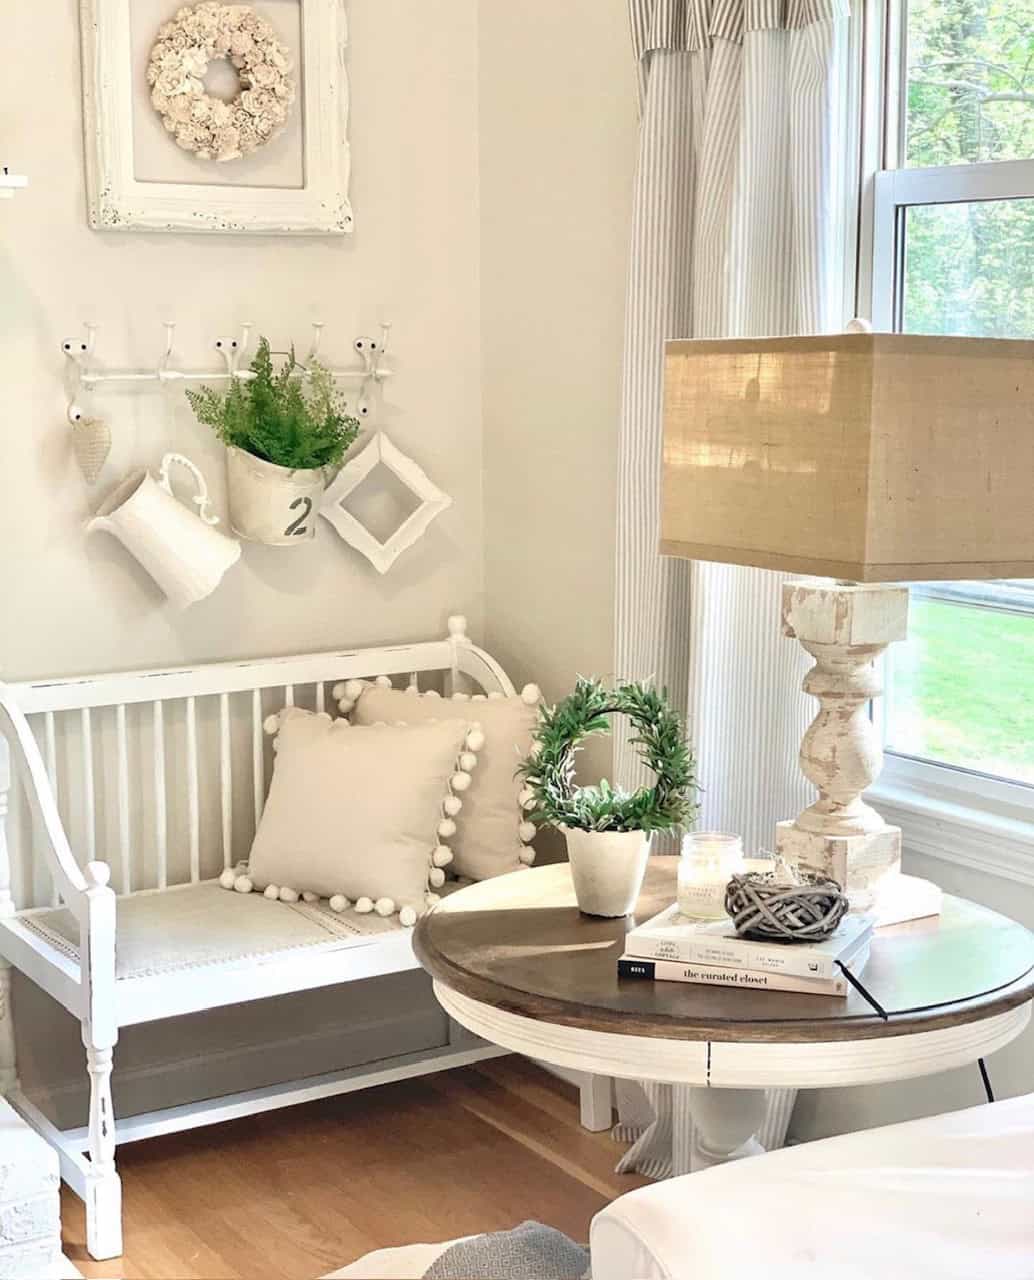
Cordless lamps eliminate visual clutter. There is no need to hide cords behind furniture or disguise them with plants and baskets. The result is a space that feels more intentional and finished, especially in photos.
A budget-friendly alternative to designer lamps
Many cordless lamps from retail stores cost several hundred dollars. This DIY method costs about $15 per lamp and lets you use lamps you already own or find secondhand. It is one of the highest impact upgrades you can make for very little money.
The moment it all clicked
I discovered this method during a power outage when I tested a battery backup bulb in a regular lamp. When it lit up bright and warm without being plugged in, I knew this was a solution I would use again and again. Now cordless lamps are scattered throughout our home, and they are one of the most asked-about details when guests visit.
Now I have cordless lamps scattered throughout our home, and every single guest asks about them. The best part? They have no idea these aren't expensive designer pieces - they just see beautiful, perfectly placed lighting that somehow magically works without a single visible cord.

What you'll need (just 3 simple supplies)
- Small lamp of your choice (here's the one I use)
- GE LED+ Rechargeable Battery Backup Light Bulb (this is a pack of 2 and I recommend you get 2 so you can have one always charging)
- Wire cutters
Note: Another light bulb option that runs on AAA batteries is these AlltroLite 4 Pack Bulb Portable Wireless COB LED Light Bulb . These bulbs are a cool bright white and do not screw into a lamp but come with a holder that you can attach to just about anything. These bulbs come with an adhesive strip, AAA batteries, and a remote control. are included in this pack.
Step-by-step instructions
- Charge Your Battery Bulb Time:
Screw the GE LED+ Battery Backup Light Bulb into any regular lamp that's plugged into the wall. Let it charge for the full 10 hours on the first use - this ensures maximum battery life. The bulb will look just like a regular LED bulb while it's charging, but it's actually storing power for later use.

- Cut the Cord Time:
IMPORTANT: Make sure your lamp is unplugged first!
Using wire cutters, cut the power cord as close to the lamp base as possible for the cleanest look. If you think you might want to use the lamp with an outlet in the future, simply gather the cord and secure it with an elastic band so you can tuck it behind the lamp to hide it.
- Install and Test Time:
Remove the charged bulb from the charging lamp and screw it into your newly cordless lamp. Flip the switch and enjoy your cord-free lighting! The bulb provides warm, bright light for 8+ hours on a single charge.


Pro tip: Buy two bulbs so you can keep one charging in a regular lamp while using the other in your cordless lamp. This way you'll always have a backup ready to go, and you can easily rotate them when needed.
Troubleshooting Common Issues
Even the best DIY projects come with their quirks, and cordless lamp conversion is no exception. Here are the most common hiccups I've encountered (and how to fix them):
The Bulb Won't Fit My Lamp: This usually happens with smaller lamps that use candelabra bulbs or specialty sizes. The GE LED+ bulbs are standard A19 size, so they won't work in every lamp. My friend Tina has a brilliant workaround for this: she turns the bulb upside down and just rests it on top of the small socket. It sounds weird, but it actually works perfectly and you'd never know it's not screwed in! For lamps with really tiny sockets, consider switching to the puck light method instead (which I'll cover in a future post).
The Light Seems Dimmer Than I Expected: You're not imagining it - battery-powered bulbs will never be quite as bright as a traditional 60-watt bulb plugged into the wall. The GE bulbs put out about 800 lumens, which is decent but not blazing bright. This method works best for ambient lighting, mood lighting, or accent lighting rather than task lighting. If you need bright light for reading or detailed work, stick with a plugged-in lamp for those areas.
The Remote Control Is Driving Me Crazy: I hear you on this one. Some battery bulbs come with tiny remotes that are easy to lose and annoying to keep track of. Here's what I do: grab a small piece of velcro and stick it to the back of the remote, then attach the other piece under the table or surface where your lamp sits. Instant remote storage that's always within reach but completely hidden.
When This Method Just Won't Work Let's be honest - this isn't a magic solution for every lighting situation. Skip this method if:
- You need super bright task lighting (like for detailed crafts or reading)
- Your lamp has a built-in dimmer switch (the battery bulbs won't work with dimmers)
- You're dealing with a really heavy floor lamp that could tip over without the cord weight for stability
- The lamp has multiple bulbs (battery bulbs get expensive fast when you need several)
- You forget to charge things regularly (because dead battery bulbs are just expensive paperweights)
Quick Reality Check This method is fantastic for creating beautiful ambient lighting and solving design problems, but it's not going to replace every lamp in your house. Think of it as the perfect solution for specific situations rather than a complete lighting overhaul. When it works, it's absolutely magical - just manage your expectations and choose your spots wisely.
Alternative cordless lamp methods (quick overview)
While the battery backup bulb method is my go-to for most situations, it's not the only game in town. Here are a few other ways to go cordless, depending on your specific needs:
Puck Light Method This involves using small, disc-shaped LED lights (they look like hockey pucks) that you attach inside lamp shades or fixtures. They're great for wall sconces or chandeliers where you want the fixture look without the wiring. I've used these in our outdoor dining area and kitchen - they work with remote controls and some even have timers. Cost runs about $20-30 per light, and they're perfect when the battery backup bulbs won't fit your fixture.
USB-Powered Bulb Sockets These are special lamp sockets that connect to USB power banks (like the ones you use to charge your phone). You remove the original lamp socket and wire in the USB version, then use low-voltage LED bulbs. It's a bit more involved than cutting a cord, but gives you longer battery life. Expect to spend $30-40 per conversion, and it works well for desk lamps or reading lights where you need consistent power.
12V Battery Pack Systems This is the most technical option - you wire a 12V battery pack directly into the lamp and use RV-style DC bulbs. Some DIYers swear by this method because it can run for days on a single charge, but it requires more electrical know-how and costs $40-60 per lamp. Best for floor lamps or situations where you really need long battery life.
When to Use Each Method:
- Battery backup bulbs: Most table lamps, when you want the easiest solution
- Puck lights: Wall sconces, chandeliers, outdoor fixtures
- USB systems: Desk lamps, reading lights, when you have lots of USB power banks lying around
- 12V battery packs: Floor lamps, when you need maximum battery life, if you're comfortable with basic wiring
The Bottom Line The battery backup bulb method wins for simplicity and cost (just $15!), but these alternatives can solve specific problems it can't. I'll be diving deeper into each of these methods in future posts, especially the puck light trick for sconces - it's a total game-changer for faux hardwired lighting.

These school house wall sconces over our DIY baking station are cordless and use a puck light.
Where to style your new cordless lamp
Now that you've mastered the cordless conversion, let's talk about all the amazing places you can actually use these beauties:
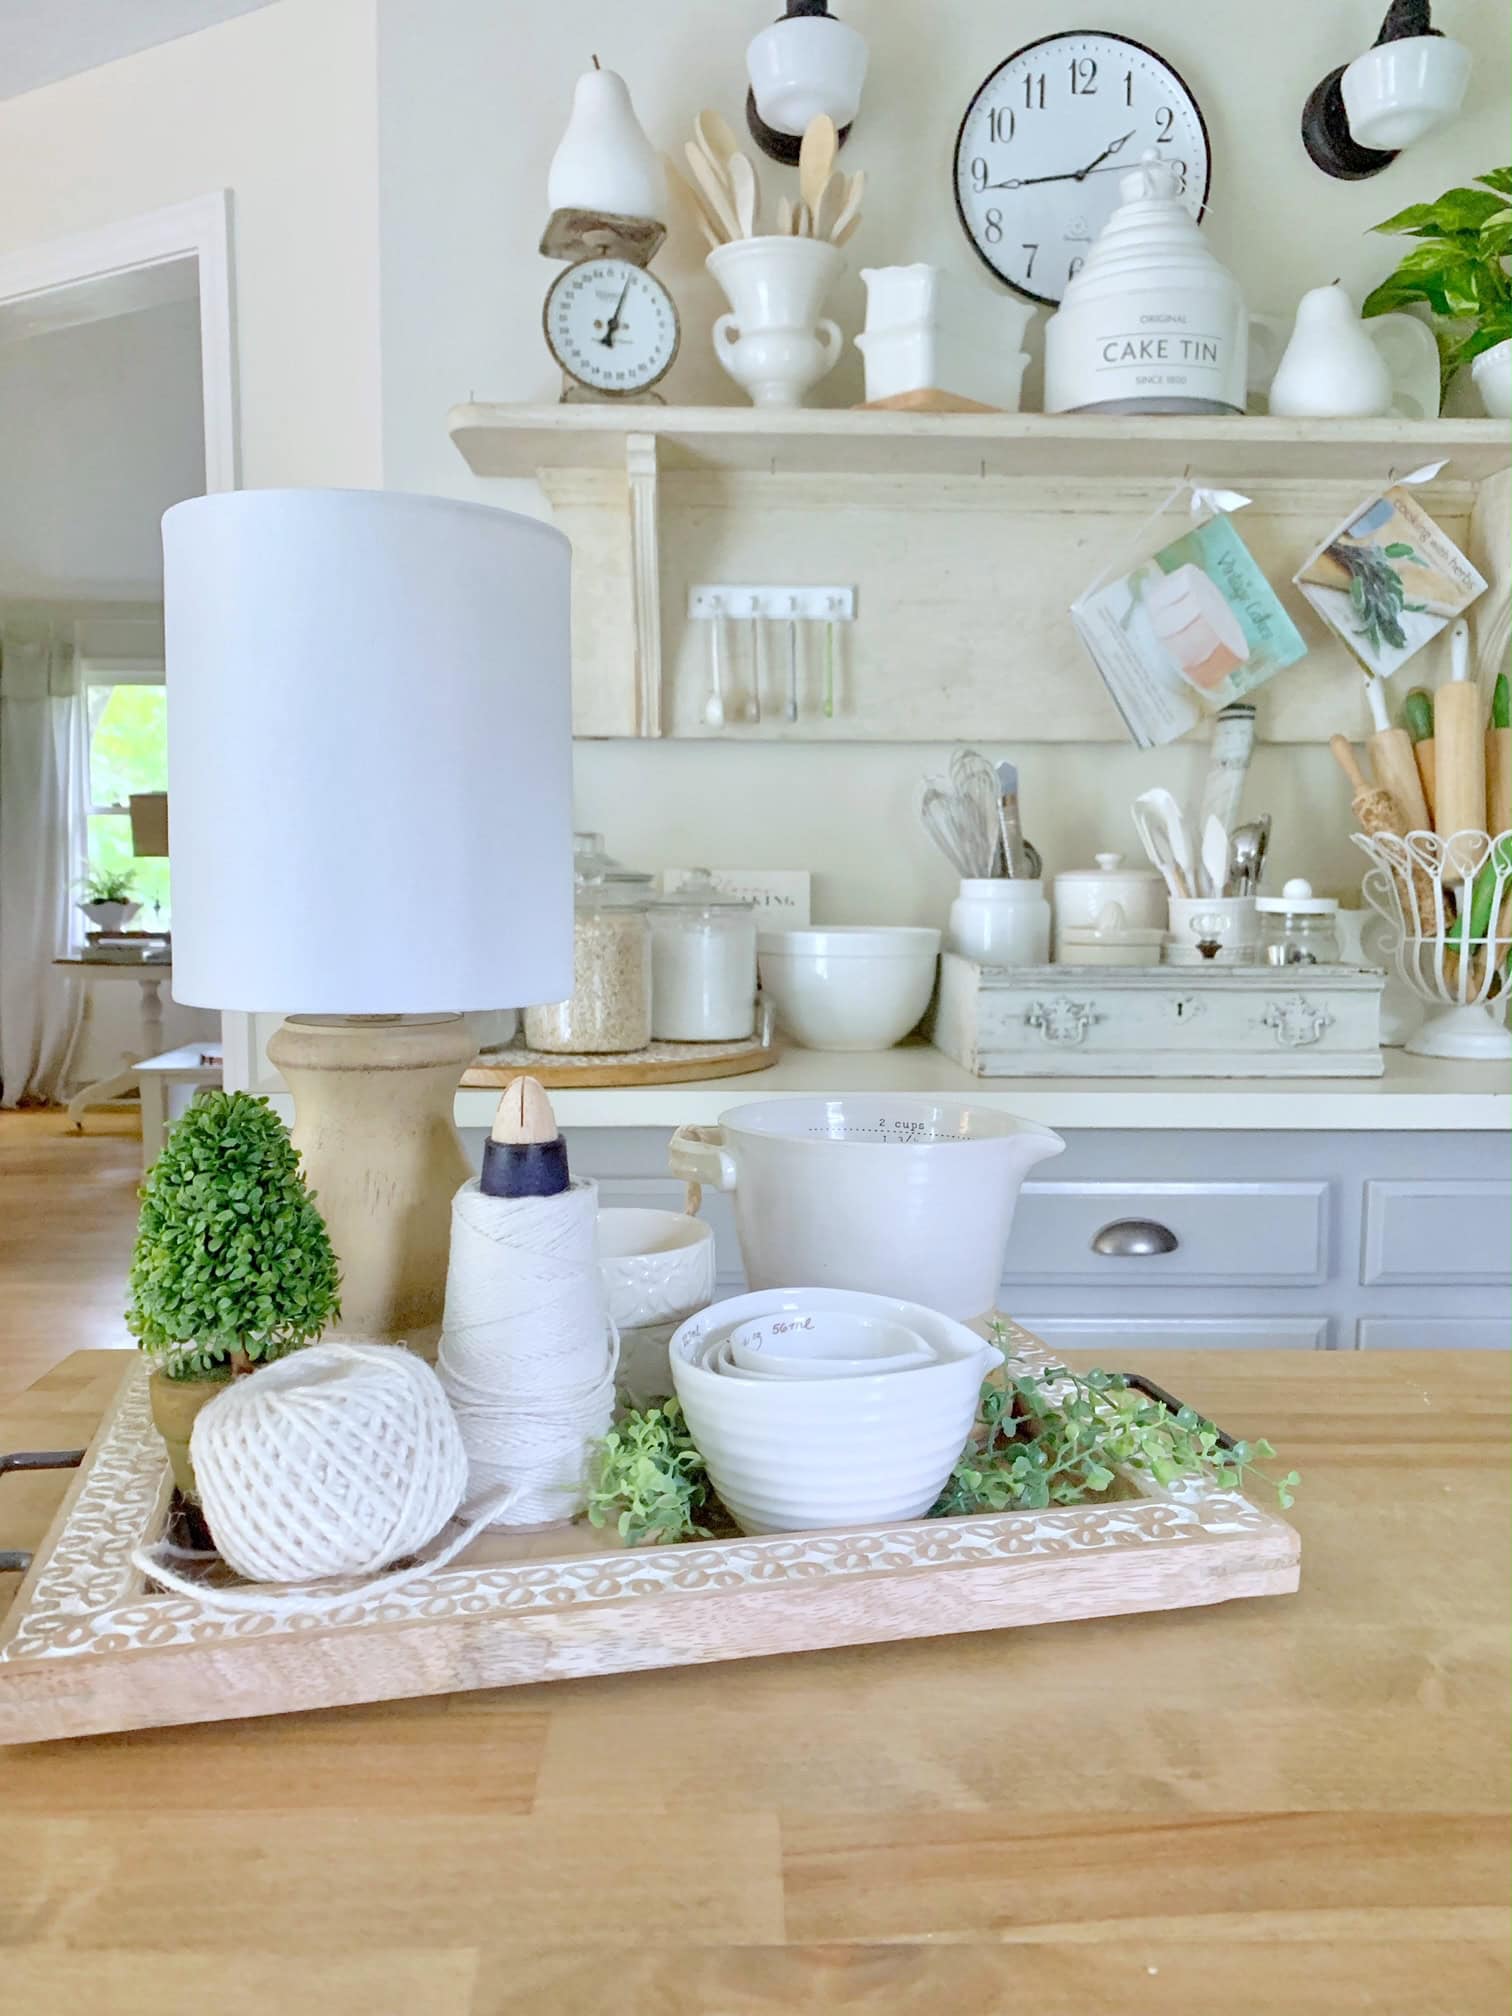
Kitchen Islands and Counters: This is where cordless lamps really shine. I have a small brass lamp that moves between our budget-friendly kitchen island and DIY coffee station depending on my mood. No outlets needed, no cords cluttering up your prep space - just beautiful ambient lighting that makes your kitchen feel instantly cozier.
Floating Furniture Arrangements: You know that perfect spot in the center of your living room where a console table would look amazing? Now you can put a gorgeous lamp on it without running extension cords across the floor. I finally got to style our floating sofa table exactly how I wanted it, complete with a vintage ceramic lamp.
Bathroom Vanities: Game-changer alert! That extra lighting you've always wanted on your bathroom counter is finally possible. I keep a small cordless lamp on our master bath vanity for those early morning routines when overhead lighting feels too harsh.
Home Office Desks: Perfect for desk lighting when your office setup doesn't play nice with outlet locations. My husband's desk sits in the middle of our den, and a cordless lamp gives him the task lighting he needs without the cord chaos.
Bookshelves and Cabinets: This might be my favorite trick - placing small lamps inside built-ins or on floating shelves creates the most beautiful ambient lighting. I have one tucked into our living room bookshelf that makes the whole wall glow softly in the evenings.
The beauty of cordless lamps is that they can move with your styling whims. That little lamp that's perfect on your nightstand in winter might be exactly what your outdoor dining table needs come spring. Design freedom at its finest!
Frequently asked questions
Yes. You can turn most corded table lamps into cordless lamps by using a rechargeable battery backup light bulb. This method does not require rewiring or electrical work and can be done in minutes.
The easiest way is with a rechargeable battery powered light bulb. You charge the bulb in a plugged-in lamp, then move it to the lamp you want to use cordless.
Yes! Lamps can be battery powered using rechargeable bulbs, puck lights, or built-in battery systems. Rechargeable bulbs are the simplest option for standard table lamps.
Cordless lamps are powered by internal rechargeable batteries, replaceable batteries, or external battery packs depending on the method used. This tutorial uses a rechargeable light bulb with a built-in battery.
No. Lamps only need to be plugged in if they rely on a traditional wired power source. With battery powered bulbs or alternative lighting methods, many lamps can be used without an outlet.
Rechargeable bulbs work in most lamps that use a standard A19 bulb socket. They may not fit lamps with candelabra bases, specialty bulbs, or built-in dimmer switches.


Shop this post

If you are an avid DIYer be sure to visit my Decor Styling & DIY Hub - lots of projects there and many more to come!
Ready to Cut the Cord?
And there you have it - the ridiculously simple secret to turning any lamp into a cordless beauty! For about $15 and 10 minutes of your time, you can solve one of those annoying design problems that's probably been bugging you for way too long.
I'm genuinely excited for you to try this because I know that moment when you flip the switch on your newly cordless lamp and see it glowing perfectly in that spot you always dreamed of putting it - it's pretty magical.
Start with one lamp (maybe grab a cheap one from a thrift store or while out antiquing if you're nervous about cutting that cord) and see how addictive this little trick becomes. Before you know it, you'll be eyeing every lamp in your house and wondering why you waited so long to discover this game-changer.
Now go forth and illuminate those impossible-to-reach spots! Your design dreams are about to get a whole lot brighter.
What lamp are you planning to convert first? I'd love to hear about your cordless lighting adventures in the comments below!
Keep creating friends!!


Thank YOU so very much for this fabulous idea. I have some objects and I’m going to try to turn them into lamps. Again, thank you!!!
Darlene
Great! Just be careful once you get started you wont want to stop, lol!
This is such a great idea, Stephanie! Sharing with our readers on Sunday in our weekly roundup. Xoxo
Thank you so Much Anne!