Last summer, Ray and I took on the challenge of revamping our cramped and inefficient 8 foot by 8 foot laundry/mud room setup, which was split into two awkward and nonfunctional sections. We'd been coping with these disjointed spaces for years, so it was time for a change.
We chose to merge the entire room into a single, cohesive space, customizing it to meet all our needs. Starting afresh, we listed essential and desirable features to ensure smart organization and ample storage, optimizing the room for laundry, pet care, and household chores by strategically planning workflow areas.
Key elements we aimed to incorporate include:
- Raised front-loading efficient appliances
- Cabinets to house washer/Dryer/Laundry Baskets
- Utility Closet
- Dedicated counter for folding
- Ample storage
- Streamlined dog walking station
Let me show you what we came up with in this, IKEA Laundry Room Makeover post.

Content may contain affiliate links. When you shop the links, we receive a small commission at no cost to you. Thanks for supporting my small business.
Please note that this post was not sponsored by IKEA.
Jump to:
The space
When sketching our layout, our 8’ x 8’ laundry space felt cramped with our initial three-walled cabinetry design. Inspired by efficient galley kitchen layouts, we reenvisioned a streamlined workflow. Essential appliances and storage were consolidated along one side, freeing up space on the opposite wall for mudroom seating and folding table areas, optimizing functionality.
This revised positioning afforded easy appliance access without cluttering the narrow walkway. The concentrated storage footprint kept hampers and supplies consolidated yet steps away from the washing machine and dryer for logical sequencing from dirty to clean. By sketching out some different layout options on paper first, we were able to find the right balance between maximizing storage capacity and allowing enough open floor space in the small space.

Choosing cabinets: Our IKEA story
When quotes from custom cabinet makers were too expensive, we checked out IKEA hoping their budget selection could house our washer and dryer attractively.
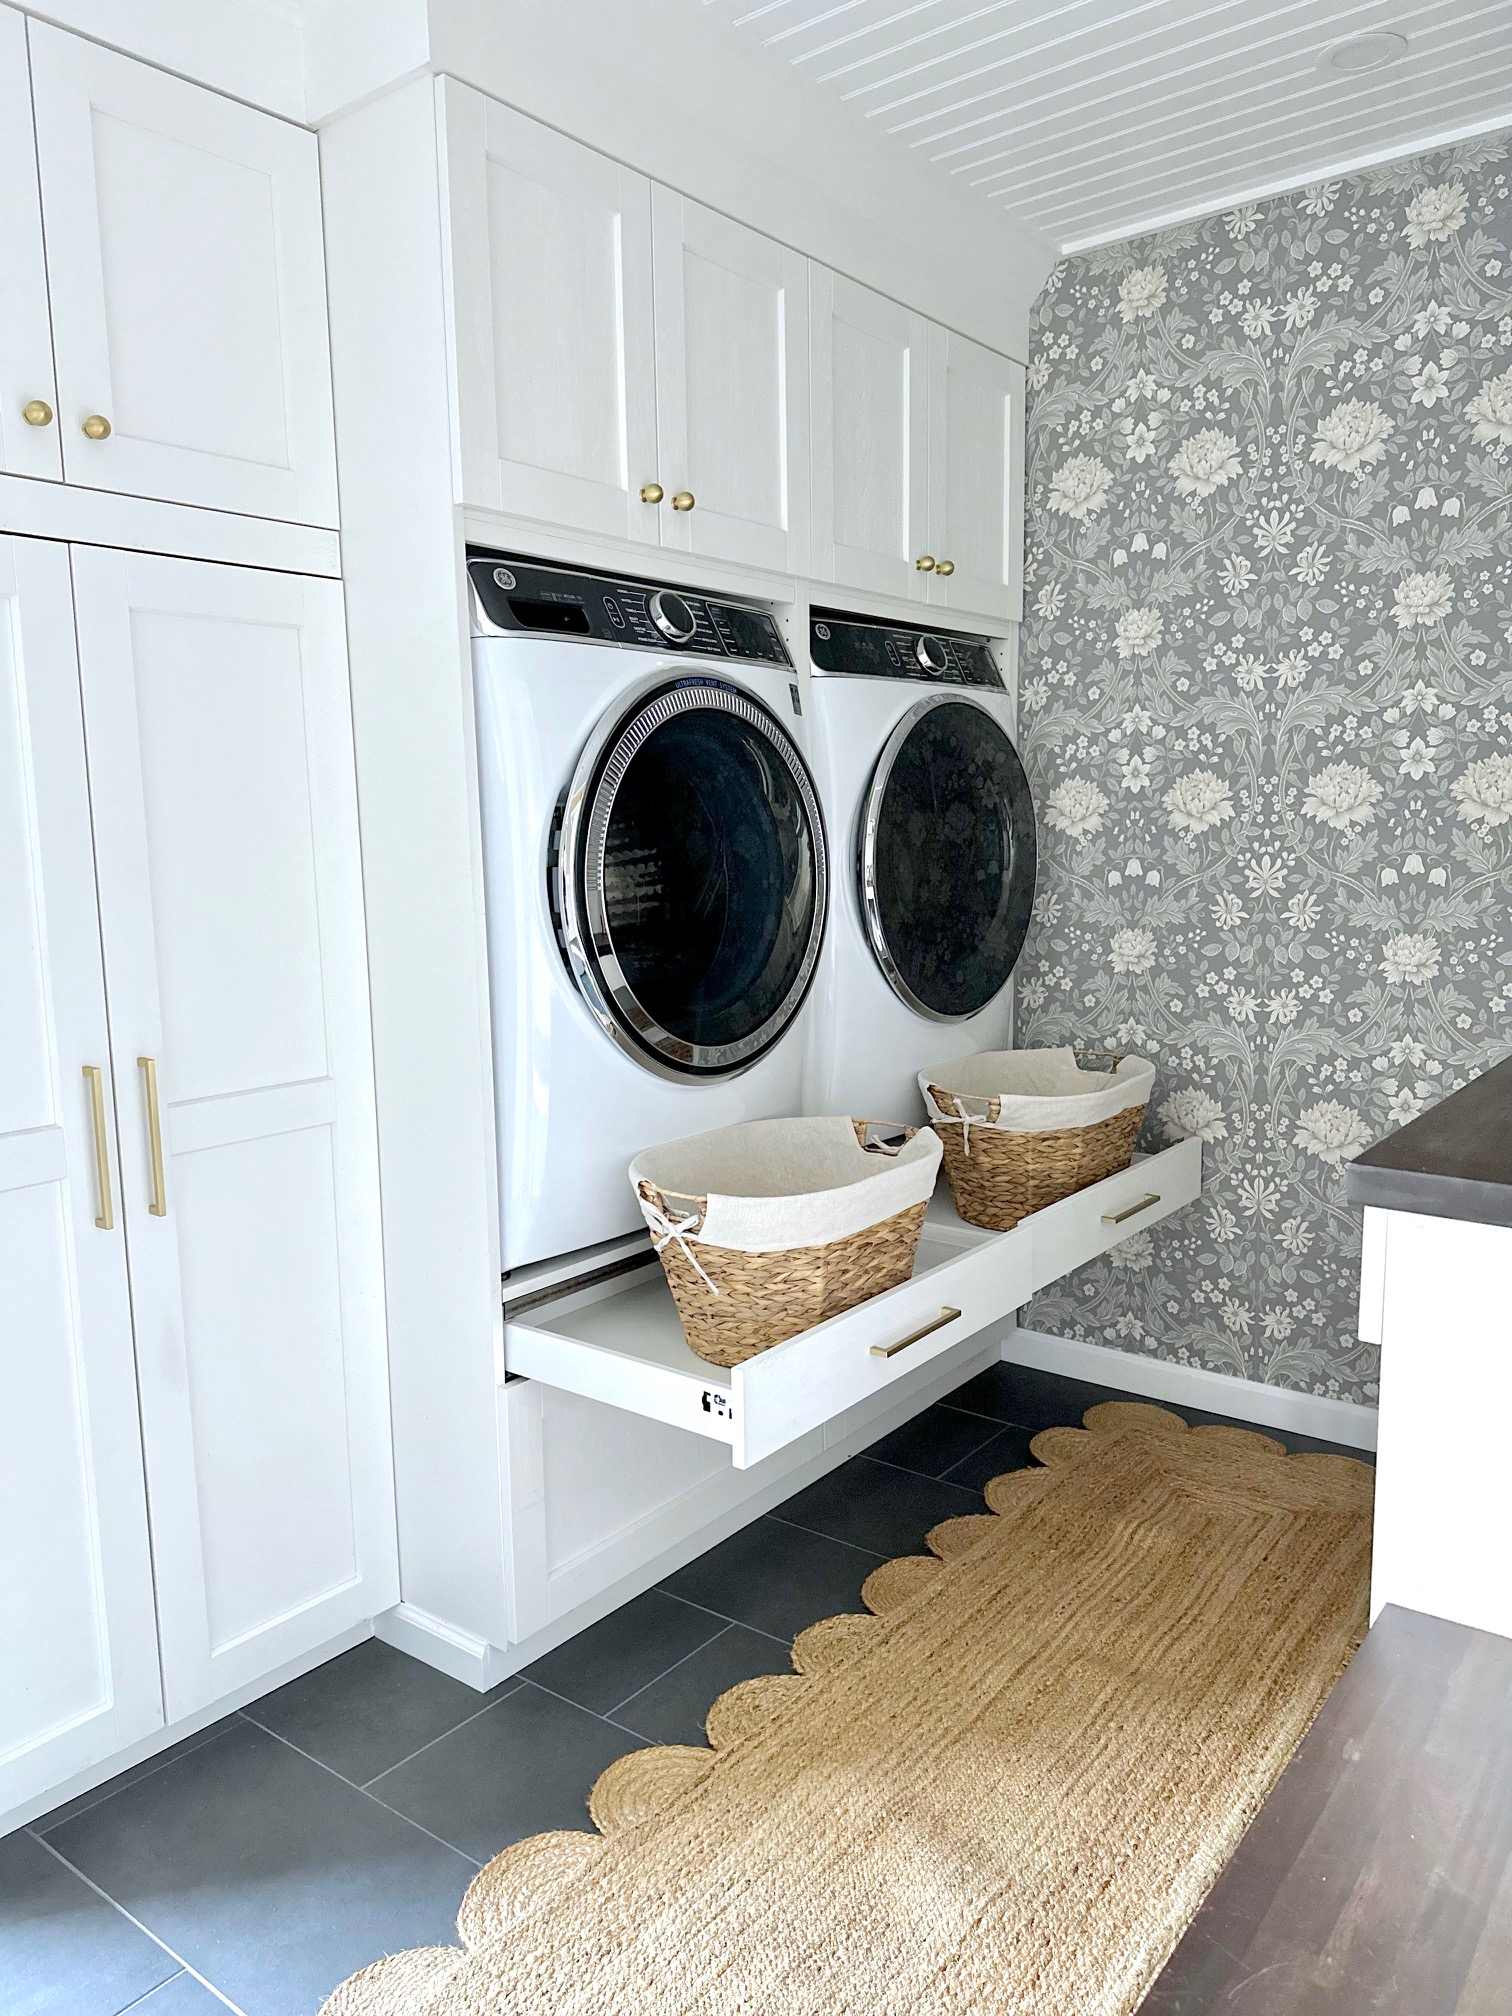
Wandering the kitchen area at first without much luck, Ray then noticed an oven cabinet set with potential. The white SEKTION unit had adjustable sizing, doors up top, a narrow drawer below an open space for a wall oven, then a wider drawer below. The cabinet measured 30" x 24" x 90" with adjustable shelving. And that's when the idea hit, with extra supports we could customize the open space for laundry appliances rather than an oven and the slim drawer below could serve as our pull-out tray for resting our laundry baskets when doing laundry. An affordable laundry dream design was born!
We required two cabinet towers—one designated for the washer and another for the dryer. Incorporating a third recessed cabinet, we efficiently arranged laundry baskets and household essentials, including paper towels and toilet paper. Featuring ENKOPING style doors sourced from IKEA, these upper cabinets delineate our laundry area by the backdoor, offering extensive storage space for items like dryer sheets and laundry detergent. Here are the exact IKEA Cabinets we used for the washer and dryer units.
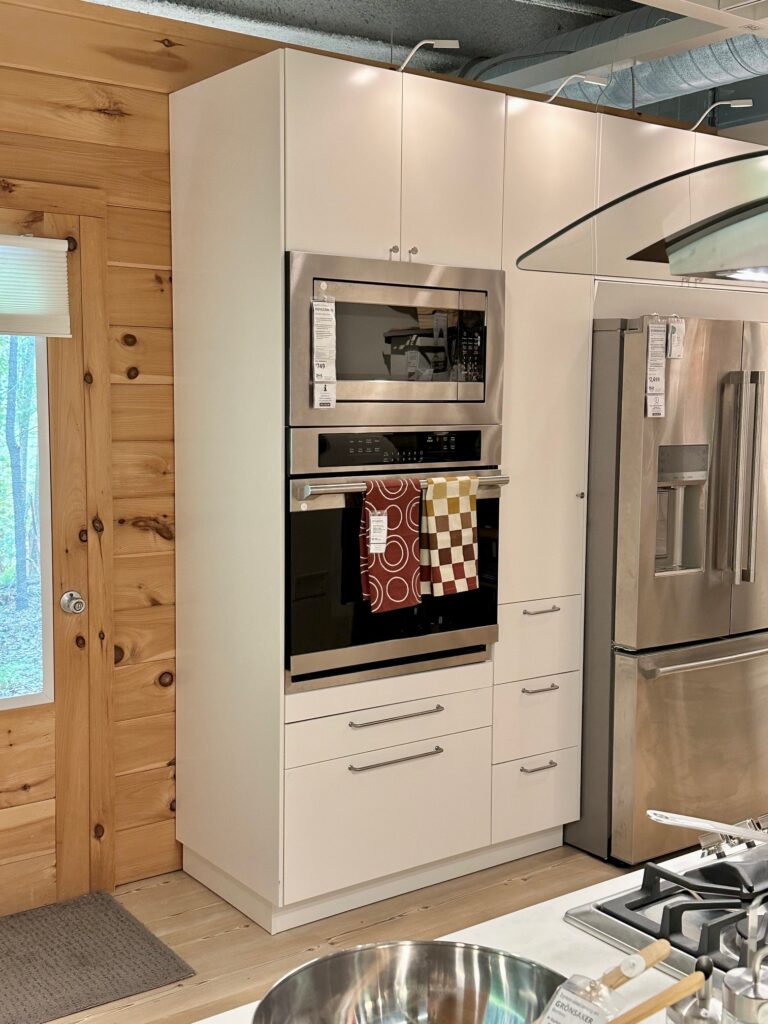
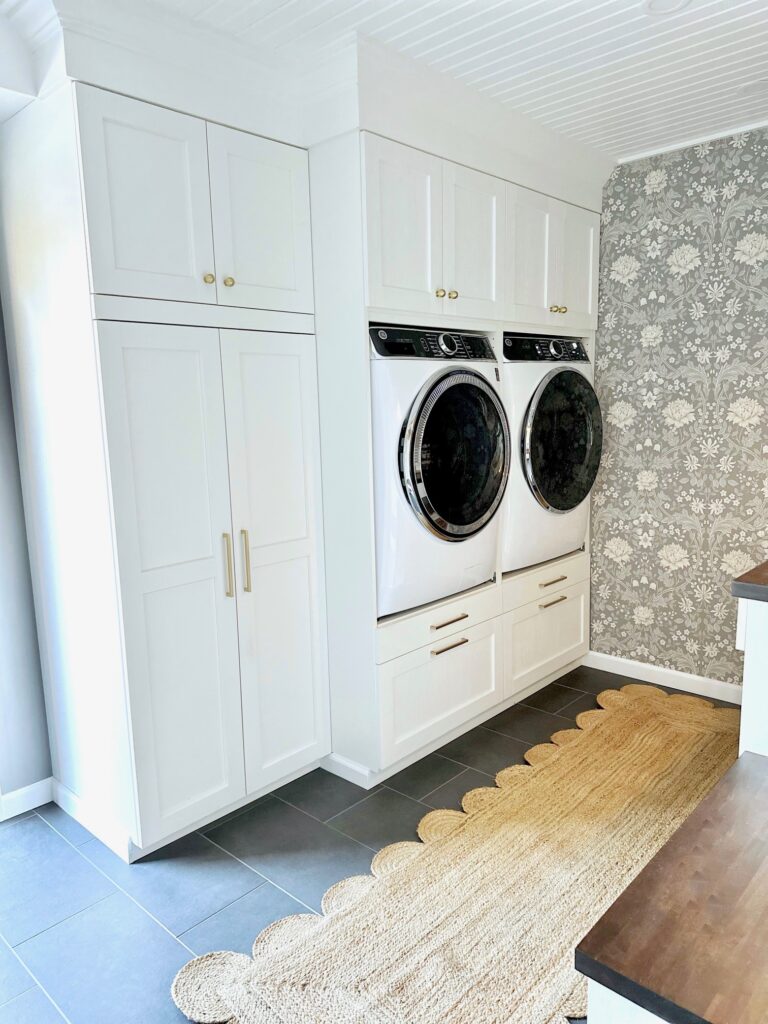

SEKTION cabinets with ENKOPING doors from IKEA.
Reinforcing the cabinets: Putting our own spin on it
Washers and dryers are heavy, plus they move a bit while running. We knew we would have to reinforce the shelf that was to hold the appliances. We did so by adding steel tubing under the shelf. First, we installed heavy-duty aluminum brackets on the inside of each side of the cabinet where the shelf would be. Then two steel tubes, one across the front, the second across the middle. Extra support was provided by a platform that was built on the back of the cabinets allowing for extra support and adequate space for ventilation and washer and dryer hookups. Fortunately, the steel tubes still allowed for the IKEA drawer base to fit under the washer and dryer without any necessary adjustments.
Kindly be aware: Modifying these cabinets voids the warranty provided by IKEA.


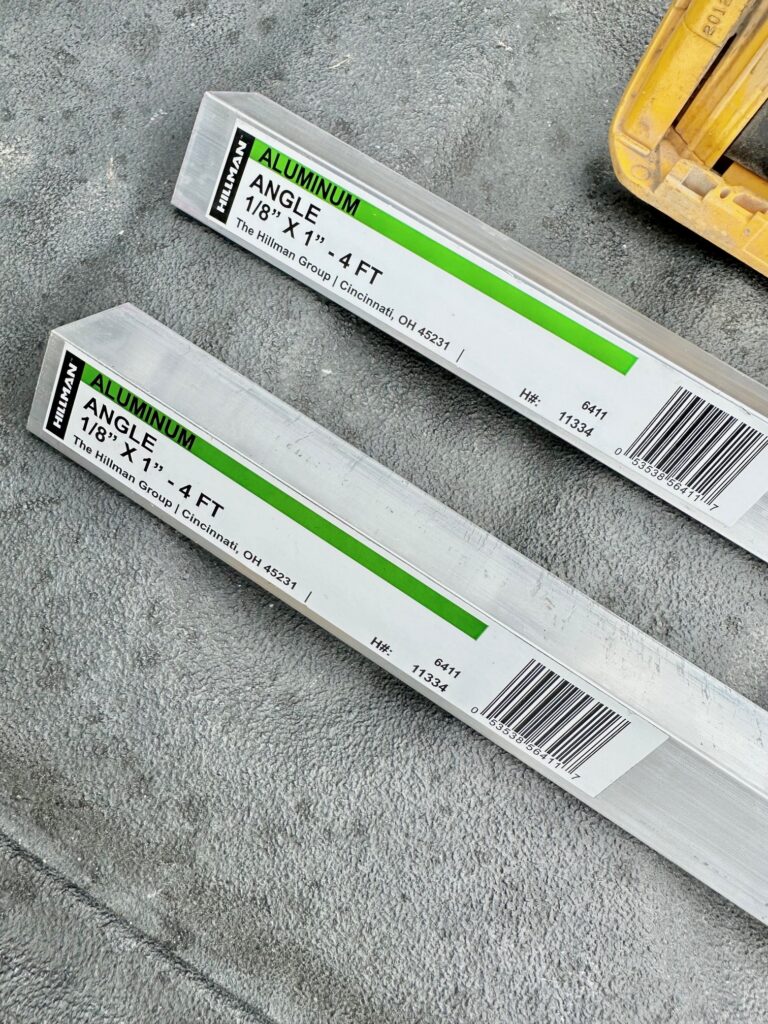
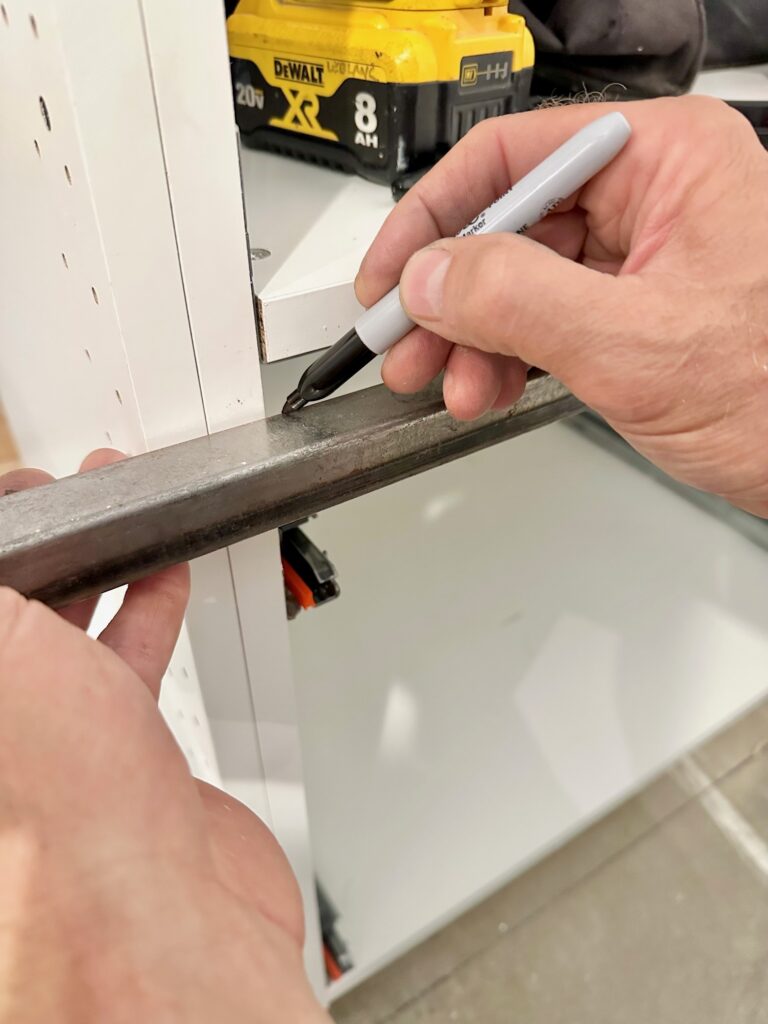


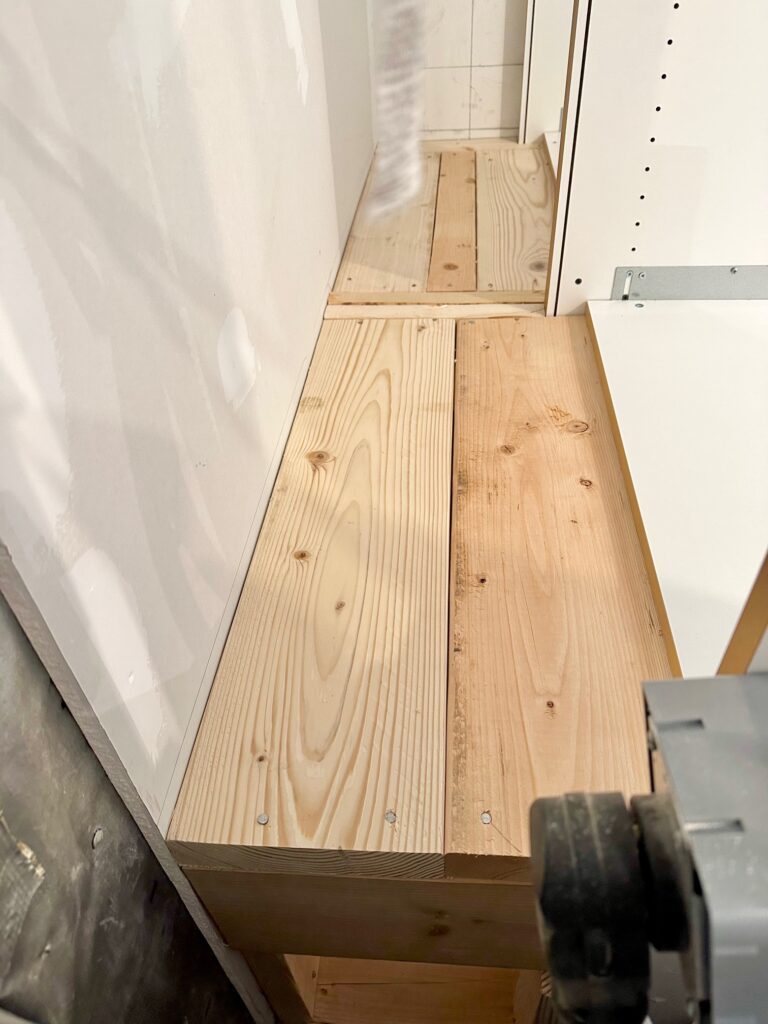
✨ Want to see exactly how I built these IKEA washer and dryer cabinets in our small laundry room? From cabinet choices to support structure, I walk you through every detail in this step-by-step cabinet build tutorial.
Layout: Maximizing every inch
Once our washer and dryer wall was in place, we focused on maximizing space on the opposite side of the room. We strategically positioned the laundry folding table and dog walking bench to be just the right size, ensuring plenty of room between each side. Using IKEA panels for consistency, we crafted both pieces with faux drawers with brass pulls matching our appliance built-ins. To tie everything together, we opted for a stunning espresso butcher block from Lowes for the table top and bench seat, adding warmth to the room. Here's more about each space.

Laundry folding counter
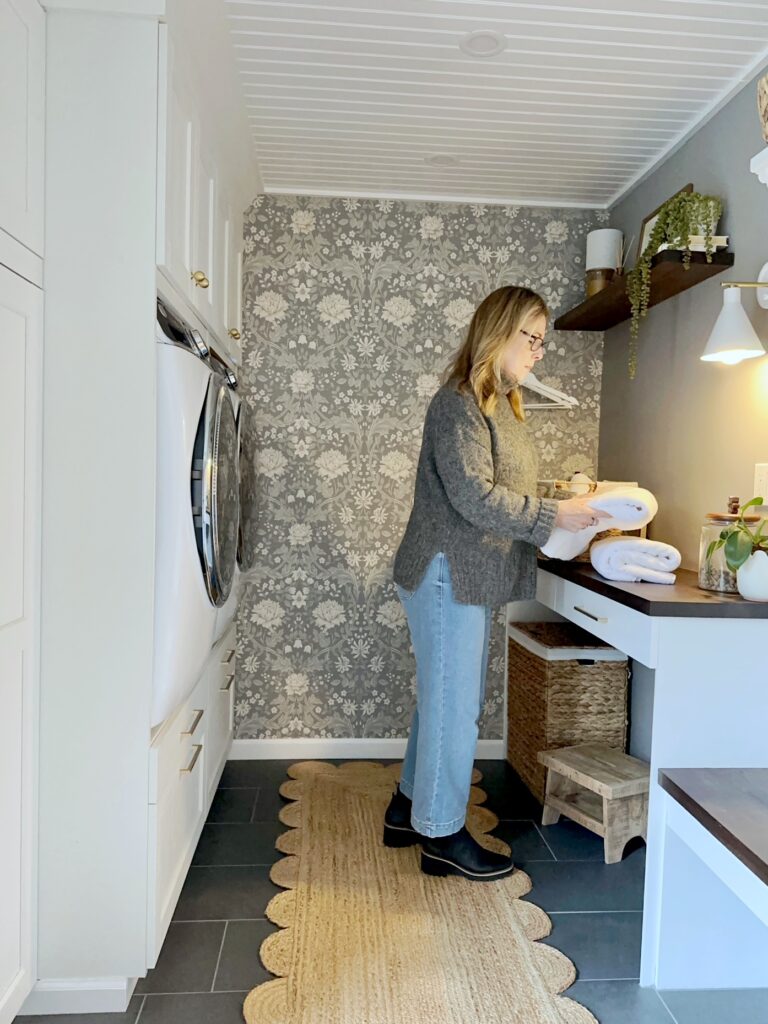
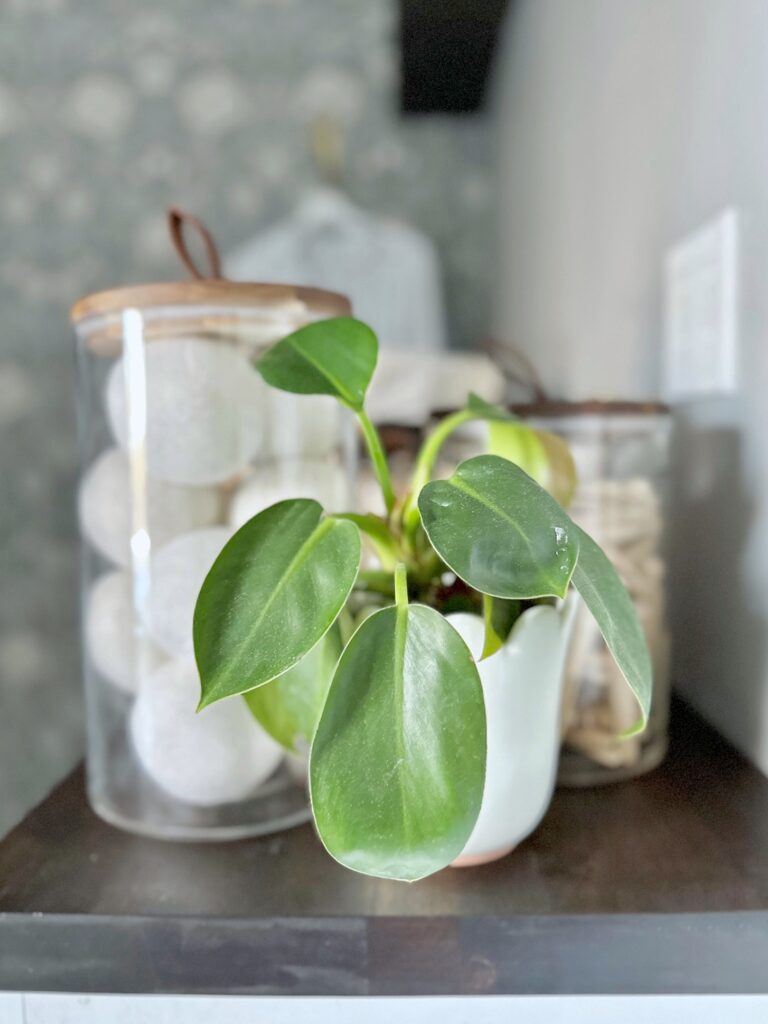
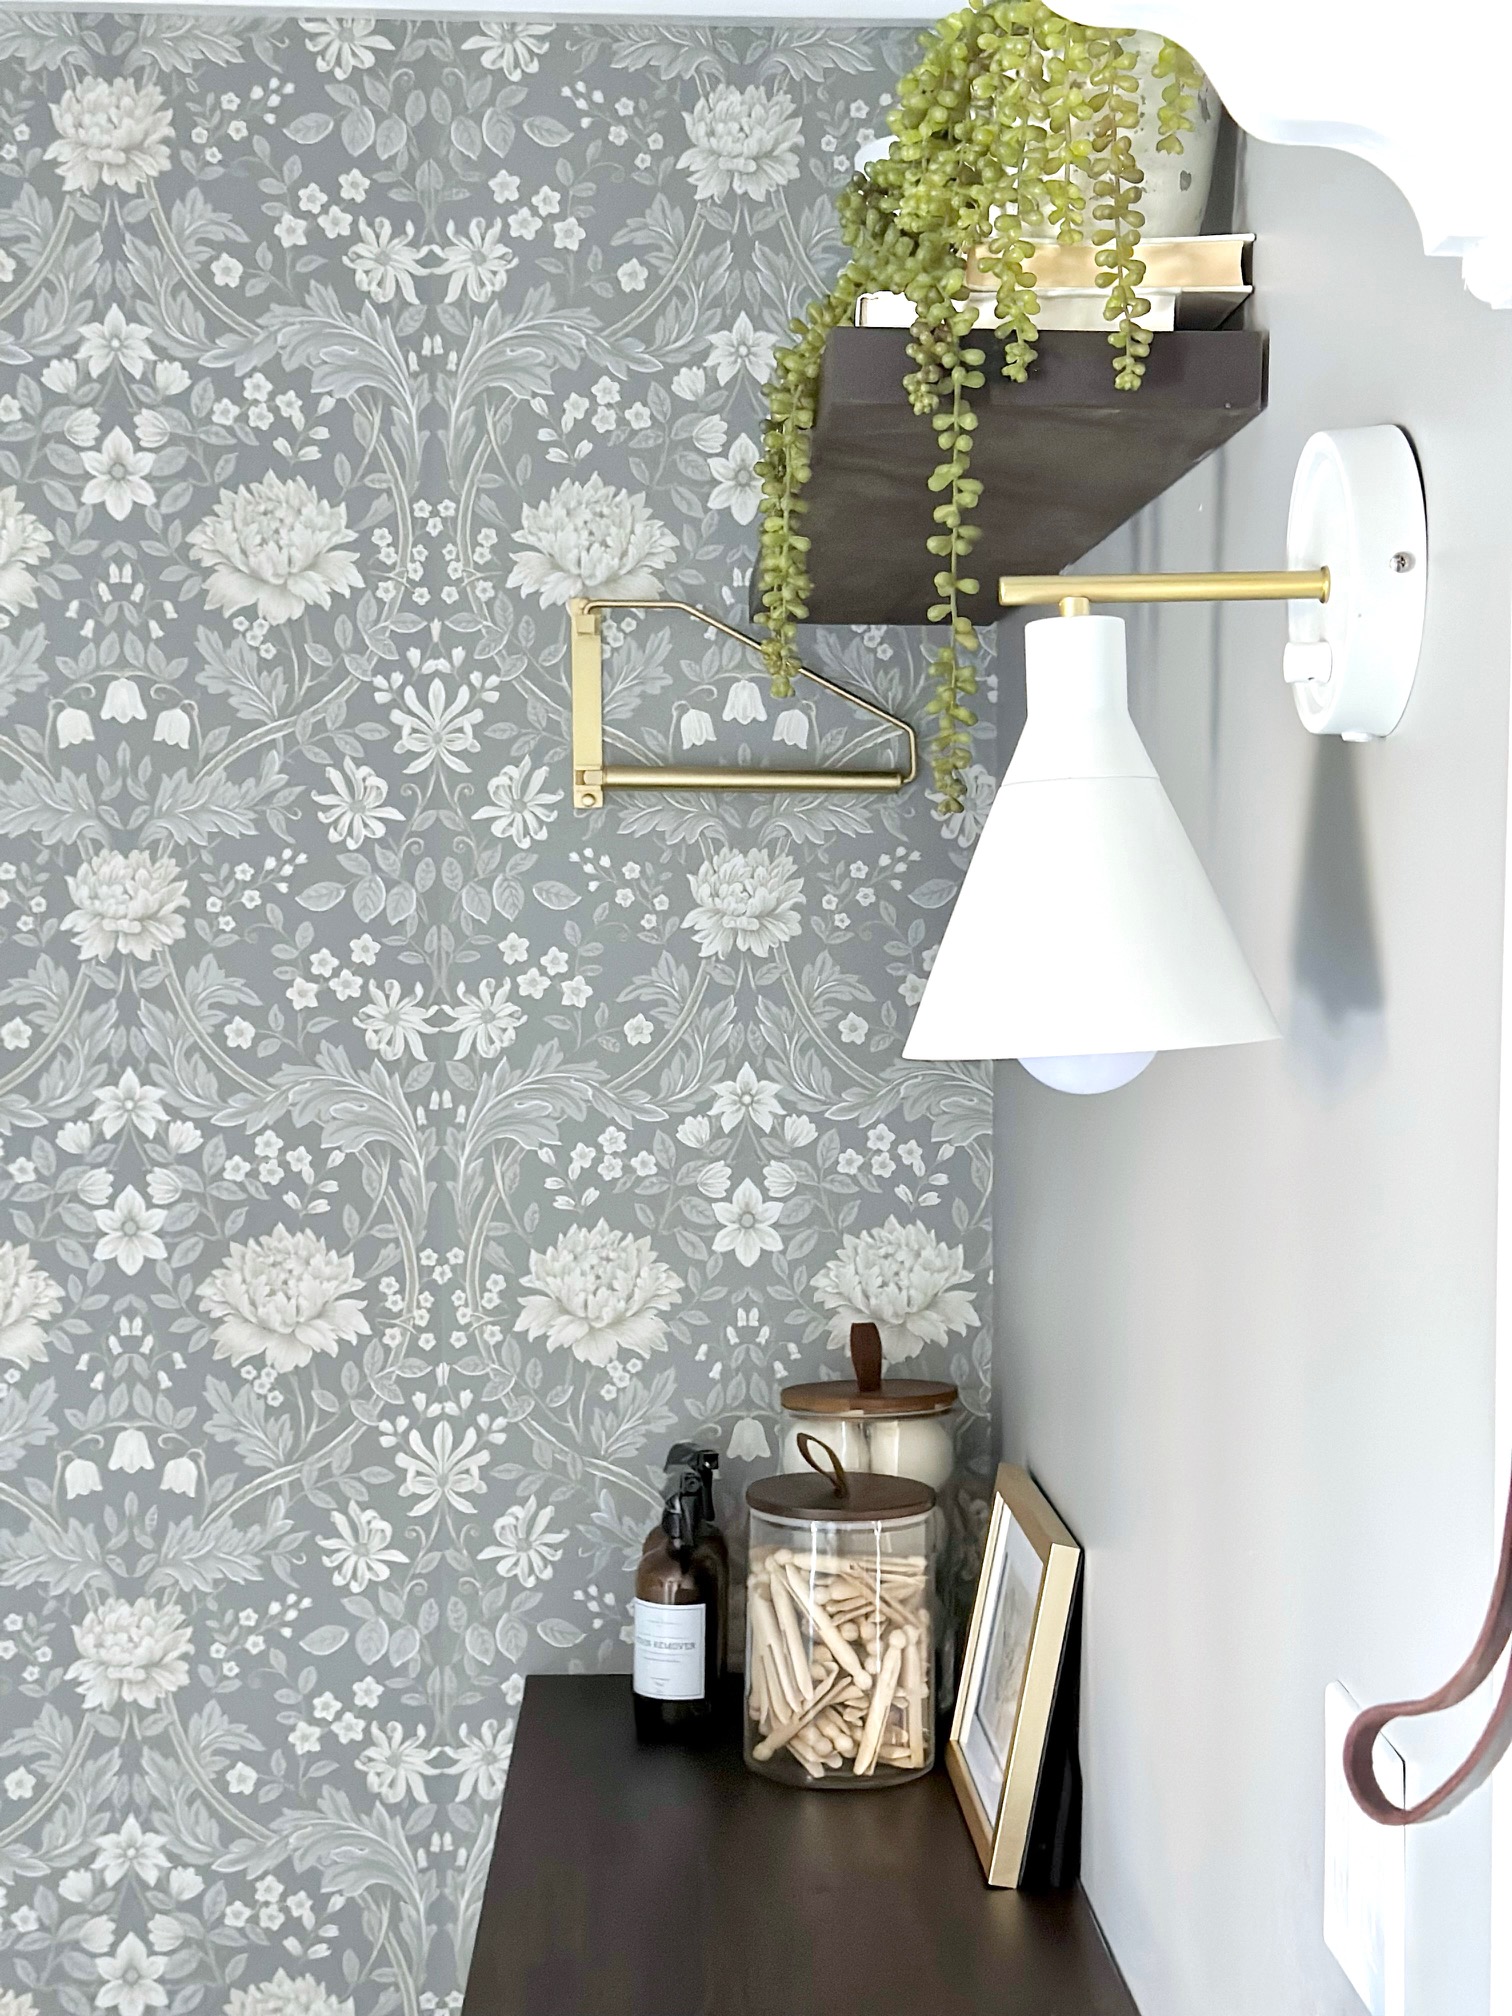
Having a dedicated laundry folding counter feels like a luxury compared to using the dryer top in our old space! Set at counter height for comfort, it offers ample room with a top measuring 61" wide x 16" deep. This space has a designated wall sconce that is cordless. Adjacent, an arm swing clothes hanger provides convenience, tucking away when not in use. Above, a floating shelf repeats the butcher block for added decor. In this counter space, I placed glass jars filled with DIY natural cleaning supplies and a glass bottle filled with stain remover. This area transitions seamlessly to the dog walking bench below.




Dog walking bench
To accommodate our energetic chocolate labs, we crafted a practical solution for our dog walking essentials: a purpose-built bench with a panel and shelf on top. Complete with hooks for leashes and collars, the bench also features baskets above for additional supplies, neatly concealed. Below, space is designated for boots and shoes, keeping everything organized and easily accessible.

Wallpaper
I'm in love with this wallpaper! Opting for a subtle touch of pattern, I chose to adorn only the back wall, painting the remaining walls in the same color as the paper's background. This ensures seamless integration and adds a cohesive vibe to the space. The best part is that this wallpaper was hung in a day!

The Ceiling
After removing the drop ceiling, we gained precious inches for taller ceilings. Negotiating around heat vents and water pipes, we installed a charming beadboard ceiling. We installed the ceiling prior to assembling the IKEA kitchen cabinets. Three small recessed lights illuminate the space, complemented by two light globes along the walkway, adding warmth and functionality to this laundry room makeover. These striped school house globe ceiling lights have my heart.

The Floor
From the beginning, I envisioned sleek, dark gray tiles for the floor. We found the perfect floor tile at Floor and Decor, and they beautifully contrast with the white IKEA cabinets and wallpaper, adding depth and elegance to the space.

Maximizing utility and light: Opposing wall features
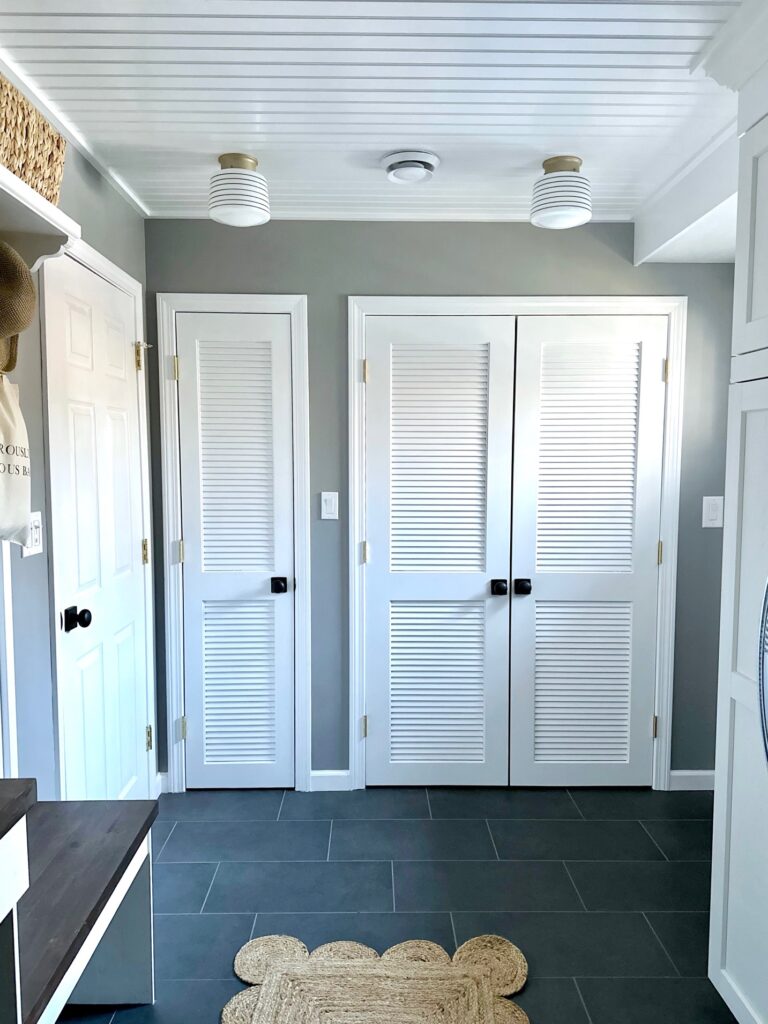
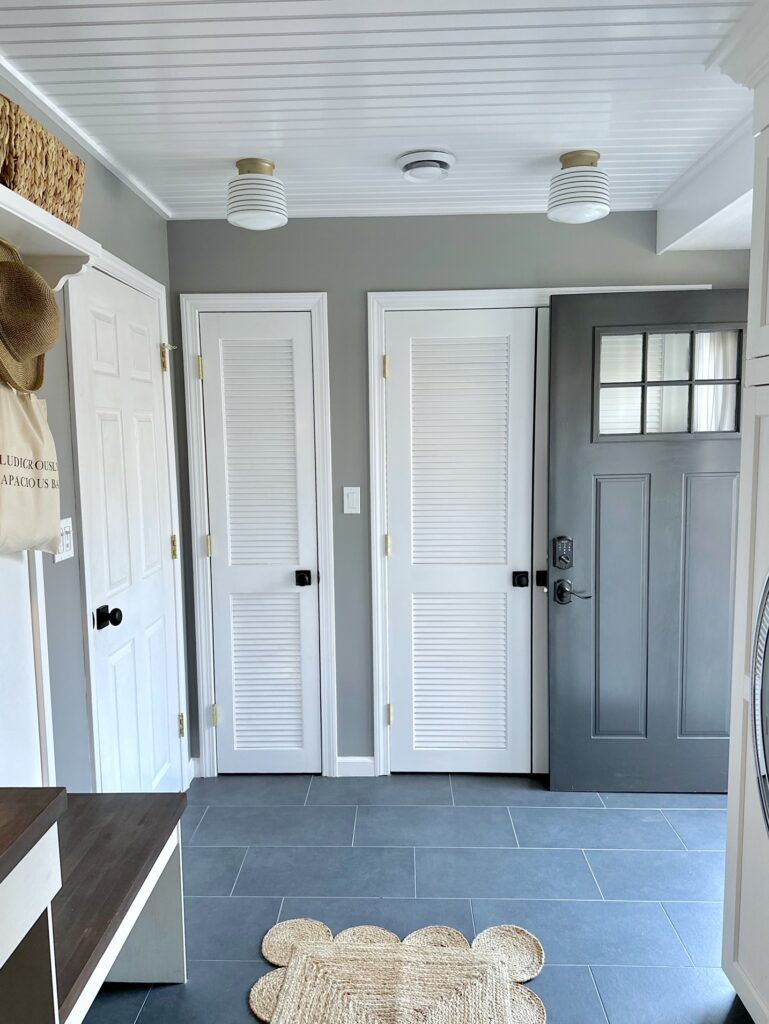
On the opposing wall, we've allocated space for the water well pump, water heater, and utility closet. Louvre doors were chosen to promote ventilation, providing a breathable environment while discreetly housing these necessary utilities. The closet area also adds additional storage, making the most of the available space. Adjacent to these closet areas, natural light floods in from the backdoor, enhancing the overall atmosphere with its brightness and warmth.
Styling finishes: Adding personality
In styling finishes, I opted for soft brushed brass cabinet hardware, extending the theme to the clothes hanger/drying rack and other accents. Mixing metals, we selected flat black door knobs for a sleek contrast. Benjamin Moore's Wrought Iron graces our back door, adding depth to the space. To introduce natural elements, we incorporated a scalloped jute rug and woven baskets. Under the folding table, a woven hamper cleverly conceals the waste paper basket, enhancing the room's aesthetics.
Shop the look: Explore the paint colors and accessories
You can shop this makeover on my LTK where you will find links to the wallpaper, hardware, light fixtures, baskets, and more.
Paint Colors:
- Walls: Benjamin Moore - Strom - Eggshell
- Trim and ceiling: Benjamin Moore - Chantilly Lace Semi-Gloss
- Crown molding (to match IKEA cabinets) - Benjamin Moore White Heron - Eggshell
- Backdoor: Benjamin Moore - Wrought Iron - Semi-Gloss
Tile Floor: Concept Gray Porcelain Tile (Grout: Latte)
Cabinets: SEKTION cabinets with ENKOPING doors from IKEA
Butcher block: Espresso Stained Butcher Block

Frequently asked questions
IKEA offers a variety of storage cabinets, open shelves, and shelving units to maximize space efficiency. Consider using tall cabinets to utilize vertical space effectively and keep laundry essentials neatly organized.
Absolutely! IKEA's sleek designs and functional spaces create a chic laundry room aesthetic. Opt for minimalist designs and clean lines to achieve a modern and stylish look in your laundry room.
Utilize base cabinets, hanging bars, and open shelving for additional storage options and a practical space. Install pull-out wire baskets inside cabinets to keep smaller items organized and easily accessible.
The versatility and variety of options cater to diverse needs, making laundry room design a breeze. With IKEA's range of products, you can mix and match different storage solutions to create a customized space that meets your specific requirements.
Shelving units and corner cabinets provide ample storage for laundry bins and keep dirty clothes organized. Consider adding labeled baskets or bins to sort laundry by color or fabric type for efficient sorting and washing.
Absolutely! IKEA's innovative solutions make it easy to design a chic laundry room, even in small areas. Opt for space-saving furniture such as fold-down tables or wall-mounted drying racks to maximize available space without sacrificing style.
Consider installing a clothes rail or hanging bar to store an ironing board, maximizing available space. Look for ironing board holders that can be mounted on the back of a door or inside a cabinet to keep the ironing area tidy and accessible.
Before:

After:

Want more inspiration like this project? Visit my DIY Home Decor Hub for room transformations and styling ideas.
This makeover was one of my most rewarding DIYs—but the build itself took planning! If you want a peek behind the scenes (plus exact cabinet sizes, tips, and tools), visit this step-by-step cabinet guide.
Needless to say, doing laundry just got a whole lot more fun, and with plenty of storage and a well laid-out plan, this room has been so easy to keep clean and organized. We're excited to share that there will be more posts coming up about this space, including detailed instructions on reinforcing the cabinets and installing the beadboard ceiling. Stay tuned for more insights and inspiration as we continue to share this space into a functional and beautiful part of our home!
Thank you for visiting the blog today for this IKEA Laundry Room Makeover! Please let me know if you have any questions!


Love the overall room makeover that you whent with. It's a great idea to have cabinets so that storage becomes that much easier.
Thank you Hari! We are loving it!
This is so inspiring! I think I need to share this with my hubby today.
Thank you Andrea!
This is wonderful, especially the use of ikea products. A true laundry room dream!
Thank you Monica, it certainly makes doing laundry a lot more enjoyable!
WOW! The transformation is stunning! I love everything- the textures, the wallpaper, the accessories...it's perfection!
Thank you Katie!
Stephanie, you guys thought of everything! This space is great. I bet you have fun doing laundry in here!🤗
Thank you Debi! Yes doing laundry is much more enjoyable now!