How Long Does a Dried Fruit Garland Last? (With My Dried Apple Garland Tutorial)
How long a dried fruit garland lasts depends on the fruit used, how it is displayed, and how it is stored. When made with fully dried apples or oranges and kept away from heat and moisture, a dried fruit garland can last for multiple holiday seasons. Store it in an airtight container in a cool, dry place to help preserve its color and shape.

Content may contain affiliate links. When you shop the links, we receive a small commission at no cost to you. Thanks for supporting my small business.
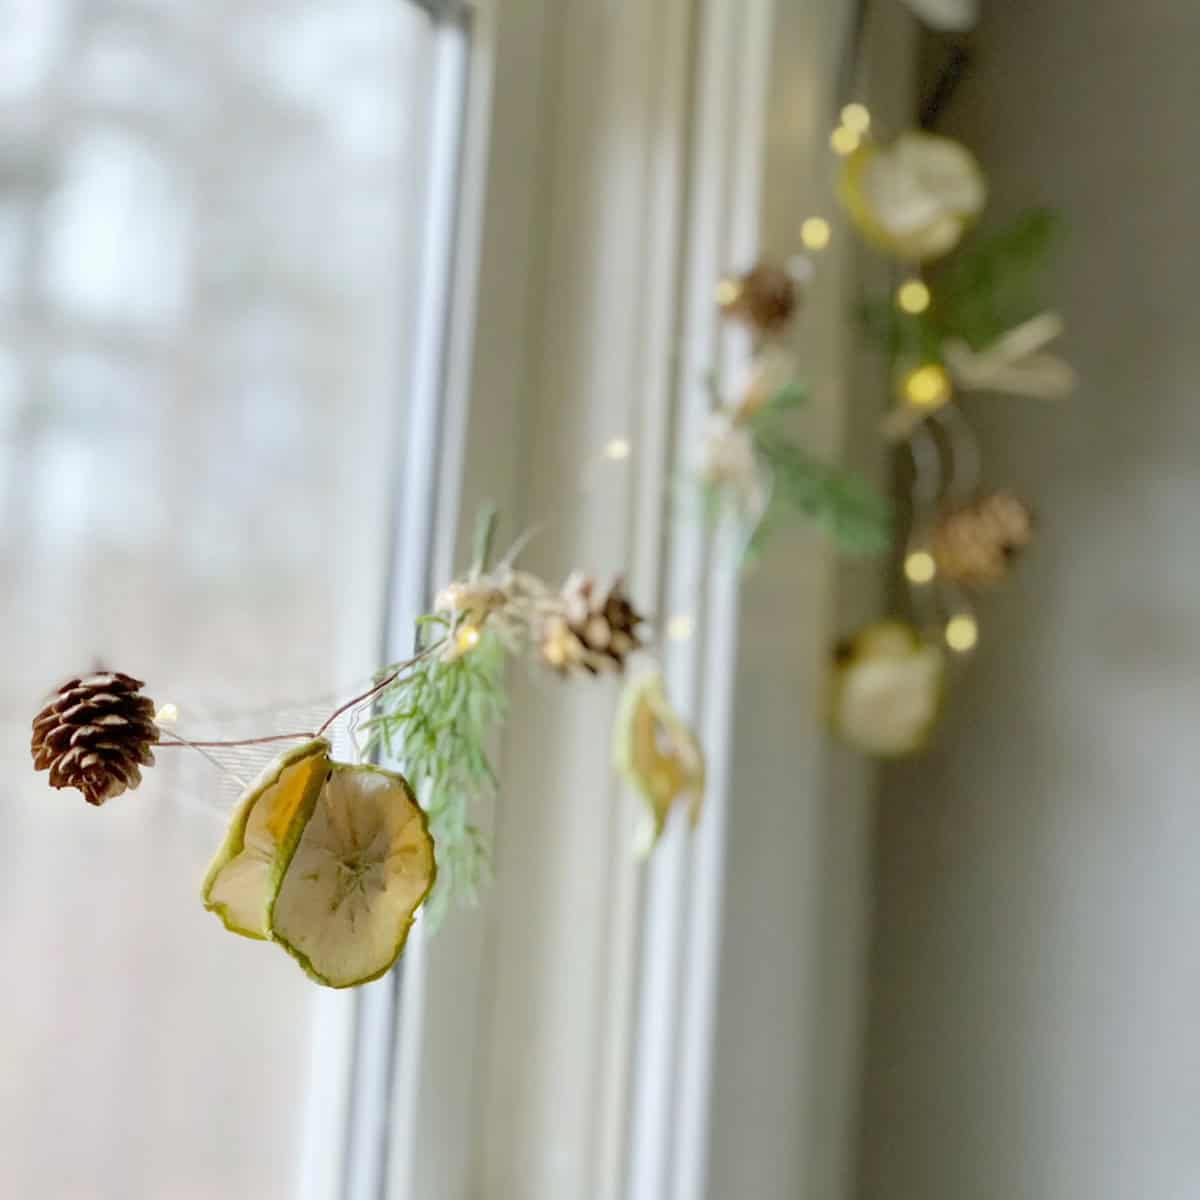
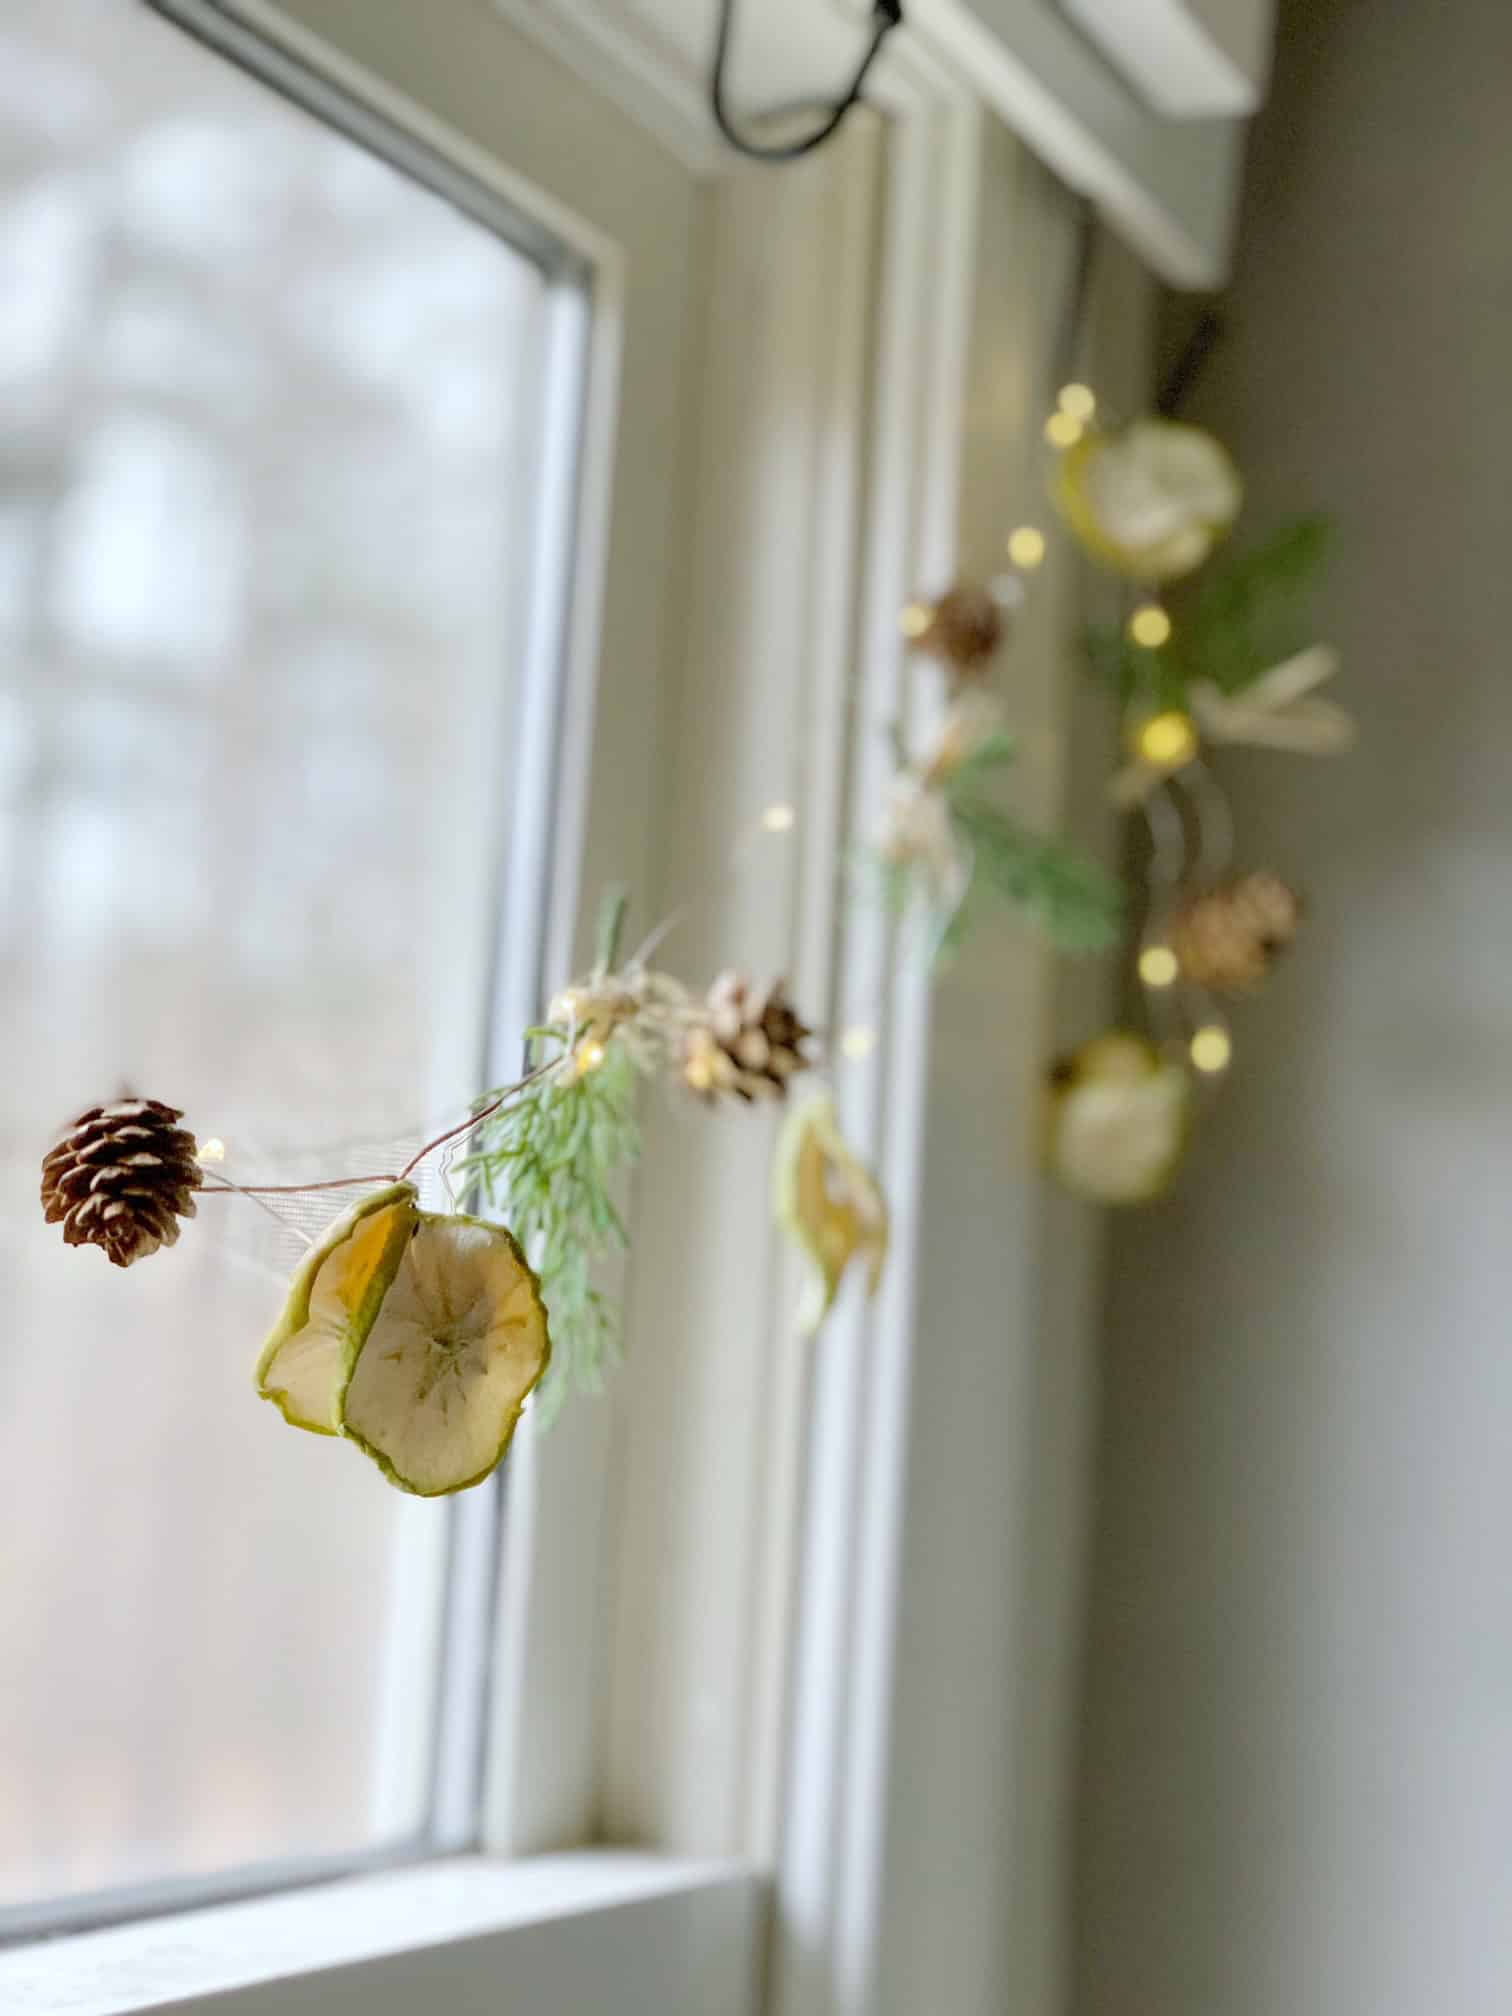
There is just something about dried fruit garlands that feels like instant Christmas magic. I love the soft glow of twinkle lights reflecting off the apple slices in my kitchen window every December. And the best part is, when you make your garland with fully dried fruit and store it properly, it can last years - not just one season.
Whether you're using dried apples like I do, or classic dried oranges, the key is keeping the garland away from heat while it's displayed and storing it in an airtight container in a cool, dry place once the holidays are over. With just a little care, your garland becomes a sweet tradition you bring out year after year.
Jump to:
- How long does dried fruit garland actually last?
- The difference between dried apples and dried citrus for garlands
- Should you seal dried fruit garlands?
- Dried fruit garland longevity
- DIY dried fruit garland tutorial
- Step-by-step instructions
- Where to hang
- Frequently asked questions
- More holiday inspiration
How long does dried fruit garland actually last?
A well-made dried fruit garland can last for several holiday seasons when it is displayed and stored properly. Most garlands made with fully dried apples, oranges, or other fruit slices will stay looking beautiful for 2-3 years, and sometimes longer, especially if they are kept indoors and away from direct heat.
The key is how the fruit was dried, where the garland hangs, and how it is stored when the season is over.
Start with quality dried fruit
Using pre-dried or commercially dried fruit slices gives your garland the best chance at lasting. Drying removes most of the moisture that causes fruit to decay, helping the garland hold its shape and color. There will always be a small amount of natural moisture left in the fruit, which means the garland will slowly age over time, but it should remain decorative for years when cared for.
Avoid direct heat and sunlight
When hanging your garland, choose a spot away from:
• Heating vents
• Fireplace mantels with active fire
• Direct sun in a window
Heat and sunlight can fade the fruit and cause it to become brittle more quickly. Cool, dry indoor spaces will always help your garland last longer.
Store your garland carefully between seasons
At the end of the holidays, gently remove the garland and place it in storage rather than leaving it up year-round.
Here is the best way to store it:
• Place the garland in a sealed container (a lidded bin or airtight bag works well)
• Keep it in a cool, dark spot such as a closet or under a bed
• Avoid basements, garages, or attics where humidity or temperature can change
With high-quality preserved fruits, proper seasonal display, and ideal dark and dry storage, a homemade dried fruit garland can absolutely be enjoyed for multiple holidays. The fruits may eventually shrivel, but the garland will maintain its decorative shape and scent for years to come. Take care of your homemade garland and enjoy it as a vintage-style heirloom!

The difference between dried apples and dried citrus for garlands
Not all dried fruit behaves the same once it is strung into a garland, so it helps to know what to expect from each type.
Dried apples: Dried apples hold their shape beautifully and keep their color longer than citrus slices. Commercially dried apple slices in particular are very low in moisture, which is why garlands made with apples often last 2 to 3 seasons or more with proper storage. They create that soft, Scandinavian, old-world look that is so charming.
Dried citrus slices (like oranges, grapefruit, or lemons): Citrus slices are gorgeous when first dried, especially when the light shines through them. However, citrus naturally contains more residual moisture than apples.
Over time, this can cause:
- A bit of curling
- Color fading from sunlight
- Slight shriveling if the air is humid
Citrus garlands tend to last 1-2 seasons, depending on how thoroughly the slices were dried and where they are displayed.
Which lasts longer?
If longevity is your top priority, dried apples will keep their color and structure the longest. If you love the cozy, golden glow of citrus, simply enjoy them for the season and store them carefully - they still last longer than you'd think when dried well.
Should you seal dried fruit garlands?
If you want your dried fruit garland to last more than one season, you can seal the fruit slices to help them hold their shape and color longer. This step is optional, but it does make a difference - especially for citrus, which tends to fade or curl over time.
Here's what to know:
Why sealing works
Even fully dried fruit still contains a tiny bit of natural moisture. Over time, humidity in the air can cause the slices to soften, curl, or discolor. A light seal creates a gentle barrier that slows that process down.
What to use
The best option is a water-based matte polycrylic. It dries clear, doesn't yellow like some craft sealers, and adds just a very soft, natural sheen rather than a shiny finish.
Personally: I once sealed whole fresh pears (below) with matte polycrylic for fall decorating - and they lasted much longer than untreated ones. So yes, sealing absolutely has benefits. While dried fruit is a little different, the idea is the same: we're protecting the surface from humidity and air exposure.

How to apply it
- Make sure your fruit slices are fully dried first (very important).
- Lay them flat on parchment.
- Brush on a thin coat of polycrylic - front and back.
- Let them dry completely before stringing.
A little goes a long way - you don't need a thick layer.
When not to seal
- If your garland will hang in the kitchen near steam (the finish can dull)
- If you plan to use the dried fruit for simmer pots or tea (then skip the sealer entirely)
If your garland is purely decorative, sealing is a wonderful way to help it last.
Bonus tip for storage: Store your garland in an airtight container with 1-2 silica gel packets (the kind that come in new handbags). This keeps humidity away and dramatically helps with longevity.
Dried fruit garland longevity
Here's a simple guide to how long a dried fruit garland typically lasts in different conditions. The lifespan can vary based on the type of fruit, how well it was dried, and how it's displayed and stored.
Quick note on fruit choice:
Fresh oven-dried citrus: (like oranges) are gorgeous, but they can have more residual moisture, which means they may fade or soften sooner if not sealed or stored carefully.
Commercially dried apples: (what I use) are already dehydrated to a very low moisture level, so they generally hold up longer and keep their shape beautifully.
| Condition | Estimated Lifespan |
|---|---|
| Displayed indoors in cool, dry room | 2-3 years |
| Displayed in sunlight or near heat source | 4-8 weeks |
| Stored in dark, climate controlled space | Up to 5 years |
If you use commercially dried apples and store the garland well, it very often lasts on the longer end of these timelines. Citrus garlands usually fall on the shorter end unless sealed or protected from moisture.
DIY dried fruit garland tutorial
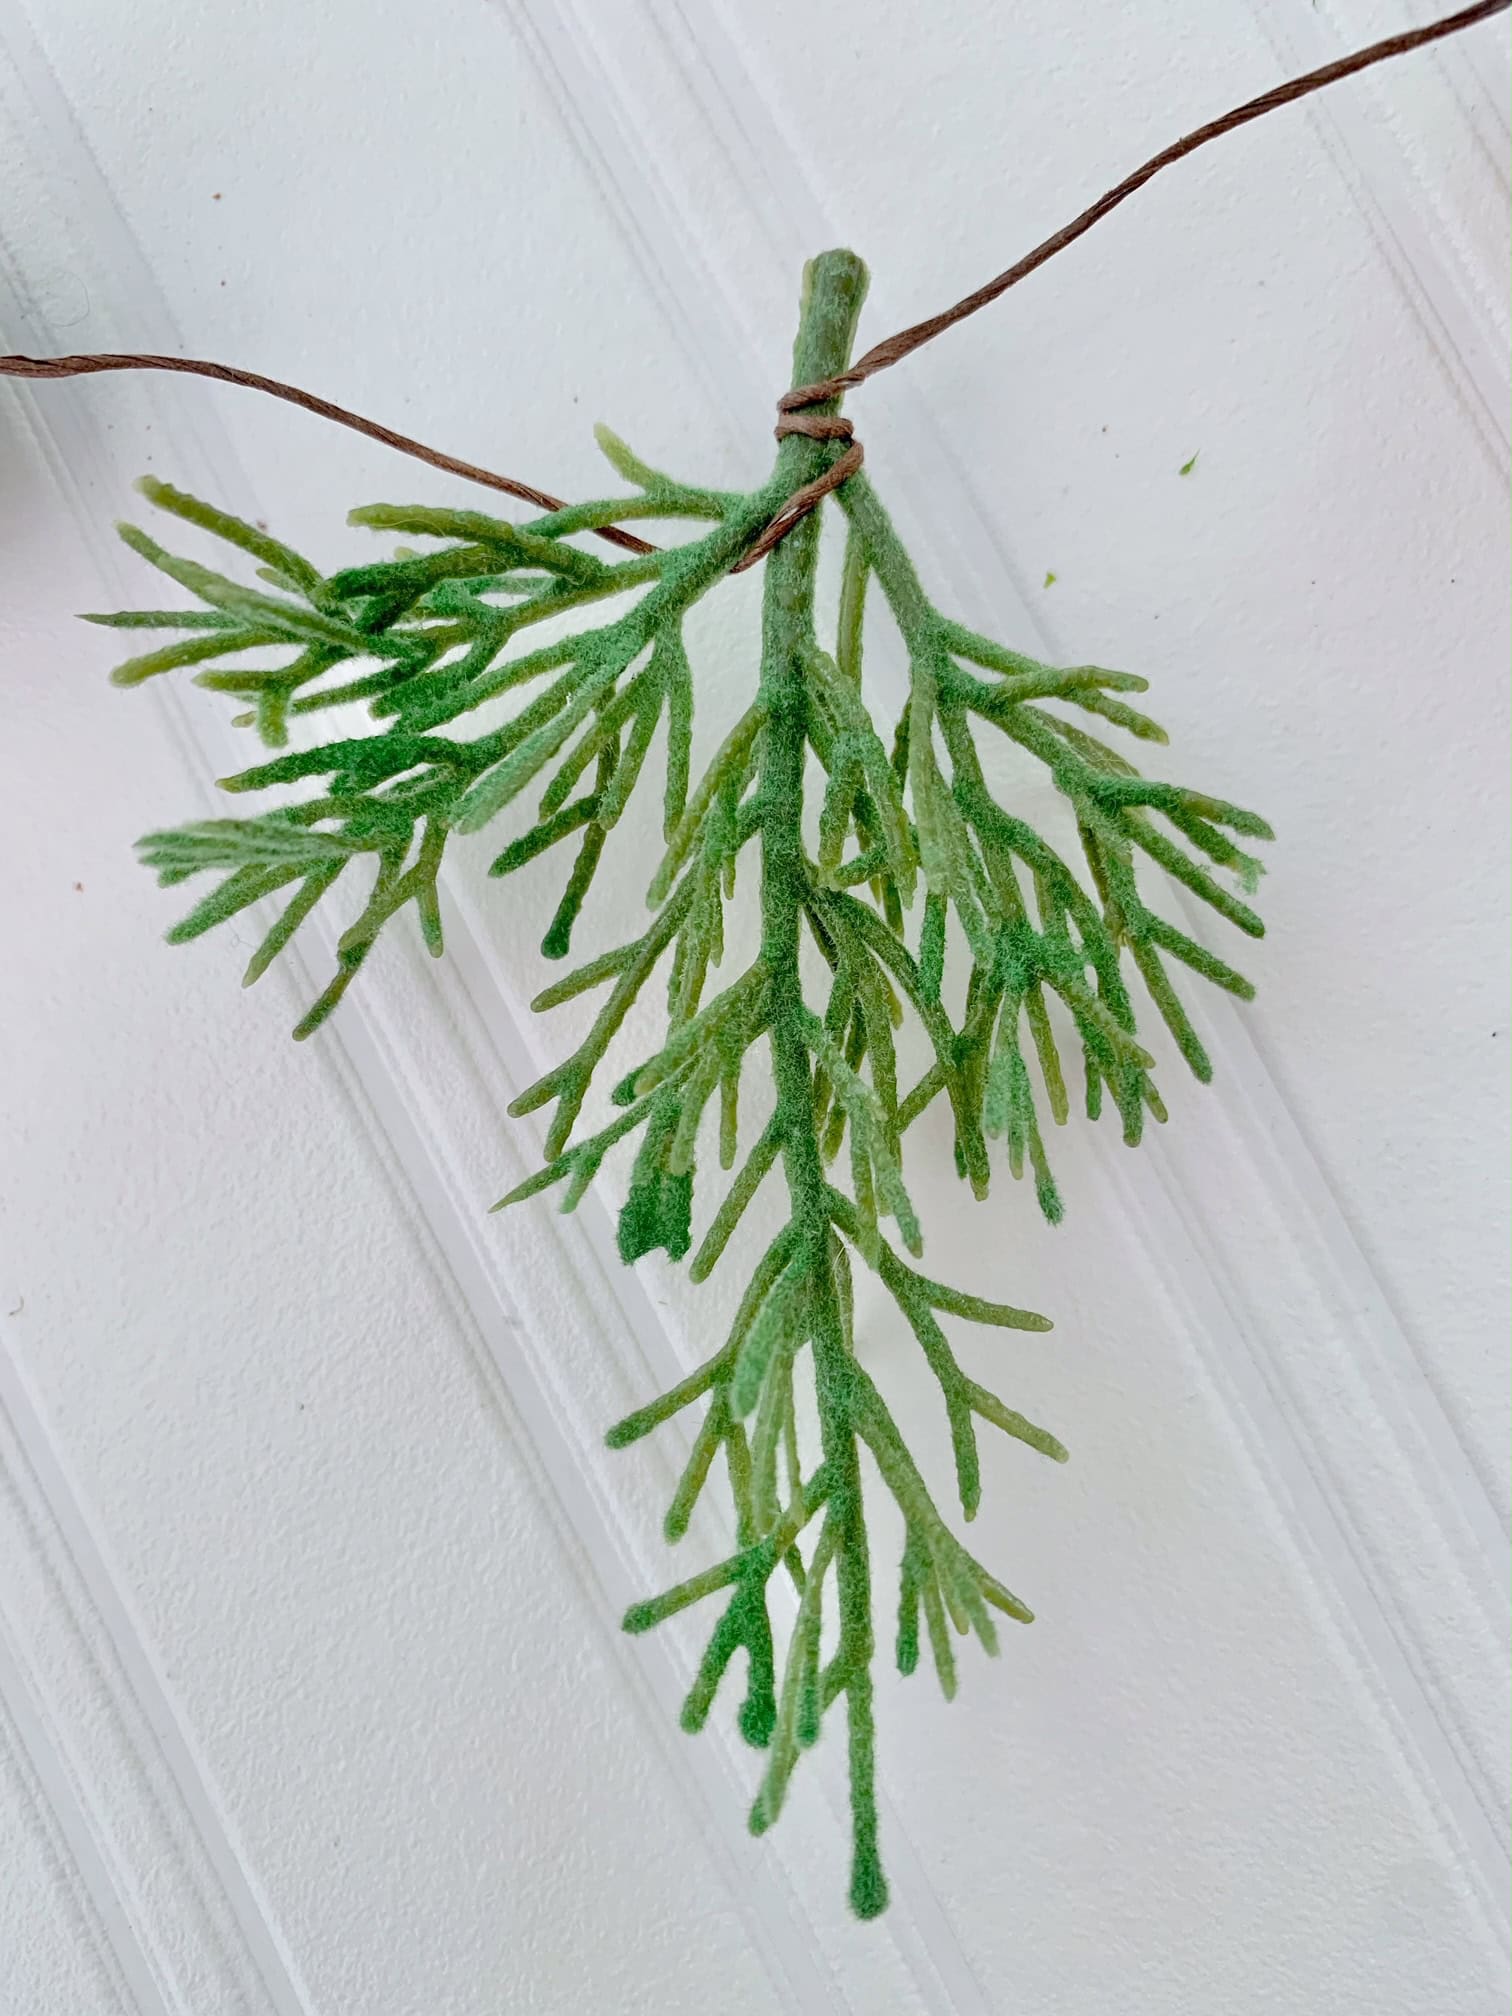
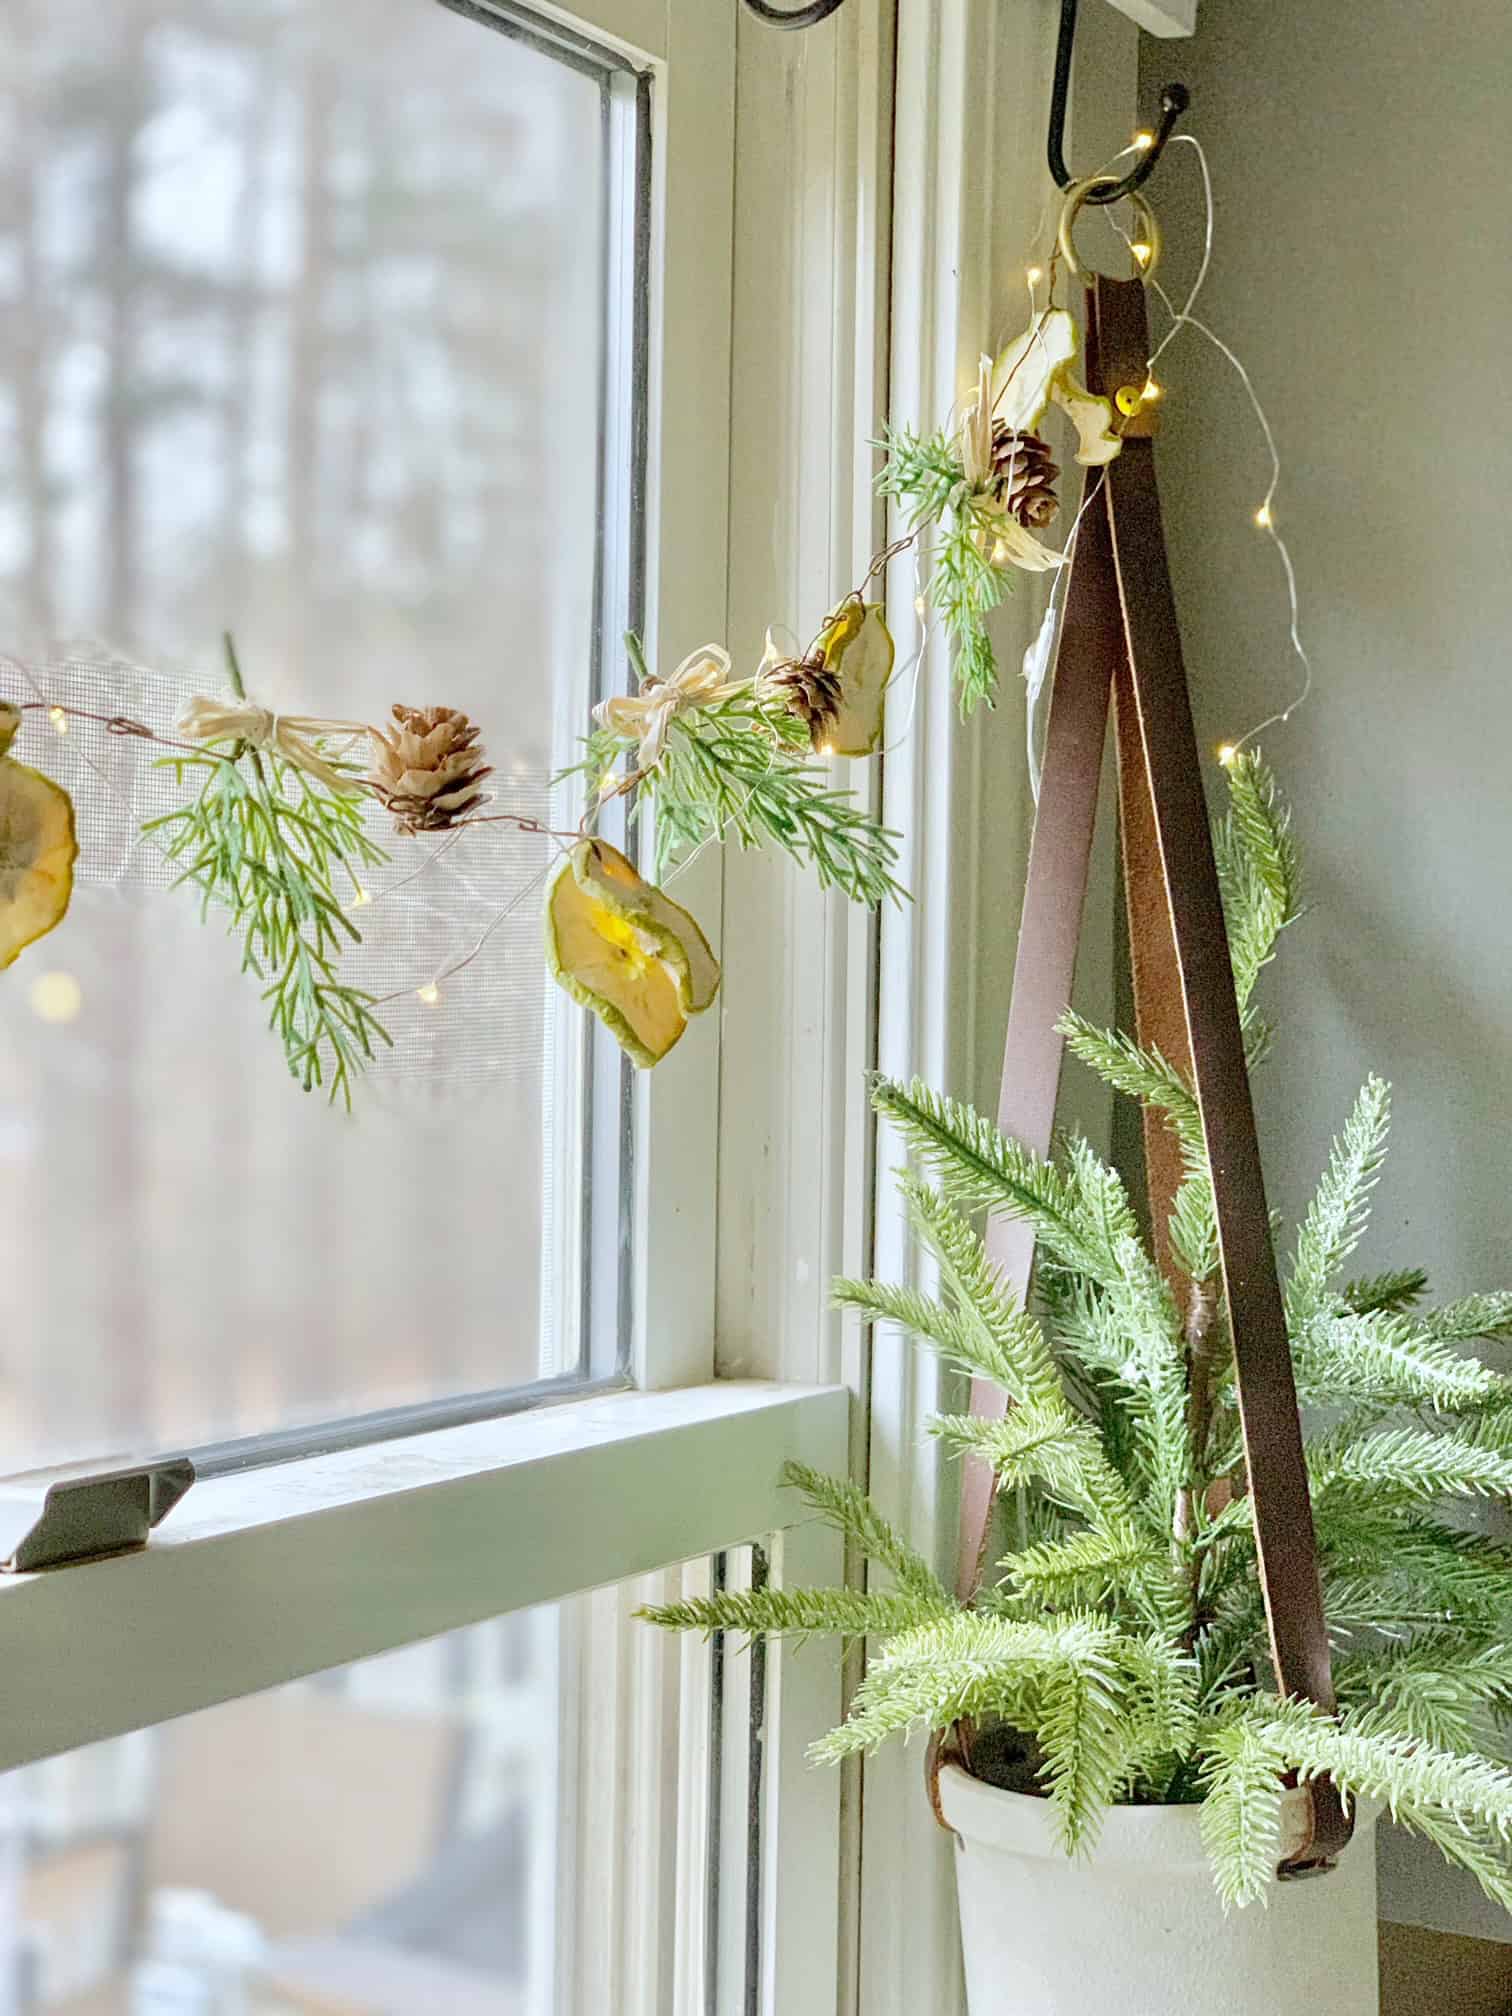
Faux Christmas greens, dried apples, mini pinecones, and twinkle lights! What is not to love about this sweet, easy-to-make kitchen garland? The base of this garland is a premade wire wrapped in brown floral tape making it a snap to put it together. The brown wire also gives it a beautiful and delicate natural look.
Supplies:
Note: this supply list is for a 50" garland that fits a 36" wide window. To determine the exact amount of supplies for your space visit "How to measure your wire" below.
- 60" of Wire wrapped in brown floral tape
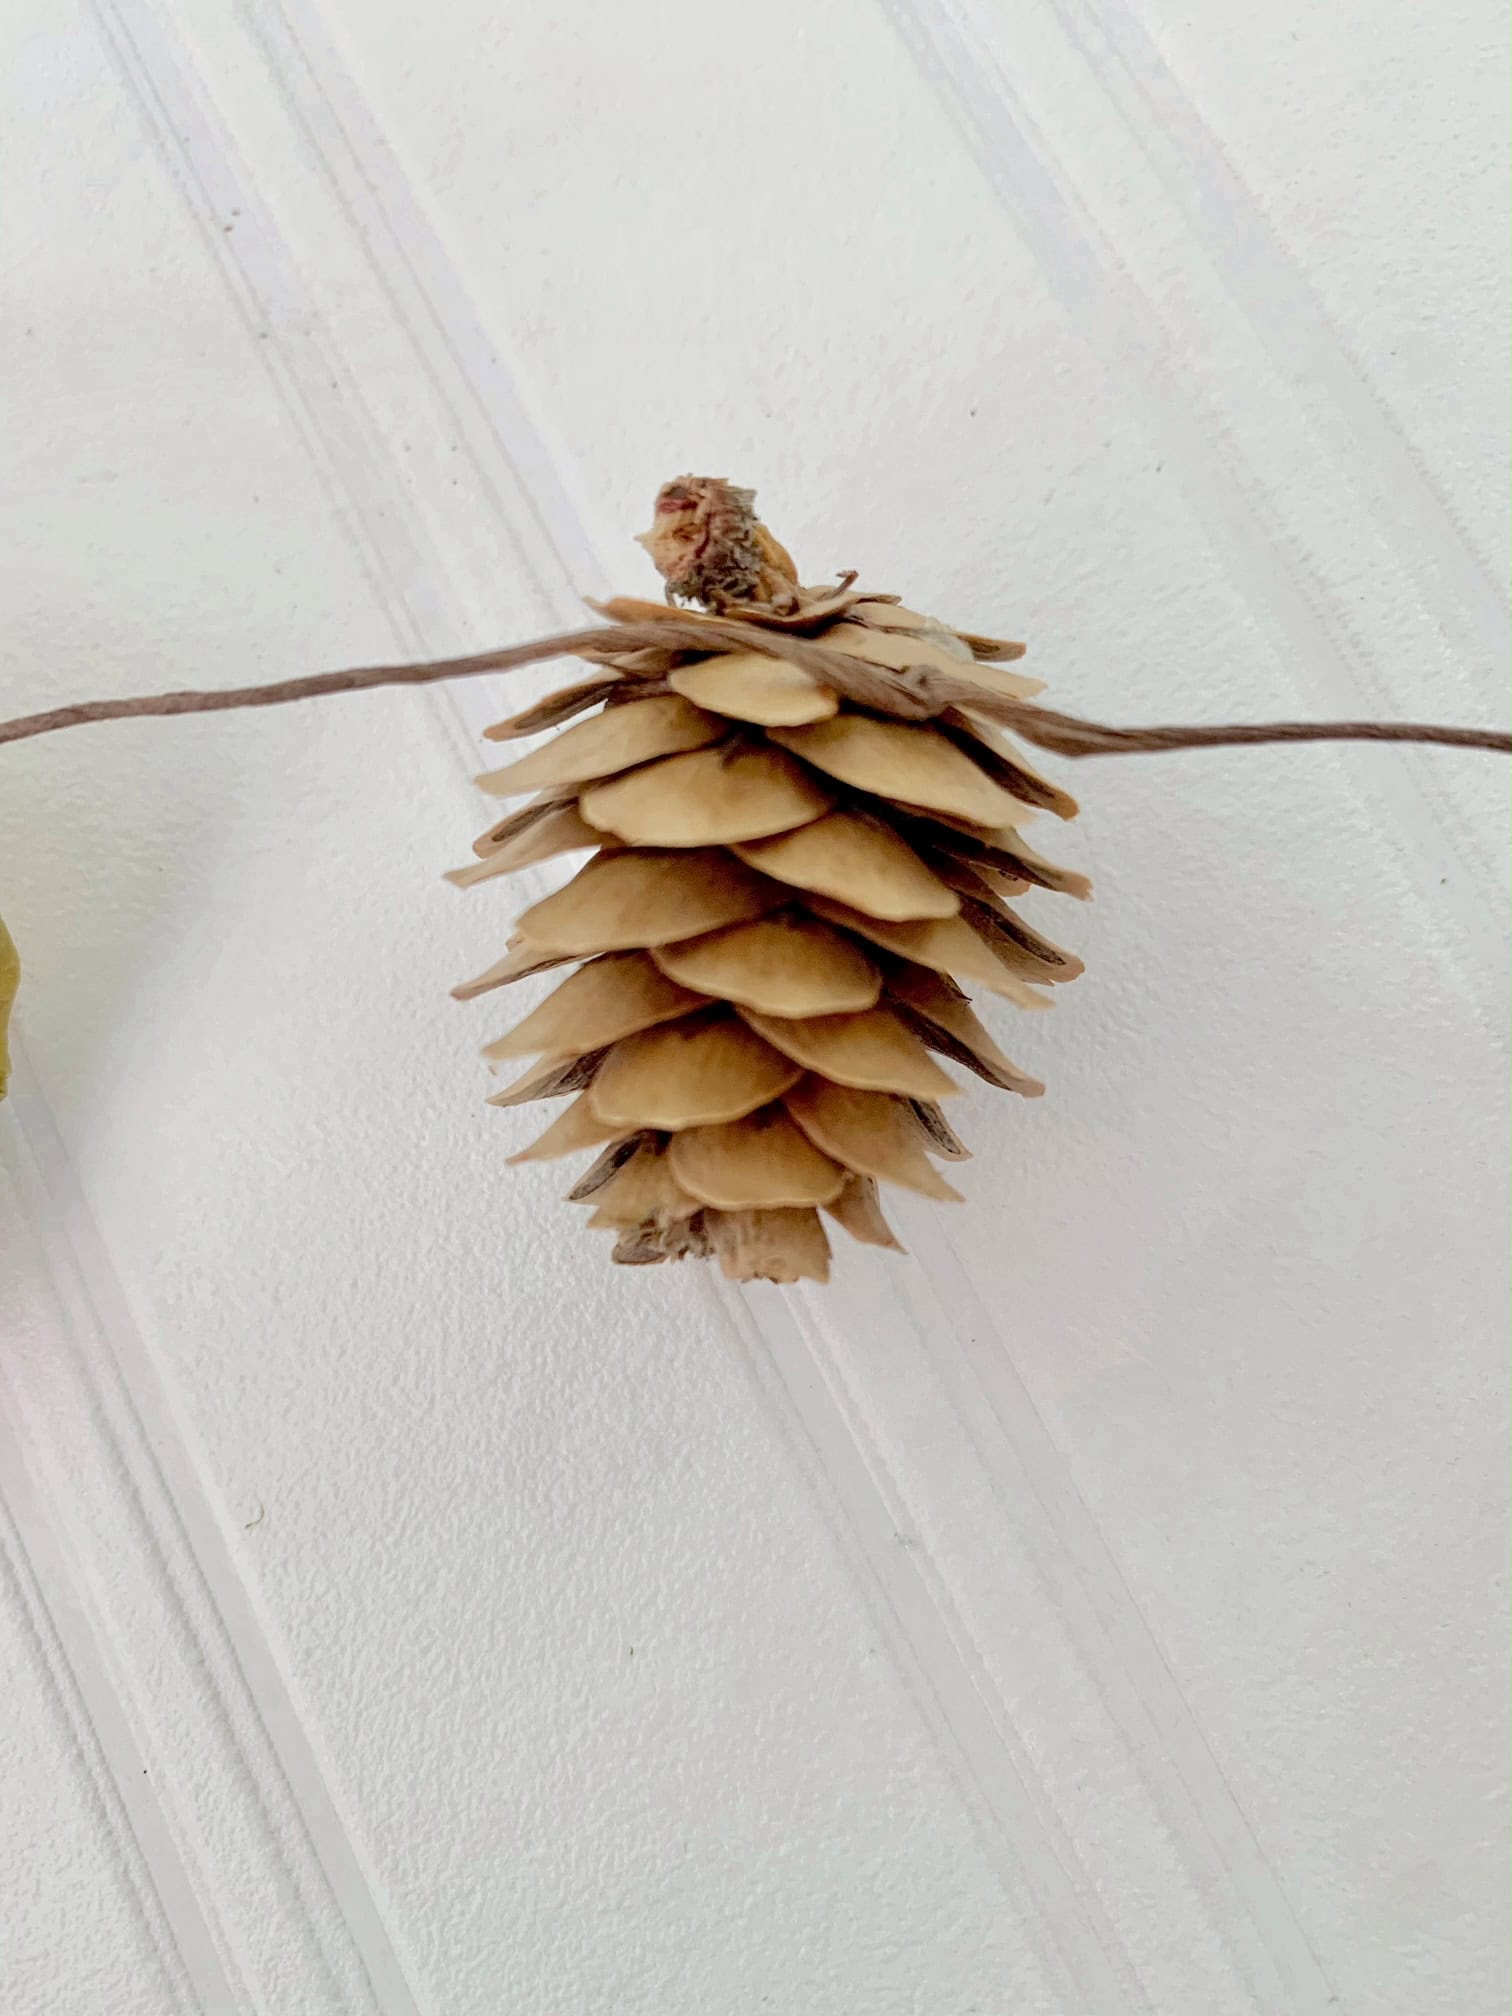
- 6-8 pcs Mini Pinecones
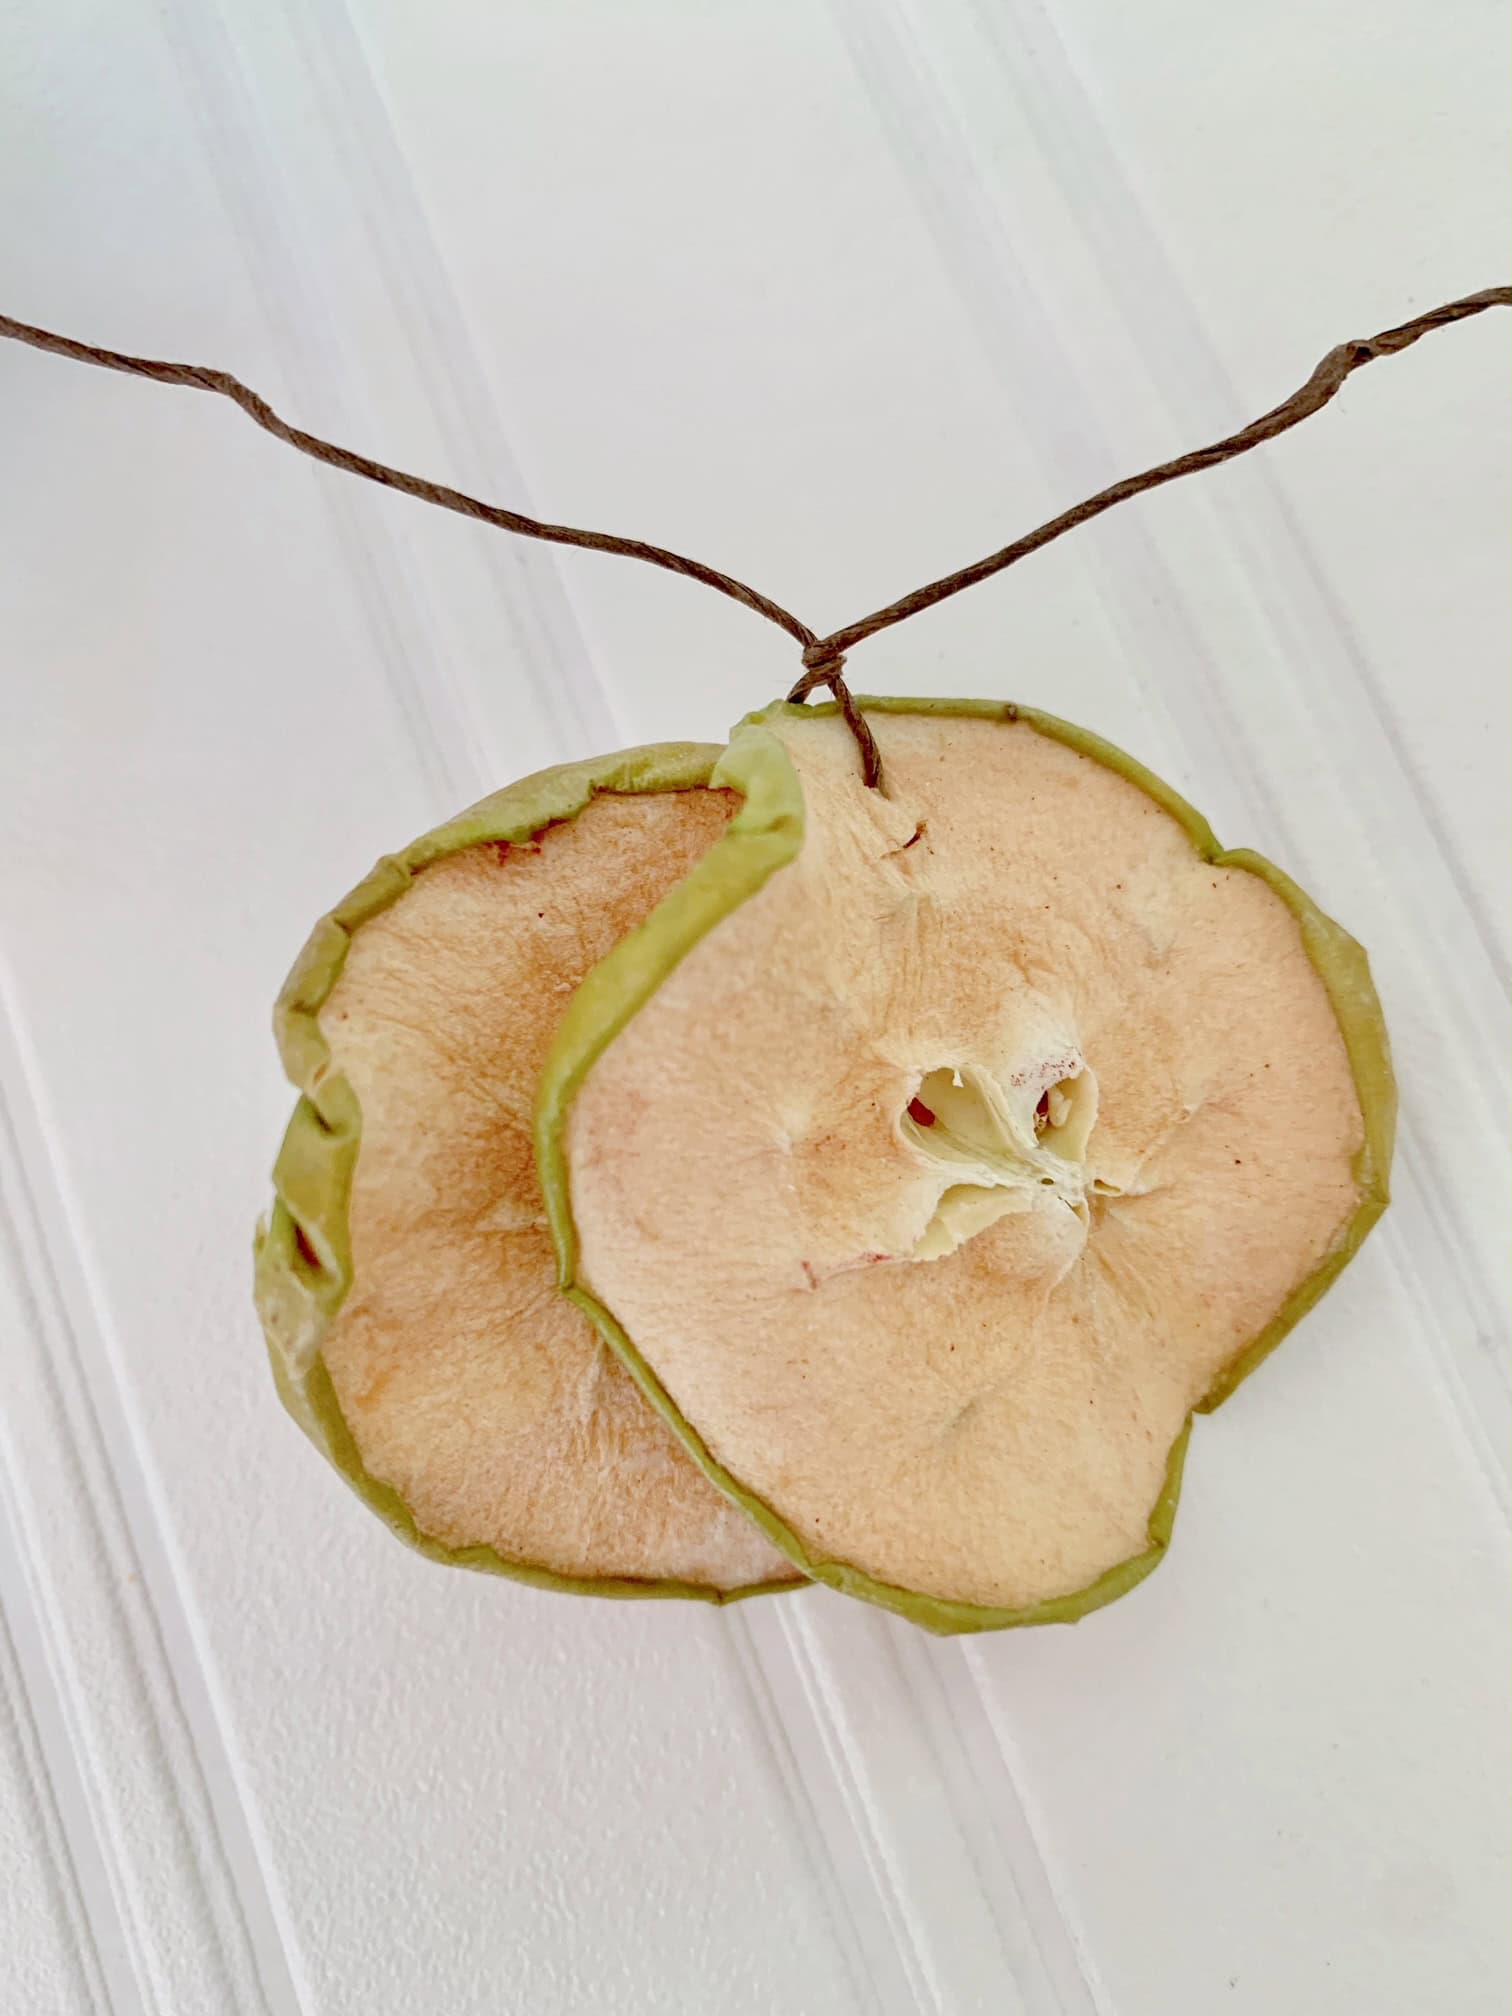
- 12 pcs Dried apple slices
- 1 stem Faux cedar
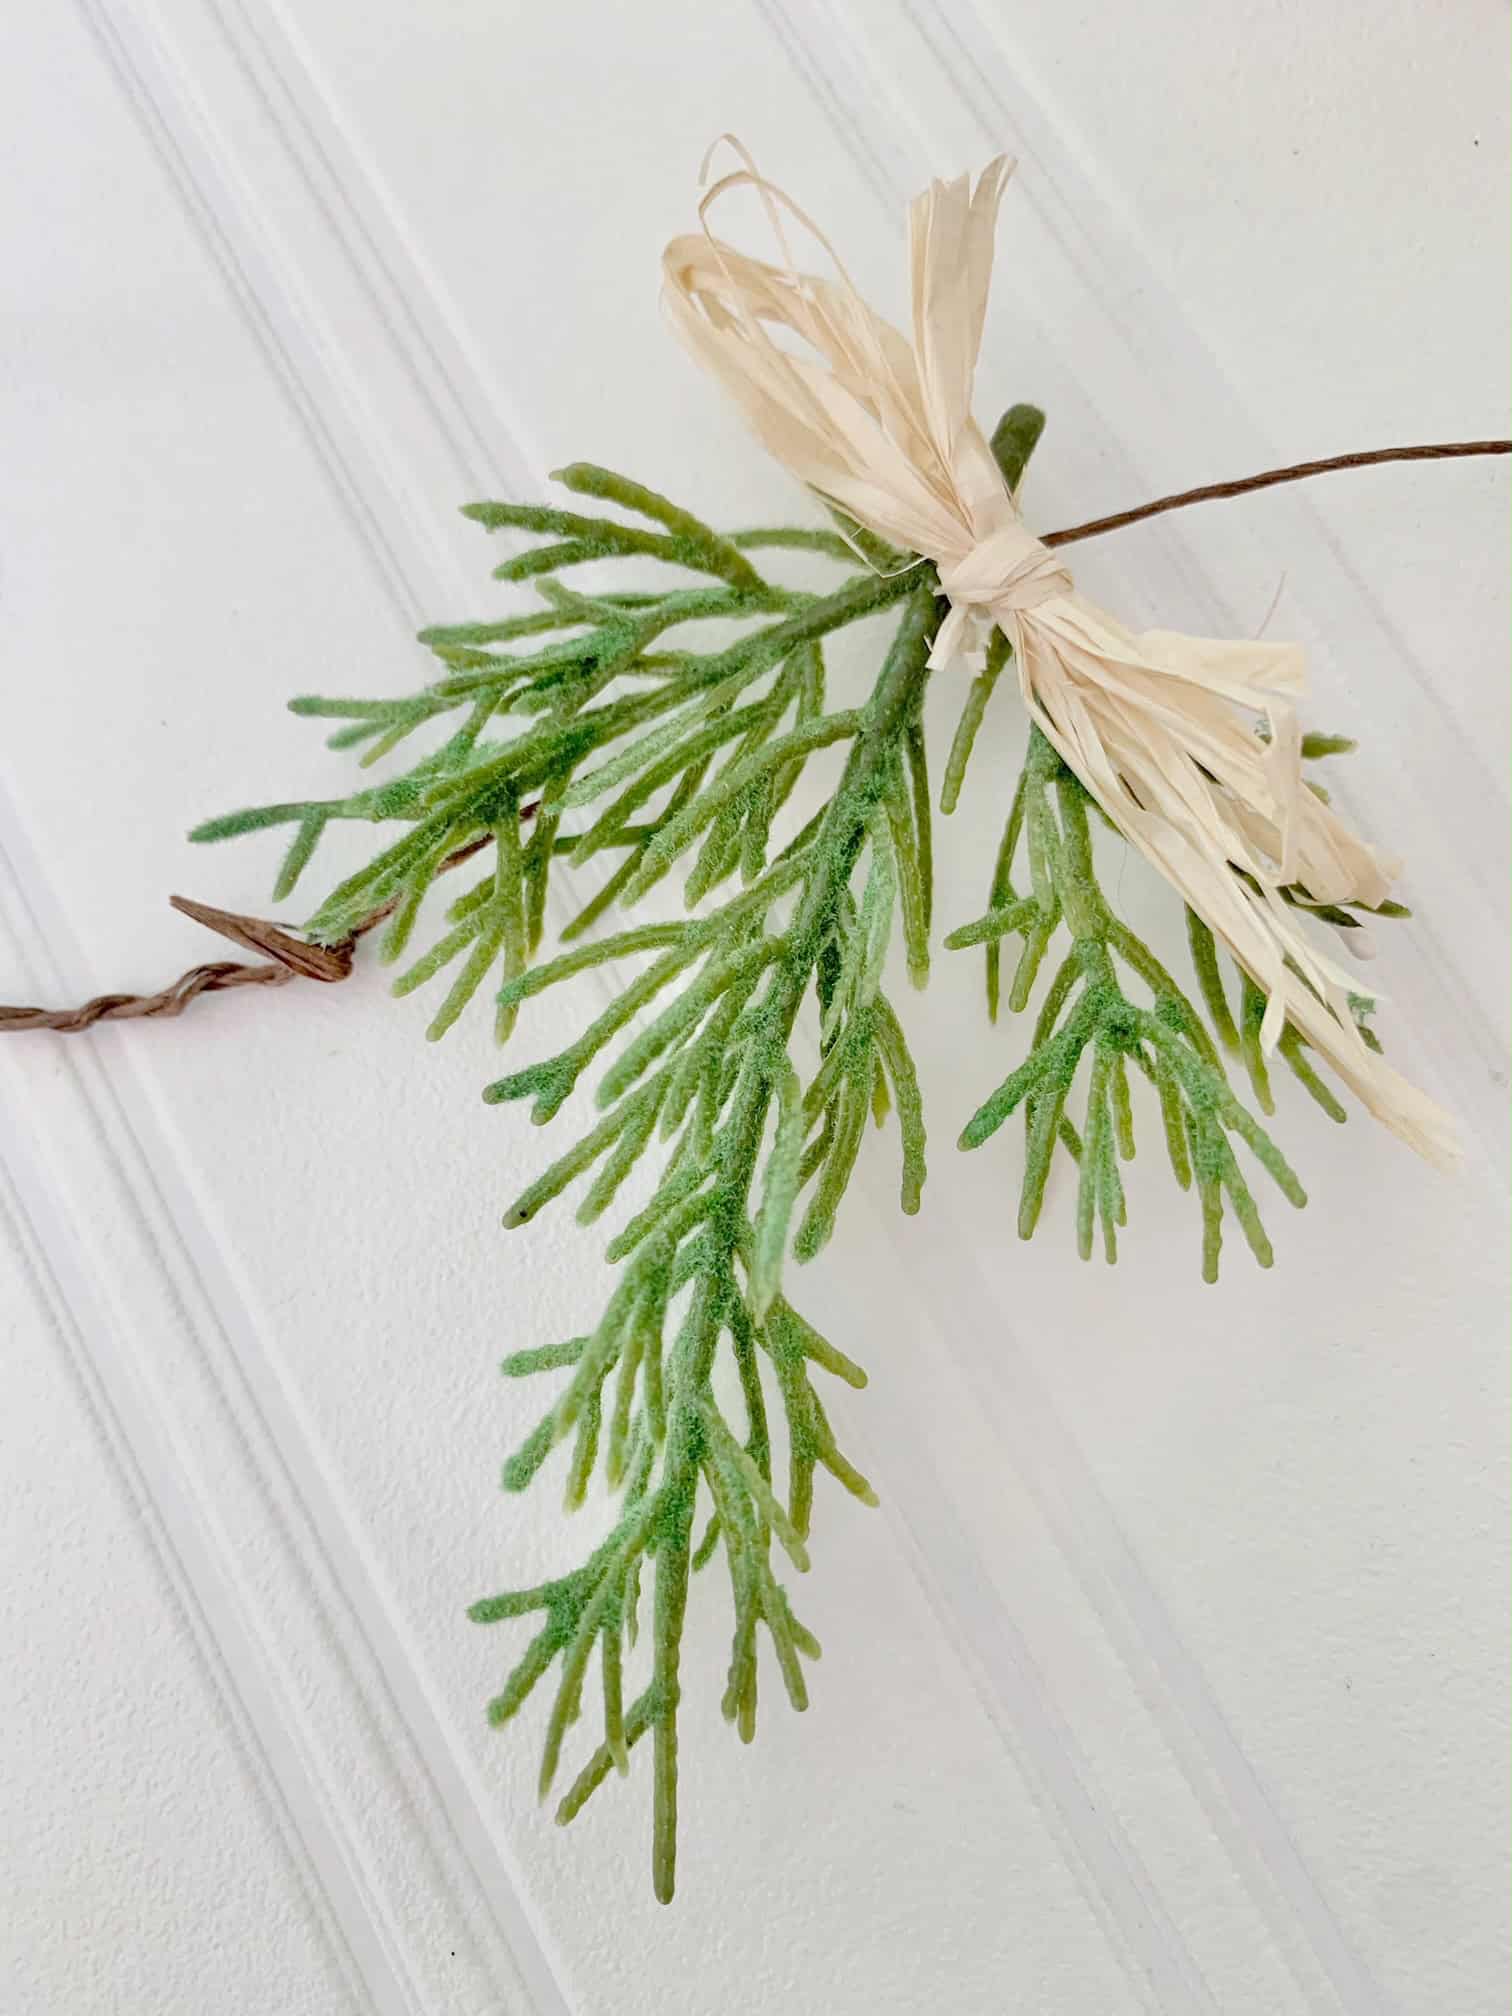
- 5 strands of Raffia (or your ribbon of choice)
- 1 set of Twinkle lights (with batteries)
Tools:

How to measure your wire
- Window Width:
- Measure the width of your kitchen window where you intend to hang the garland.
- Draping Length:
- Decide how much you want the garland to drape down on either side of the window. This adds a decorative touch.
- Garland Style:
- Consider how closely or loosely you want to space the faux greens, pinecones, and apple slices along the garland. Leaving more space between elements will make a dainty garland, while clustering the items closer together will make a shorter, fuller garland. Keep in mind each item requires a wrap of wire so a dense garland will need more wire.
- Additional Items:
- If you plan to add extra items or twists along the length, account for each addition when measuring the wire.
- Safety Margin:
- Add an extra length for safety and adjustment, usually around 10 inches. This ensures you have enough wire for securing and draping without falling short.
By combining these measurements, you'll have a wire length tailored to your specific space, style, and design preferences.

Step-by-step instructions
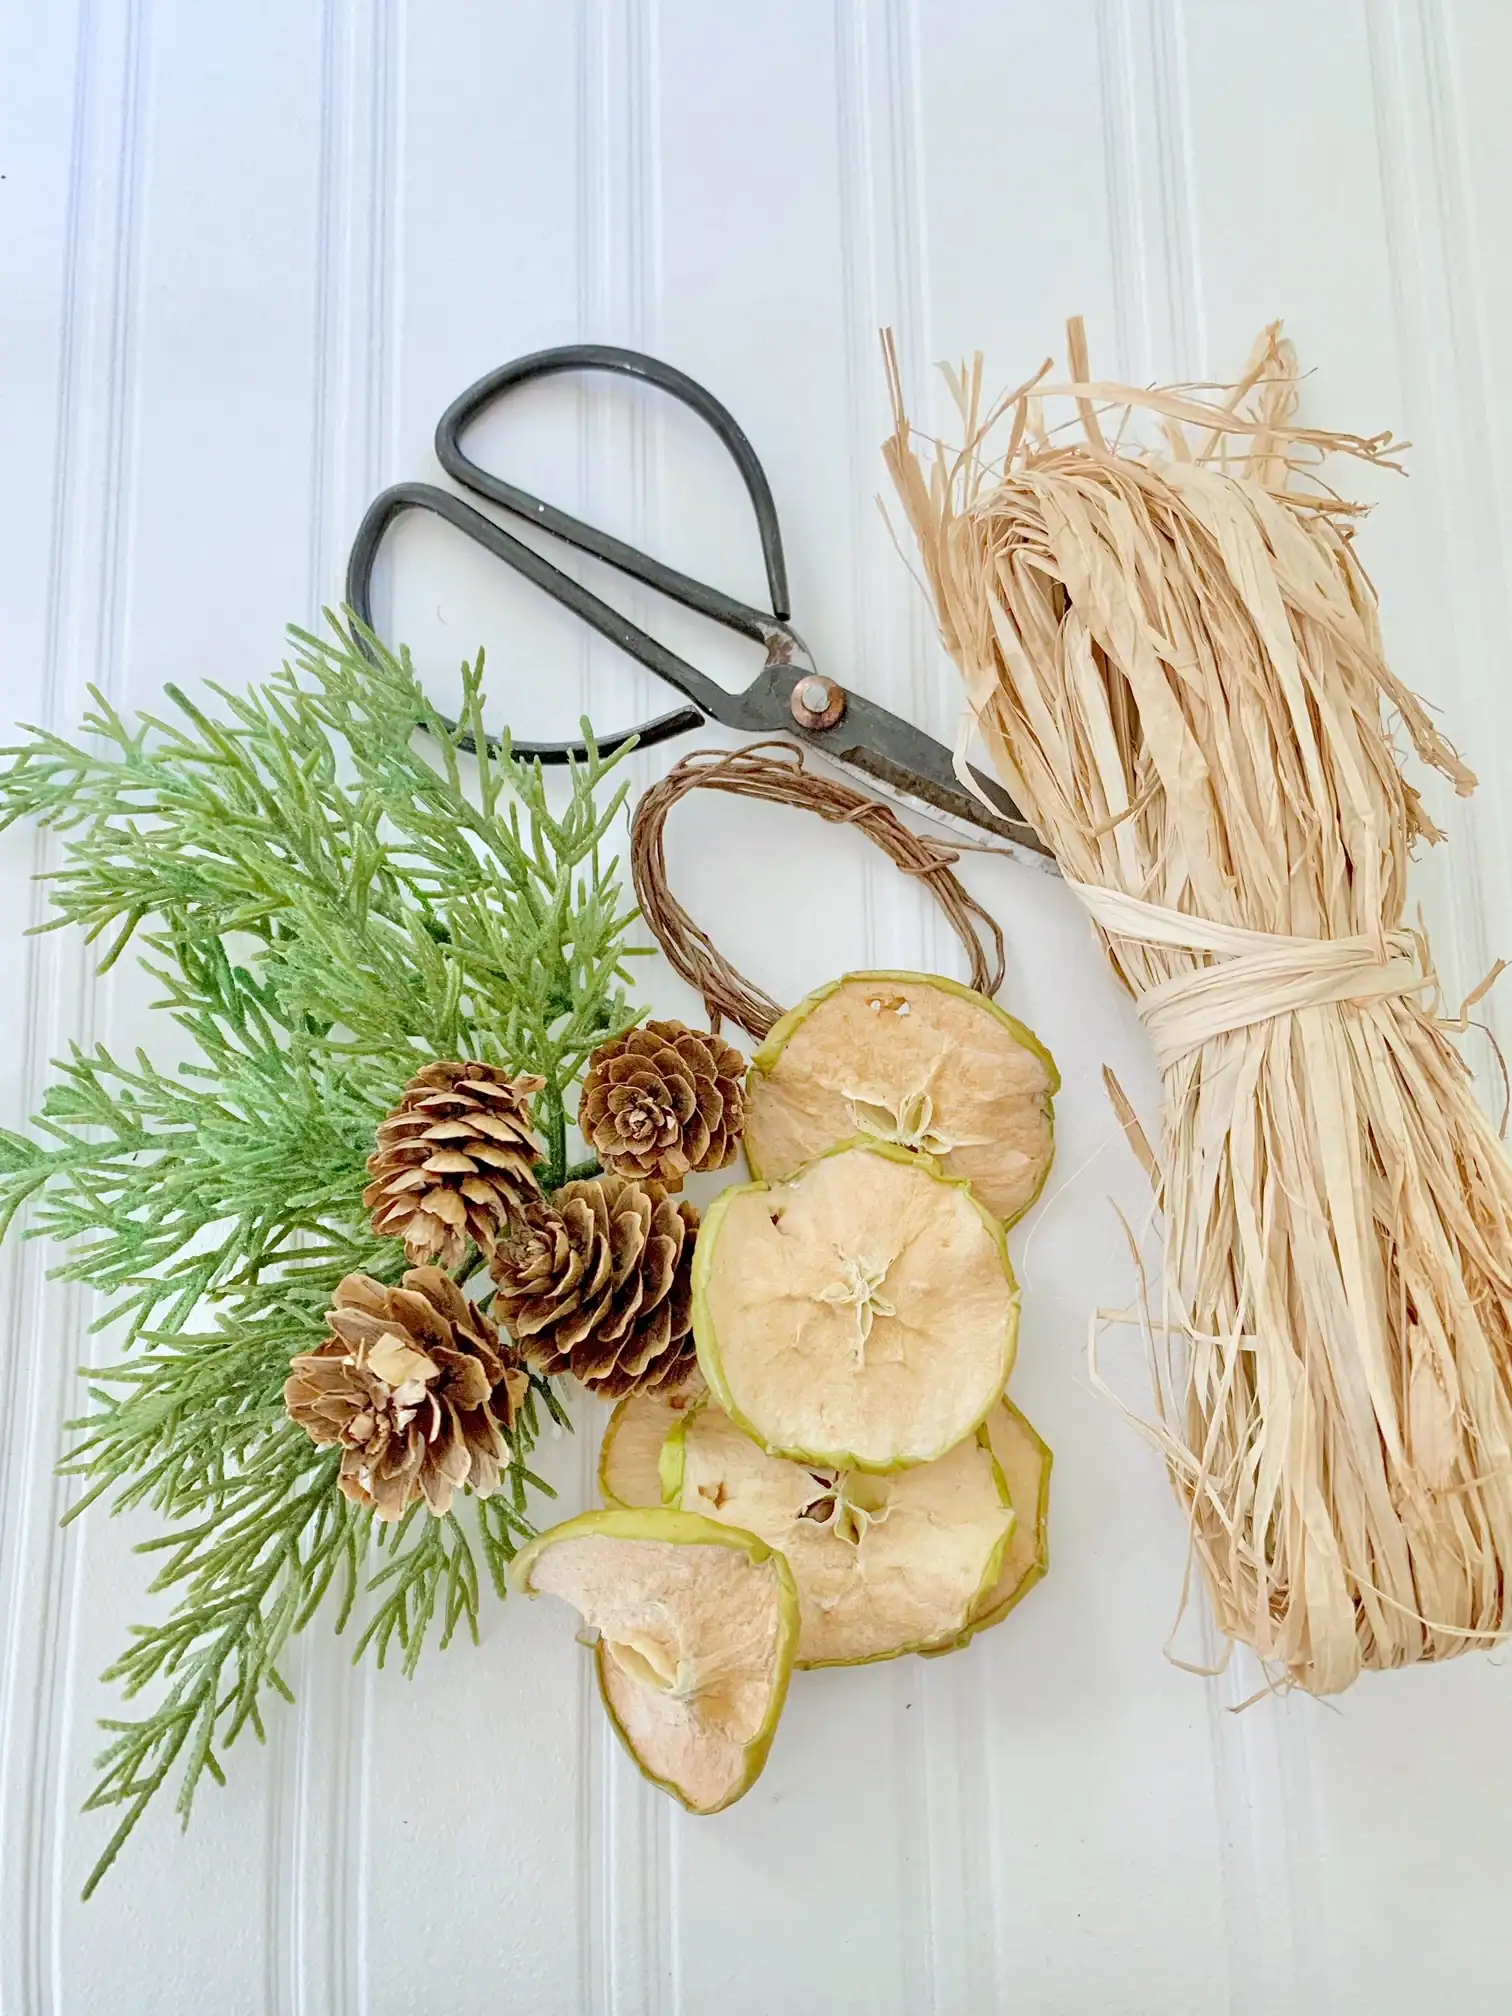
- Gather Supplies:
Collect faux greens, brown wrapped wire, raffia, scissors, pinecones, dried apples, and any other items mentioned in the instructions.

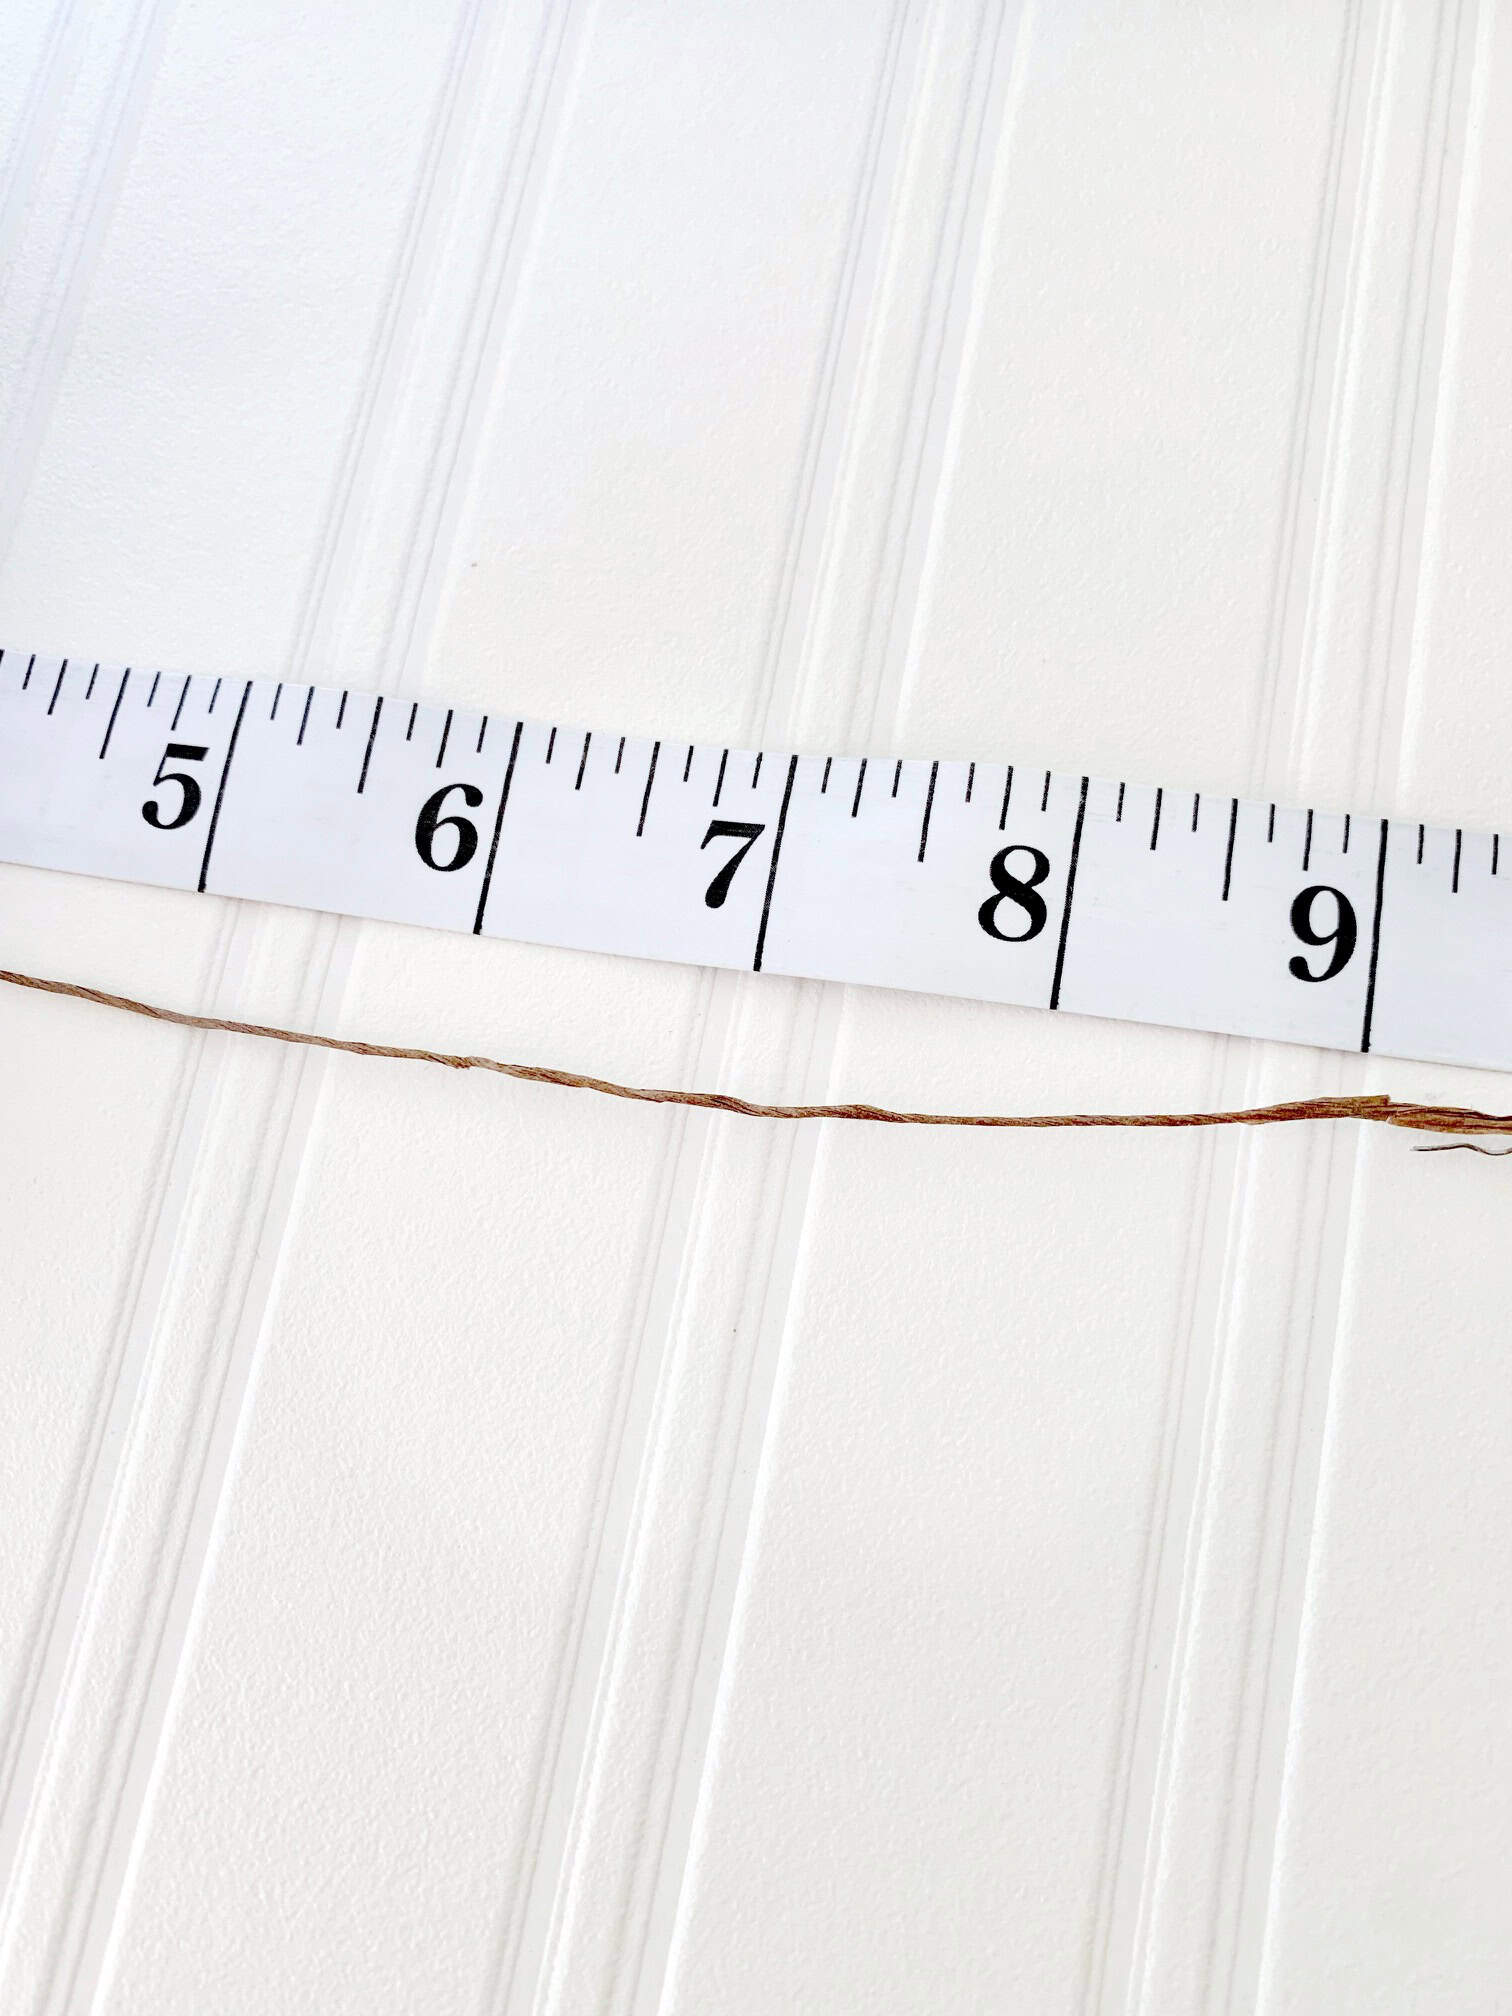
- Measure the Wire:
Determine the desired length of the garland, adding an extra 10 inches for wrapping and draping.
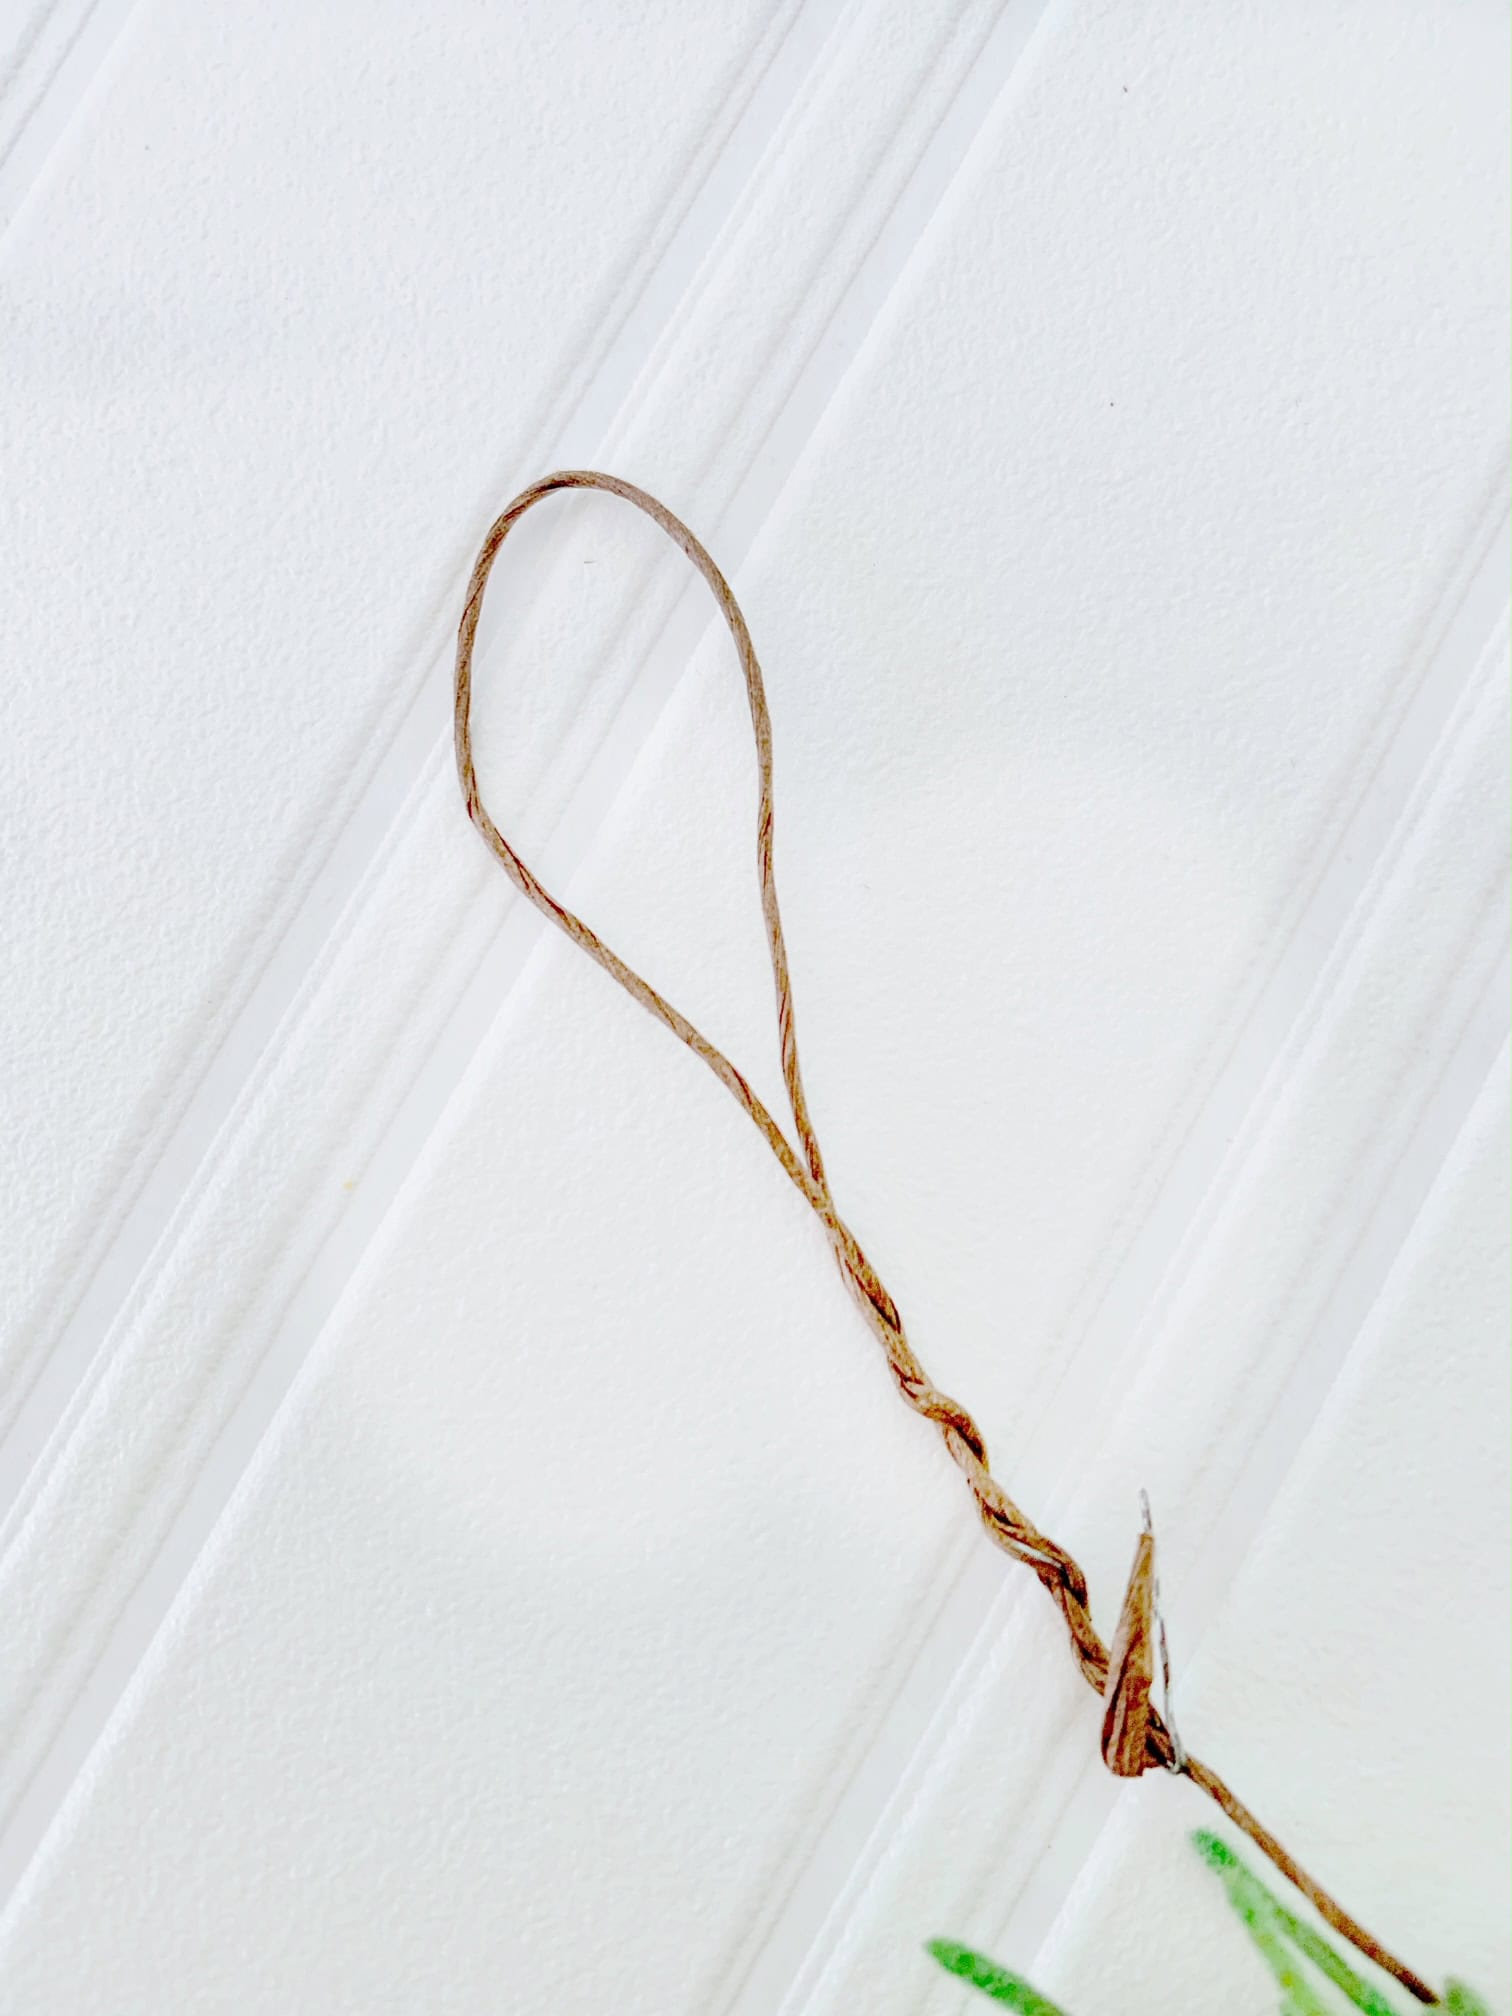
Note: this supply list above is for a 50" garland that fits a 36" wide window. - Make a Loop:
On one end of the wire, create a loop and twist the tails together.
- Start with the Greens:
Measure 2 inches from the loop, then wrap the wire around the stem of the faux greens. Ensure to catch one of the branches while wrapping.
- Wrap Pinecones:
Measure another 2 inches, then wrap the wire around the pinecones by running it under the top layer of the pinecone's leaves and twisting.
- Add Apples:
Pierce the top of two apples with a toothpick or nail. Feed the wire through the apples from the end without the loop and place them 2 inches away from the pinecones, twisting the wire.
- Tie Raffia on Greens:
Repeat the process with greens, pinecones, and apples until the garland is full. Once all items are placed, tie a small bow of raffia on each piece of greens.
- Hang and String Lights:
Once the garland is complete, make a second loop for hanging. Hang the garland and weave twinkle lights through it for a festive look.
Notes:
- This supply list is for a 50" garland that fits a 36" wide window.
- You can use dried orange slices or other citrus fruit instead of apple slices.
Where to hang
So, you've just created a stunning garland, and now you're wondering, "Where should I hang this beauty to showcase my handiwork?" Well, I've got you covered with some creative ideas to spruce up your space!
- Above Fireplace Mantel: A classic choice, this spot instantly adds warmth and charm to your living room.
- On Stair Railing: Transform your staircase into a festive focal point, making every step a delightful journey.
- Draped Along Kitchen Cabinets: Give your kitchen a festive makeover by adorning your cabinets with your handmade garland.
- Around Windows: Frame your view with a touch of holiday cheer or seasonal delight.
- Along Top of China Cabinet: Showcase your favorite china and your DIY garland in one swoop!
- Above Kitchen Sink Window: Doing dishes just got a whole lot more enjoyable with a garland to gaze at.
- Along Porch Railing: Welcome your guests with a charming garland as they enter your home.
- Across Living Room Curtain Rod: Elevate your living room decor by draping your garland along the curtain rod.
- On Bookshelves: Add a festive touch to your book collection - they'll love the company!
- Around Doorframes: Create a warm and inviting entrance by hanging garlands around your doorframes.
- Around Dining Table Centerpiece: Make your mealtimes even more special by encircling your dining table centerpiece with your garland.
- Around a Floral Wreath on Front Door: Your front door is the perfect place to set the tone for your home's décor.
- Across Kitchen Open Shelving: Show off your garland while keeping your kitchen essentials handy.
- Wrapped around Candlesticks/Centerpieces: Give your tabletop decorations a festive upgrade with a wrapped garland.
- Along Top Edges of Frames/Mirrors: Frame your favorite artwork or mirrors with a touch of seasonal style.
- Around Banisters: Make your stairway a grand entrance with a garland cascading down the banister.
- Across Wall Shelves or Above Cabinets: Make use of every available space to display your DIY garland.
- Along a Headboard: Turn your bedroom into a cozy retreat with a garland along your bed frame.
- On a Christmas tree: Crown your festive centerpiece with a magnificent garland, transforming your decorated Christmas tree into the ultimate symbol of holiday joy and warmth.
No matter where you decide to hang your DIY garland, it's sure to add a touch of warmth and charm to your home. So, go ahead, get creative, and let your imagination run wild.

Frequently asked questions
When your garland is fully dried and displayed indoors, it should not attract bugs. The key is to make sure the fruit is completely dehydrated before assembling the garland. If there is still moisture in the fruit, it can become sticky and appealing to pests. If you are drying your own fruit, make sure the slices feel firm and lightweight, not soft or tacky. For long term storage, place the dried fruit in an airtight container with silica gel packs.
Storing your dried fruit garland is easy! Store it in an airtight container and keep it in a cool, dark place. A closet, storage bin under a bed, or a cabinet works well. Add a small piece of parchment or tissue paper to prevent delicate pieces from rubbing against one another. Avoid storing in basements, garages, or attics where moisture and temperature can fluctuate.
Dried fruit decorations typically last several seasons when stored properly. Commercially dried fruit can last the longest because it begins with a lower moisture content. Homemade dried fruit garlands usually stay beautiful for 1-3 seasons, depending on how thoroughly the fruit was dried and how it is stored.
Fruits that are naturally firm and low in moisture hold their shape best. Dried apples, oranges, grapefruit, and limes are all great options. Commercially dried apple slices tend to last the longest because they are dried evenly and consistently. If your garland will hang near a sunny window or in a warm kitchen, apple slices usually keep their color and texture the best.
More holiday inspiration


Exploring the art of crafting holiday decor with dried fruits is a great way to infuse your home with warmth and seasonal charm. As you admire your beautifully crafted garlands and wreaths this holiday season, consider the joy of preserving this tradition for the next year. The longevity of dried fruit decorations ensures that your efforts will be a lasting source of delight, providing a timeless and sustainable element to your holiday decor for seasons to come.
Thank you for joining me for this How Long Does Dried Fruit Garland Last (Plus DIY Garland Tutorial) post! Please let me know if you have any questions!