

How to Preserve Roses at Home: Easy Techniques Anyone Can Master
There isn't a flower with more sentimental value than a rose making roses the perfect gift for a loved one. Each rose color represents a different meaning and with red roses symbolizing love and romance, no wonder they are the popular choice for special occasions. Often it's hard to let such a warm gesture go leaving happy rose recipients looking for ways to preserve their beautiful meaningful blooms for years to come.
Whether it be the beautiful roses you received for your birthday or the gorgeous white roses that were part of your wedding bouquet there are a few simple ways to preserve them as a memory of your special occasion. Read on in this How to Preserve Roses at Home: Easy Techniques Anyone Can Master post to learn 4 ways to preserve them.

Content may contain affiliate links. When you shop the links, we receive a small commission at no cost to you. Thanks for supporting my small business.
About preserving roses
There are several DIY methods for drying or preserving roses that you can try at home. Each preservation process involves removing the moisture from the rose so it becomes dry. Some methods preserve the color and shape of the roses better than others while some simply press the rose to have as a keepsake. Below I'm sharing 4 different methods for preserving roses.
4 techniques to try
Method 1: Hang drying roses
Perhaps the easiest method is to hang dry your fresh roses. This process moves at a slower rate as it could take a couple of weeks for them to dry out. One of the benefits of this method is that you can keep the stems on and cut the roses to your desired length. Here are the steps for using this method:
Supplies:
- Rubber band, twine, or ribbon
- Hook or hanger
- Floral design knife or scissors
Steps for hang drying roses:
- Remove most or all of the leaves and cut the stems to your desired length.
- Bundle the roses in your hand and fan the heads out. Secure the bottom of the stems together using string, ribbon, twine, or a rubber band.
- Hang the roses upside down on a hook or a clothes hanger in a dark room that is dry and well-ventilated. Let them hang for two to three weeks to make sure they are completely dry. Larger roses will take longer than smaller varieties.
Tip: Once the roses are completely dry handle them with care as they will be fragile. I recommend spraying your dry roses with aerosol hair spray which helps to hold the delicate heads together.

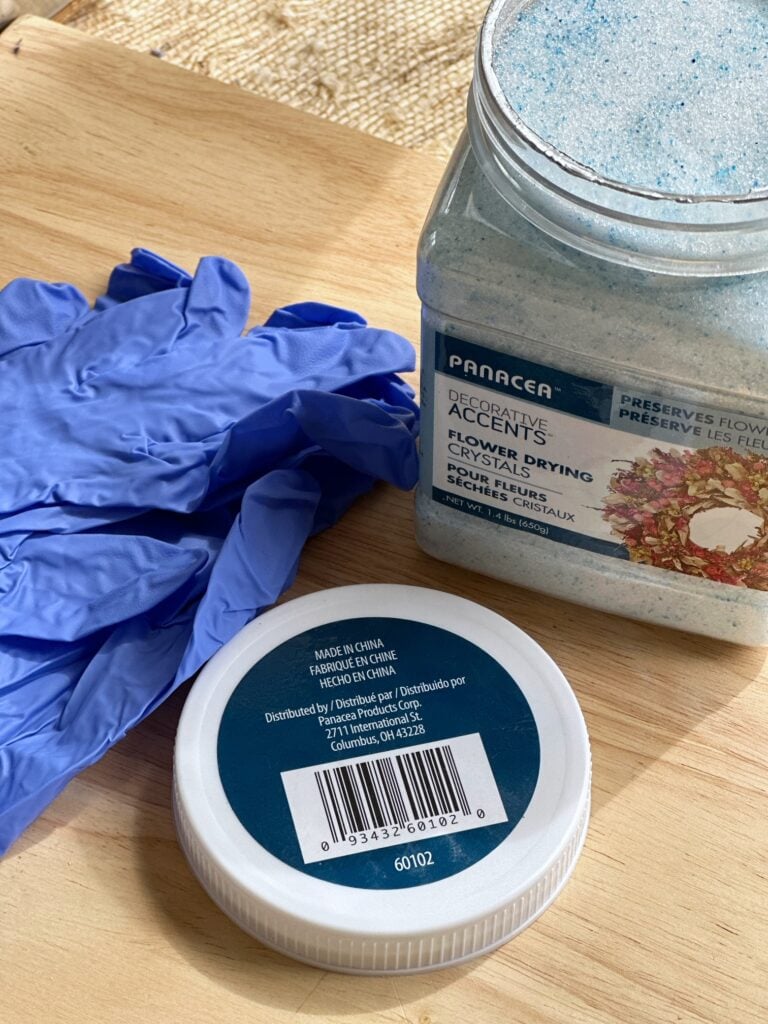
Method 2: Drying roses in silica crystals
Another method for preserving roses is to use Silica crystals (often referred to as Silica gel). Silica, also known as silicon dioxide is a mineral harvested from open pit mines. These crystals are often used to remove moisture from packages and boxes, even cat litter contains Silica. You can buy specially formulated silica for drying flowers. Here's how to use this product:
Supplies:
- Silica crystal
- Plastic container with a cover
- Floral design knife or scissors
- Gloves and face covering
Steps for drying roses with silica:
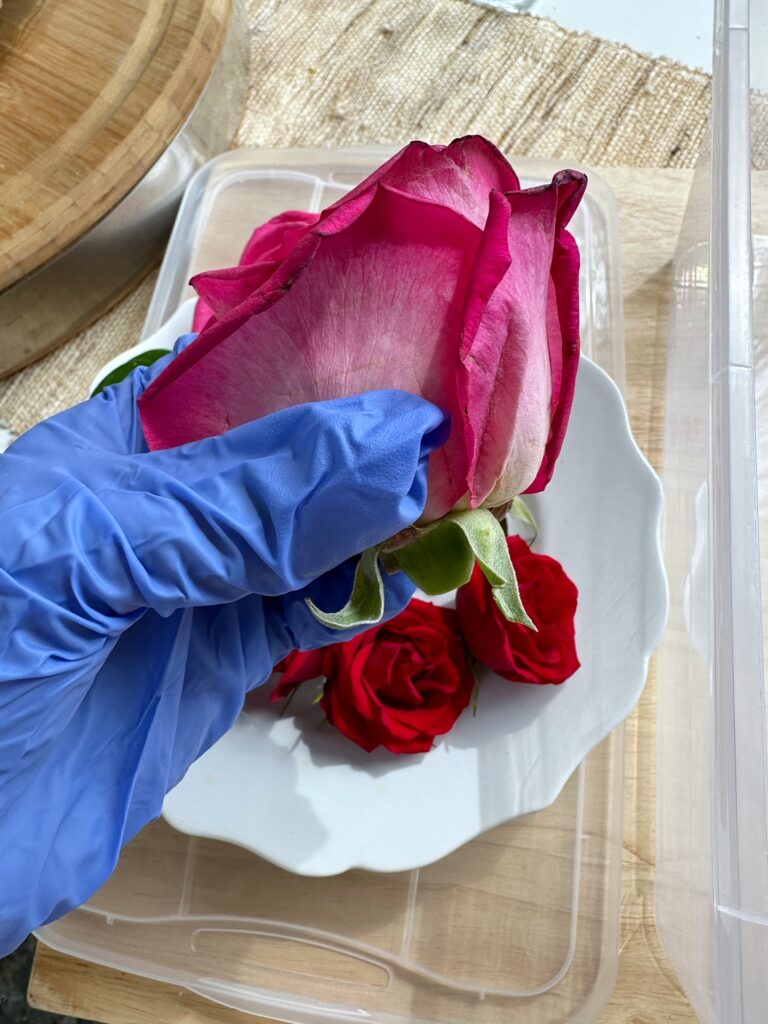
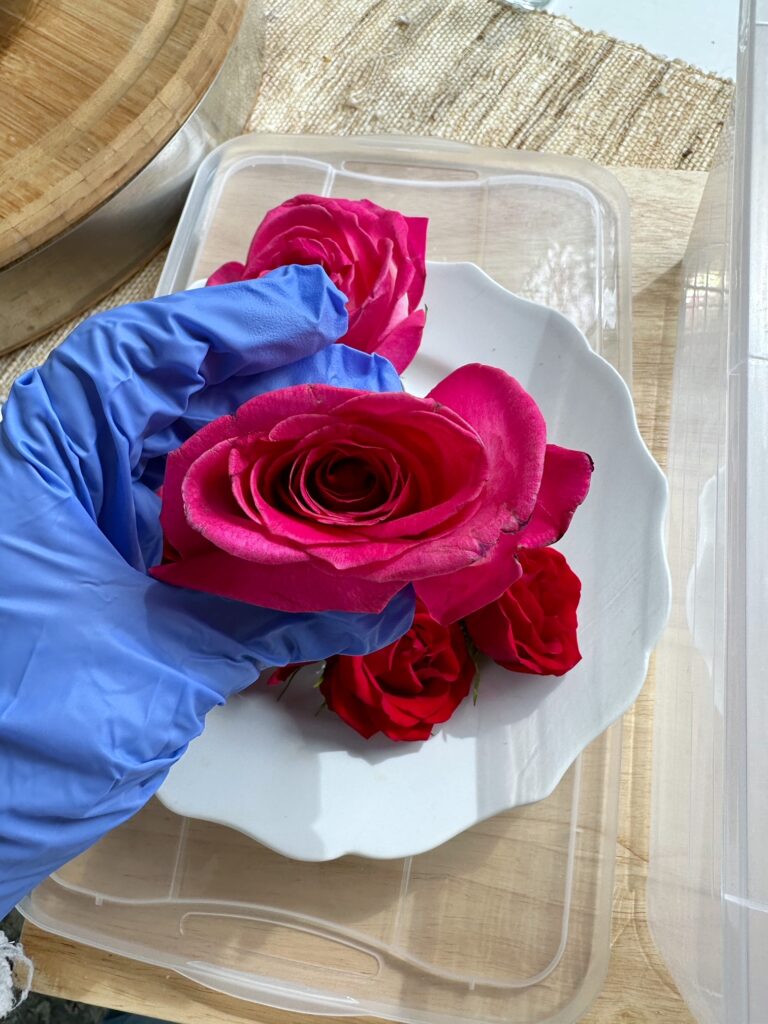
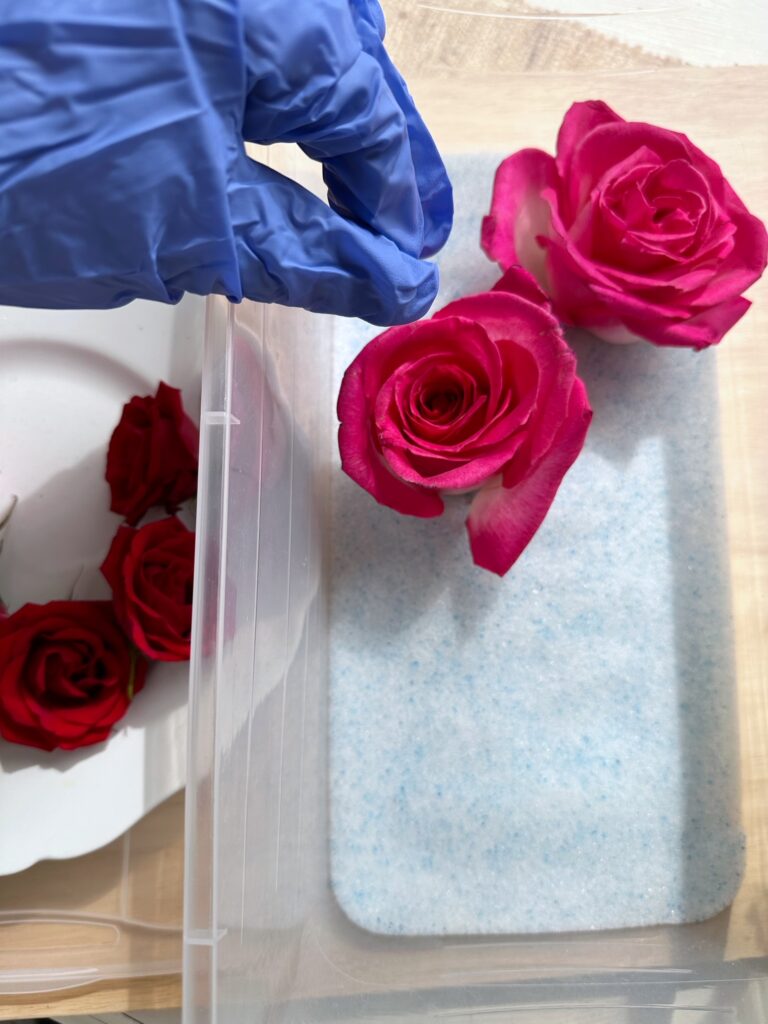
- Be sure to work in a well-ventilated area and wear a mask and gloves when working with silica.
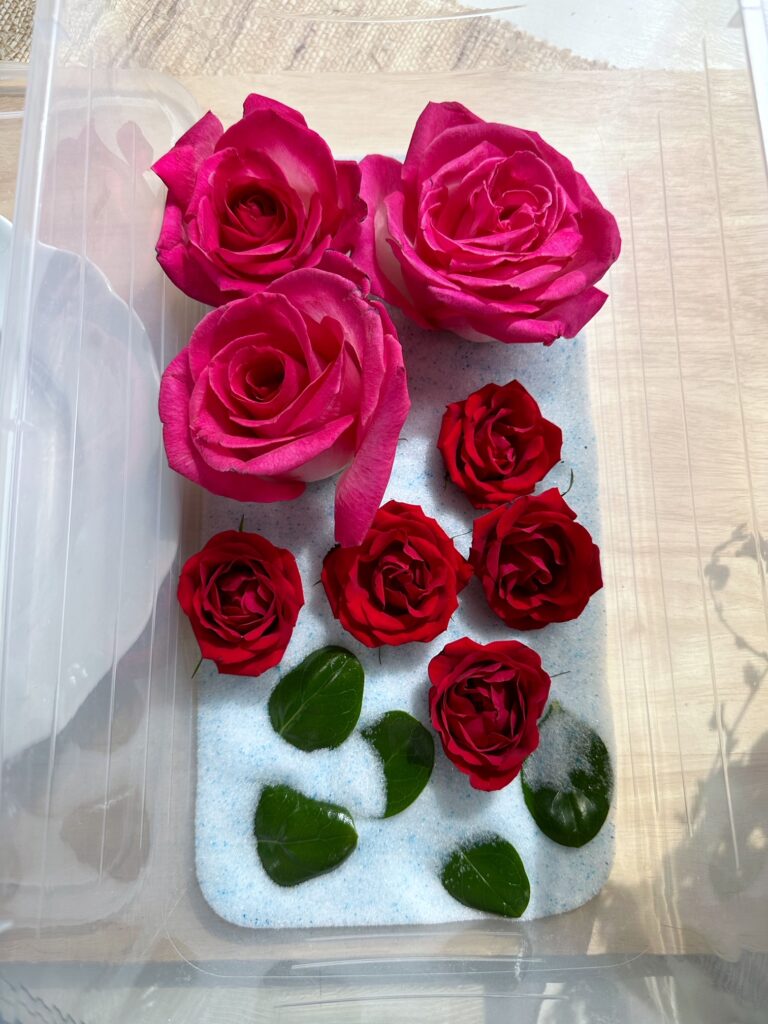
- Trim the stems off of your roses leaving just the rose heads.
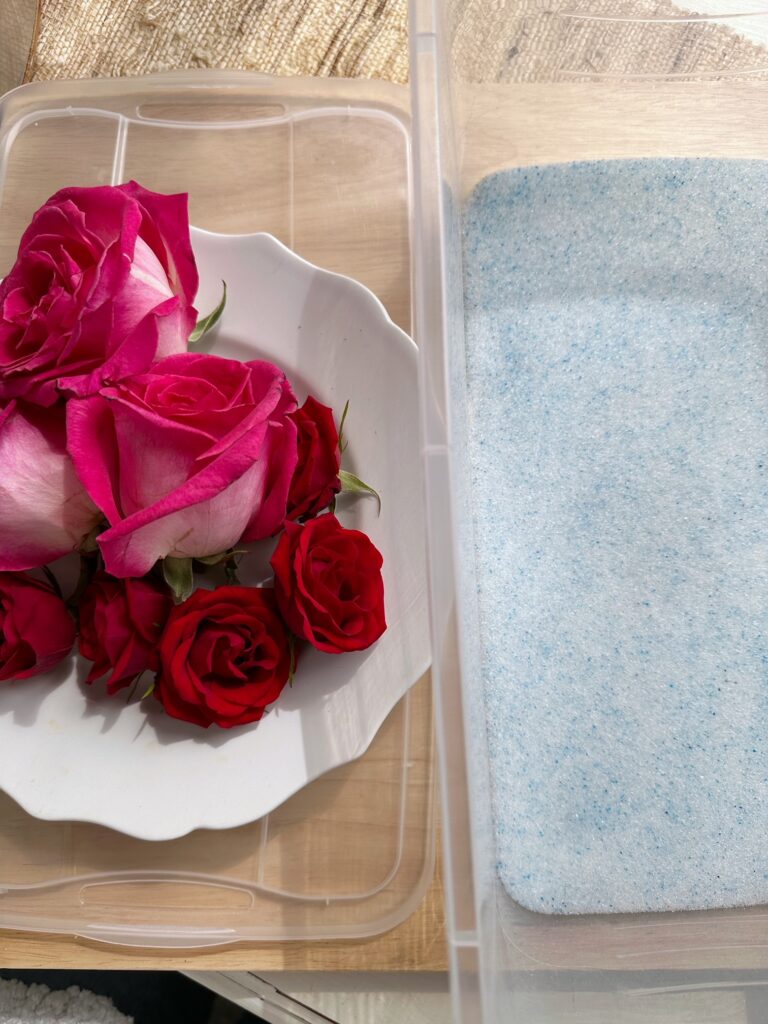
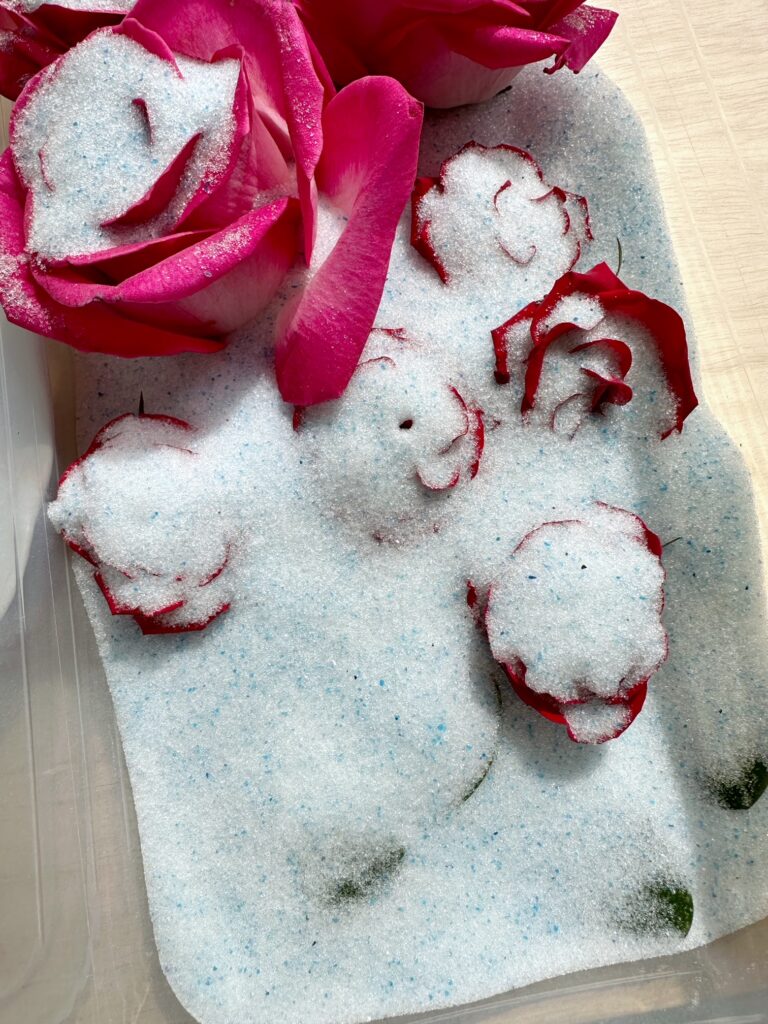
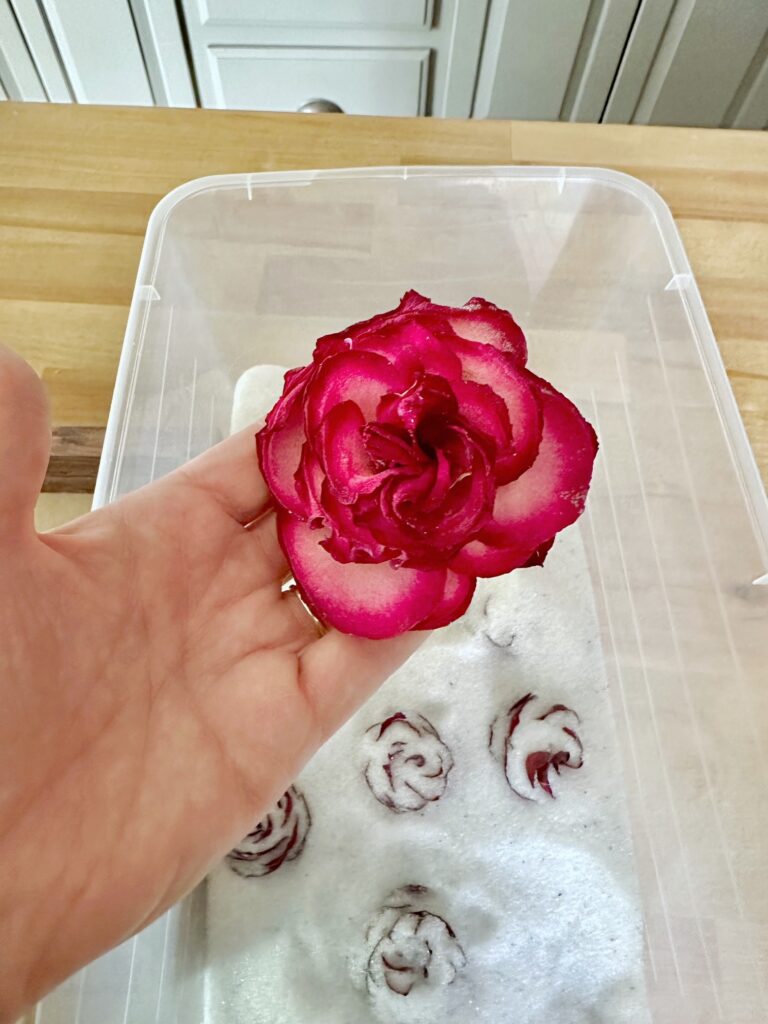
- Ensure your container is dry and clean. Place 1-2" inches of silica gel (silica sand) on the bottom of the container then place the flower heads face up on top of the gel. Sprinkle more crystals on top of the blooms stopping a few times to shake the box to help get the crystals in between the petals. Then cover the blooms completely with the Silica crystals.
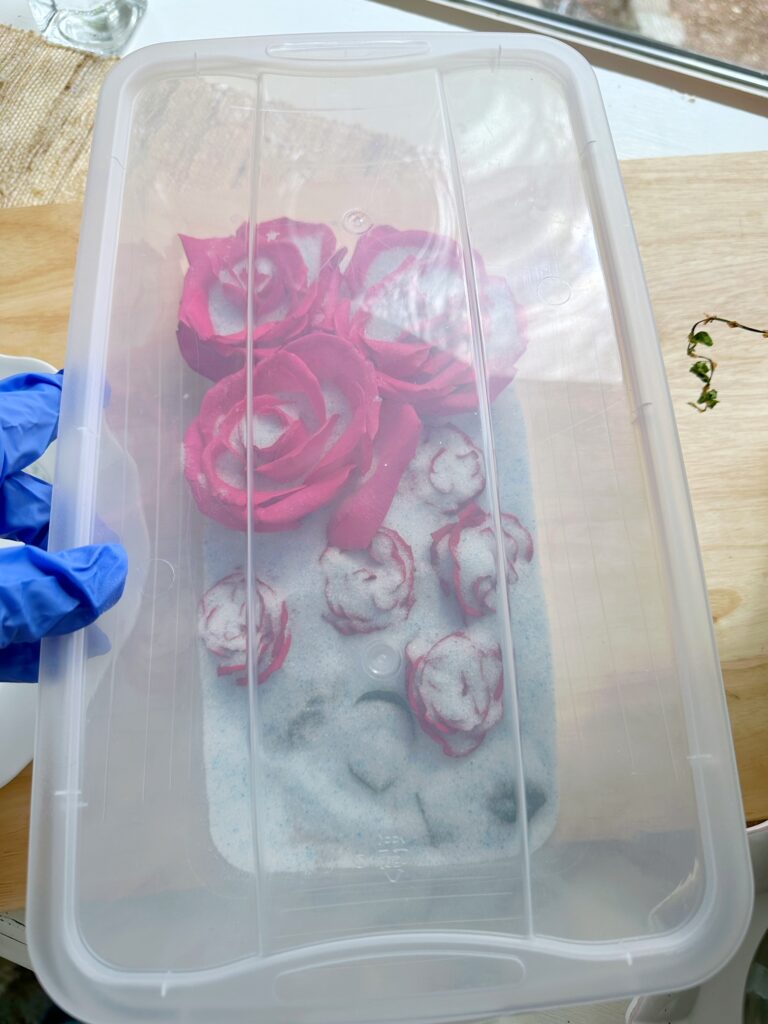
- Seal the box with a cover and put it aside. Typically it will take 3-7 days for your flowers to dry.
- Remove the flowers from the silica crystals and decorate.
Tip: Almost all flowers and greens are dryable using the silica gel method.
Method 3: Drying roses in a book
Drying roses in a book is perhaps the most common way to dry roses. This process will result in pressed flowers (ie flattened flowers). This method is a good one if you plan to make a shadow box design or if you just want to keep a rose as a remembrance but don't plan on displaying it. The process is simple:
Supplies:
- Large sturdy book
- Newspaper, wax paper, or parchment paper
- Heavy items (to stack on top during drying time)
- Floral design knife or scissors
Steps to pressing roses in a book:
- Cut the rose stem to the length of the book or shorter. (you want to make sure the entire stem will be covered by the book pages)
- Place the newspaper or parchment paper in between two pages of a heavy book.
- Lay the rose on its side and arrange the leaves and petals in the shape you want the pressed flower to be. Close the book.
- Add weight to the top of the book, something heavy enough to create even pressure. (I used a stack of heavy books)
- Wait 2-4 weeks for the rose to dry.
Tip: You can also press roses in a flower press like this one.

Method 4: Drying roses in your microwave oven
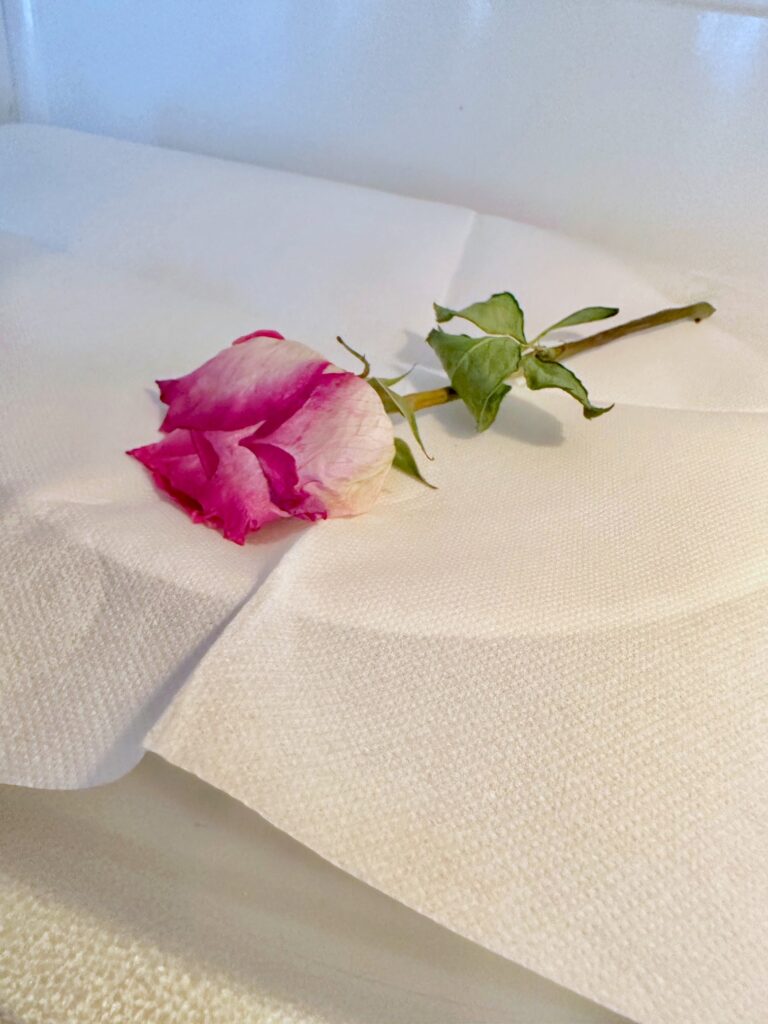
Yup! You can even dry roses in your microwave. This less common method is quick but will result in a rose that appears deflated and flattened. A great method if you are in a pinch!
Supplies:
- Microwave
- Microwave safe plate or paper plate
- Paper towel
- Floral design knife or scissors
Steps for drying roses in the microwave:
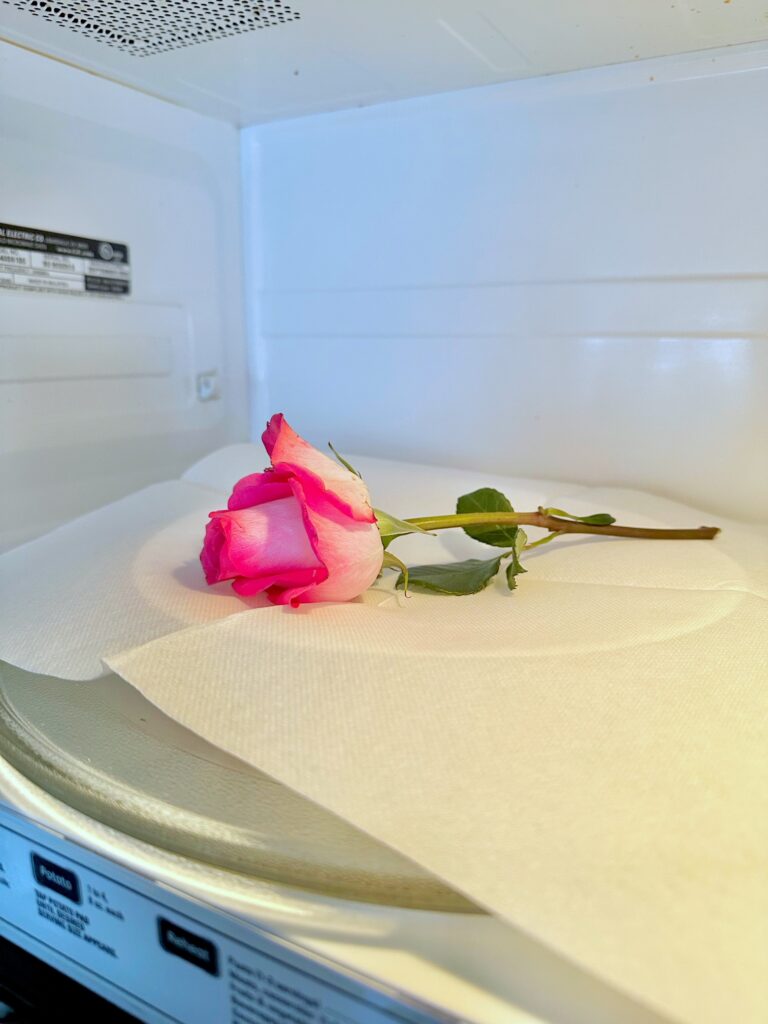
- Cover a microwave-safe plate with paper towels or use a paper plate.
- Cut a single rose to fit on the plate, place it on the covered plate (or paper plate), and place it in the microwave.
- Microwave for 30-40 seconds at a time, checking each time for crispness.
Tip: You can also preserve flowers in the microwave using Silica crystals.
Frequently asked questions
Unfortunately, the fragrance of a rose is lost when moisture leaves the rose. Initially, they may maintain a hint of fragrance which will fade over time.
Preserved roses typically last a year or two depending on certain environmental factors. However, if left untouched they can last for years. Be sure to keep them out of direct sunlight and away from moisture for a longer-lasting rose.
Drying or preserving roses in silica crystals seems to be the best method for preserving the original color of the rose. Hang drying is the method that will result in the most color loss of your roses.
For great results with fully bloomed roses, try this method: Gently bury your fresh flowers in silica gel within an airtight container. This drying process works well for preserving rose petals and entire blooms. Carefully cover every part of the flower with the gel, available at most craft stores, to achieve the best results for your dried flower bouquet.
While hairspray can briefly prolong the freshness of some floral arrangements, it's not the best way for long-term preservation. The chemicals may harm delicate petals, potentially compromising the end result. For best results and vibrant colors, consider alternative drying processes or professional preservation techniques for your real roses.
Instructions for this old-fashioned way of preservation: Select unblemished, fresh roses for pressing. Place the rose face down between parchment paper sheets in a heavy book. Close the book, add weight, and leave undisturbed for 7-10 days. This method creates beautiful pressed flowers perfect for various craft projects or home decor. It's one of the different ways to preserve the delicate beauty of real roses.

If you love fresh flowers be sure to visit my home floral design page and these posts:

A Garden Bouquet with White O'Hara Roses And Beautiful Peach Juliet Roses: Explore the beauty of White O'Hara Roses and Peach Juliet Roses in this post, courtesy of Grace Rose Farm. Delve into the characteristics of these favorite roses, perfect for bridal bouquets, and enjoy the author's experience working with these blooms.

Cut Tulip Care (Tips from a Floral Designer): Discover practical insights into tulip care in this guide based on my 14-year experience as a florist. From unwrapping to stem cutting, learn step-by-step tips to make your garden or grocery store tulips flourish
Thanks for visiting the blog today for How to Preserve Roses at Home: Easy Techniques Anyone Can Master! Don't let your beautifully preserved blooms go to waste! Check out my post on 20 creative ways to use dried roses and transform your floral keepsakes into stunning home decor or heartfelt gifts.
Keep creating friends!


Cute! Btw, the plural of rose is roses. The word rose’s is possessive.
Ooops, missed that! Thanks for letting me know and thanks for visiting the blog.