How to Repot Spider Plants (Step-by-Step Guide)
To repot spider plants, choose a pot one to two inches larger with good drainage. Gently remove the plant from its old container, loosen any tangled roots, and trim away dead ones. Add fresh, well-draining soil, position the plant at the same depth, and fill in around the roots. Water thoroughly, let it drain, and place the plant in bright, indirect light to help it settle into its new home.

Content may contain affiliate links. When you shop the links, we receive a small commission at no cost to you. Thanks for supporting my small business.
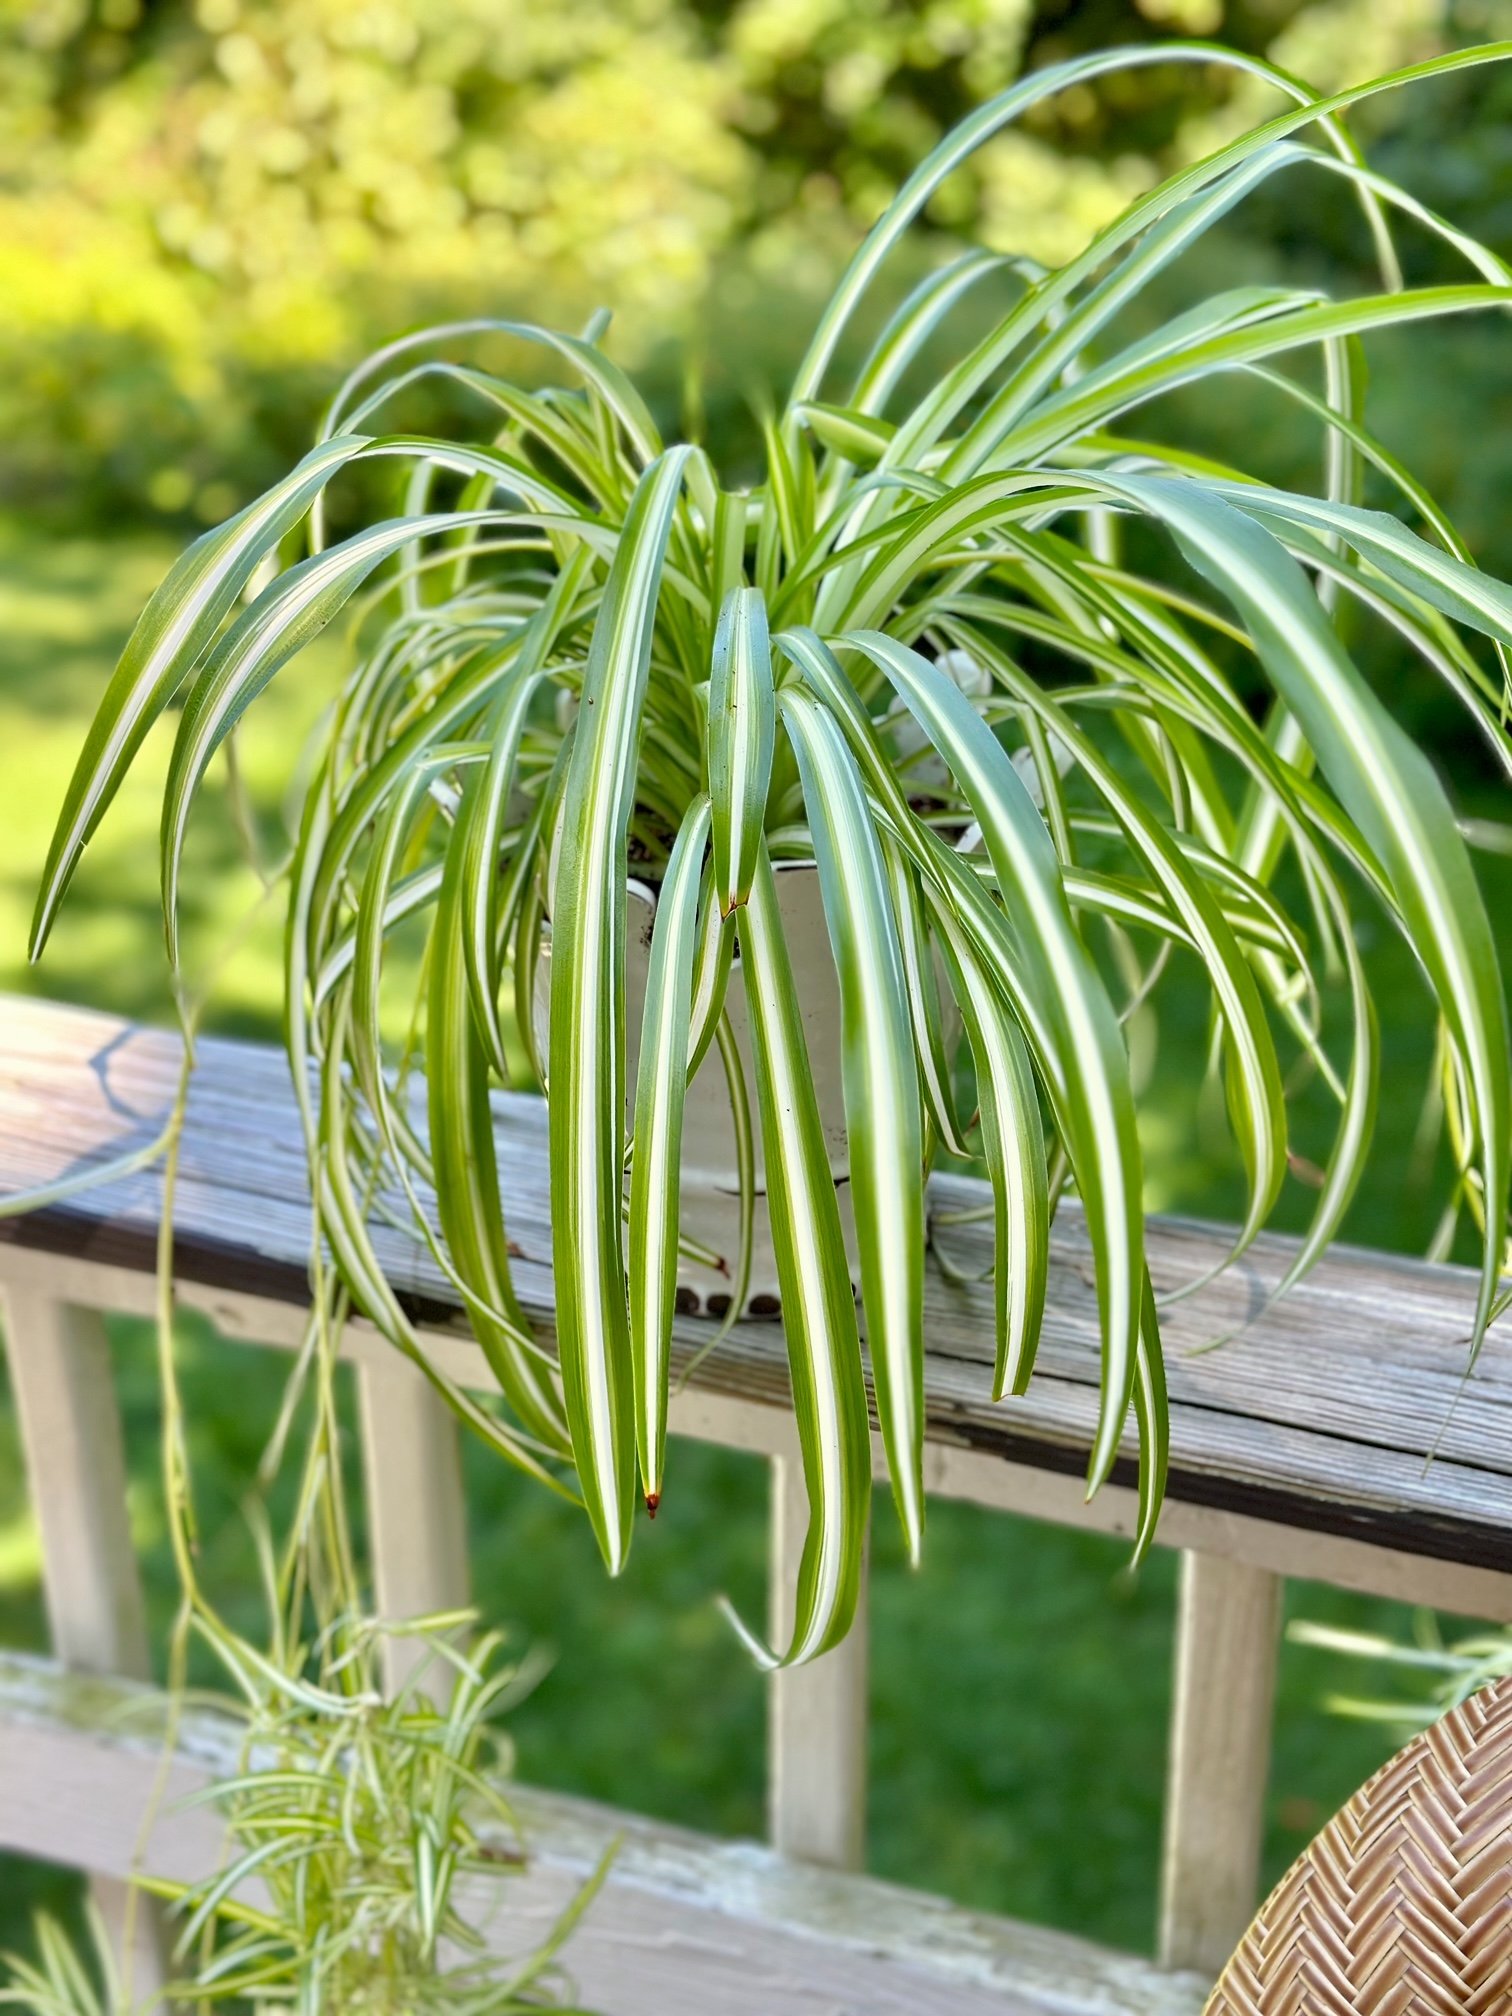
Repotting a spider plant (Chlorophytum comosum) is one of those simple jobs that makes a big difference. These plants grow fast, and before you know it, the roots are circling the pot and the soil is drying out too quickly. I have repotted more spider plants than I can count over the years, and every time they bounce back stronger.
Choosing the best soil for spider plants before repotting helps the roots establish quickly and prevents soggy conditions that can lead to stress or rot.
Whether you call it repotting or replanting, the idea is the same. A little fresh soil and a slightly larger pot give your spider plant room to stretch and thrive again. In this guide, I'll show you when to do it, what to look for, and how to make the process easy from start to finish.
Jump to:
- Repotting a spider plant at a glance
- 4 Signs that indicate it's time to repot
- Best time of year to repot
- Two ways to repot your spider plant
- Choosing the right pot and soil
- Importance of well-draining soil and its role in repotting
- How to repot spider plants
- Aftercare and maintenance
- Common repotting mistakes to avoid
- Frequently asked questions
- More helpful plant care topics
Repotting a spider plant at a glance
- When to repot: Every 1-2 years, or when roots circle the pot or poke through drainage holes
- Best time: Spring or early summer, during active growth
- New pot: 1-2 inches larger, with good drainage
- Soil: Fresh, well-draining mix (add perlite for airflow)
- Before repotting: Water lightly a day or two ahead
- Steps: Loosen roots, trim any damaged ones, add new soil, and replant at the same depth
- Aftercare: Water well, let it drain, and keep in bright, indirect light

4 Signs that indicate it's time to repot
1. Roots are showing: If you can see roots sneaking over the edge of the pot or poking out of the drainage holes, your spider plant is ready for a little more space. It's simply outgrown its home.
2. Slower growth: When a plant that's usually full and lively starts to slow down, it often means the roots have filled the pot and used up most of the nutrients. Fresh soil and a bit more room can get things moving again.
3. The soil dries out too fast: If you're watering more often than usual and the soil still dries out quickly, the roots are probably packed tight. They're taking up most of the space, leaving little room for moisture to stay put.
4. Roots circling inside the pot: When you remove the plant and see roots circling around the edges, it's officially root-bound. That's your cue to size up the pot and give those roots a chance to spread.

Best time of year to repot
Spring is the perfect time to repot a spider plant. That's when it's putting out new growth and will adjust quickly to its new pot. You can also repot in early summer if needed. During fall and winter, I usually hold off unless the plant is really struggling, since it's resting and not ready to put energy into new roots.

Two ways to repot your spider plant
There are two easy ways to repot a spider plant. The first is to move the whole plant into a slightly larger pot. This gives the roots more room and helps the plant keep growing strong.
The second is to divide it. Gently separate a few sections, making sure each has its own roots and leaves, and plant them in their own pots. It's an easy way to refresh your main plant and grow a few new ones to share.
Both techniques contribute to the plant's health and vitality, allowing it to thrive and brighten its surroundings. For more information on dividing spider plants, I encourage you to visit Gardening Know How's Dividing Spider Plants: When To Split A Spider Plant article.
Choosing the right pot and soil
Selecting an appropriate pot size and type for your spider plant
When it comes to pots, a little bigger is enough. I usually go up just one size, about an inch or two wider than the old one. That gives the roots room to spread without sitting in too much extra soil that can hold water longer than your plant likes.
Make sure the pot has a drainage hole so water can flow freely. I like using clay pots because they breathe and help the soil dry evenly between waterings. They also keep the roots healthy and prevent that soggy feeling spider plants dislike.
The goal is simple. Give your plant a bit more space, some fresh soil, and a pot that helps it stay happy, not heavy.

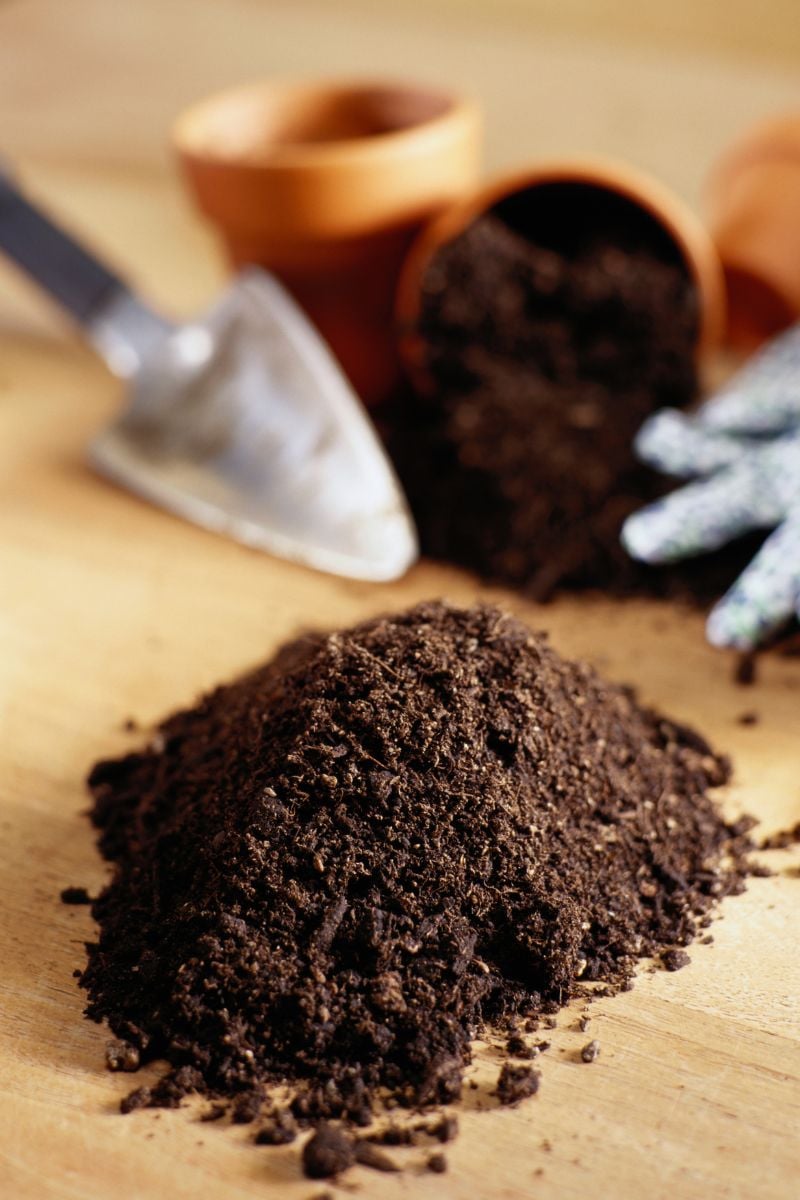
Importance of well-draining soil and its role in repotting
Well-draining soil is a superhero when it comes to repotting your spider plant. It's like giving your plant a breathable space to stretch its roots and thrive. When you repot, be sure to revisit my previous blog post on the best soil for spider plants, where we delved into the nitty-gritty of soil composition.
Well-draining soil prevents water from pooling around the roots, minimizing the risk of root rot and other moisture-related issues. It promotes healthy aeration, ensuring your plant's roots get the oxygen they crave. So, as you embark on the repotting journey, remember that the right soil choice is the cornerstone of a happy and thriving spider plant.
How to repot spider plants
Equipment
- Pruning shears or scissors
- Gardening gloves
- Watering can
- Trowel or scoop
- Newspaper or kraft paper (to protect your workspace)
- Plastic bag or container (for old soil)
Materials
- One healthy spider plant
- One pot, about one size larger than the current one
- About 6 cups of fresh, well-draining potting soil
- Gather necessary supplies:
Collect all the tools and materials you'll need for repotting, including a new pot, fresh soil, pruning shears, and gloves.

- Choose a suitable location:
Select a well-lit and adequately ventilated area to work on repotting your spider plant. Make sure you have enough space to maneuver comfortably.

- Water before repotting:
Thoroughly water your spider plant a day or two before repotting. Adequate hydration will help minimize stress on the plant during the transplant process.
- Gently remove from current pot:
Carefully turn the plant's current pot upside down while supporting the base of the plant. Tap the bottom of the pot to loosen the plant and gently slide it out, avoiding damage to the leaves and stems.
- Evaluate the root system:
Examine the root ball to assess its health and size. Look for any signs of overcrowding, yellowing, or rotting roots.
- Prune damaged or overcrowded roots:
With sterilized pruning shears, trim away any damaged, brown, or overcrowded roots. This encourages healthy growth in the new pot.
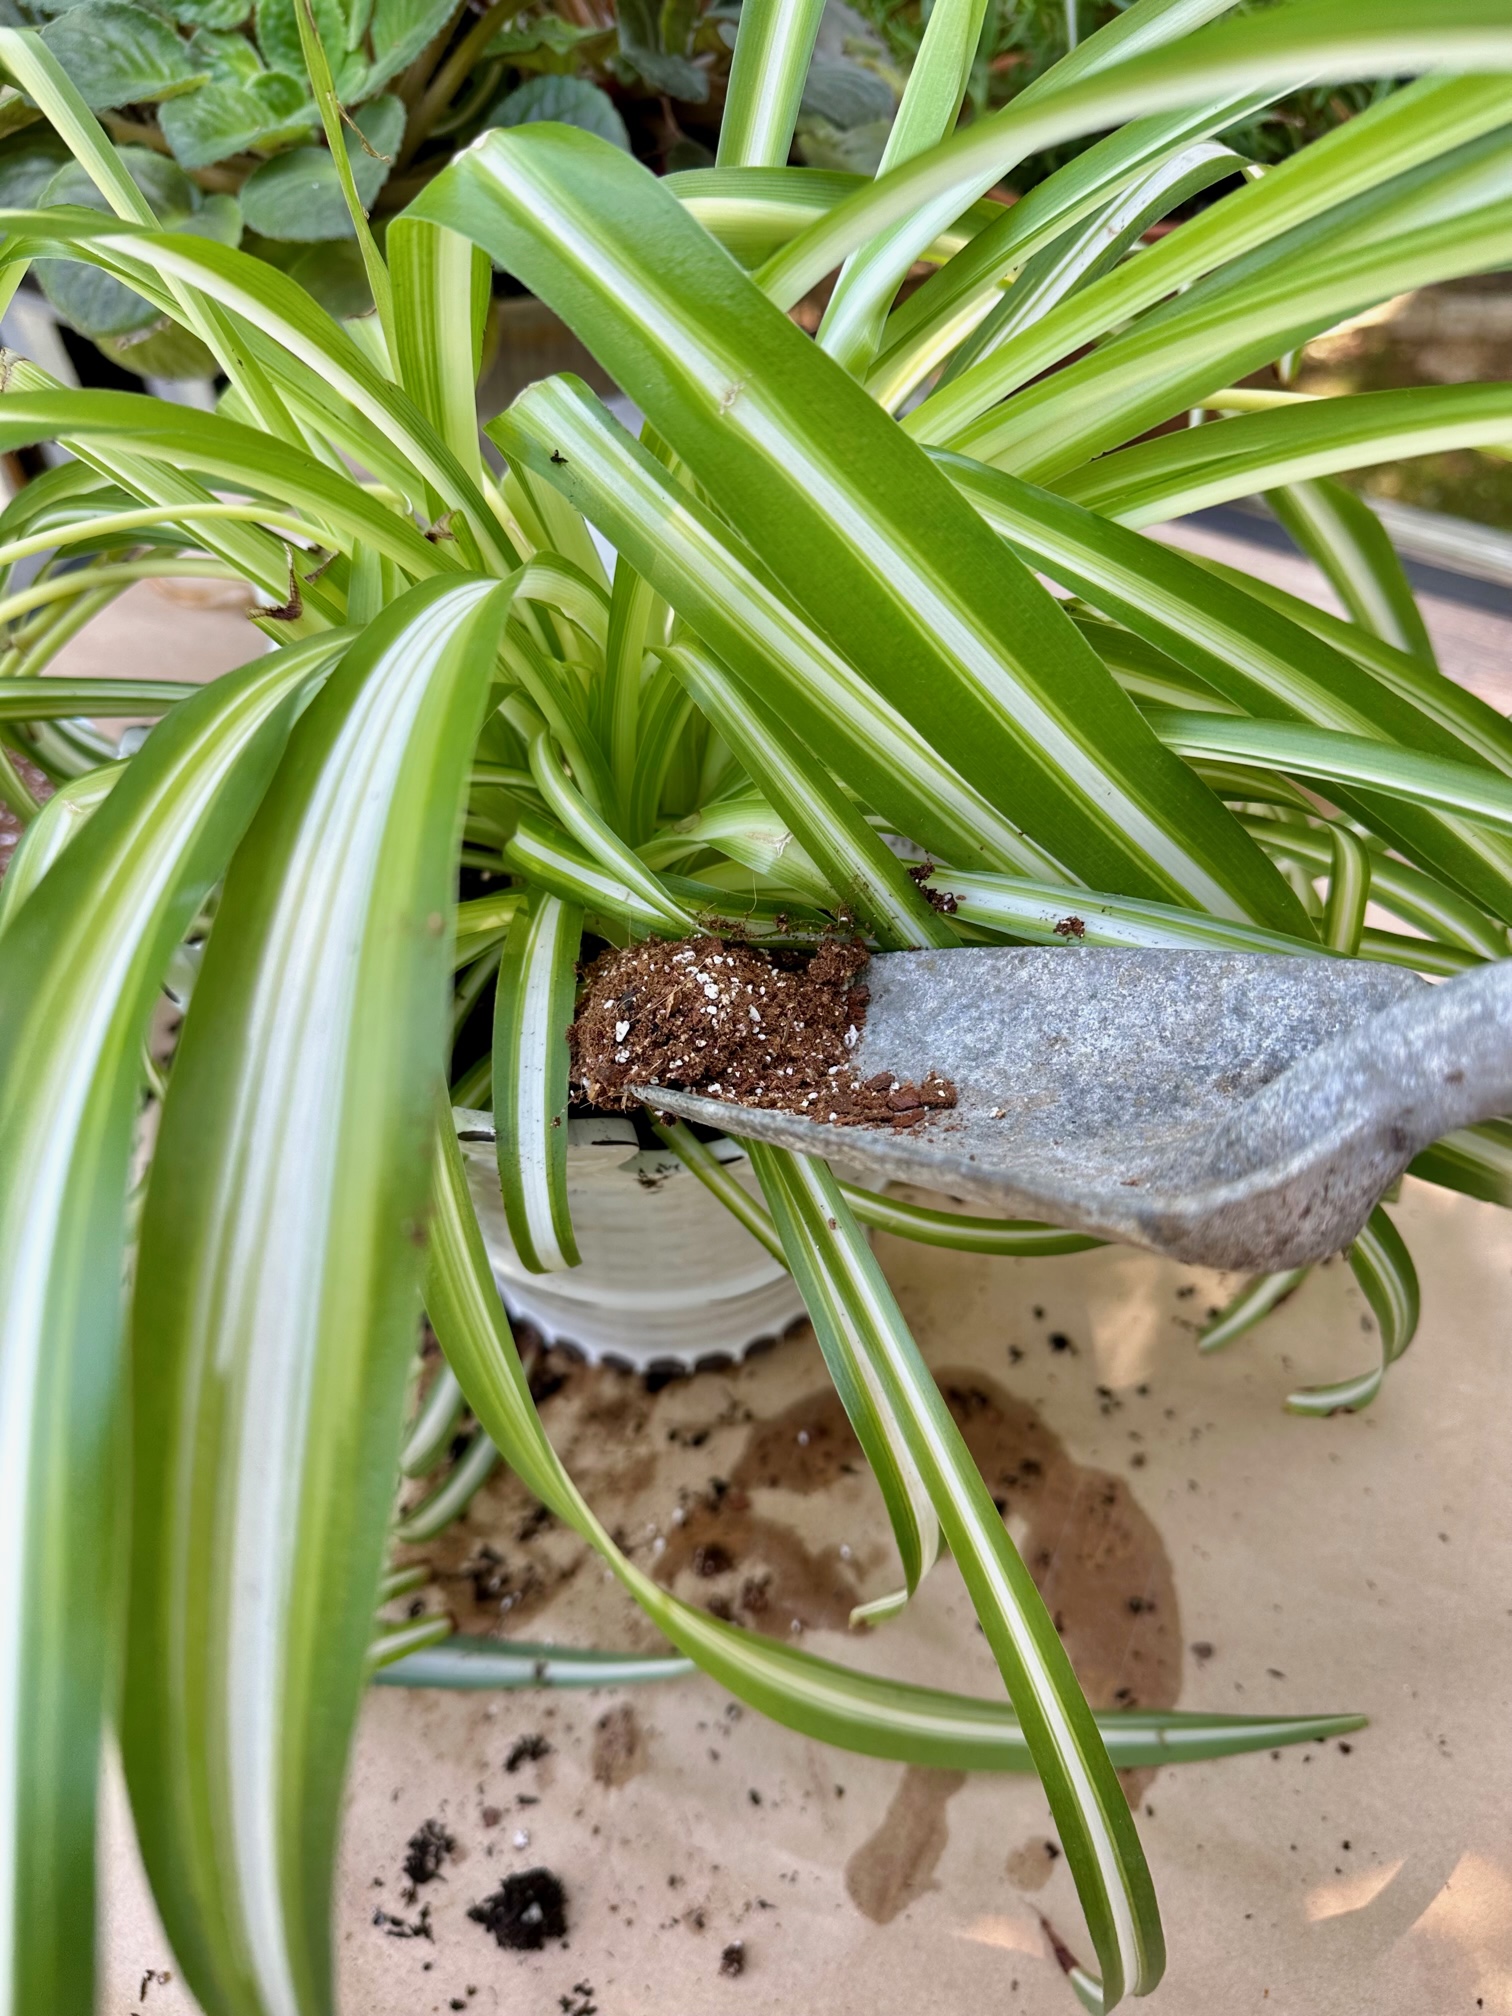
- Place fresh soil:
Add a layer of fresh, well-draining potting soil to the bottom of the new pot. The soil level should be such that the top of the root ball will sit just below the pot's rim.
- Position the spider plant
Set the spider plant in the center of the new pot, ensuring it sits at the correct height. Adjust the soil underneath, if necessary, to achieve the desired height.
- Add more soil:
Gently fill in the gaps around the root ball with more potting soil, pressing it down lightly to eliminate air pockets. Leave some space at the top for watering.
- Water the newly potted plant:
Thoroughly water the plant after repotting. Allow water to soak through until it drains from the bottom of the pot, ensuring proper hydration.
- Allow the plant to settle:
Place the newly potted spider plant in a location with indirect sunlight. Allow it to settle for a few days, monitoring for signs of stress or wilting.
- Adjust the soil level:
If the soil settles significantly after the first watering, add more soil to the top of the pot as needed to maintain the appropriate level and support the plant.


Aftercare and maintenance
Now that your spider plant is settled into its new pot, give it a little time to adjust. Keep the soil slightly moist for the first week or so while new roots take hold, then ease back to your usual watering routine. Bright, indirect light will help it recover and start growing again.
It's normal for growth to slow a bit right after repotting. Most of the plant's energy is going into its roots, even if you can't see it yet. Within a few weeks, you'll start to notice fresh, healthy leaves and that familiar perkiness returning.
Caring for your recently repotted spider plant:
- Watering: Go easy on watering your spider plant for the first week or two. Let the top inch of soil dry out before giving it a drink. Once it settles in, you can return to your regular routine.
- Watch for stress: It's normal for a newly repotted plant to look a little droopy or tired. Give it time. If the leaves start to yellow, double-check that it's not getting too much water or too much sun.
- Light: Keep it in bright, indirect light while it adjusts. Direct sunlight can be a bit harsh right after repotting. A soft, filtered spot will help it recover and put out new growth.
Note: Right after repotting a plant, you might notice that there's very little visible growth. Just like us, plants need time to adjust to their new surroundings. During this initial period, most of their energy is focused beneath the soil as they acclimate. However, once this adjustment phase passes, you'll start to see new growth flourishing above the soil once again.

Common repotting mistakes to avoid
Repotting a spider plant is pretty simple, but there are a few easy mistakes that can set it back. Most of them come down to giving the plant either too much space, too much water, or not enough drainage. Here are a few things to watch for so your plant settles in smoothly.
Highlighting potential pitfalls and how to steer clear of them:
- Choosing a pot that's too big: It's easy to think a bigger pot means a happier plant, but that's not always the case. A pot that's too large holds extra soil, which can stay wet for too long and lead to root rot. Go just one size up so the roots have room to grow without sitting in soggy soil.
- Skipping drainage: Always make sure the new pot has a drainage hole. Spider plants hate wet feet, and water that can't drain will cause problems fast. If you're reusing a pot without drainage, add a layer of pebbles or choose a new pot that lets water escape freely.
- Forgetting to loosen the roots: Before setting your spider plant into its new pot, take a minute to loosen the root ball. Trim away any long or dead roots. This helps the plant settle in faster and start growing again.
- Overwatering right after repotting: After repotting, your spider plant needs a little time to adjust. Lightly water your Spider plant once to help the soil settle, then wait until the top inch dries before watering again. Too much water too soon can overwhelm the roots and slow recovery.

Frequently asked questions
Most spider plants need repotting every year or two. The best time is in spring or early summer when they're actively growing. If you see roots poking through the drainage holes or wrapping tightly inside the pot, that's your cue to repot.
No, spider plants prefer wide, shallow pots rather than deep ones. Their roots grow outward more than downward, so a pot with room to spread and good drainage works best.
Use a light, well-draining mix. I like to combine standard potting soil with a little perlite or bark to keep it airy. You can find all my tips in my post on the best soil for spider plants, which walks through the exact mix I use at home.
You don't have to, but you can if you want to grow new plants. Wait until the baby spiderettes have small roots, then trim them off and plant them in their own pots. They root easily, especially if you start them in water first.
It's generally recommended to hold off on fertilizing your Spider plant immediately after repotting. Give the plant a couple of weeks to settle into its new environment and recover from the stress of repotting before introducing fertilizers. When it's time to fertilize be sure to visit my Indoor Plant Fertilizers You Can Make at Home (Feed Your Plants the Natural Way) post.


Repotting a spider plant is one of those small projects that makes a big difference. A little fresh soil made for spider plants, the right pot, and a bit of care are all it takes to keep your plant growing strong. Once it settles in, you'll notice brighter leaves and new shoots before long.
Spider plants are resilient, forgiving, and always ready to bounce back. If you give yours a little attention now and then, it will reward you with healthy growth and plenty of baby plants to share.
Happy indoor gardening!