Water Propagation Made Easy: Tips and Tricks for How to Propagate Plants in Water
There is always something propagating here! I can't help myself - I just love seeing those roots begin to sprout and feeling the excitement of transferring those propagated cuttings into soil to multiply my never-ending plant collection. As a curious plant person, I'm always interested in how plants work, and propagation fills that curiosity so well. It's like a little experiment right in my window sill!
In this post, I'll share my personal experience and expertise to help you become a pro at propagating plants in water. Water propagation is such a simple and cost-effective way to grow your plant family, and the best part is you get to watch those roots develop over time.
Whether you're a seasoned plant parent or just starting your green thumb journey, this guide will equip you with the knowledge and confidence to propagate a wide variety of houseplants successfully. From understanding the importance of nodes to troubleshooting common issues, I'll cover all the essential steps to ensure your water propagation efforts thrive.
So, let's dive in and unlock the secrets to effortless water propagation! Get ready to multiply your plant collection and satisfy that inner plant nerd in you.
Content may contain affiliate links. When you shop the links, we receive a small commission at no cost to you. Thanks for supporting my small business.
Jump to:
- Quick tips for successful water propagation
- Understanding the importance of nodes
- Easy-to-propagate plants in water
- Propagation timeline and expectations
- To use root booster or not?
- The importance of water and maintenance
- Optimal placement and lighting
- Step-by-step guide to water propagation
- Transplanting and potting
- Troubleshooting common mistakes
- Frequently asked questions
Quick tips for successful water propagation
For readers who want the key points at a glance, here are the top tips to help you master water propagation:
- Focus on the nodes - look for cuttings with at least 1-2 visible nodes, as this is where the roots will emerge.
- Use clean, filtered water and change it weekly to keep it fresh and oxygenated.
- Provide bright, indirect light for optimal root growth - supplement with a grow light if needed.
- Resist the urge to submerge the whole cutting - only the bottom portion with the nodes should be in water.
- Don't wait too long to transplant - move cuttings to soil once roots reach 1-2 inches long.
- Experiment with different plants - some species root better in water than others.
If you're ready to dive deeper into the art of water propagation, keep reading for my full step-by-step guide and troubleshooting tips. Let's get those roots growing!

Understanding the importance of nodes
As a plant enthusiast, I'm always fascinated by the intricate workings of plants, and nodes play a crucial role in successful water propagation. Nodes are those little bumps or points on the stem where leaves, branches, or roots can emerge. They're like the magic spots where new life can sprout from!
When it comes to propagating plants in water, identifying and targeting the right nodes is key. You want to select cuttings that have at least one or two visible nodes, as this is where the roots will develop. Exposing those nodes by removing any leaves or foliage below the water line ensures the cutting has the best chance of rooting successfully.
It's amazing to watch how those little nodes transform, going from seemingly insignificant bumps to the starting points for an entire new plant! Understand the role of nodes, and you're already well on your way to mastering water propagation.

Easy-to-propagate plants in water
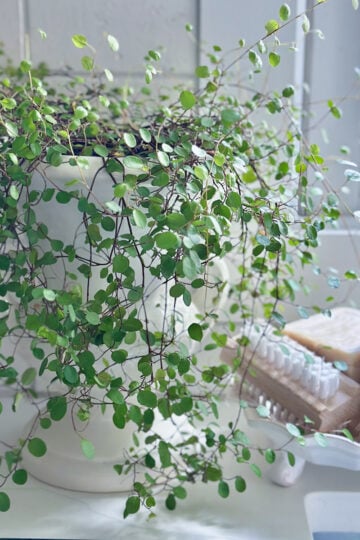
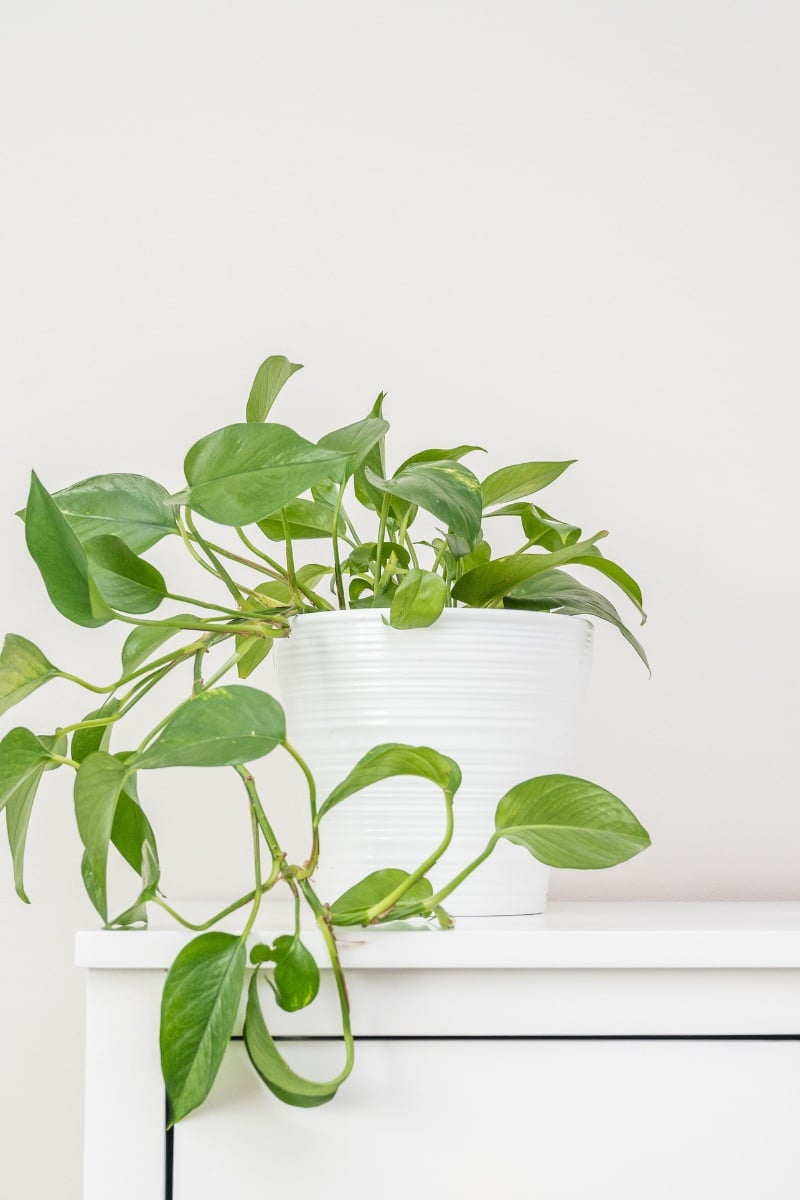
As a self-proclaimed plant propagation enthusiast, I have my go-to list of the easiest houseplants that simply thrive in water. Pothos plant, philodendrons, spider plants, Monstera deliciosa, Peperomia, and Tradescantia (also known as Wandering Jew) are all superstars when it comes to water propagation.
What makes these plants so ideal for this method? Well, they tend to have stems with long internodes and plenty of nodes along the way. This means there are lots of potential rooting spots just waiting to be awakened. Plus, these plants generally have a soft, vining or trailing habit, which makes it easy to snip off cuttings without compromising the overall health of the mother plant.
When selecting cuttings, aim for 4-6 inches in length and make sure to include at least one or two visible nodes. For philodendrons and Monstera, I like to include a leaf or two, as they'll continue to provide energy for the cutting as it roots. With spider plants and Tradescantia, the nodes are so close together that you can even just pluck a plantlet or two and pop them right into water.
Get ready to watch those roots sprout and grow - with these easy-to-propagate plants, water propagation is a total breeze!

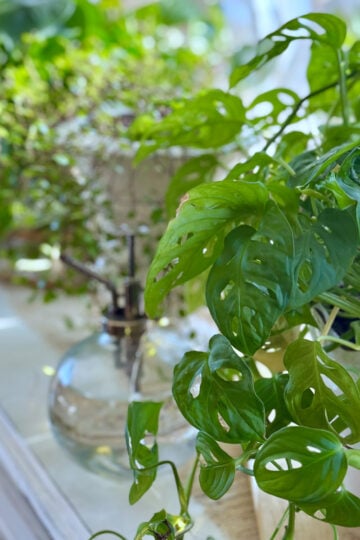
Tip: Propagating Monstera is advantageous due to the rising cost of these special Swiss cheese-type plants.
Propagation timeline and expectations
One of the most exciting parts of water propagation is watching those roots slowly but surely begin to emerge. I've learned that patience is key - the timeline for root development can vary quite a bit.
Generally, you can expect to see some initial healthy root growth within 2-4 weeks, depending on the plant species. Fast growers like pothos and philodendrons tend to root more quickly, while slower-growing plants like Monstera may take a bit longer, around 4-6 weeks.
Of course, the quality of your water and the lighting conditions can also impact the speed of propagation. Filtered, oxygenated water and bright, indirect light will give your cuttings the best chance at thriving. On the other hand, stagnant water or low light can really slow down the process.
The key is to manage your expectations and embrace the journey. Propagation is all about patience and observing those tiny transformations. Trust the process, and before you know it, you'll have a whole new batch of plants to nurture!

To use root booster or not?
You may have come across those tempting root booster products, promising to supercharge your new root growth. But when it comes to water propagation, the decision to use a rooting hormone or not is an interesting one to consider.
Root boosters, also known as rooting hormones, are substances that can help stimulate and accelerate the rooting process. The idea is that they provide that extra boost of nutrients and growth-promoting compounds to give your cuttings a head start.
The pros? Using a root booster can potentially shorten the propagation timeline and encourage more robust root growth. The cons? They may not always be necessary, especially for the easy-to-propagate plants we discussed earlier. And if used improperly, they could even damage your delicate cuttings.
Ultimately, I'd recommend trying water propagation your new cutting without any additives first. If you find the process is taking longer than you'd like, you can experiment with a gentle, diluted root booster. But don't feel like it's an absolute necessity - with the right technique, you can still achieve great results through good old-fashioned water propagation.

The importance of water and maintenance
When it comes to water propagation, the quality and care of the water you use is paramount. After all, those delicate new roots will be submerged in it, so you want to ensure they're getting the best possible environment to thrive.
I've experimented with both tap water and filtered water, and I have to say, I've seen better results with the latter. Tap water can sometimes contain minerals, chlorine, or other additives that can stunt root growth or even lead to rot. Filtered water, on the other hand, provides a clean, nutrient-neutral base for your cuttings.
Maintaining the water is also crucial. I make it a habit to change the water completely around once a week. This helps keep the water oxygenated and replenish any nutrients that have been absorbed. You'll know it's time for a change when the water starts to look cloudy or develops any algae buildup.
And don't forget to keep a close eye on the water levels! Those thirsty cuttings can suck up the clean water quickly, so make sure to top it up regularly. You don't want any exposed nodes or tender new roots drying out in the air.
Treating your water with the same care you would a prized houseplant is a great way to ensure successful, healthy water propagation. It may seem like a small detail, but trust me, it makes all the difference!

Optimal placement and lighting
Proper lighting is crucial for water propagation success. When it comes to finding the perfect spot for your propagation station, you'll want to aim for bright, indirect light. Direct sunlight can scorch those delicate cuttings, while low light conditions won't provide enough energy for the new root system to thrive.
If your home doesn't offer the ideal lighting situation, no need to worry - that's where grow lights come in handy. Investing in a simple grow light, like this one from Amazon, can work wonders for your water propagation projects. Just make sure to position the cuttings close enough to the light source to soak up those growth-boosting rays.
Speaking of positioning, try to arrange your propagation containers in a way that ensures each cutting receives equal exposure to good light. Rotating them every few days or angling the containers can help prevent lopsided growth. With the right light, your water-rooted babies will be well on their way to becoming thriving, full-fledged new plants!

Step-by-step guide to water propagation
Now that you understand the key principles of successful water propagation, let's dive into the step-by-step process. Follow these easy instructions, and you'll be on your way to multiplying your plant collection in no time!
- Select the Right Cutting Choose a healthy, disease-free stem from your parent plant.
Identify the nodes - these are the points where leaves or roots will emerge.
Aim for a cutting that is 4-6 inches long and has at least 1-2 visible nodes.
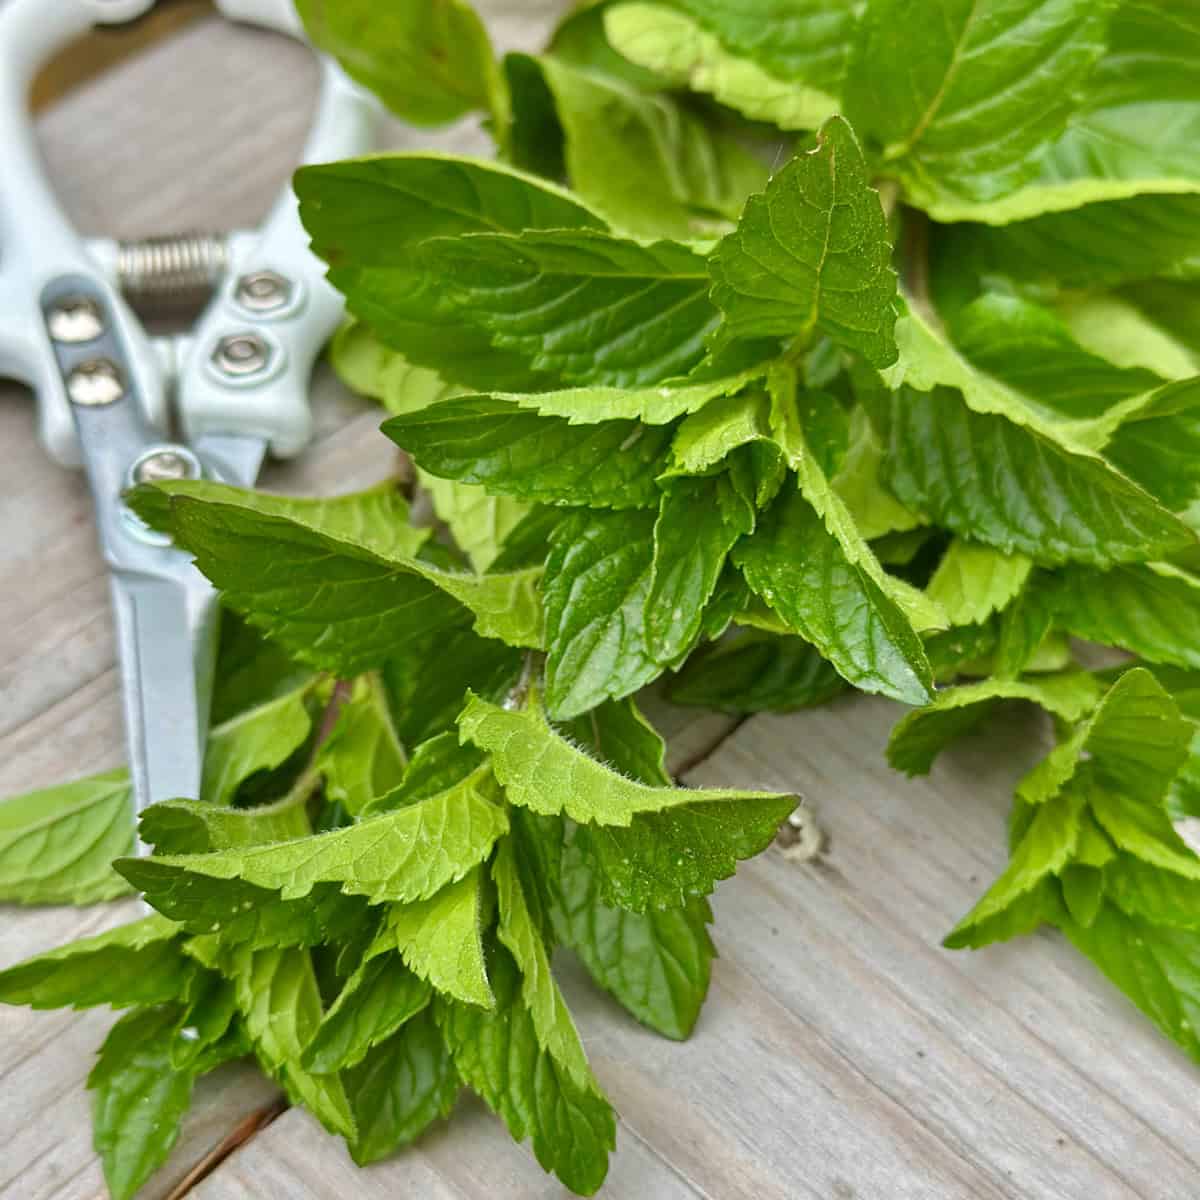
- Prepare the Cutting Use clean, sharp scissors, pruners or a sharp knife to make a clean cut just below a leaf node. Remove any leaves or foliage that would fall below the water line.
This helps prevent rot and focuses the plant's energy on root development.
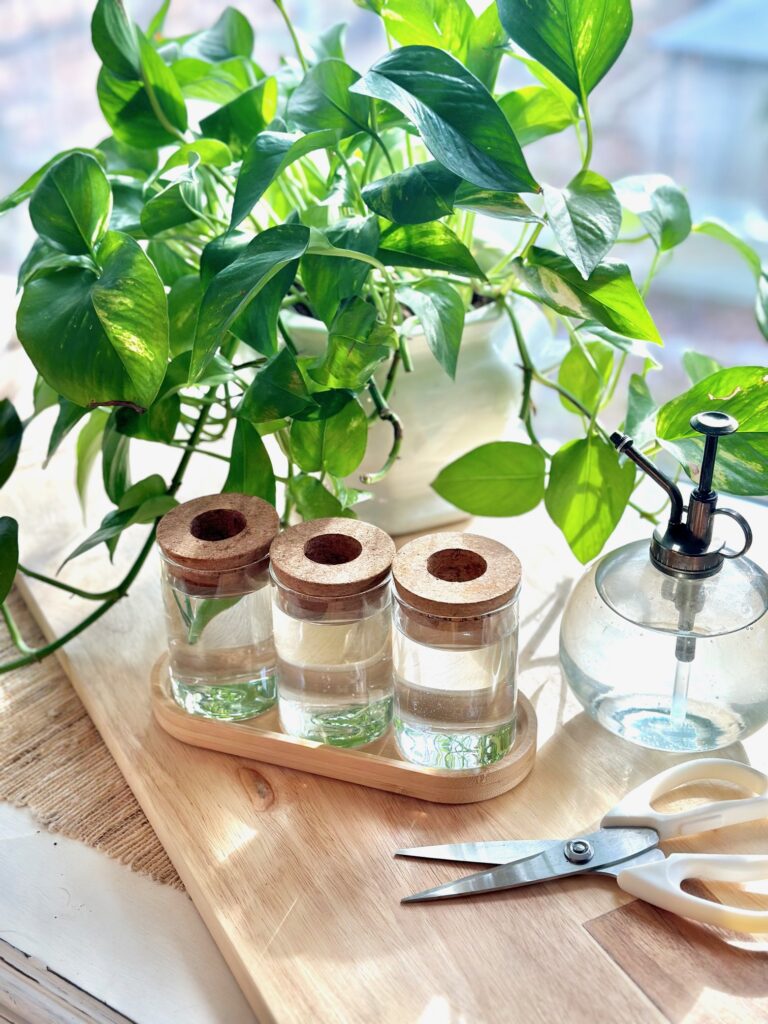
- Set Up Your Propagation Station Choose a clean glass, jar, or propagation clear container with a narrow neck.
Fill it with filtered or distilled water, leaving a few inches of space at the top.
Gently place the plant cuttings in the container, ensuring the nodes are submerged. - Provide Proper Lighting Position your propagation station in a spot that receives bright, indirect light.
If needed, supplement with a grow light placed 6-12 inches above the container. - Maintain and Monitor Check the water level regularly, topping it up as needed to keep the nodes submerged.
Change the water completely every 7-10 days to replenish oxygen and nutrients.
Keep an eye out for any signs of rot, algae, or insufficient root growth. - Transplant to Soil Once the roots reach 1-2 inches long, it's time to transplant to soil.
Gently remove the cutting from the water and plant it in a well-draining potting mix.
Water thoroughly and continue to care for your new plant baby!


Tip: Plant several propagated stem cuttings in one pot for a fuller plant.
Transplanting and potting
As exciting as it is to see those roots develop in water, the true test of success comes when it's time to transition your propagated cuttings to soil. Determining the right time to transplant is crucial - you want those roots to be well-established, but not so delicate that they struggle with the move.
I generally aim to transplant my water-rooted cuttings once the roots reach 1-2 inches in length. At this point, they've developed enough stability to handle being planted in soil. Before the big move, I make sure to have a well-draining potting mix ready to go, one that's light and airy to accommodate those tender new roots.
When it's time to plant, I'm gentle but efficient, carefully removing the cutting from the water and nestling it into the soil. I water thoroughly to help the roots make the transition, and then keep a close eye on my new plant baby, misting the leaves regularly to prevent wilting.
With a little TLC, those water-propagated plants will quickly adapt to their new soil home and continue thriving. It's so rewarding to watch them grow from a simple cutting into a full-fledged healthy plant!
Tip: Consider planting your newly propagated plants in self-watering containers. I'm a firm believer in this effortless watering system, and my plants thrive in it as well!


Troubleshooting common mistakes
As a seasoned plant propagator, I've encountered my fair share of challenges along the way. But don't worry, I'm here to share my troubleshooting tips so you can nip any issues in the bud and keep your water propagation projects thriving.
One of the most common problems is the dreaded mold or algae growth. This can happen when the water becomes stagnant or isn't changed frequently enough. To prevent this, make sure to refresh the water weekly and keep an eye out for any cloudiness or slimy buildup. If it does occur, simply change the water and give the container a good clean before replacing the cutting.
Another issue you may face is wilting or discolored leaves. This can be a sign of several things - insufficient light, poor water quality, or even the cutting not adjusting well to its new environment. Try moving the container to a bright light spot, and double-check that the water is clean and oxygenated. If the leaves continue to decline, you may need to trim off any damaged parts to redirect the plant's energy.
Worst-case scenario, you might encounter root rot. This is usually caused by stagnant water or the cutting being submerged for too long. If you spot any mushy, brown roots, act fast - remove the cutting, trim off the affected areas, and start fresh in a clean container with fresh water.
With a little vigilance and some troubleshooting know-how, you can overcome these common water propagation hurdles and keep your cuttings thriving. Don't get discouraged - every challenge is a chance to learn and become an even better plant parent!
Frequently asked questions
Can I skip the water propagation step and just plant my stem cuttings directly in soil?
Yes, you can skip the water step, especially for plants like pothos that root easily in soil. The roots establish faster in soil and don't have to adapt to the transition from water.
I'm interested in trying hydroponic gardening - how does that differ from water propagation?
Hydroponics involves growing plants entirely in nutrient-rich water, while water propagation is focused on rooting cuttings before transplanting to soil. Hydroponics requires more specialized products and equipment.
How do I know if my water propagation attempt is successful?
Look for the development of healthy, white roots reaching 1-2 inches long. New leaf growth is also a good sign. Brown, mushy roots indicate an issue that needs to be addressed.

Propagating African Violets
Water propagation is a game-changer for any plant enthusiast. It's an easy, cost-effective way to multiply your plant family and satisfy that inner plant nerd. Plus, there's nothing quite like the thrill of watching those roots emerge and knowing you've created something new.
So, what are you waiting for? Grab your sharpest pruners, find your favorite plant candidates and grab some stem cuttings, and dive into the world of water propagation. With this guide in hand, you're armed with the knowledge and confidence to become a propagation pro. Happy growing, and don't forget to share your journey with me!
If you love indoor plants be sure to visit our plant care page where we chat about are topics for a variety of houseplants!