Sharing this simple but fun take on Christmas decor! Not a speck of red in sight for this unique, soft, sparkly blush design! I recently shared this mantel on Instagram and received several questions about how to make the DIY yarn Christmas trees - so I thought a DIY Yarn Christmas Trees for a Soft and Sparkly Blush Holiday post was in order!
The idea was to create a warm and inviting Christmas atmosphere with a touch of creativity and craftiness. These DIY yarn Christmas trees play a central role in achieving that, adding a delightful handmade touch to your holiday decorations.

*This post includes affiliate links, for more info on affiliate links visit here
Jump to:
Why you will love this project
- Easy-to-Follow Tutorial: Crafting Made Simple: Dive into my step-by-step guide that's designed with you in mind – yes, even if you're a beginner! We're here to make sure you have a blast and achieve beautiful results.
- Affordable Crafting: Creativity on a Budget: Gather up some yarn, tree forms, and a trusty glue gun – these everyday craft supplies from local craft stores are your ticket to crafting magic without breaking the bank. Get ready to let your creative juices flow without worrying about your wallet.
- Interactive Family Activity: Crafting and Connecting: Bring your loved ones on board for a fun crafting adventure that's bound to create memories and amazing decor. These trees would also be fun for a Girl's Night In party!
- Customizable Decor Additions: Your Unique Touch: It's your space, your style, and your rules! Play around with different yarn tree sizes, different colors, and placements until you've got a decor setup that's perfectly you. Let's make your space shine.
- Personalized Color Palette: Pick out those yarn shades that make your heart skip a beat(this was my favorite part!). Mix and match styles to match your cozy haven's vibe and sprinkle a dash of "you" into your holiday decor.

Making The yarn Christmas trees
Stay tuned for more details on the mantel design, but for now, let's focus on what you're here for – clear instructions on crafting these lovely DIY yarn Christmas trees. So, grab your trusty glue gun and let's roll up our sleeves. In just a few straightforward steps, you'll have your own set of DIY yarn trees to admire.
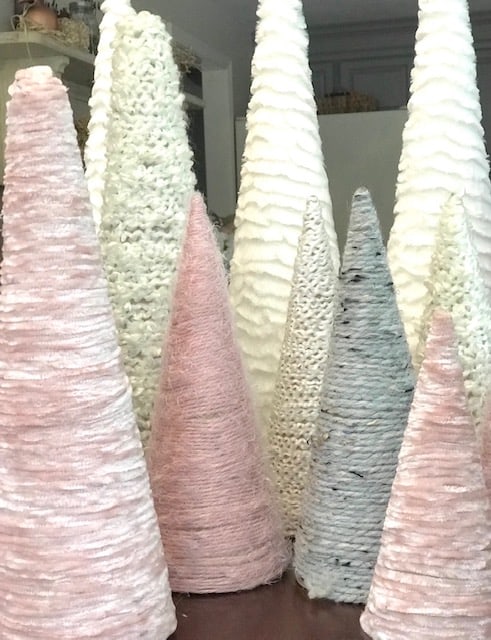
Supplies and tools
- A variety of balls/skeins of yarn - (you can't go wrong here, simply choose the colors and styles you like)
- Tree forms - (if you can find the paper mache ones, they are easier to use. Otherwise you can use styrofoam ones - they typically come in different sizes)
- Kraft paper (if you go with styrofoam tree forms, you may need the paper to cover the styrofoam cones)
- Glue gun
- Scissors
Instructions
- Prepping the Tree Forms
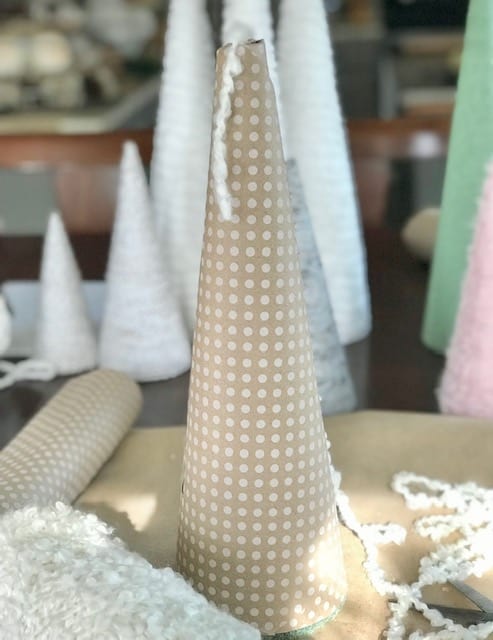
Let's gather the necessary materials. If you've opted for paper mache tree forms, there's no need for any preparation. However, if you're using styrofoam tree forms, here's a tip: wrap them with kraft paper. It's a simple process – just wrap the paper around the form and seal it with your trusty hot glue gun. Trim any excess paper afterward. This step ensures better adhesion of the hot glue to the paper surface compared to styrofoam. Plus, it helps prevent any visibility of the underlying material through the yarn, as the kraft color blends in seamlessly.

- Yarn Wrapping Technique
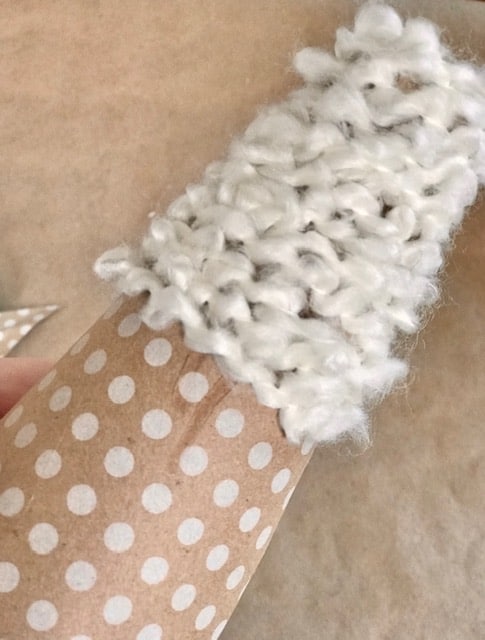
Starting at the top of the cone, I position the end of the yarn over the opening and secure it with a dot of glue. Working on one side of the tree, I apply a line of hot glue in 3"-4" sections, wrapping the yarn around the form. This focused glue application is sufficient to hold the yarn in place. As I wrap the yarn, I take care to keep it closely aligned, reducing the visibility of the kraft paper beneath.

- Yarn Wrapping Process: From Top to Bottom
Once you've completed the initial section, continue wrapping the yarn around the tree form, working your way down to the bottom of the cone. Ensure that the last yarn wrap is neatly secured around the bottom for a polished finish. This gradual progression adds a charming texture to your DIY yarn tree.

Creating a cozy living room
Decorating with the yarn trees
Using soft hues of white, pink, gray, and taupe, I aimed for a gentle, shimmering effect. A birch log star adorned with twinkle lights graces the space above the mantel, while below, a rose gold-toned Fa la la la la * la la la la garland from Pottery Barn Kids adds a touch of festive sparkle.
Mantel Magic
Along the mantel, I brought to life a series of DIY yarn Christmas trees, artfully arranged in a row. I placed the larger trees made with chunky yarn in the back with the smaller trees towards the front. To enhance the charm, faux antler picks, and delicate pottery barn snow joined the scene. Infusing a warm glow, battery-operated lights wound their way in and around each DIY Christmas tree.

Handmade stockings
I made Chenille stockings which were fashioned from a vintage polka dot chenille bedspread. Embracing the yarn theme further, I adorned the stockings with whimsical tassels. If you're new to tassel-making or simply need a quick reminder, I've got you covered with a step-by-step tutorial here.

The Christmas tree
As December approaches, my anticipation for tree decorating grows. With the tradition of selecting a fresh Christmas tree, I embark on adorning our living room shortly after Thanksgiving, reserving the final touch—the tree—for mid-December. This year, I opted for an all-white theme, embellishing the tree with delightful paper stars, glittery ornaments, delicate paper dot garland and a large star on the top of the tree. The overall look was a festive tree that sparkled with bright white ornaments. I repurposed the remaining fabric from the polka dot chenille bedspread to use as a tree skirt. A little more sparkle was added by placing some twinkle lights in with the birch logs in the fireplace.

Creative uses for yarn trees
Frequently asked questions
For this fun DIY, you'll need various balls/skeins of yarn (white yarn or other colors), cone-shaped tree forms, a hot glue gun, and glue sticks. Optional decorations include wood stars, pom poms, or a string of fairy lights. Most supplies can be found at your local craft store, Hobby Lobby, or online. This project is great for those looking for affordable crafting options.
Start at the bottom of your cone with a dab of hot glue. Attach the end of your yarn and begin wrapping, working your way up. Add a line of glue every few rows to secure the yarn. For a different look, try using chunky yarn or various sizes of yarn. Continue until you reach the tip of the tree, ensuring the last yarn wrap is neatly secured for a polished finish.
The best part of this yarn tree ornament DIY is customization! Try different yarn colors or textures for various looks. Add wooden beads, wood stars, or pine cones for decoration. You can make trees in various sizes and use different types of yarn. For a festive touch, incorporate a string of fairy lights. Feel free to add a tree trunk using a wooden dowel or a wood slice for the base. This versatility makes it a great craft for the holiday season.
For more Holiday Inspiration visit:
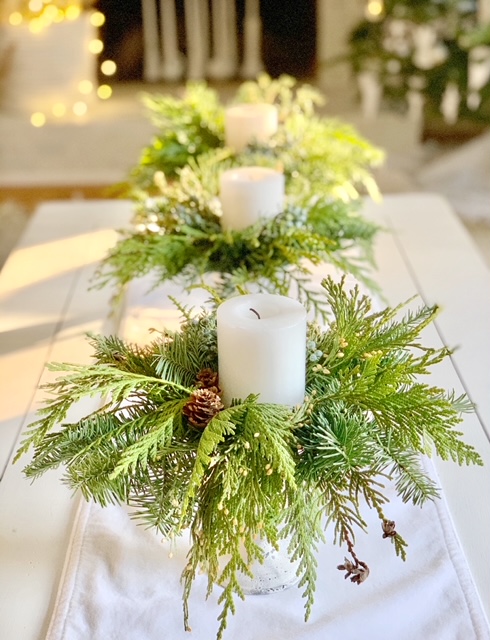
Green and White Christmas Decor: Explore the beauty of our green and white Christmas home decor as we take you on a Christmas home tour through our living room, dining room, kitchen, and entryway. Your will find Christmas decorations from festive mantel arrangements to charming ornaments, immerse yourself in the spirit of the season with us.
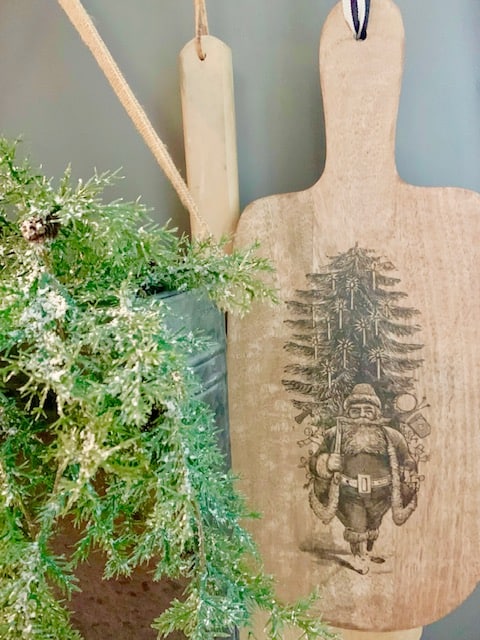
Easy Laser Printer Image Transfer: Try your hand at these whimsical breadboards with a festive image transfer technique. This post will put your laser printer to work and show you how to create these unique boards for the holiday season! Such a fun project!
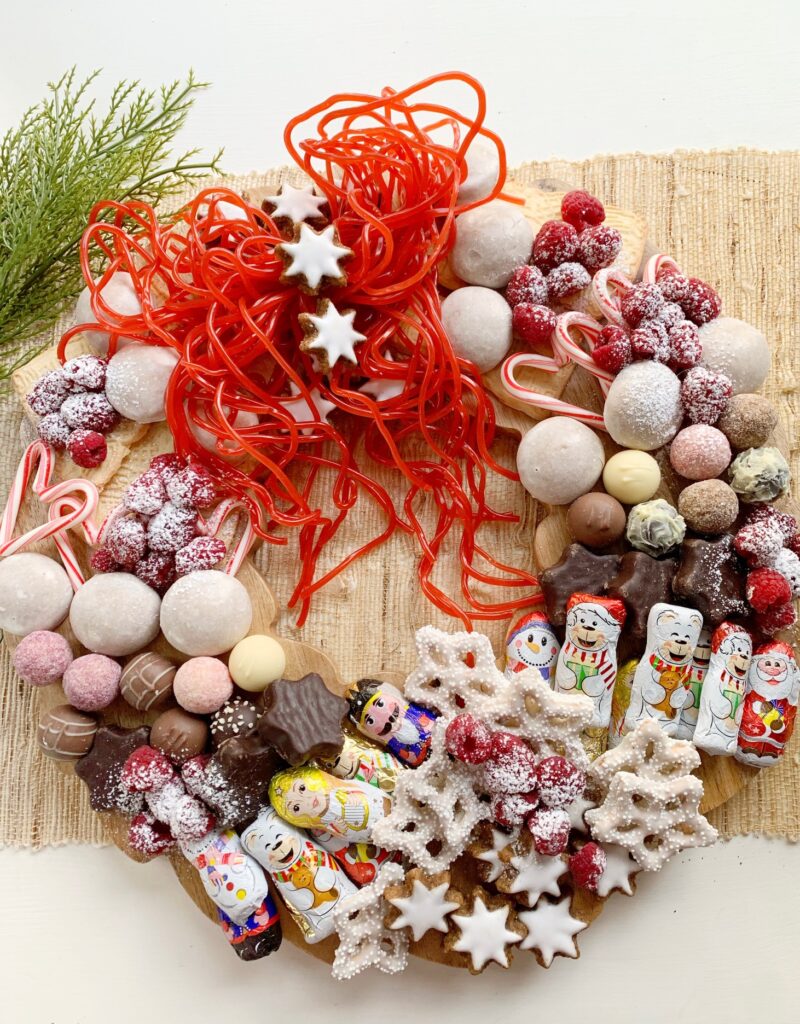
Holiday Dessert Charcuterie Wreath Recipe (With Licorice Bow Instructions): If you're hosting this Christmas season, you'll want to delight your guests with a wreath-shaped dessert board adorned with heart-shaped candy canes and a fun, easy-to-make licorice bow!
More Christmas decorating inspiration?
Explore our collection of holiday styling guides:
- Transform a sparse tree into a lush showstopper with our professional techniques for creating fullness without buying a new tree
- Master the art of Christmas tree decorating with our step-by-step approach that creates designer-worthy results
- Craft charming holiday tabletop book trees using old books for a literary twist on traditional holiday décor
- Place your Christmas tree in any decorative container with our simple method that works with planters of all shapes and sizes
These holiday decorating guides will help you create a festive home that reflects your personal style while making the season even more magical for family and friends.
Thank you for joining me for this, DIY Yarn Christmas Trees for a Soft and Sparkly Blush Holiday blog post. I hope you enjoyed exploring this delightful twist on Christmas decor – a soft, sparkly blush design that's refreshingly unique, free from the traditional reds. The response on Instagram has been heartwarming, with many of you curious about crafting these charming DIY yarn Christmas trees.
A special thanks to the Family Handyman for featuring this mantel display in their 10 ways to decorate your fireplace for Christmas article.
Happy Decorating!




You are so clever! Love this idea and easy. Thank you !!
Thank you so much!