How to Keep Air Plants Alive: Simple Fixes for Happy, Thriving Tillandsias
Air plants stay alive when they get the right mix of water, light, and airflow. Soak them every one to two weeks in room-temperature water, let them dry upside down to prevent rot, and mist between soakings if your home is dry. Keep them in bright, indirect light for four to six hours a day and make sure air circulates freely around them. Avoid standing water, harsh sun, and dry indoor air. With steady care, your Tillandsias will stay healthy, colorful, and thriving for years.
Content may contain affiliate links. When you shop the links, we receive a small commission at no cost to you. Thanks for supporting my small business.
If your air plants keep drying out or turning brown, you're not alone. These quirky little Tillandsias look effortless, but they have a few specific needs that make all the difference. Once you get their light, watering, and airflow right, they'll reward you with bright color, healthy new growth, and even blooms. In this post, I'm sharing my simple, tried-and-true fixes for keeping air plants alive and happy, even if you've struggled before.
Jump to:
- Getting to know Tillandsias
- Creating the perfect indoor environment
- Mastering the art of watering
- Giving your plants a nutrient boost
- Getting creative with displays
- Shop Air Plant displays
- Encouraging flowers and creating new plants
- Multiplying your collection
- Troubleshooting common issues
- Seasonal care and considerations
- Frequently asked questions
- More indoor plant care guides
Quick Fixes for Struggling Air Plants
If your air plants are looking dull, dry, or a little sad, don't give up yet. Most Tillandsias bounce back quickly once you adjust a few basics. Try these simple fixes to bring them back to life:
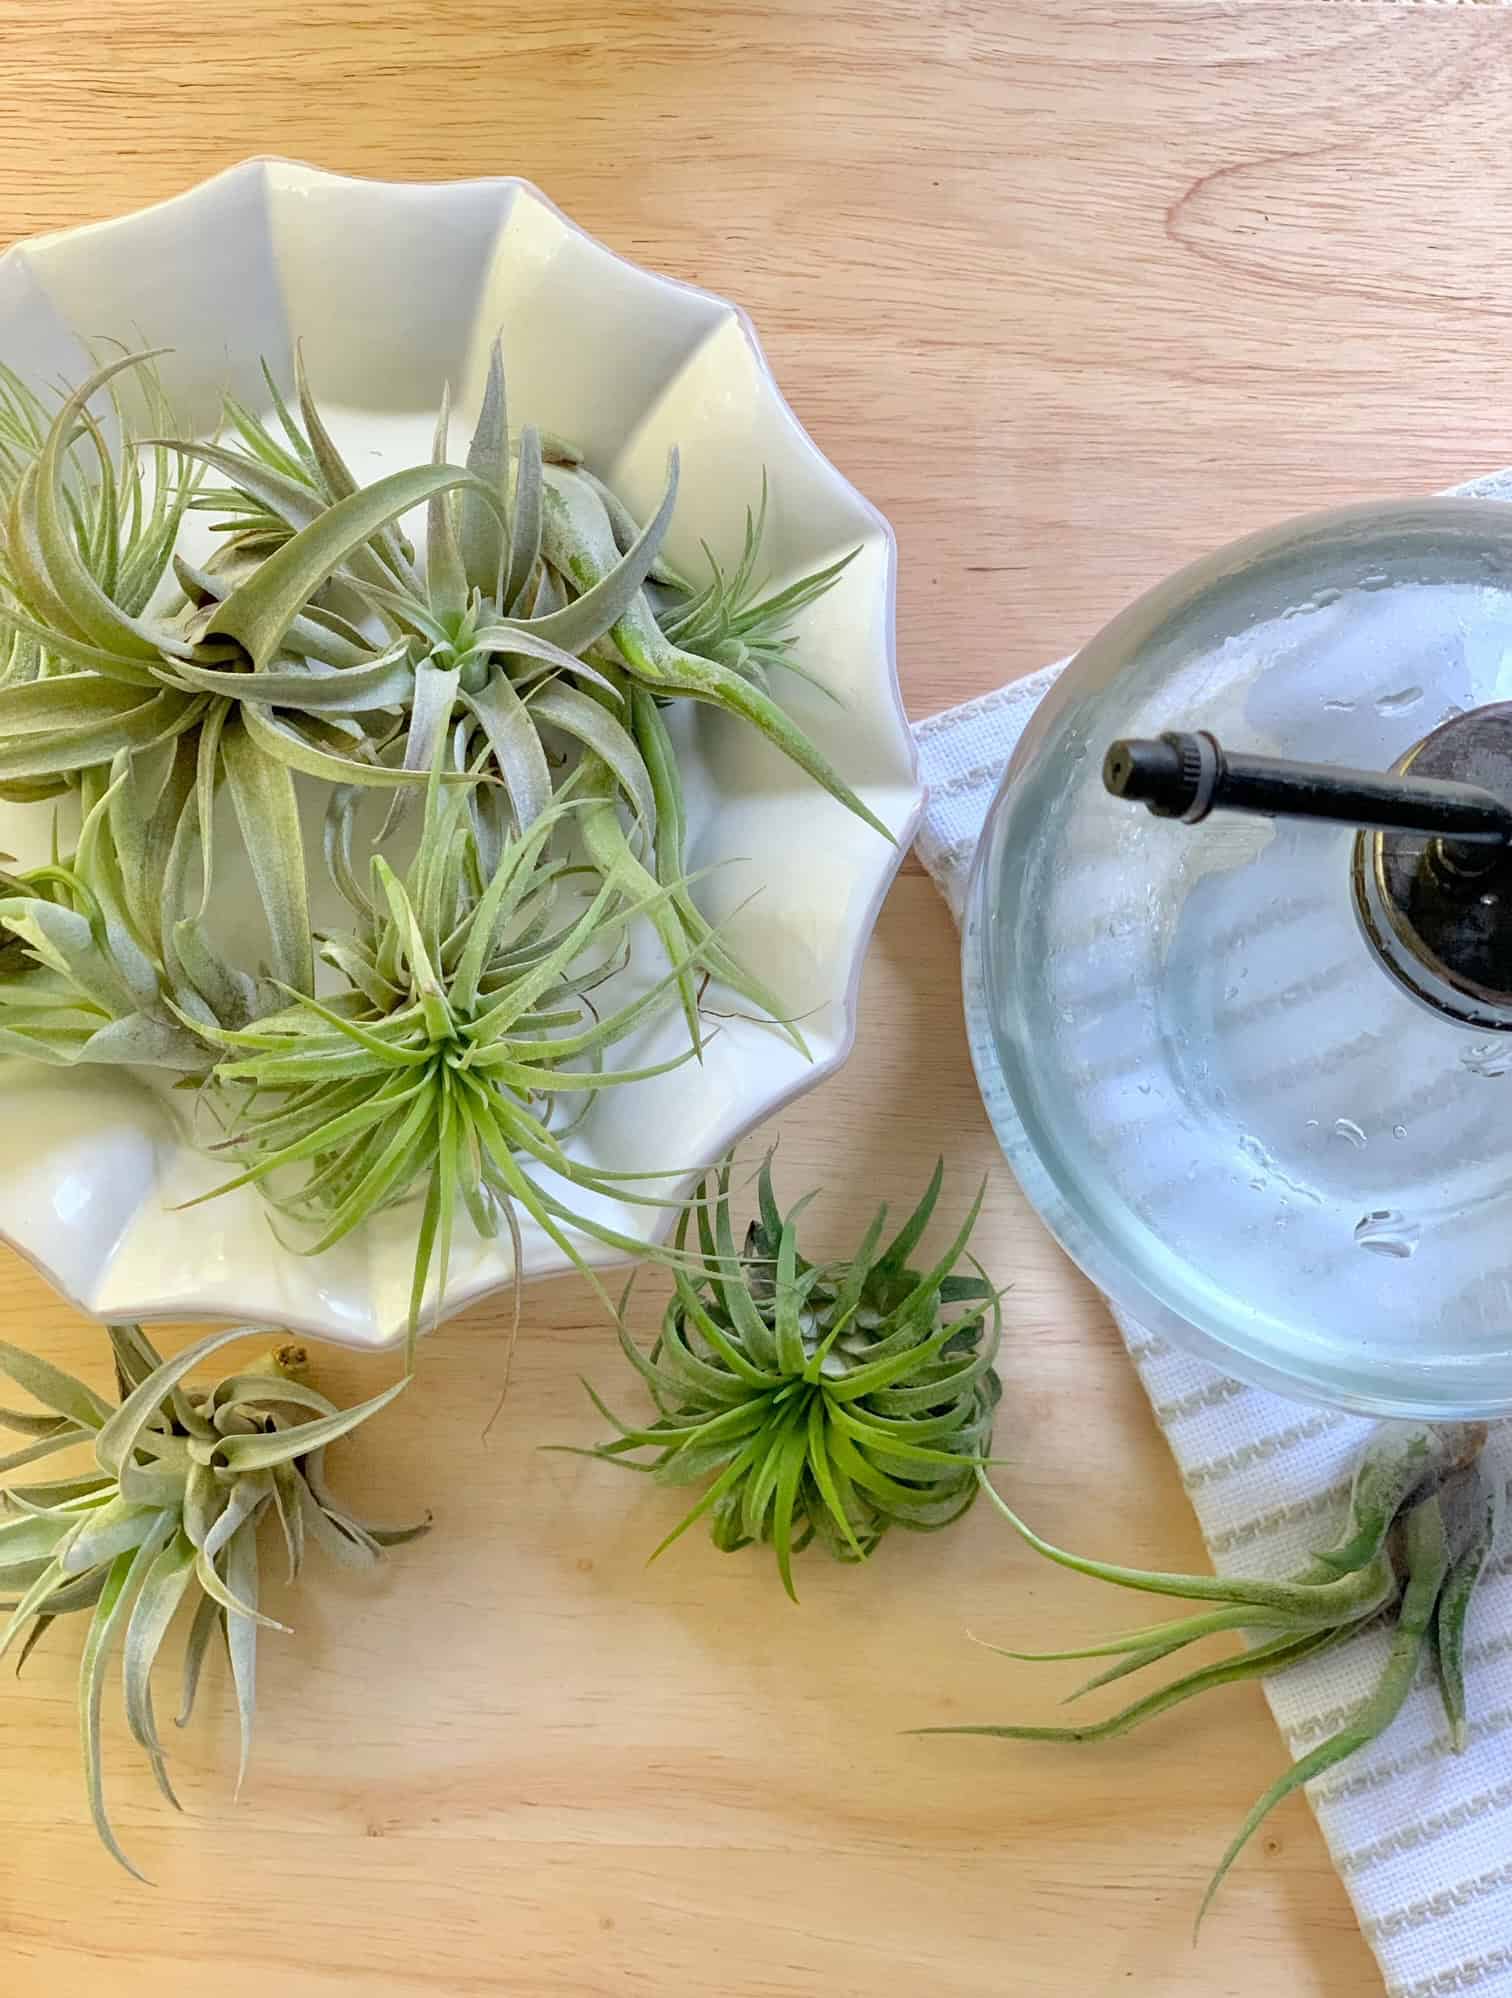
1. Give them a long soak.
Submerge your air plants in room-temperature water for 4 to 6 hours, then shake off the excess. A long soak rehydrates dry leaves and restores color.
2. Let them dry completely.
After soaking, place your plants upside down on a towel so water doesn't collect in the base. This prevents rot and helps them breathe.
3. Move them into brighter light.
Air plants love bright, indirect sunlight. A spot near an east- or west-facing window usually works best. If the leaves look pale, they may need more light.
4. Increase air circulation.
Good airflow helps air plants dry after watering and prevents fungus or rot. A small fan nearby can make a big difference.
5. Mist between soakings.
If your home is dry or heated, mist your air plants lightly every few days to keep humidity up.
6. Trim away dead leaves.
Use clean scissors to remove any brown or mushy leaves so the healthy parts can grow stronger.
7. Be patient.
With steady care, most air plants perk up within a week or two. Once they recover, resume a regular soak every one to two weeks and keep them in bright, indirect light.
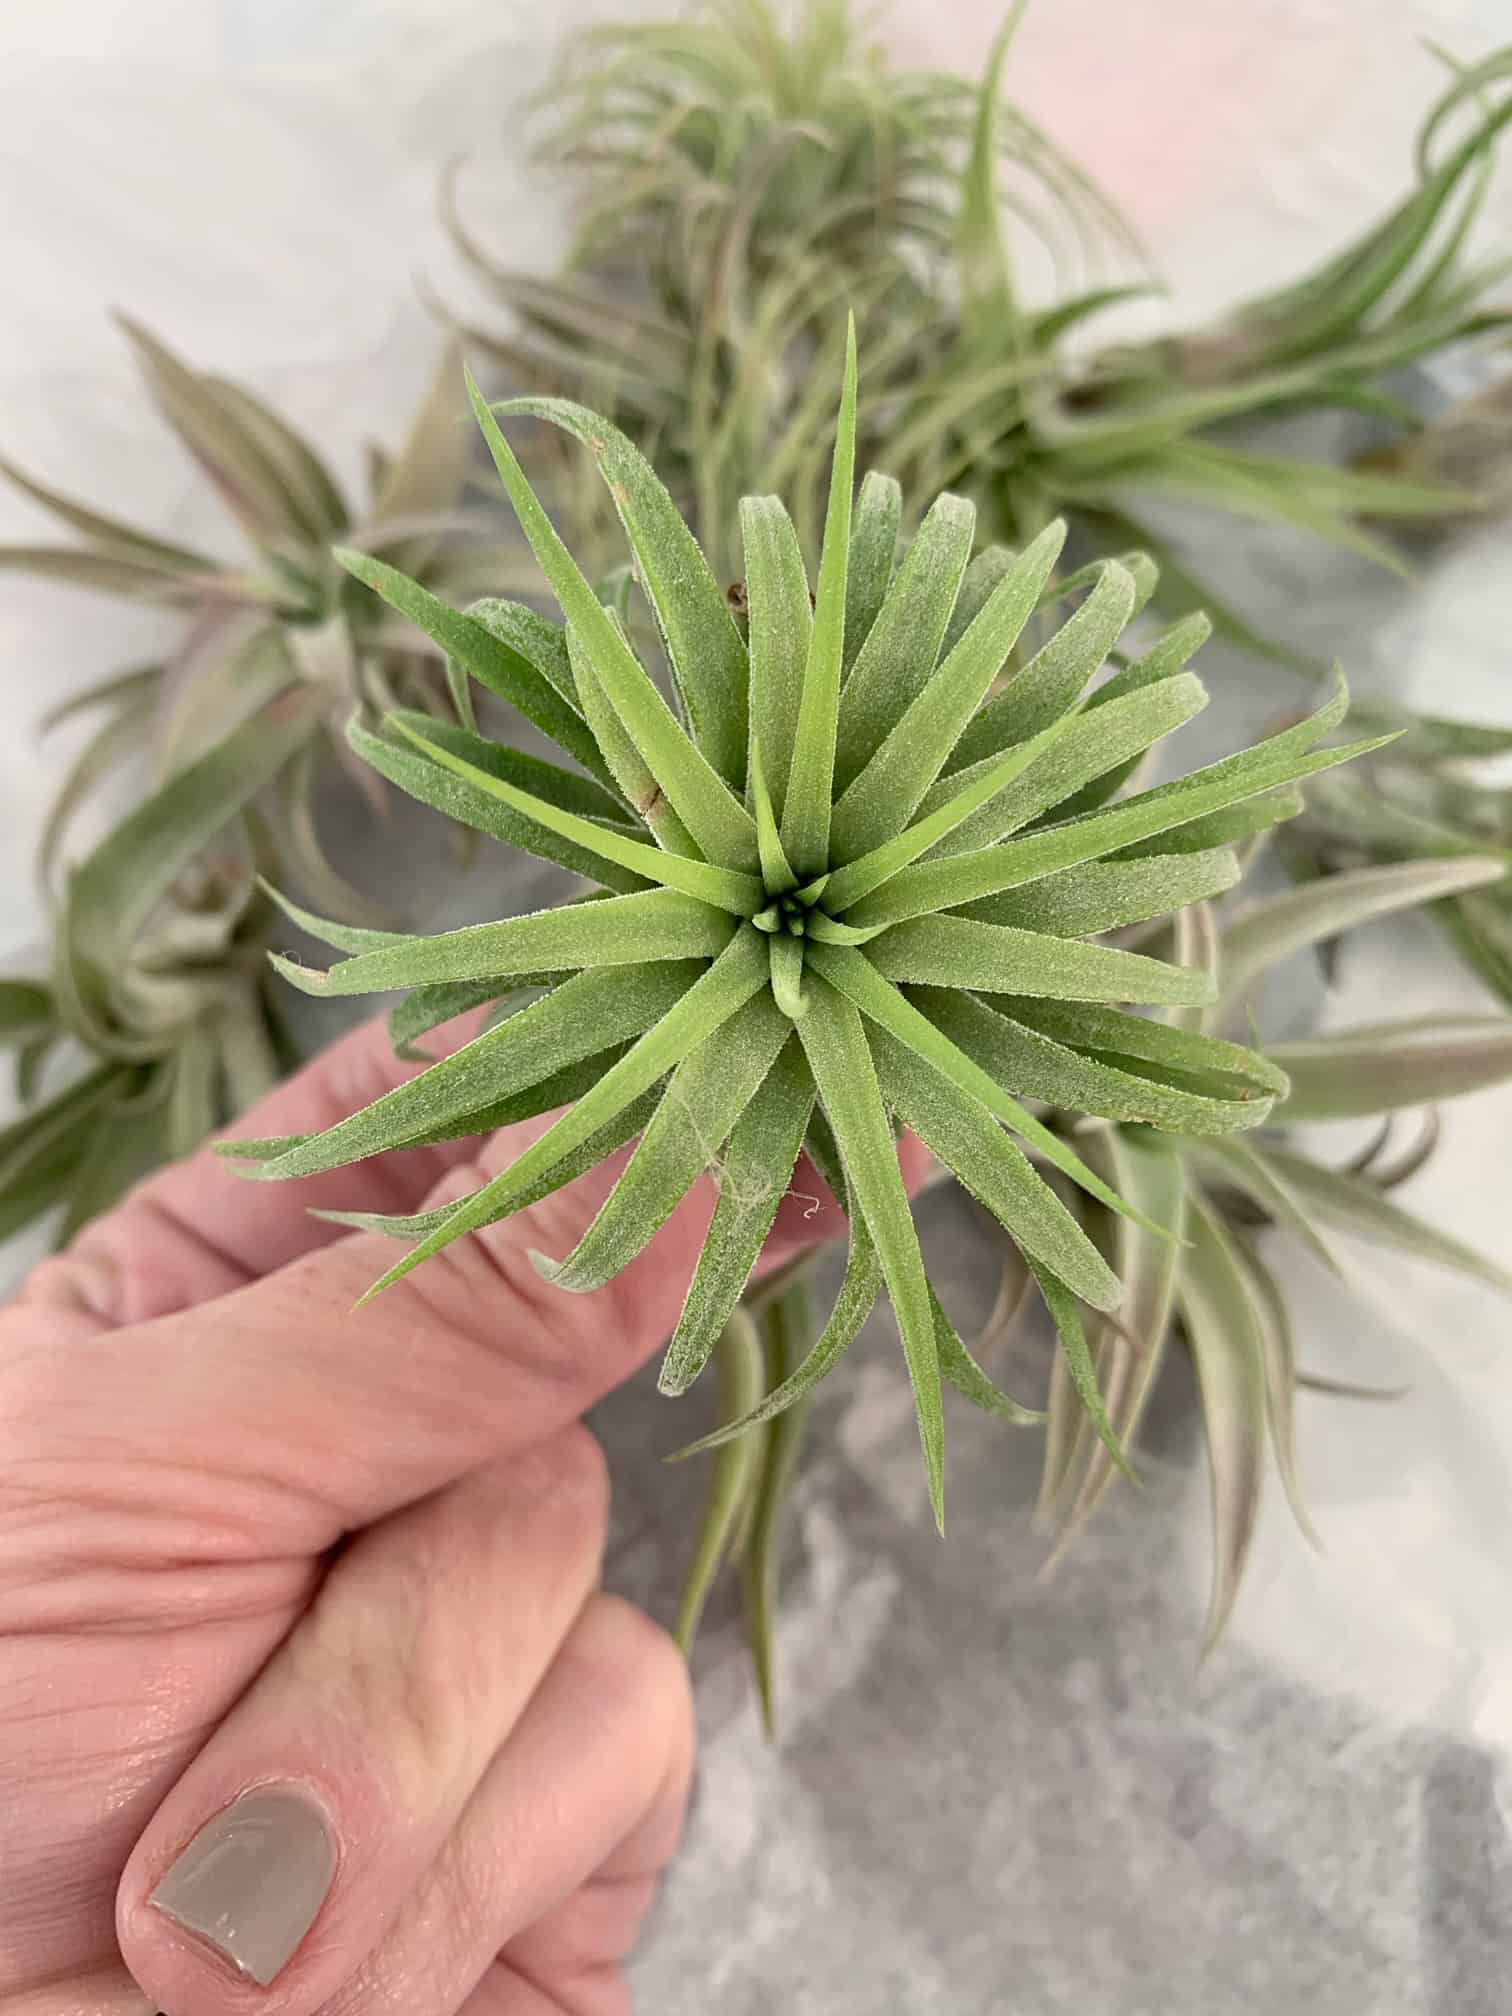
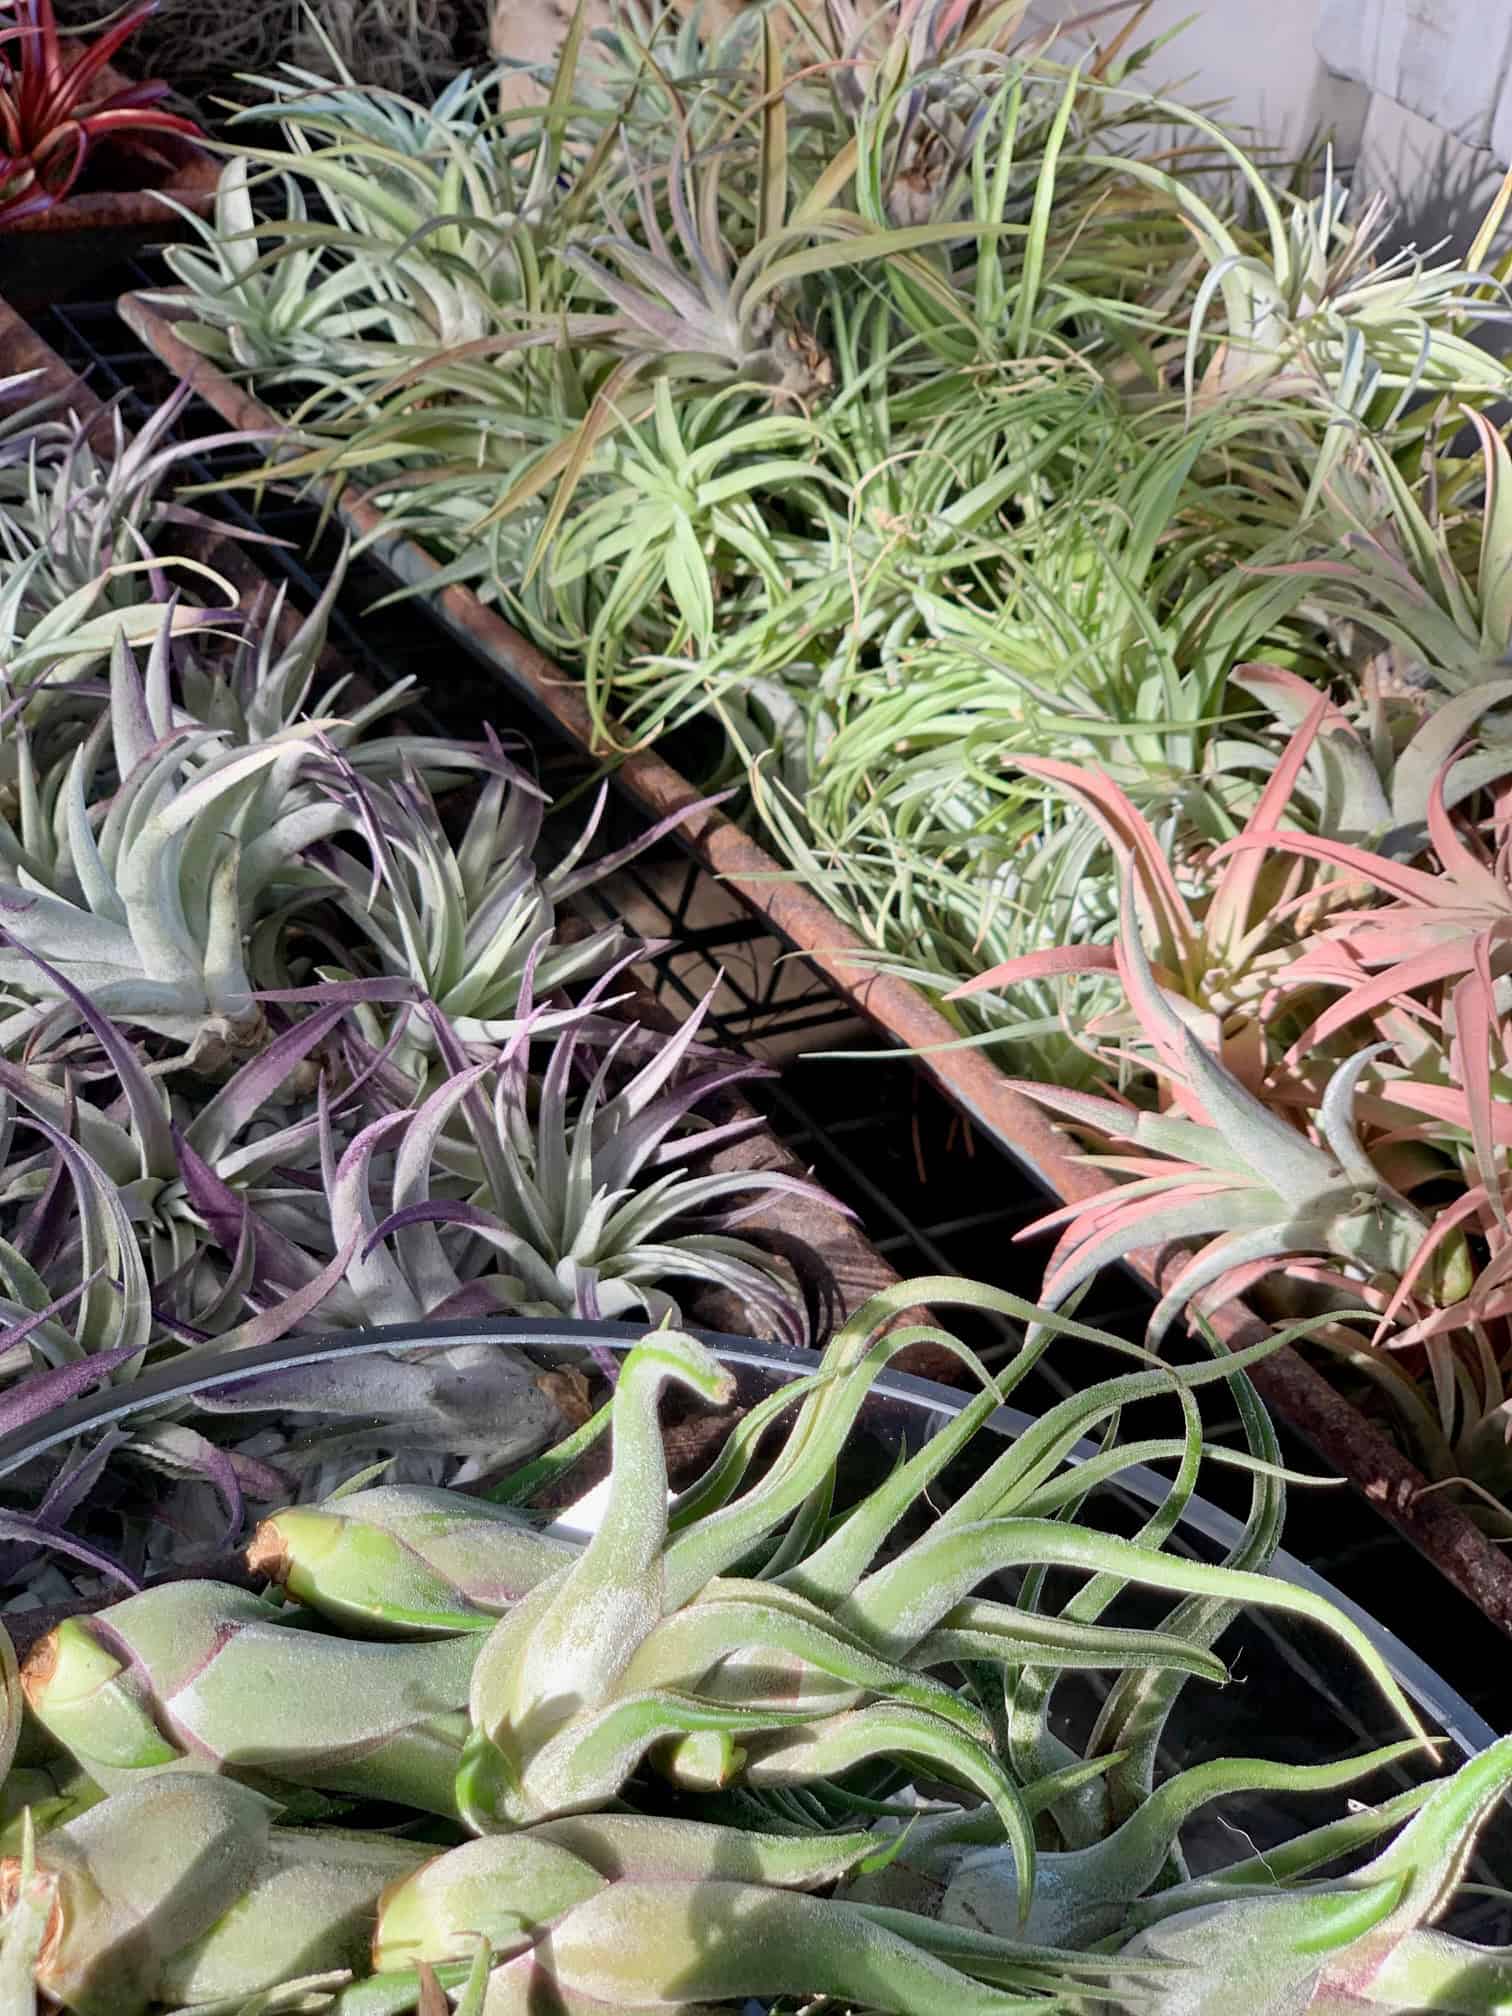
Getting to know Tillandsias
Before we jump into care tips, it helps to understand what makes these plants unique. Air plants, or Tillandsias, are part of the bromeliad family and grow naturally in the mountains and forests of Central and South America. They're epiphytes, meaning they live on trees or rocks instead of in soil, and absorb water and nutrients through tiny leaf scales called trichomes.
There are two main types:
- Xeric Tillandsias from dry, sunny regions - thicker, silvery leaves that need less water.
- Mesic Tillandsias from humid rainforests - greener leaves that need more frequent misting.
Knowing which type you have will help you fine-tune watering and light for healthy, long-lasting plants.
Understanding these differences is key to keeping your Tillies alive! Now let's get into the nitty gritty of care.
Creating the perfect indoor environment
Air plants thrive when you recreate the warm, bright, and slightly humid conditions they love in nature. A few small adjustments to temperature, light, and airflow can make all the difference in keeping your Tillandsias healthy and growing.
Temperature
- Keep your air plants in spaces between 60°F and 80°F.
- Avoid placing them near heating or cooling vents, which can dry them out.
- Watch for drafts or cold windows in winter - air plants are tropical and don't like sudden temperature drops.
Humidity
- Aim for a humidity level of 50-70%.
- If your home is dry, group plants together, use a humidifier, or set them on a pebble tray with water.
Lighting
- Give your air plants 4-6 hours of bright, indirect sunlight each day.
- Avoid harsh, direct afternoon sun that can scorch the leaves.
- In darker rooms, supplement with a full-spectrum grow light.
Air Circulation
- Good airflow keeps leaves dry after watering and prevents rot.
- A small fan on a gentle setting can mimic their natural breezy environment.
Mimicking the warm, humid, and airy conditions of their natural habitats helps air plants thrive indoors all year long. Monitor your space and make small seasonal adjustments as needed.
For more information on getting the right amount of sunlight for your ir plants visit my post on Air plant sun requirements.
Mastering the art of watering
Air plants don't take up water through roots like most houseplants. Instead, they absorb moisture through tiny leaf scales called trichomes, which means how and when you water really matters.
Here are three easy methods to keep them hydrated:
Soaking
Fully submerge each plant in room-temperature filtered or distilled water for 1-3 hours once a week. Shake off the excess and let them dry upside down before putting them back on display.
Dunking
Fill a bowl with room-temperature water and dunk your plants up and down for about 30 seconds several times a week. Remove promptly and shake gently to remove excess moisture.
Misting
Use a spray bottle to mist the leaves every two to three days, especially if your home is dry. Always let them dry completely to prevent rot.
How often you soak, dunk, or mist depends on your indoor conditions. In dry air, soak longer and mist between soakings; in humid climates, scale back.
Use filtered or distilled water whenever possible to avoid mineral buildup. If you use tap water, let it sit out for 24 hours so chlorine can dissipate.
Signs of stress are easy to spot - underwatered plants look shriveled or brown, while overwatered ones feel soft or mushy. Adjust your routine based on how your plants respond.
For more information of best practices for watering your air plants visit my How Often to Mist Air Plants post!
Giving your plants a nutrient boost
Air plants get most of their nutrients from water and air. However, providing supplemental fertilizer can encourage lush growth and vivid colors.
The main nutrients air plants need are:
- Nitrogen for healthy foliage
- Phosphorus to promote blooming
- Potassium for disease resistance
Look for a fertilizer formulated specifically for air plants and Tillandsias. Choose a balanced blend, not one that's nitrogen-heavy.
Apply at ¼ to ½ the recommended strength to avoid burn. Fertilize sparingly every 2-3 months during the growing season. More isn't better!
Soak plants in fertilizer solution for 30-60 minutes or use a mister to apply it to leaves. Thoroughly rinse plants after to prevent chemical buildup.
While fertilizer can give your air plants a boost, it's no substitute for proper water, light, and care. Focus on dialing in the basics before turning to supplements!
Shop Air Plant fertilizers:

DIY homemade fertilizer:
Ingredients:
- 1 gallon of water
- 1 tablespoon of Epsom salt (magnesium sulfate)
- 1 teaspoon of baking soda (sodium bicarbonate)
- 1 teaspoon of household ammonia (optional, for nitrogen)
Instructions:
- Fill a gallon-sized container with water. It's best to use distilled or filtered water to avoid any mineral buildup on your air plants.
- Add 1 tablespoon of Epsom salt to the water. Epsom salt provides magnesium, which is essential for plant growth and chlorophyll production.
- Mix in 1 teaspoon of baking soda. Baking soda helps to adjust the pH of the water, making it more suitable for air plants.
- If desired, you can add 1 teaspoon of household ammonia to the mixture to provide nitrogen, which supports healthy foliage growth.
- Stir the ingredients well until everything is dissolved.
- Transfer the fertilizer solution to a spray bottle or a watering can for easy application.
How to Use:
- Use this homemade fertilizer solution to mist your air plants or soak them in it for about 20-30 minutes once a month during the growing season (spring and summer).
- Make sure not to over-fertilize your air plants, as they are sensitive to fertilizer buildup. Using this homemade fertilizer sparingly will provide the necessary nutrients without overwhelming your plants.
This homemade fertilizer provides essential nutrients for your air plants' growth and health. Adjust the frequency of application based on your plants' response and the environmental conditions they are exposed to.
Learn more about fertilizing plants in my Indoor Plant Fertilizers You Can Make at Home post.
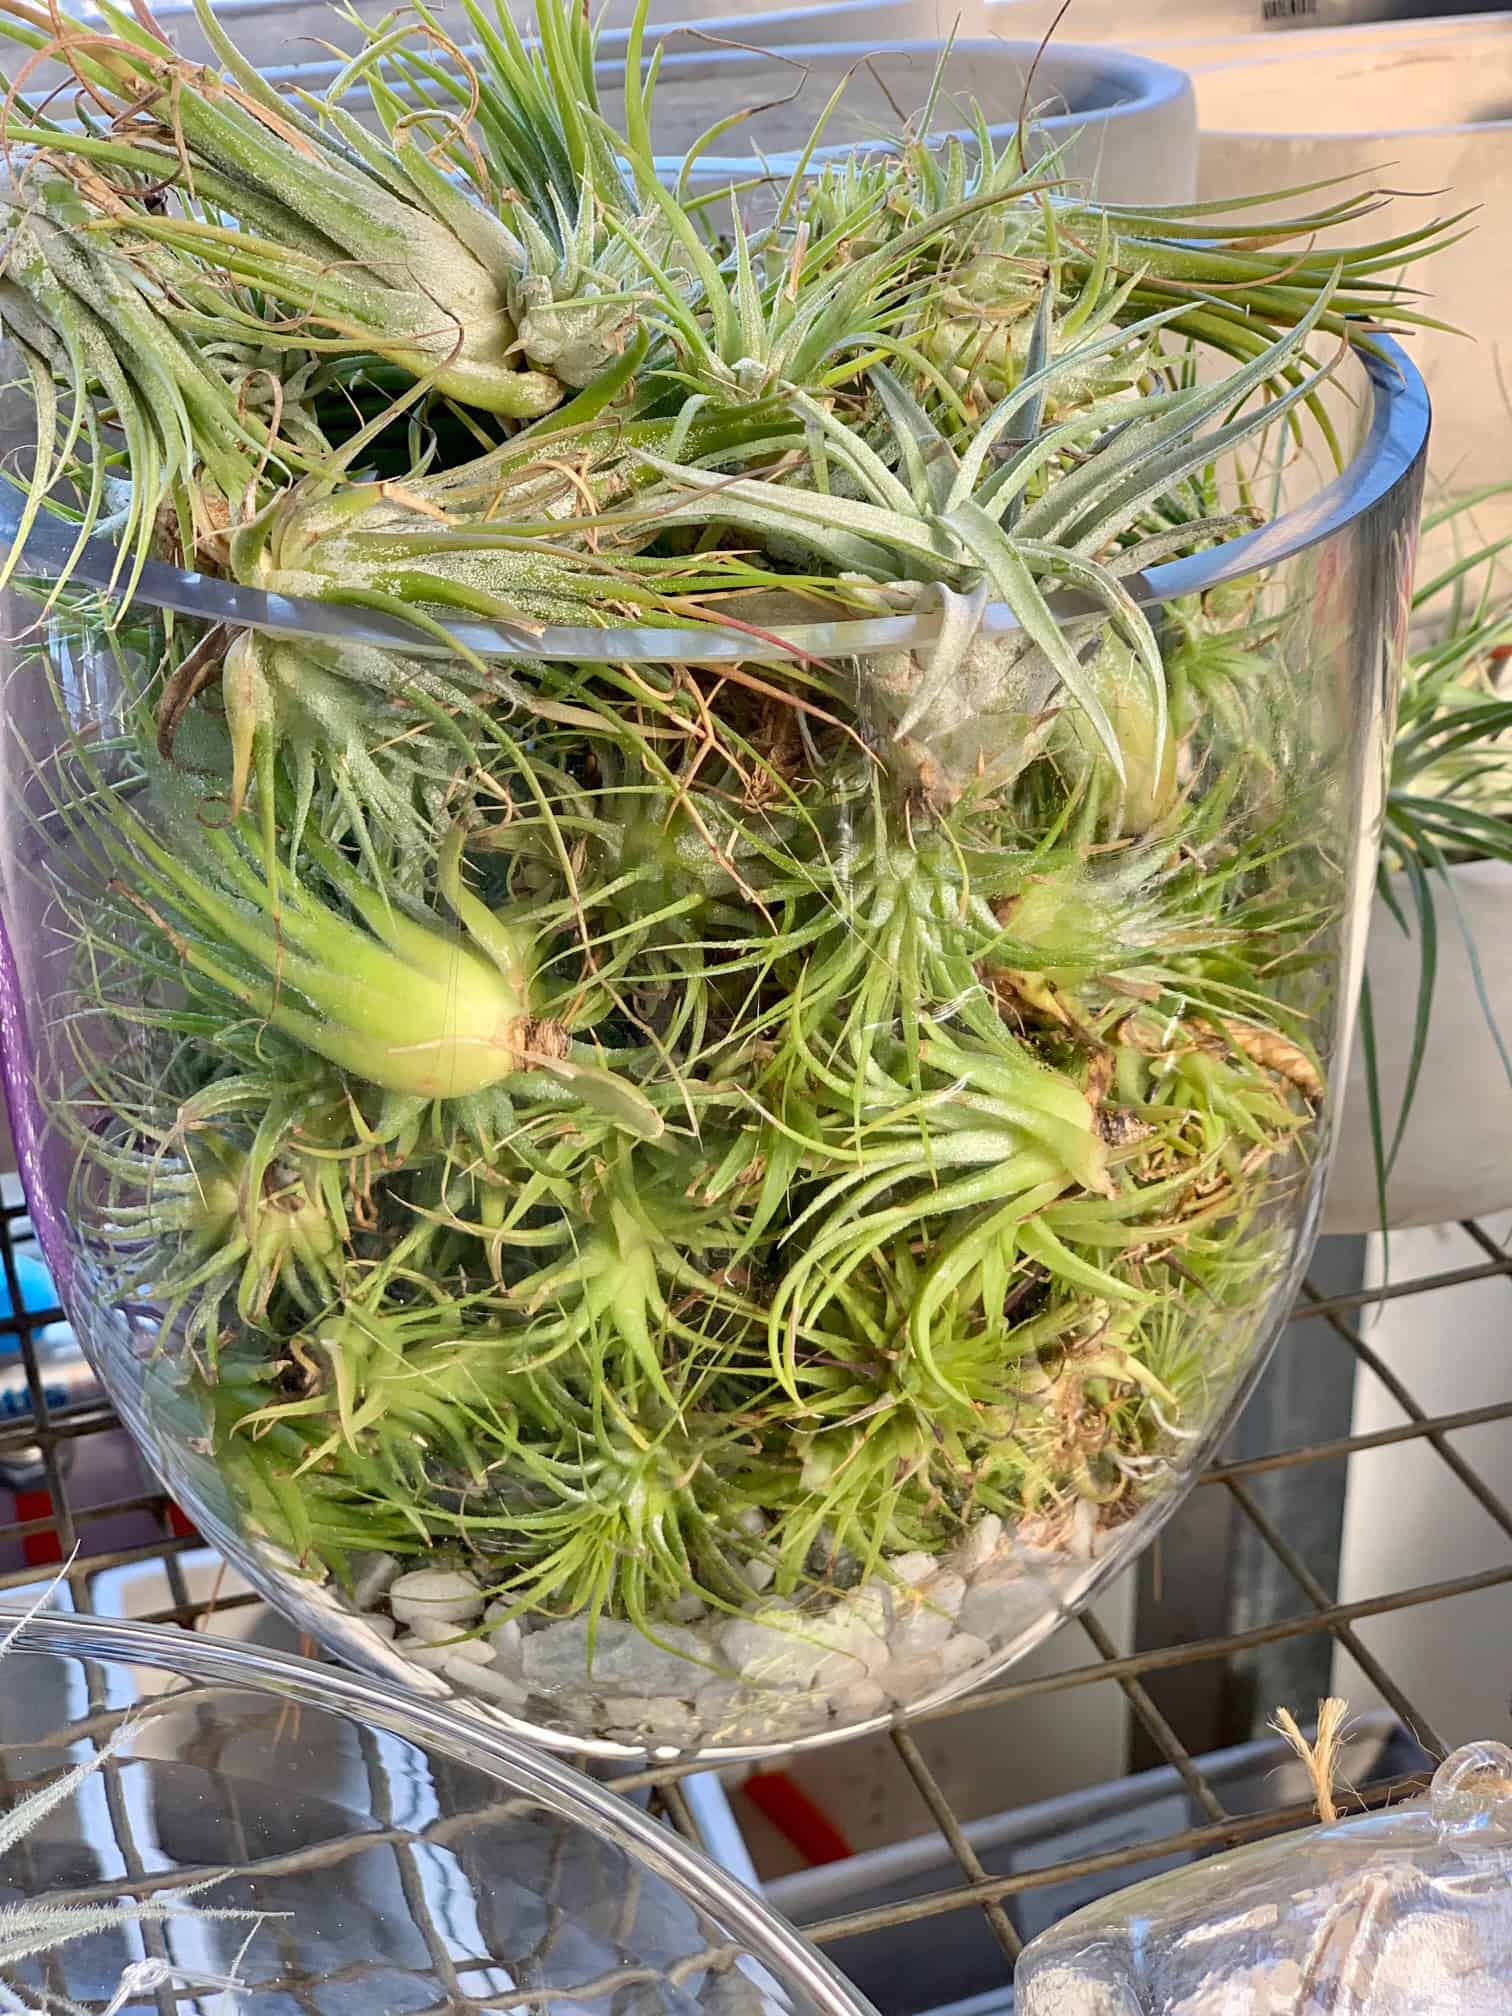
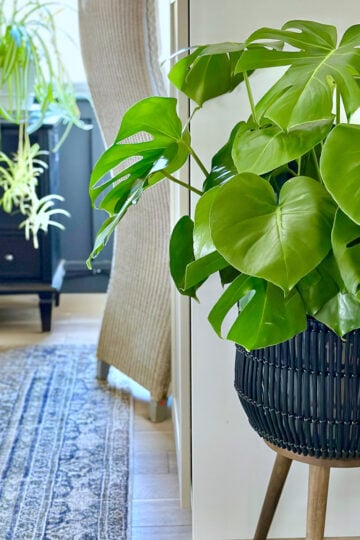
Getting creative with displays
One of the best parts of owning air plants is finding unique ways to show off their beauty. Here are some fun display ideas to highlight your Tillandsias:
- Glass terrariums - Air plant terrariums are great for creating a mini oasis, just be sure to keep the lid propped open for ventilation
- Hanging glass globes - Allow sunlight to filter through and cast a glow on plants
- Mounted on driftwood - Mimics natural epiphytic environment on bark
- Nested in seashells - For beachy vibes, perfect for a bathroom air plant display
- Perched on stones - Stack river rocks or geodes for an earthy look
- Macrame hangers - Let plants cascade at different heights
- Unique centerpiece - Make my Air plant grapevine candle ring.
You can also get creative with household items like conch shells, vases, or wire baskets!
The options are endless - just be sure your display allows for proper light and air circulation. Show off your Tillandsias' unique shapes and let them shine!

Shop Air Plant displays
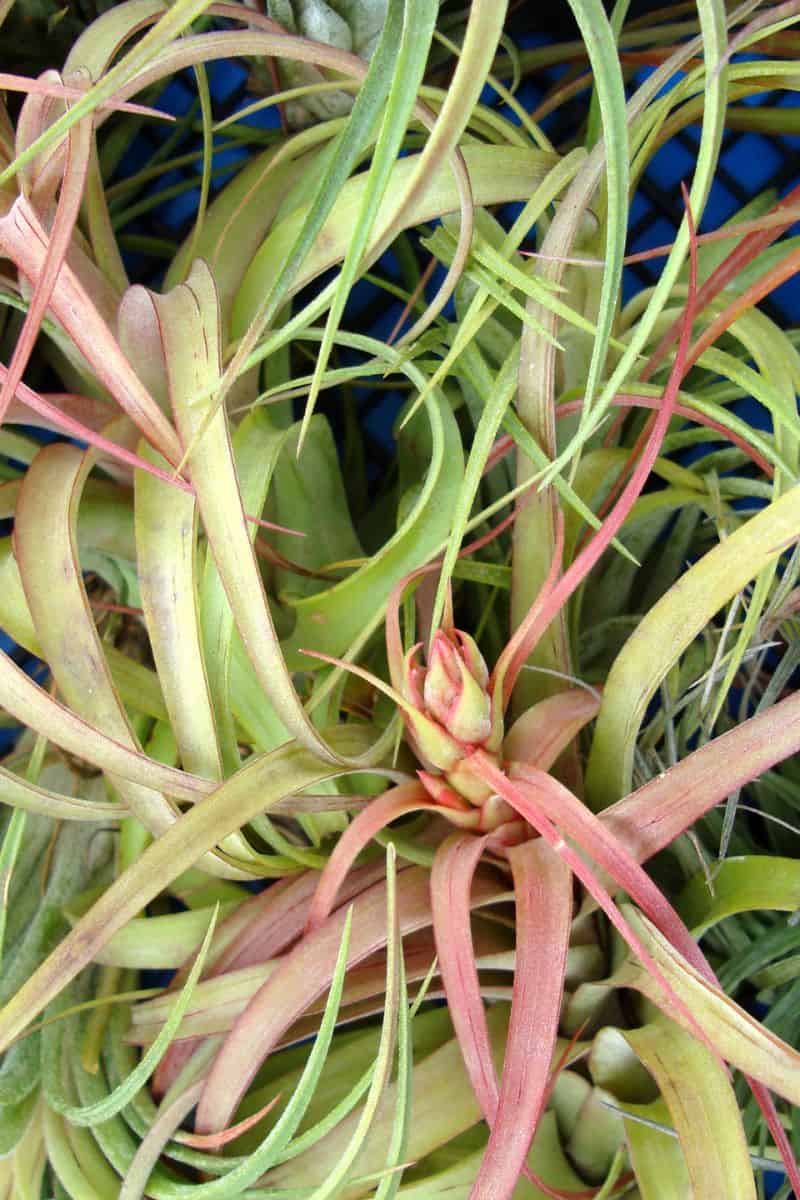
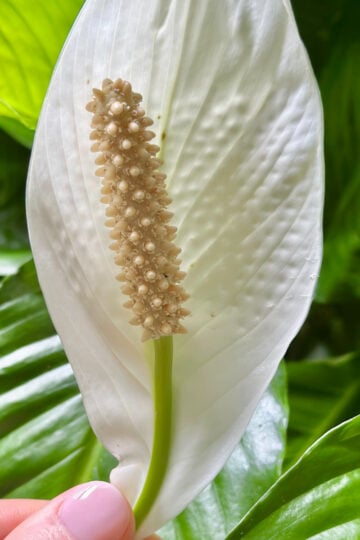
Encouraging flowers and creating new plants
One of the best parts of growing air plants is watching them bloom. With the right care, your Tillandsias will reward you with colorful flowers and new baby plants, called pups.
How to Encourage Blooming:
- Maturity: Most air plants need to be at least 3-5 years old before they flower.
- Seasonal sunlight: Longer, brighter days in spring and summer often trigger buds.
- Healthy environment: Good airflow, regular watering, and proper nutrients help plants build strength to bloom.
- Fertilizer boost: Use a fertilizer that's higher in phosphorus to promote flowering.
- Pest control: Keep an eye out for thrips or fungi, which can damage buds.
Air plant blooms can last anywhere from 3 to 6 months. Continue regular watering during this time, but skip soaking the bloom itself to prevent damage. Once the flower fades, simply trim the stalk near the base.
How to Grow New Air Plants (Pups):
After flowering, many Tillandsias produce pups - small offsets that grow from the base of the parent plant. When a pup reaches about one-third the size of its mother, carefully detach it with clean shears and place it in a new display or air plant mix.
With the right light, moisture, and patience, your pups will grow into mature, blooming plants of their own. Each cycle brings new flowers and more plants to expand your collection.
Multiplying your collection
Over the years, I've grown dozens of Tillandsias in my own home, and one of the most rewarding parts of caring for them is watching the next generation appear. Once your air plants mature, it's easy to expand your collection through propagation. Most Tillandsias naturally produce baby plants, called pups, after they bloom, and separating them is simple once you know when they're ready.
Pups or Offsets (Best for Beginners)
The easiest way to propagate is by removing pups from the parent plant once they reach about one-third its size. Use clean, sterile shears to gently detach them at the base. Place each pup in its own display or air plant mix and care for it just like a mature plant. With time, they will grow into healthy, flowering Tillandsias of their own.
Seeds (For Experienced Growers)
Air plant seeds are more challenging and require patience. They need sterile conditions, high humidity, and a specialized growing medium such as agar. Germination can take several months, so this method is best for experienced growers who want to experiment with rare varieties or hybrids.
If you are just starting out, I recommend beginning with pups to build confidence. Once you feel comfortable, try growing from seed as a long-term project. I have found that both methods bring a real sense of satisfaction and connection to the growing process. With steady care and a bit of curiosity, your air plant collection will keep expanding year after year.
For more information on propagating air plants visit Wikihow's article, How to Propagate Air Plants. With propagation know-how, your air plant collection can multiply quickly! Start with pups to hone your skills.

Troubleshooting common issues
Even with the best care, air plants can sometimes run into problems. Here are some common issues and fixes:
| Issue | Causes | Signs | Fixes |
|---|---|---|---|
| Rotting | Improper watering or poor drainage | Base turns black, mushy leaves | Improve air circulation, reduce watering in humid conditions |
| Dehydration | Underwatering or low humidity | Dried, brown, curled leaves | Increase misting and soaking, move to higher humidity area |
| Sunburn | Direct sun exposure | Leaves turn yellow or brown | Keep in bright, indirect light, acclimate to increased sun |
| No New Growth | Insufficient light, nutrients, moisture | Stunted or no new growth | Review care regimen, adjust as needed |
| Pest Damage | Scale, mealybugs, thrips | Visible pests, leaf damage | Isolate and treat with insecticidal soap, ensure proper drying after watering |
Catching issues early allows for quick recovery. Always assess conditions and care when problems arise - an air plant is a window to its environment!
Seasonal care and considerations
As the seasons change, your air plants need some adjustments to stay happy and healthy. Temperature, daylight, and humidity levels all influence how your Tillies are feeling.
Adjusting to the Seasons: Here's the scoop - when the weather cools down or heats up, your air plants might need a tweak in their care routine. In colder weather, indoor air tends to dry out, so your plants might benefit from more frequent misting to stay hydrated. Conversely, during summer, they might appreciate a bit more shade to avoid sunburn.
Tackling Seasonal Challenges: Winter can bring dry indoor air, which isn't ideal for air plants. Combat this by increasing humidity with water trays or more frequent misting. And when summer heatwaves hit, provide shade or bring them indoors to avoid excessive sun exposure.
Keeping Them Cozy: Extreme temperatures and drafts aren't air plants' cup of tea. Keep them away from vents or drafty windows in winter, and during freezing weather, consider moving them to warmer spots in the room.
There you have it - some simple tips to help your air plants sail through the seasons. Remember, a little adjustment can go a long way in ensuring your Tillandsias thrive, rain or shine!
Frequently asked questions
Most air plants do best with a full soak every one to two weeks. Submerge them in room-temperature water for one to three hours, then let them dry completely before putting them back on display. If your home is dry, mist lightly between soakings to keep humidity up. For more information visit my post on the water requirements of air plants.
With the right care, air plants can live anywhere from two to five years, and sometimes longer. Healthy Tillandsias will also produce pups before they die, which means your original plant can live on through new growth.
Start with bright, indirect light and a regular watering routine. Soak your plants weekly, allow them to dry fully, and keep them away from direct sunlight or cold drafts. Consistent light, moisture, and airflow are the keys to success for beginners.
Before you leave, give your air plants a long soak and place them in a bright room out of direct sun. If you'll be gone for more than a week, ask a friend to mist them lightly once or twice. Most air plants can handle a short break from care, especially if they're well hydrated before you go.
The growth rate of air plants, also known as Tillandsias, varies depending on the species and environmental conditions. On average, air plants tend to grow slowly, with an annual growth rate of around 1-3 inches. Some species may grow faster, while others may be more gradual in their growth, making them a patient gardener's delight.

Air plant candle ring instructions
Want to see how I style and care for different indoor plants throughout my home? Click to browse the full plant care collection.


Air plants may look delicate, but with the right care they are some of the most forgiving and rewarding houseplants to grow. Focus on the basics: bright indirect light, consistent watering, good airflow, and a little humidity, and your Tillandsias will stay healthy for years.
Once you understand what these plants need, they become almost effortless. Whether you are rescuing a tired air plant or adding new varieties to your collection, a little attention goes a long way. Keep experimenting, keep observing, and enjoy the process of helping these fascinating plants thrive.
Keep growing friends!