DIY Christmas Lanterns: How to Decorate Lanterns for the Holidays
I scored this oversized lantern from one of my favorite online shops, Antique Farmhouse, and ended up creating one of my most loved DIY Christmas lanterns. Since then, I have made several of these decorated lanterns for Christmas and winter decor, both for myself and as gifts. My favorite sits on our covered front porch and creates a cozy glow on dark winter evenings.

Content may contain affiliate links. When you shop the links, we receive a small commission at no cost to you. Thanks for supporting my small business.
Today I am sharing exactly how to make your own Christmas lantern display. I will walk you through finding the right lantern (check HomeGoods, Michaels, or even Walmart), the supplies that actually work best, and how to put it all together so it lasts through the holiday season.
Jump to:
Shopping for your Christmas lantern
After making several of these, I've learned size really matters. You'll want a lantern at least 15 inches tall to fit those cute little houses and trees without looking cramped. Mine is 30 inches and it's perfect - gives plenty of room to create depth with the scene.
My lantern has a top that lifts off, which makes arranging everything super easy. But don't worry if yours has a hinged door - both styles work great, you'll just arrange your scene a little differently. Whatever style you choose, just make sure the top is sturdy enough to hold your greens and bow. I prefer metal lanterns since they've held up better than the wood ones I've used in past years.
I'll link my favorite lanterns in my LTK, but besides Antique Farmhouse, I regularly spot good ones at HomeGoods, Michael's, and even Walmart during the holiday season.
Working with a tighter budget? Mason jars make adorable mini versions. My sister made three last year using quart-size jars, and they looked super sweet lined up on her mantel.
Shop lanterns:

Supplies list
- Large lantern
- String lights/battery operated
- Faux snow
- Mini houses
- Star ornament
- Bottle brush trees
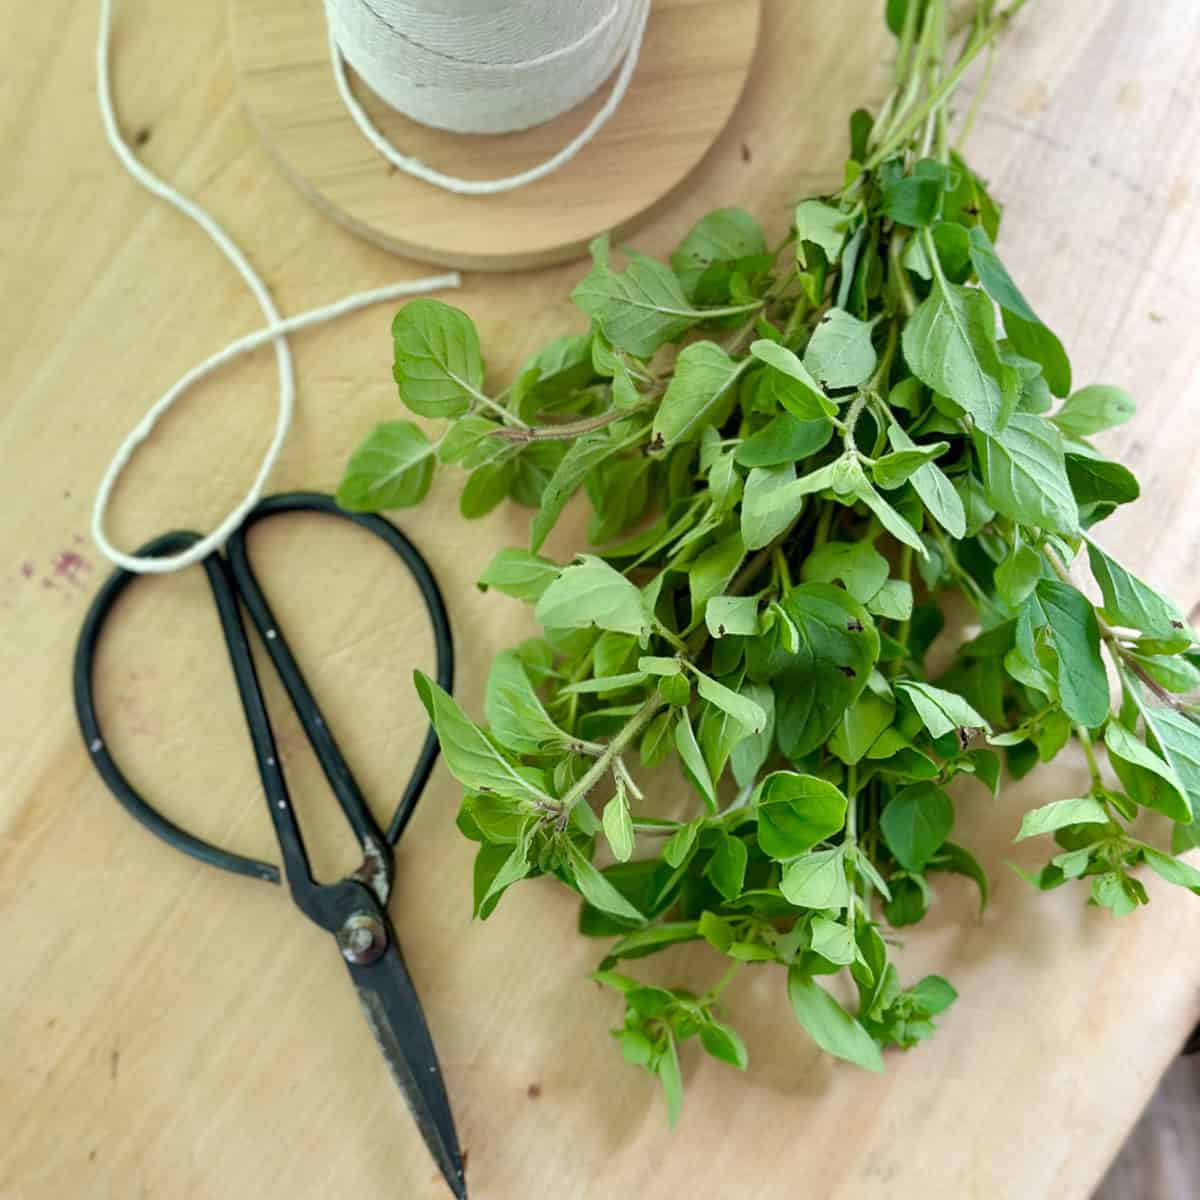
- Fresh greens
- Berry pick
- Ribbon ( I used 3 types to make a layered bow)
- String or wire
- Command strips
- Flameless candles, pine cones, faux floral stems (optional)
See how I used twinkle lights to look light lightning bugs in my DIY Succulent Garden Lanterns post.

Quick assembly steps
Inside of the lantern
Start with lights and star ornament - First, secure the battery pack to the inside top of your lantern. I use command strips - they hold well and don't damage the lantern. While you are working on the top, suspend the star ornament, make sure it's low enough to see through the glass.
Pro tip: Get lights with a timer feature so they'll turn on and off automatically each evening. Let the strand hang naturally down into the lantern.

Add the snow base - Pour about 1-2 inches of snow into the bottom of your lantern, spreading it evenly. This creates the perfect base for your village.
Create your village scene - Start with your tallest trees in the back corners. Then add houses, placing them slightly angled rather than in straight rows. Smaller trees can fill in gaps and create depth. Step back occasionally to check your arrangement through the glass.

Decorating the top
Make your swag - Lay your longest, fullest green piece flat (about 12 inches works best). Layer shorter pieces on top, building fullness. Tuck in your berry pick last. Secure all stems together with floral wire or string. I've used both fresh and faux greens - both look great.


Add your bow - You can use my layered bow tutorial if you want the exact look. But honestly, any full bow works beautifully here. I used three coordinating ribbons, but even a single ribbon makes a gorgeous bow.

Put it all together - Attach your swag first, angling it slightly to one side of the lantern's front. Most lanterns have a finial or dome on top that's perfect for securing the swag with wire. Once that's stable, attach your bow right where the swag meets the top of the lantern.

Where to display your DIY Christmas lanterns
I keep my favorite lantern right on my painted fireplace hearth with a fabulous Christmas garland, where it adds such a cozy glow to our living room during the holiday season. But I've tried these in several spots over the years - they work beautifully on a covered porch (just keep it out of direct weather), tucked next to the Christmas tree, or on a deep mantel if you have one.
If you're using it outdoors, like near your front door near your decorated vintage sled, just remember to check those battery-operated lights regularly. Mine usually last about 2-3 weeks with the timer running.

Tips for success
Let's talk about keeping your lantern looking fresh through the season. My timer lights typically last about 3 weeks on one set of batteries - I just pop in new ones after Christmas to get through New Year's.
For the fresh greens, spritz them with water every few days and they'll stay nice for several weeks. I keep a small spray bottle right by the fireplace to make it easy to remember.
Everything inside the lantern stays put pretty well on the snow base, but if you're moving your lantern around, you might want to add a tiny dot of hot glue under the houses. It peels right off when you're ready to pack everything away.

Frequently asked questions
To make a lantern look Christmassy, start with a base of greenery like pine, cedar, or faux garland. Add a candle in the center for glow, then tuck in seasonal accents such as pinecones, ornaments, or ribbons. Even a small touch of red berries or a festive bow can instantly give your lantern holiday charm.
A simple homemade lantern can be created using a glass jar or thrifted container. Add a candle or LED light inside, then decorate the outside with twine, ribbon, or greenery. For a Christmas version, use faux snow, mini ornaments, or small sprigs of pine to make it seasonal and cozy.
The best materials for DIY lanterns depend on where you plan to display them. Metal or wood lanterns work well on porches since they are sturdy and weather resistant. For indoor use, glass or ceramic lanterns create a polished look. Always choose heat-safe containers if you are using real candles.
Lanterns for Christmas can be filled with candles, twinkle lights, pinecones, faux snow, or small ornaments. Try layering greenery at the bottom and then adding decorative accents on top. Flameless LED candles are a safe option for a warm glow that lasts all season.
Tis the season for decorating! Be sure to explore our complete collection of holiday inspiration including our comprehensive How To Decorate A Christmas Tree: The Most Complete Guide You'll Find, budget-friendly DIY Pottery Barn-inspired Pinecone Garland, festive Simple Fruit Garland tutorial.


Creative Holiday Decor: If you love adding personality to your seasonal decor, check out my 30 Years of Firefighter Santas to see how a single theme can transform a room.
These DIY Christmas lanterns have become one of my first decorations to go up each Christmas season. In fact I love the glow so much I will often use them for my winter decor. There's something so magical about that soft glow coming from the little village scene, especially on snowy evenings. If you're making one for the first time, don't overthink it - start simple and have fun with it. I'd love to see how yours turns out! Tag me on Instagram if you make one.
Happy decorating friends!