I love using floral foam when I design flowers and my friends over on Instagram have heard me say (more than once) “foam is your friend” yet so many “at home floral designers” seem to shy away from using it. Well, I’m here to tell you that floral foam was designed to help you….design! That’s right, using floral foam makes arranging flowers so much easier once you get the hang of it! Keep reading this How to use Floral Foam (tips from a floral designer) post to learn about the different types of foam, how to use it, and why you should consider adding it to your floral design toolbox.
About Floral Foam
Smithers-Oasis Wet Floral Foam has been the industry standard for over 60 years. It was invented by Vernon Lewis Smithers a chemist in Akron Ohio in the early 1950’s. This foam, that holds 95% water, was developed to allow cut flowers to be supported and hydrated. Quite frankly this invention revolutionized the way florists operated and even today it’s considered the gold standard for most florists.
Today there are two types of general floral foam which I will cover in this post. The first is wet floral foam designed for fresh flower arrangements and dry flower foam designed for dried flowers or faux/silk flowers. One provides water to flowers, both support the design. Of note, there are different types of floral foams, one for spring flowers, one that is extra sturdy for large containers or heavy flowers and now there are new bio-degradable ones hitting the market. Foam also comes in a variety of shapes to better meet the needs of floral designers and there are several different brands. For the purpose of this post, I will cover the standard floral foam (the kind you can purchase at your local craft store).
Why you Should use Floral Foam for your Next Design
Regardless of the type of foam you are using – there are a few good reasons to consider using floral foam for your arrangments:
- Ease: Floral foam is incredibly easy to use. For fresh (wet) foam you simply saturate the foam, fit it in your container and place your flowers where you want them! That’s right, exactly where you want them – no flopping, no taping, no chicken wire placed in a container to hold flowers!
- Availability: You can find floral foam on Amazon or at your local craft stores.
- Stability: Designs made in floral foam are easy to move or transport. The flowers will stay put with no shifting or flowers falling out of the container.
Let’s give each of these foams its own spotlight because while they essentially provide the same stability and support for the arrangement, they actually function differently.
About Wet Flower Foam
Wet floral foam typically comes in brick-shaped blocks and has air-filled cells. As water moves into the cells, the air is pushed out and the foam sinks and saturates. In fact, a fully saturated brick of wet foam can be quite heavy! This water-filled foam will provide fresh flowers and greens with the water they need to last.
Tips for using wet foam:
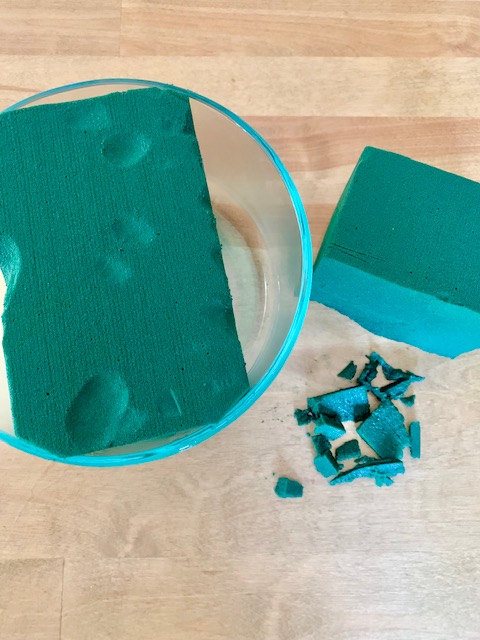
- Soaking the foam: The jury is still out on this one! I have worked at several florists and 1/2 believe that filling a bucket or other container of water and floating the floral foam brick to let it sink ensures that there won’t be any air pockets or dry spots in the foam. The other 1/2 thinks it’s fine to fit the foam (before it is soaked) into your vessel and then add water. My experience has been that either works just fine!
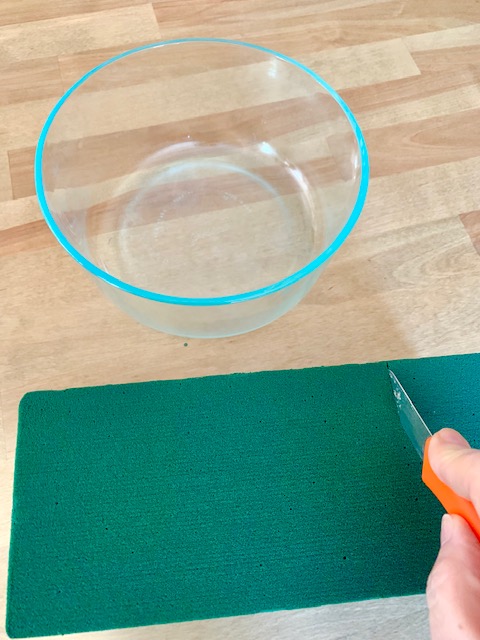
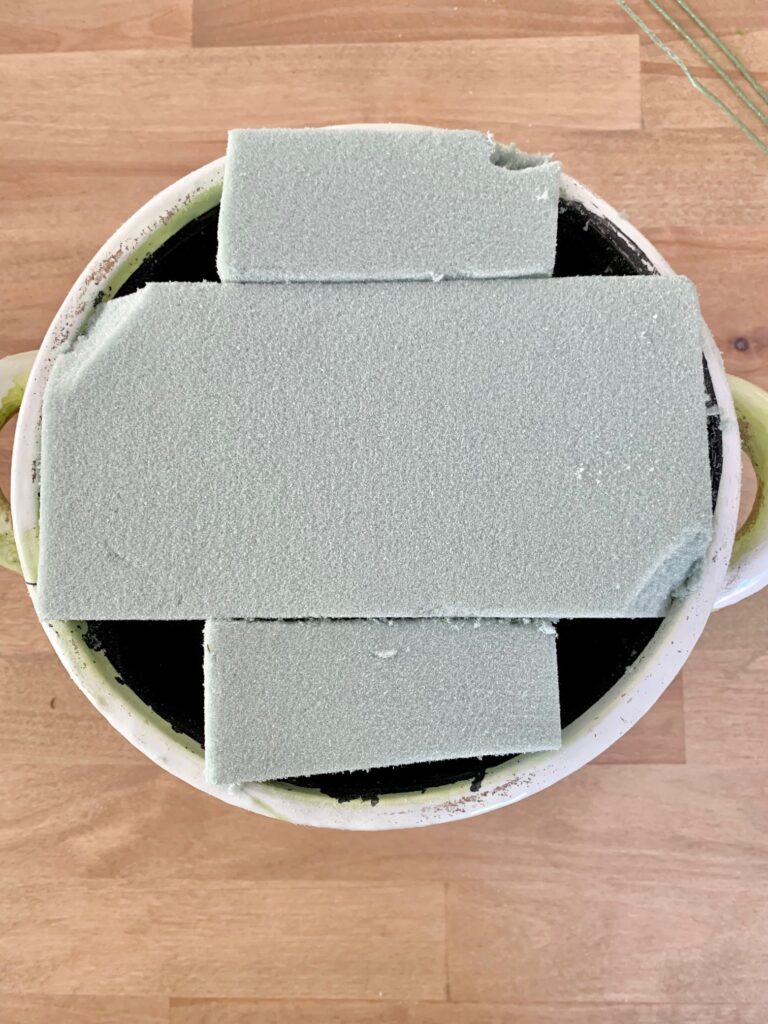
- Fitting the vase: The key to floral foam is to fit it to your vase or vessel as snugly as possible. Loose-fitting moving foam isn’t going to give you the support you will need for a sturdy arrangement. Fitting foam is often like putting a puzzle together. With a floral design knife cut the foam to fit the container then take smaller pieces to fill in the gaps. Once the foam is in place add water. If necessary, you can firmly secure the foam using Oasis tape. Oasis tape (or waterproof floral tape) is available in green, white, and clear variations, designed for use with moist conditions. This tape is particularly useful when attaching foam to flat dishes, trays, or other even surfaces.
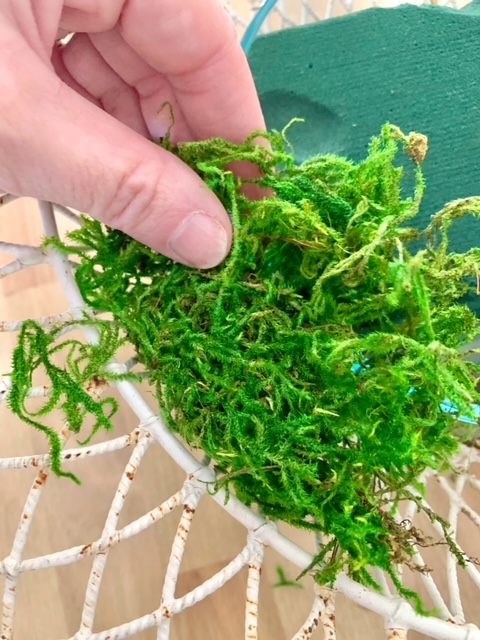
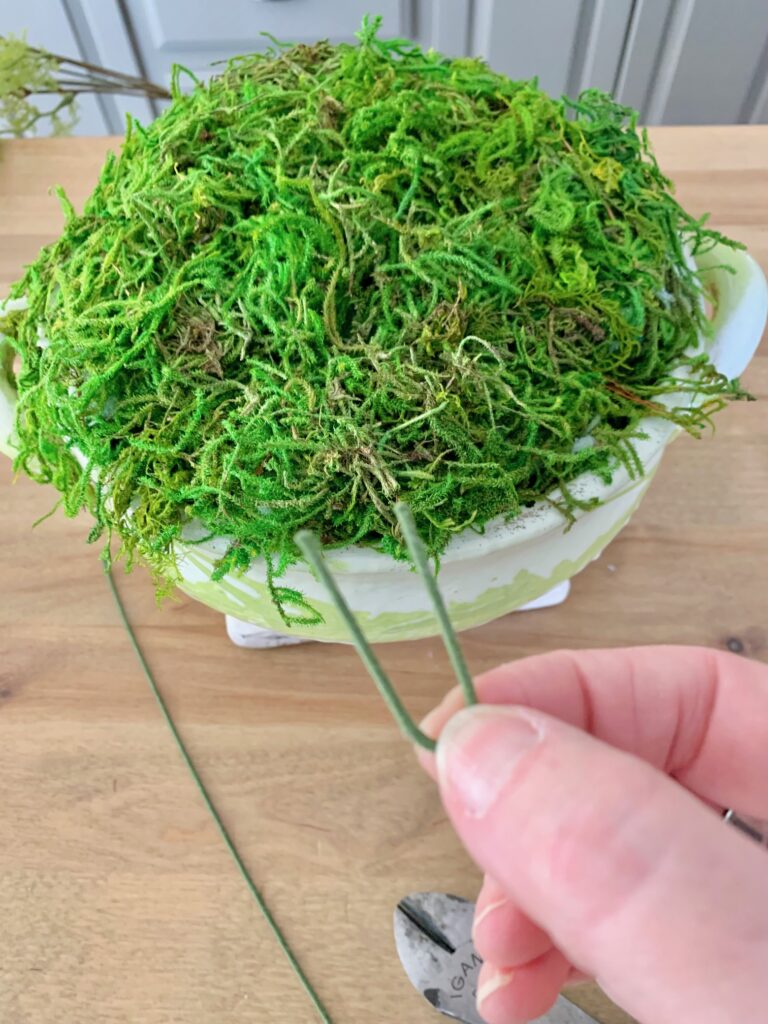
- Covering the foam: Luckily foam is green and so it typically blends pretty well with your arrangement however covering the foam with fresh greens or moss before starting your arrangement will ensure you can’t see the foam through the stems.
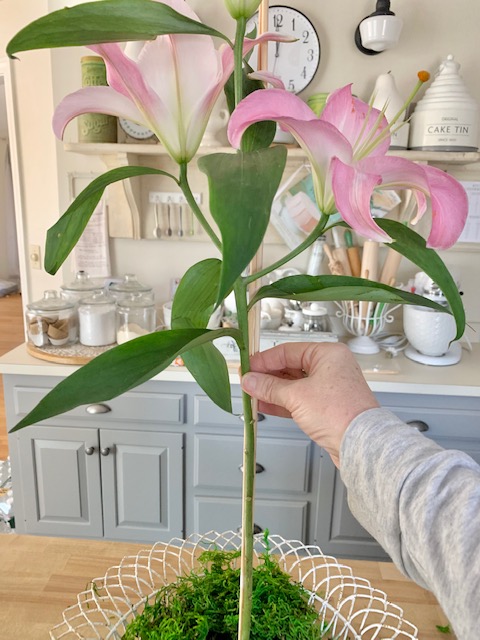
- Designing in wet foam: Using a floral design knife or scissors give your live flowers a fresh cut before inserting them into the foam. Cutting the stem at an angle is preferable as the pointed end makes piercing the foam easier. The benefit of using foam is that there are no limitations on where you can place the stems. Stems can be vertical or you can angle the stems for a unique design. This flexibility is a designer’s friend to create a beautiful arrangement where the flowers stay in place.

About Dried Flower Foam
Now for the “other” foam! Dry foam comes in bricks as well and is typically stocked right next to the wet foam so be sure to grab the correct foam for your floral project! This lightweight material remains dry and is much denser than fresh flower foam. I would describe it as soft styrofoam. This foam is used exclusively for dried arrangments, silk flowers or faux plants.
Tips for using Dry Foam:
- Fitting the vase: Fitting the dry foam into your vase, basket, or container is done the same way as the wet foam. With a design knife cut the pieces to fit the vase securely. I typically place the largest piece first and then fill it in with smaller pieces. Getting a snug fit is important for stability.
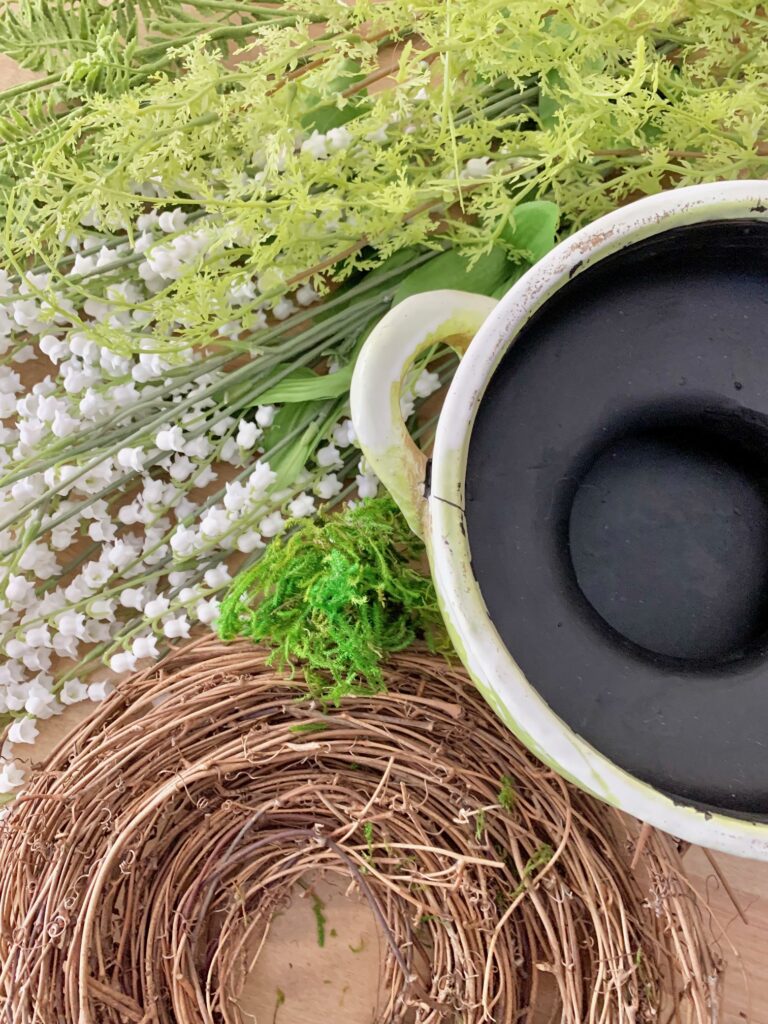
- Covering the foam: Dry foam typically comes in two colors, green or brown. You can cover the foam with faux greens or various types of dried moss.
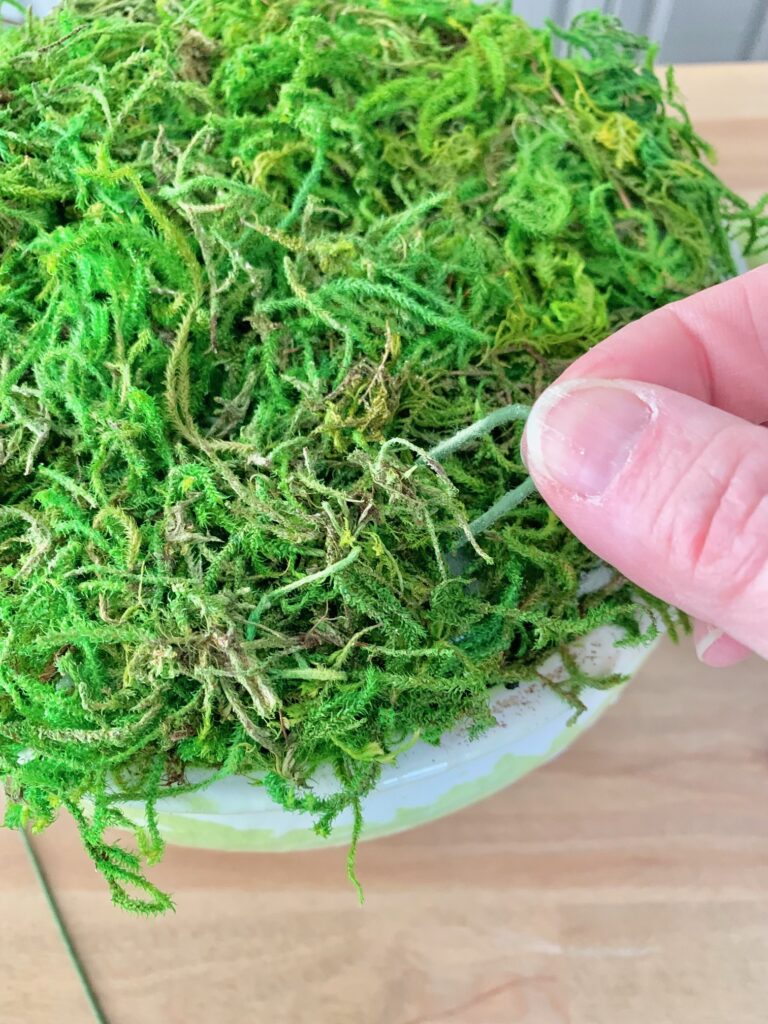
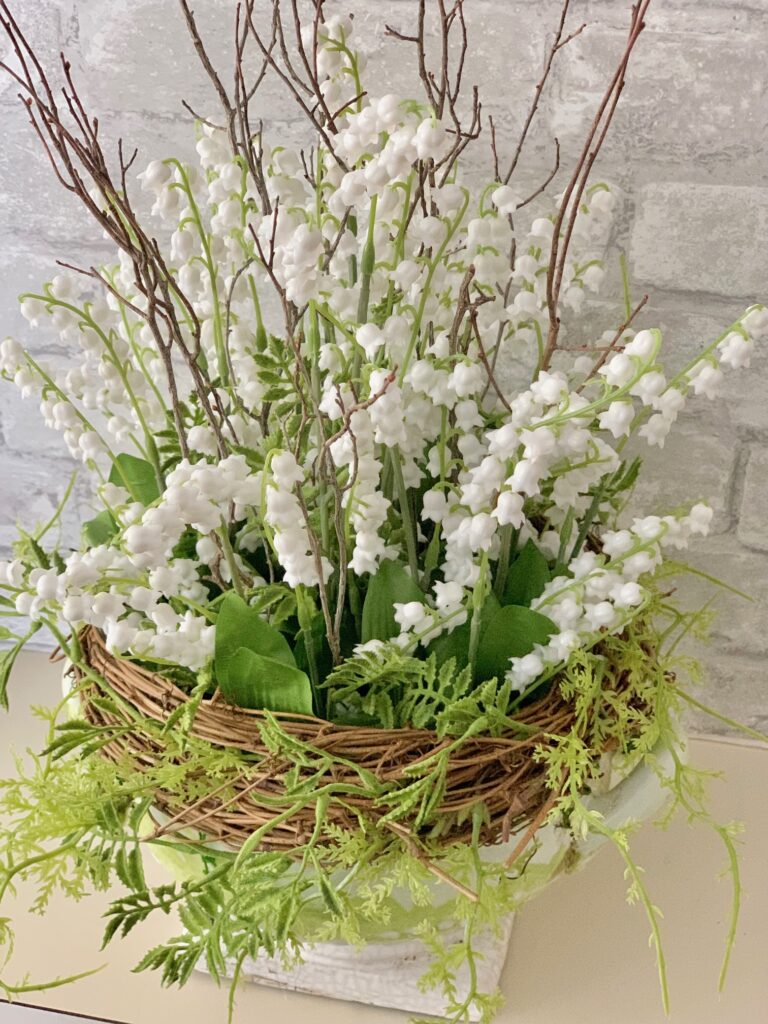
- Designing in dry foam: Dry foam is a bit more dense than wet foam and inserting flowers requires a bit more pressure than with fresh foam. Fortunately, most faux flowers come with wired stems making insertion easy. To cut your faux flowers you will need wire cutters. As with wet foam you can place flowers vertically, horizontally, and everything in between – wherever you want them the foam will hold them!
Frequently Asked Questions About Floral Foam
The best floral foam is the right one for the job! Fresh floral arrangements require a water source so dry foam will not work as the dry foam will not hold water.
You can use dry or artificial flowers in wet foam, just don’t wet the foam. The wet foam isn’t as dense so it’s not ideal for heavy faux floral stems but in a pinch – it works!
Other than floral foam blocks you can now find a large assortment of foam products in any desired shape. There are wedding bouquet holders, candle holders, wreath-shaped forms, heart-shaped forms, etc. There are several styles of dry forms too.
It is recommended to keep the water in your vase or container full.
Professional florists use floral foam in their flower shops when they need a design to be stable or they are designing an arrangement that has lots of angles. Otherwise, they design in loose water since most flowers prefer that.
For floral foam substitutes that hold flowers in place, you can use a flower frog. This flower design tool was what was used before the use of floral foam and is a great way to hold stems in place. One side is flat and sits on the bottom of the container and the top part has pins that you push flower stems into. You can also use floral tape and tape a cross pattern on the top of your container as one of the alternative methods for keeping the flowers from flopping.
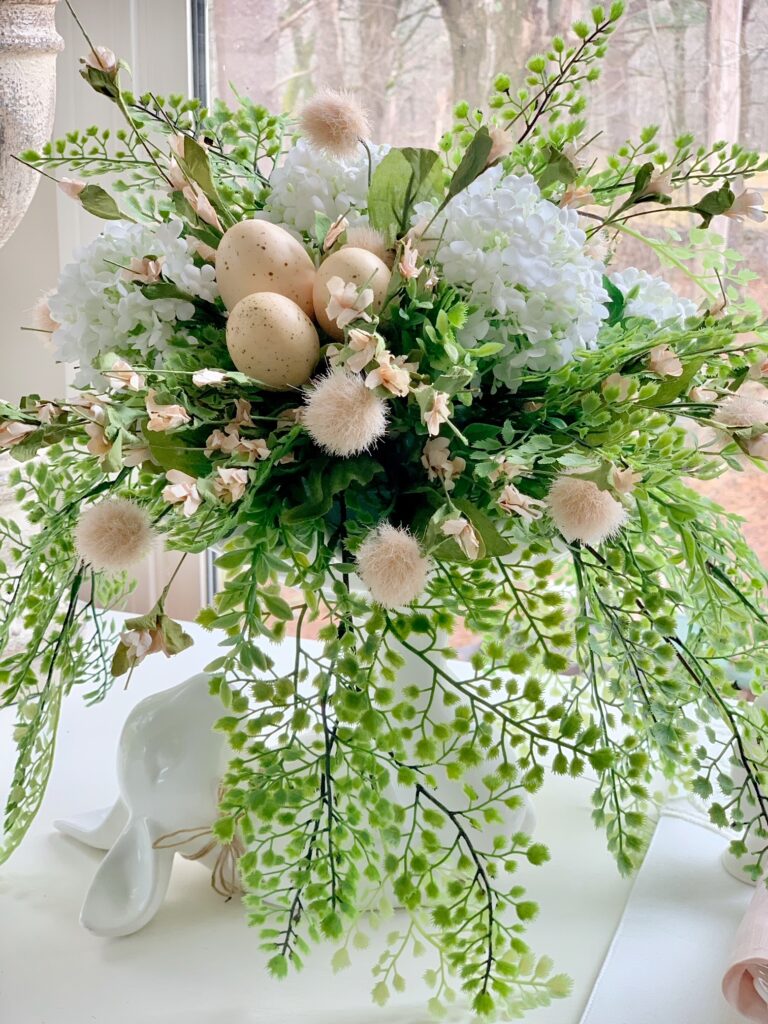
Take your flower arranging to the next level with this essential tool used by floral designers everywhere! For more flower design check out these popular posts:
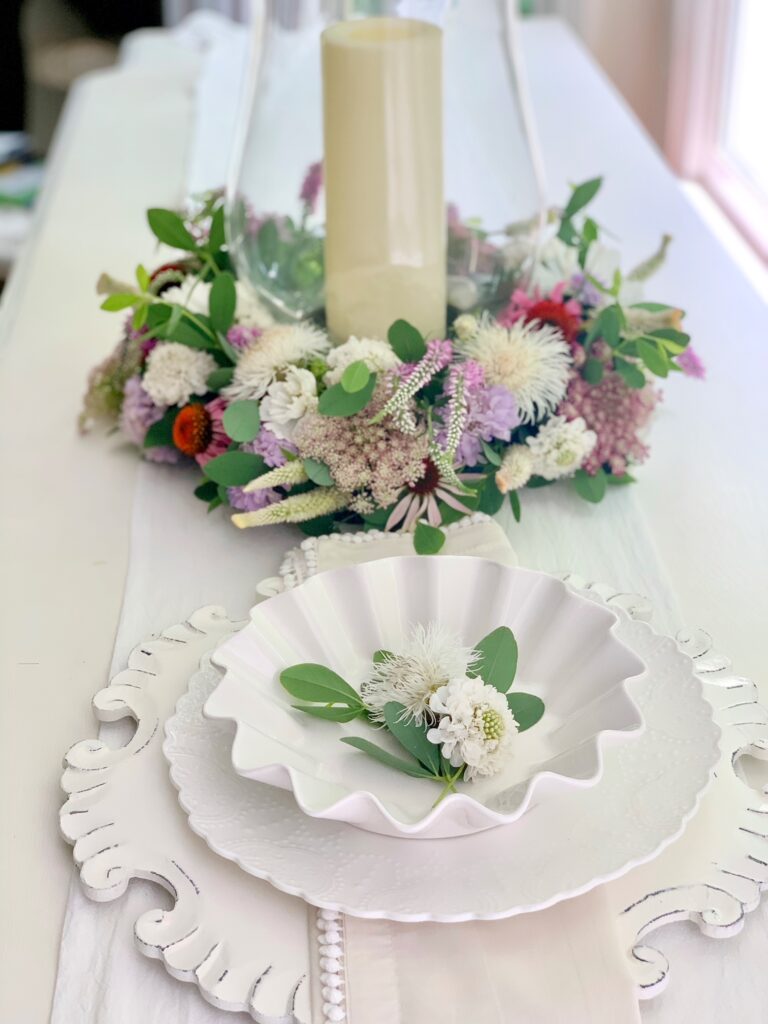
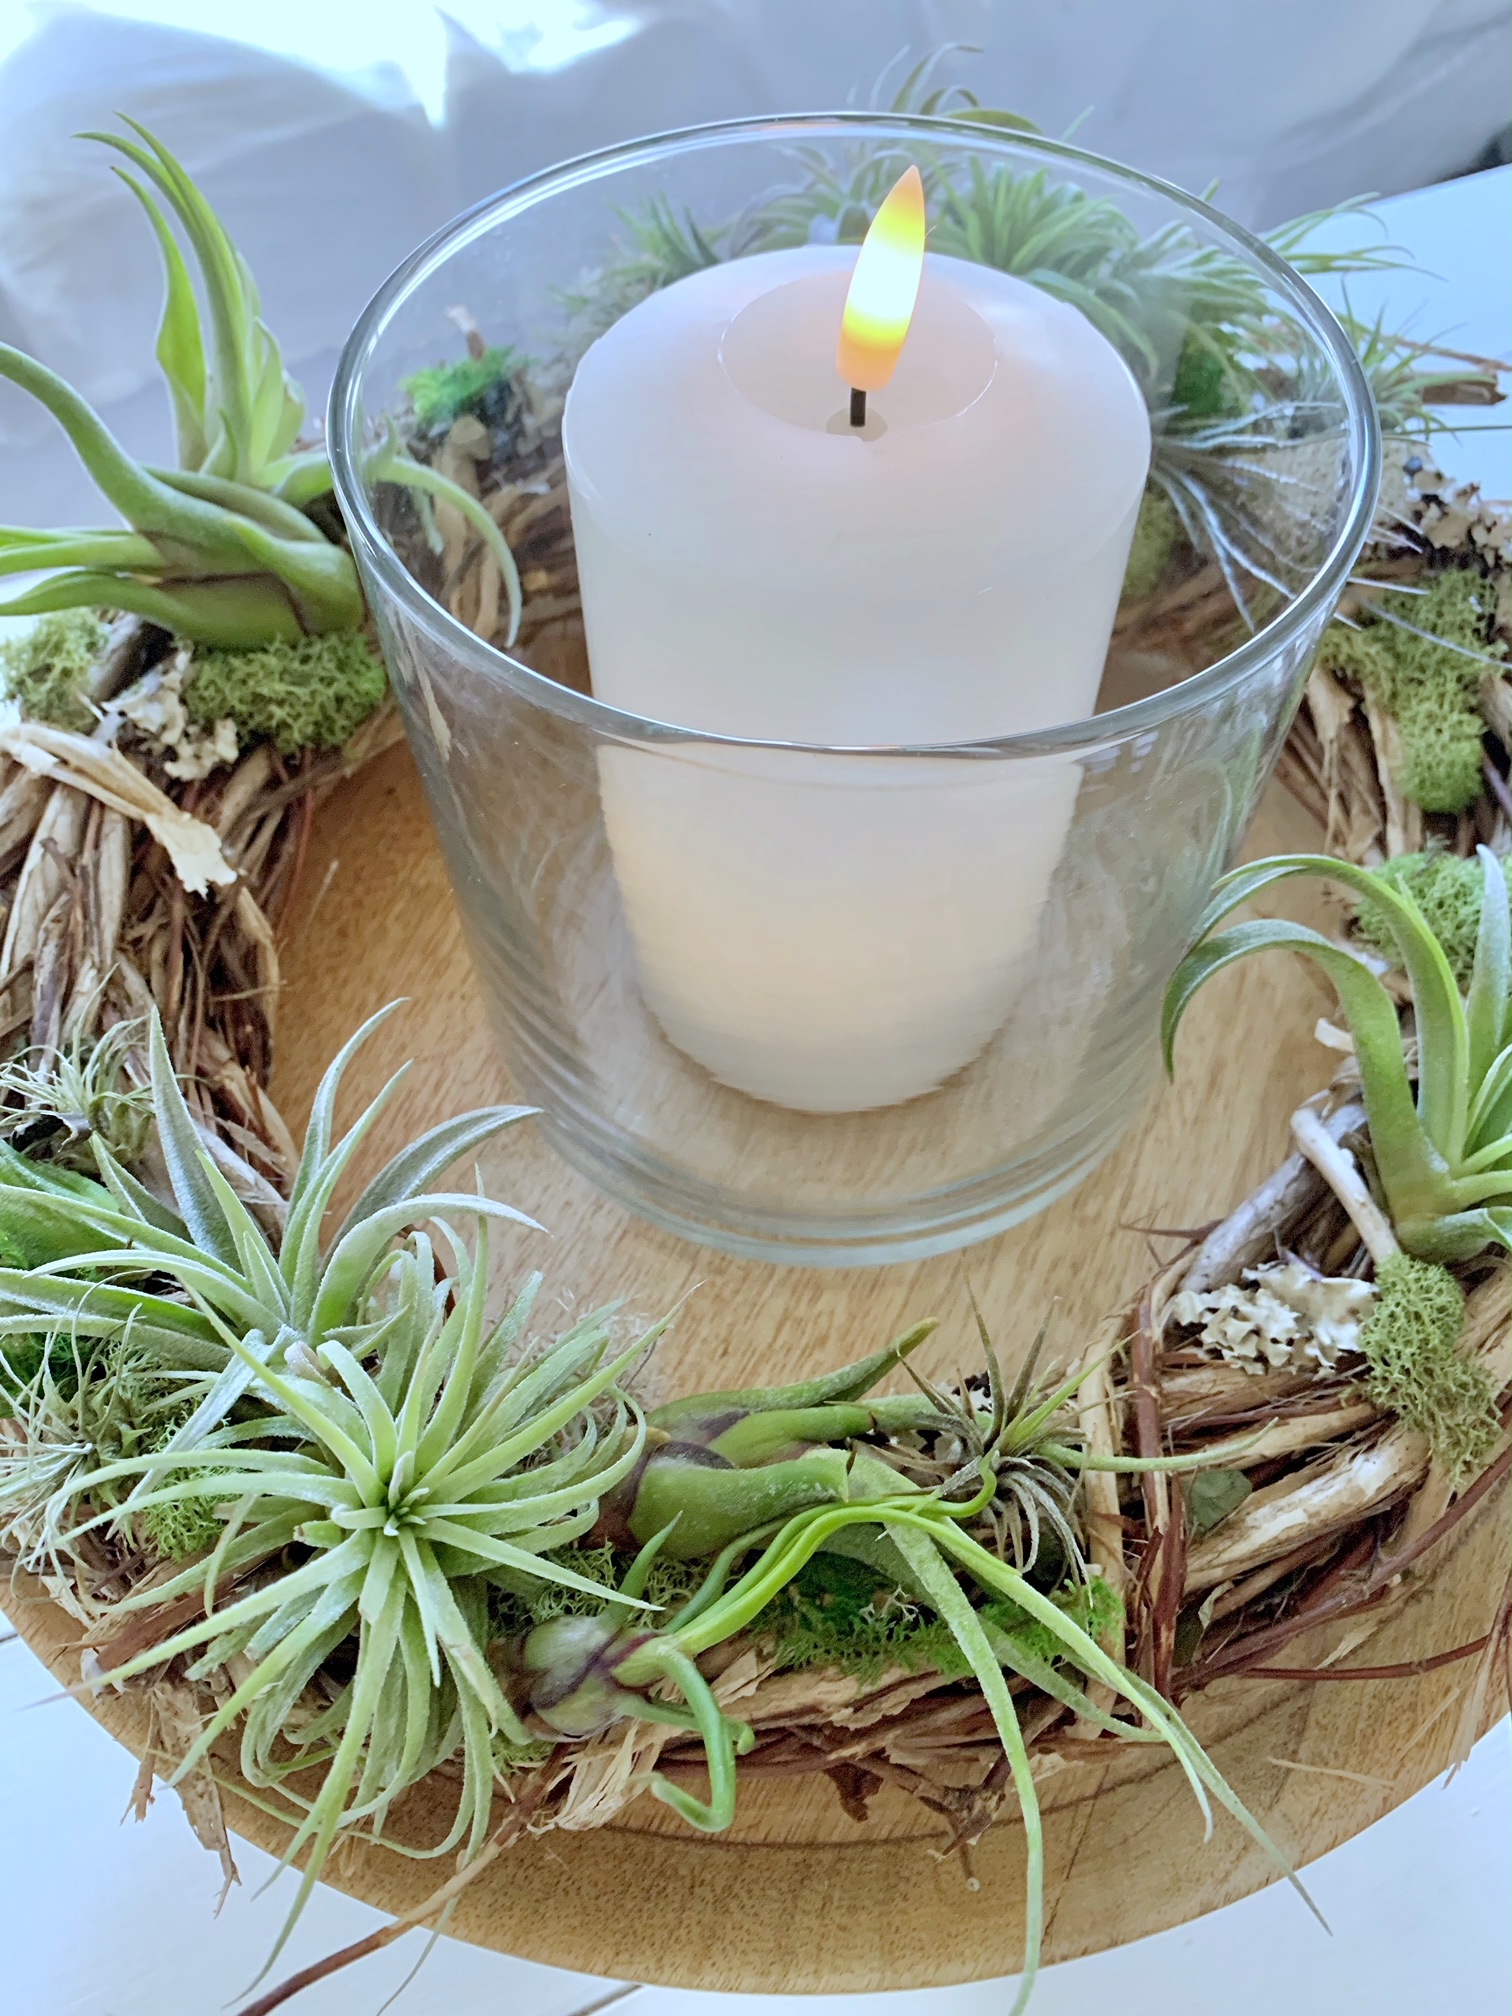
In this post, I use a fresh flower candle ring form to make this beautiful candle ring.
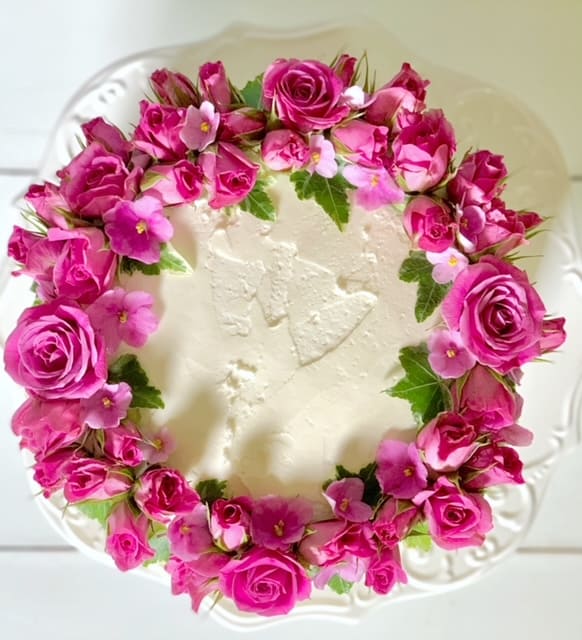
Learn how to decorate a cake with fresh flowers including which flowers are safe to use.
Thank you so much for visiting the blog today for How to use Floral Foam (tips from a floral designer) I hope you feel more comfortable trying your hand at floral foam!
Keep creating friends!





Thank you so much for this article! So much good information!
Oh Im glad! Thank you!