
How to Make a Dried Hydrangea Centerpiece for Fall

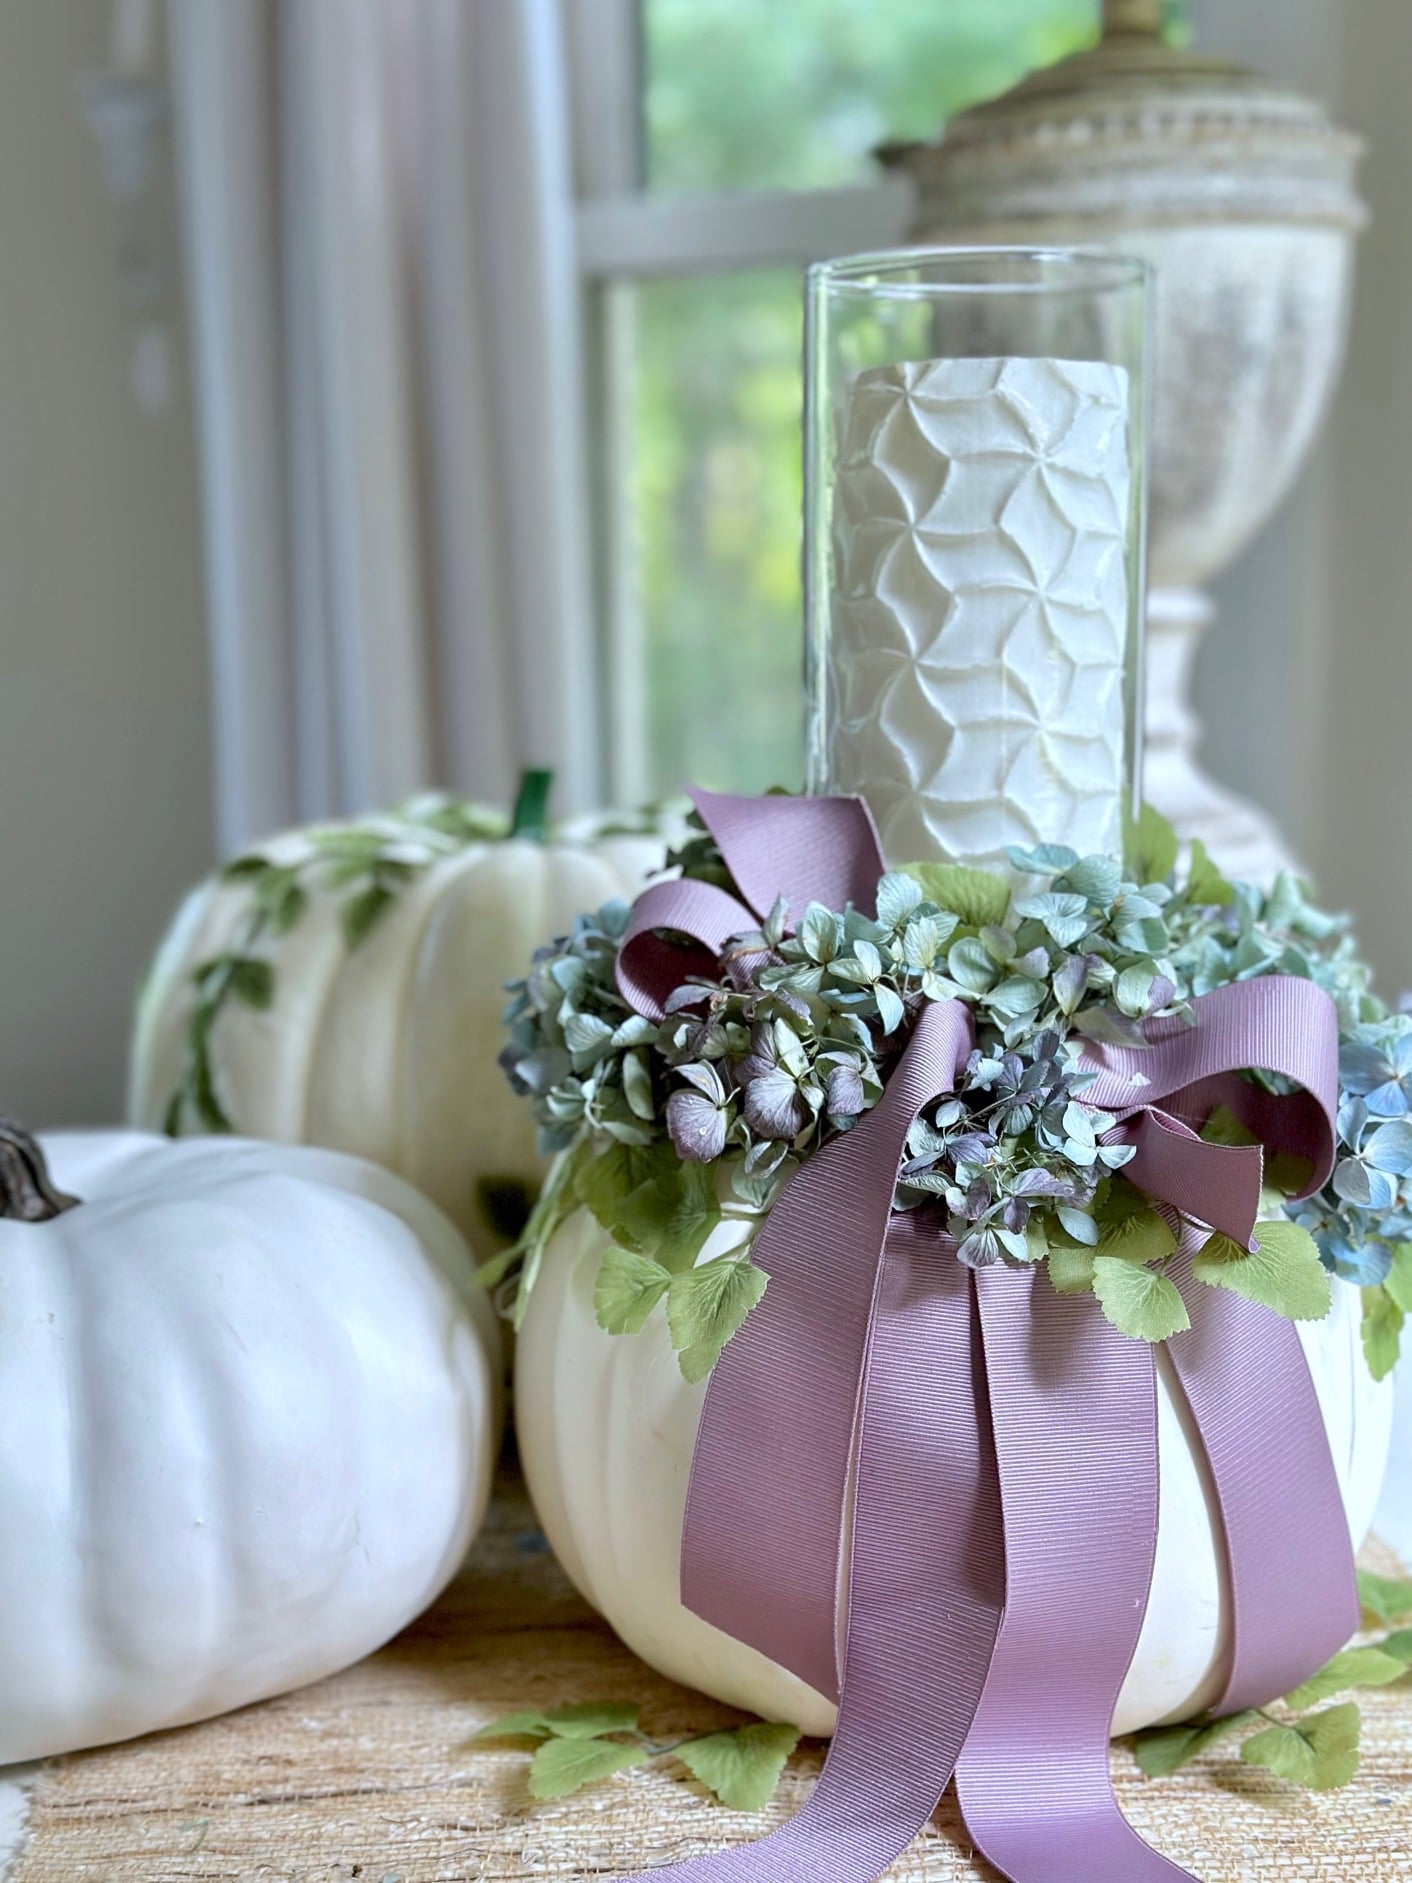
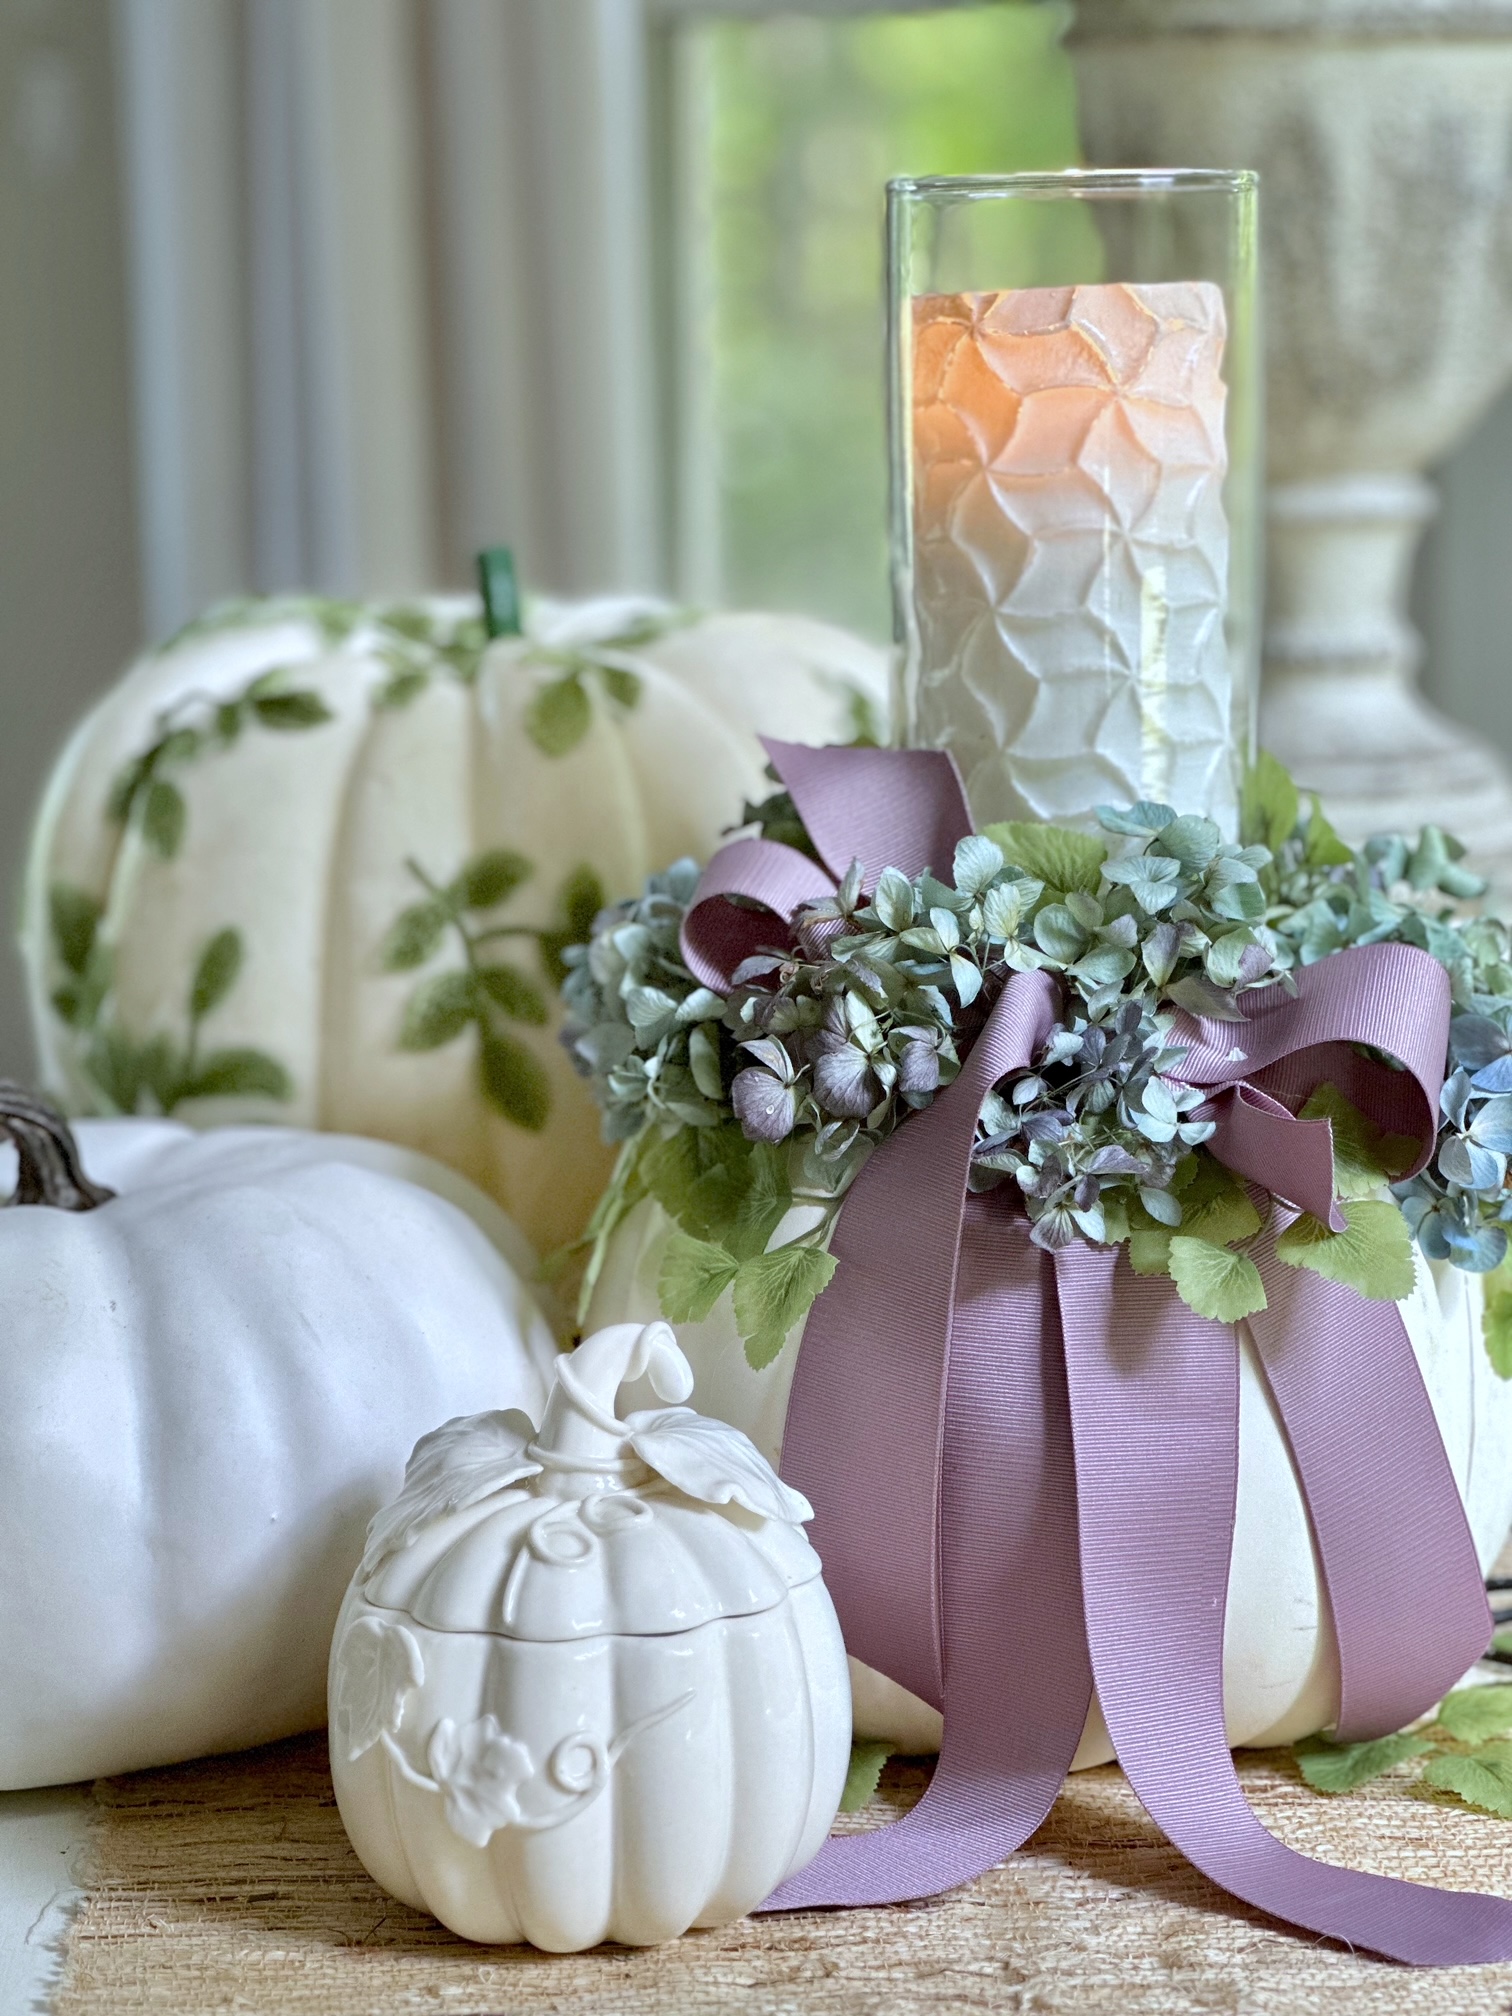
A dried hydrangea centerpiece is a beautiful way to preserve your summer blooms while welcoming the fall season. In this tutorial, I'll show you how to create an elegant centerpiece using dried hydrangeas, a white pumpkin, faux greenery, ribbon, and a candle. You'll also learn how to dry hydrangeas, preserve their color with a simple hairspray trick, and style your finished arrangement on a dining table, kitchen island, or entryway throughout the season.
Content may contain affiliate links. When you shop the links, we receive a small commission at no cost to you. Thanks for supporting my small business.
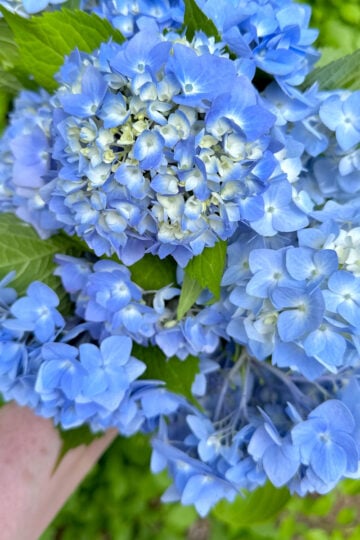
Every summer, I bring fresh hydrangeas from my garden indoors. They fill my home with color for weeks, and once the blooms begin to fade, I simply hang them to dry. Instead of saying goodbye to my favorite flowers, I get to enjoy them all over again in my fall decorating.
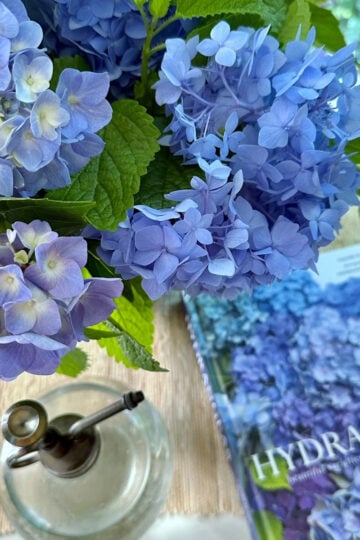
If you've ever grown hydrangeas, you know they're more than just beautiful flowers. They're nostalgic, reminding many of us of childhood gardens, old New England homes, and late summer afternoons. My blue hydrangeas are among my favorite flowers to grow, and drying them is one of the easiest ways to carry that beauty into a new season. (Be sure to visit my guide to Blue Hydrangeas to learn more about these classic garden favorites.)
In this tutorial, I'll show you how to turn dried hydrangeas, a white pumpkin, and a few simple supplies into an elegant dried hydrangea centerpiece. You'll also learn how I dry and preserve my hydrangeas so they can be enjoyed for months, creating a centerpiece that's perfect for a dining table, kitchen island, or entryway throughout the fall season.
At a Glance: Dried Hydrangea
_______________________
- Project: DIY dried hydrangea centerpiece
- Time: About 30 minutes (plus drying time if using fresh hydrangeas)
- Difficulty: Easy
- Best For: Fall tables, kitchen islands, mantels, and entryway decorating
- Main Materials: Dried hydrangeas, faux white pumpkin, glass cylinder vase, ribbon, faux greenery, and a pillar candle
- Helpful Tip: Dry hydrangeas ahead of time and lightly spray them with hairspray to help preserve their color and reduce shedding.
- Style: Elegant cottage-inspired fall decor using flowers from your own garden
Summarize and Save this content on:
Jump to:
Why dried hydrangeas are perfect for fall decorating
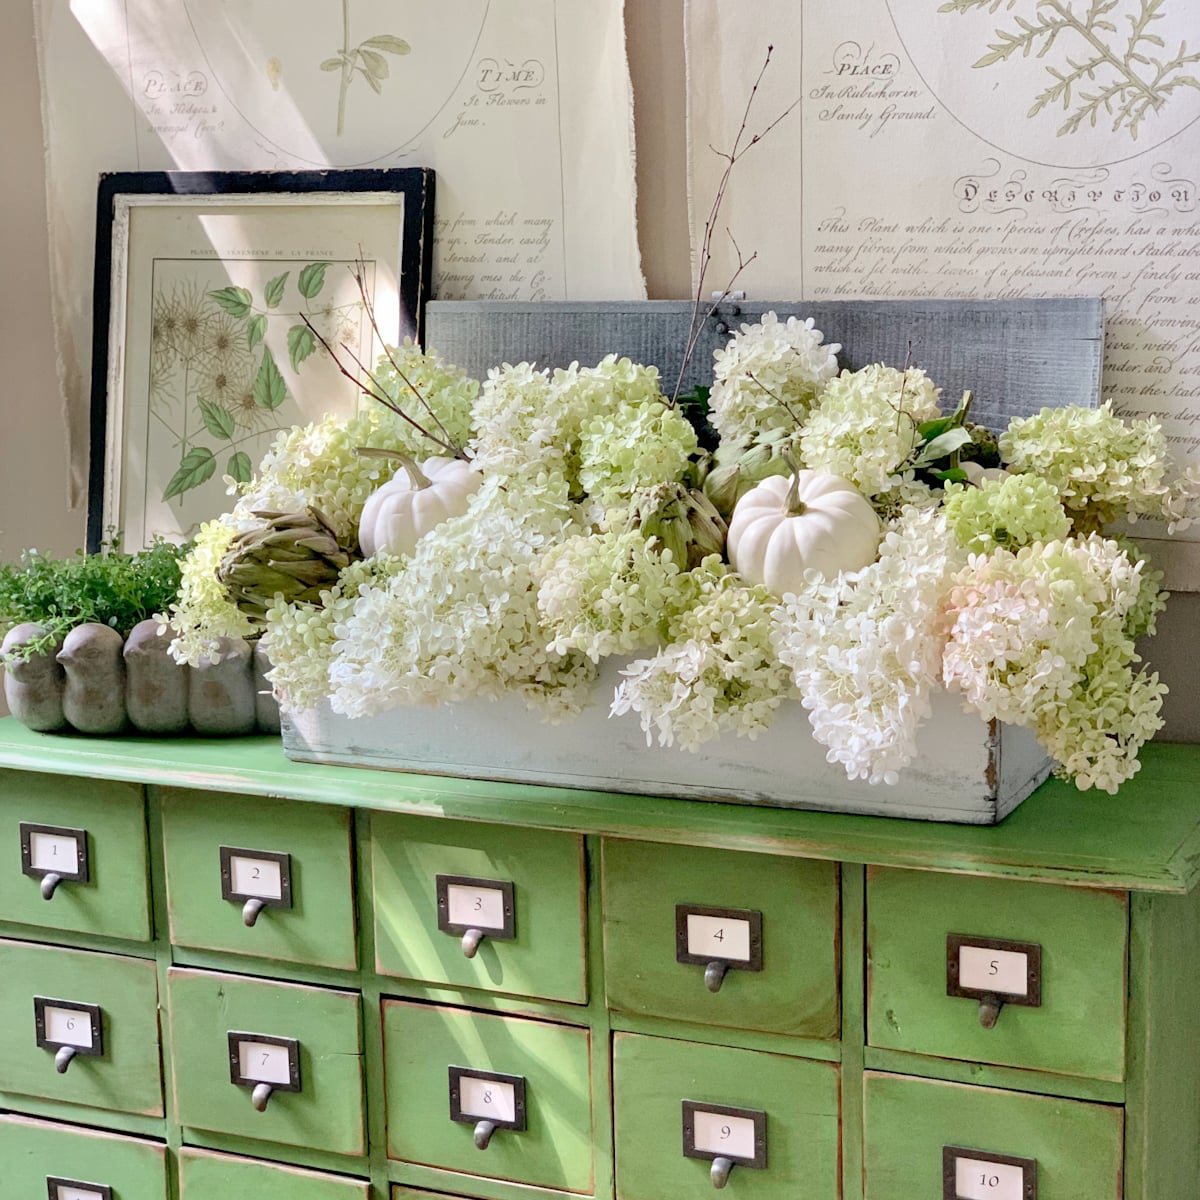
One of my favorite things about growing hydrangeas is that they don't have to disappear when summer ends. Every year, I bring fresh blooms indoors to enjoy throughout the season. Once they're past their prime, I simply hang them to dry, giving them a second life in my fall decorating.
Dried hydrangeas add beautiful texture, soft color, and a bit of nostalgia to seasonal arrangements. Whether tucked into a dough bowl, displayed in a vintage tureen, or paired with pumpkins like this centerpiece, they help bridge the transition from late summer to fall. Best of all, they last for months, allowing you to enjoy flowers from your own garden long after the growing season has ended.
How to dry hydrangeas
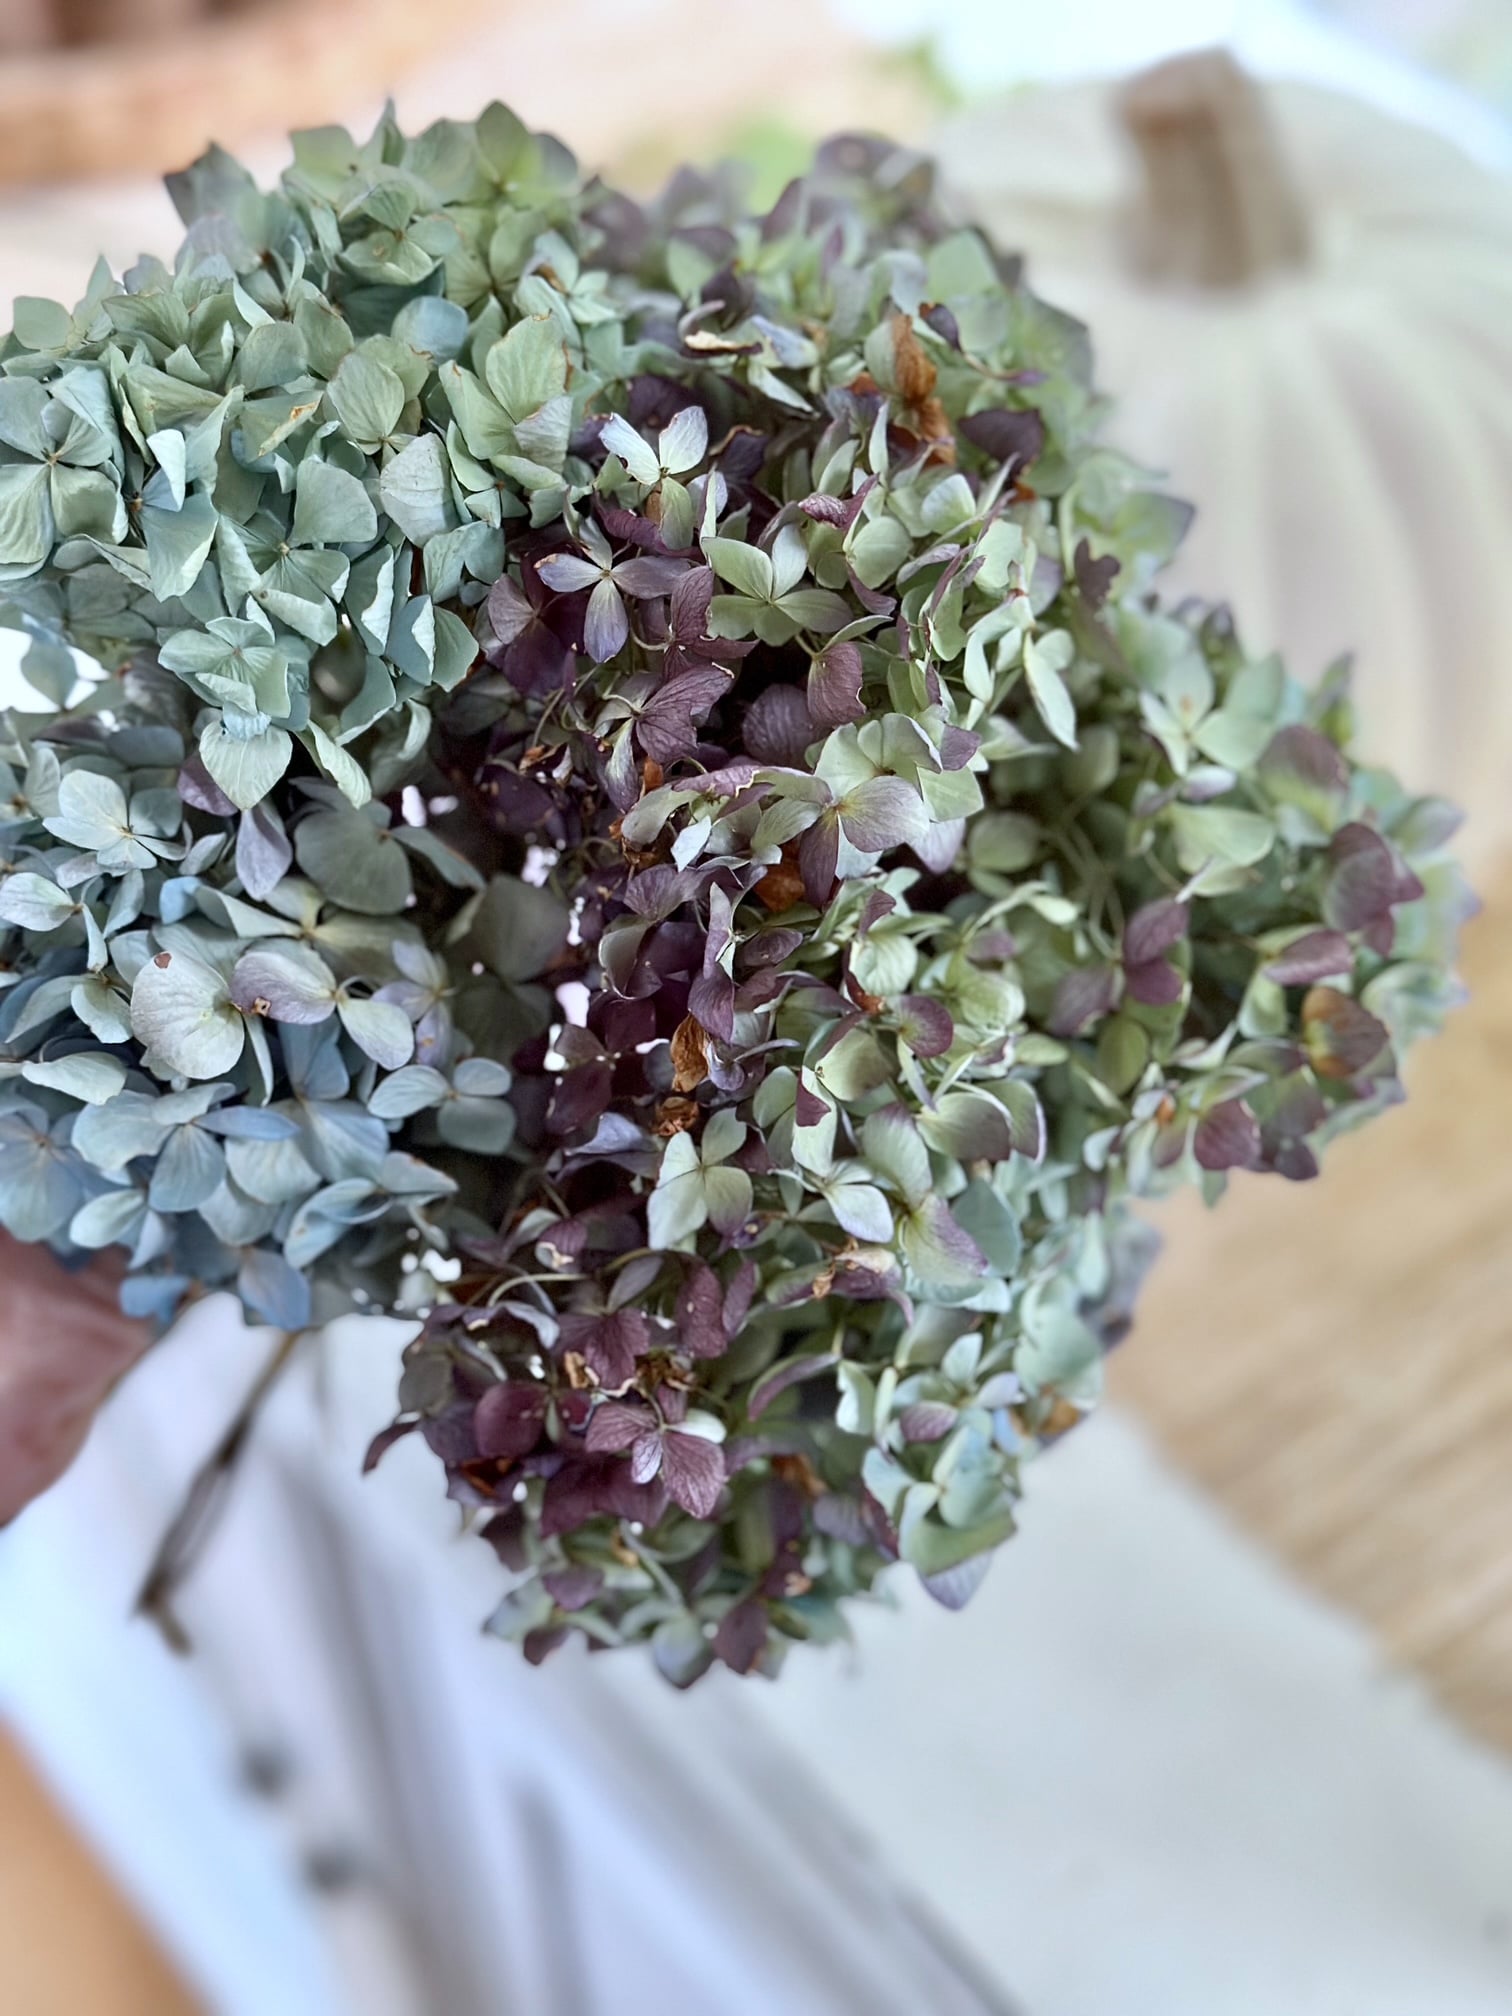
Drying hydrangeas is surprisingly simple. Once the blooms have matured on the plant and begin to feel slightly papery, cut long stems and remove most of the leaves. Gather a few stems together and hang them upside down in a cool, dry location away from direct sunlight.
After about two to three weeks, the blooms should be completely dry and ready to use in wreaths, centerpieces, or other seasonal decorating projects. If you're looking for more drying tips and techniques, I'll be sharing a complete guide soon.
How to preserve dried hydrangeas with hairspray
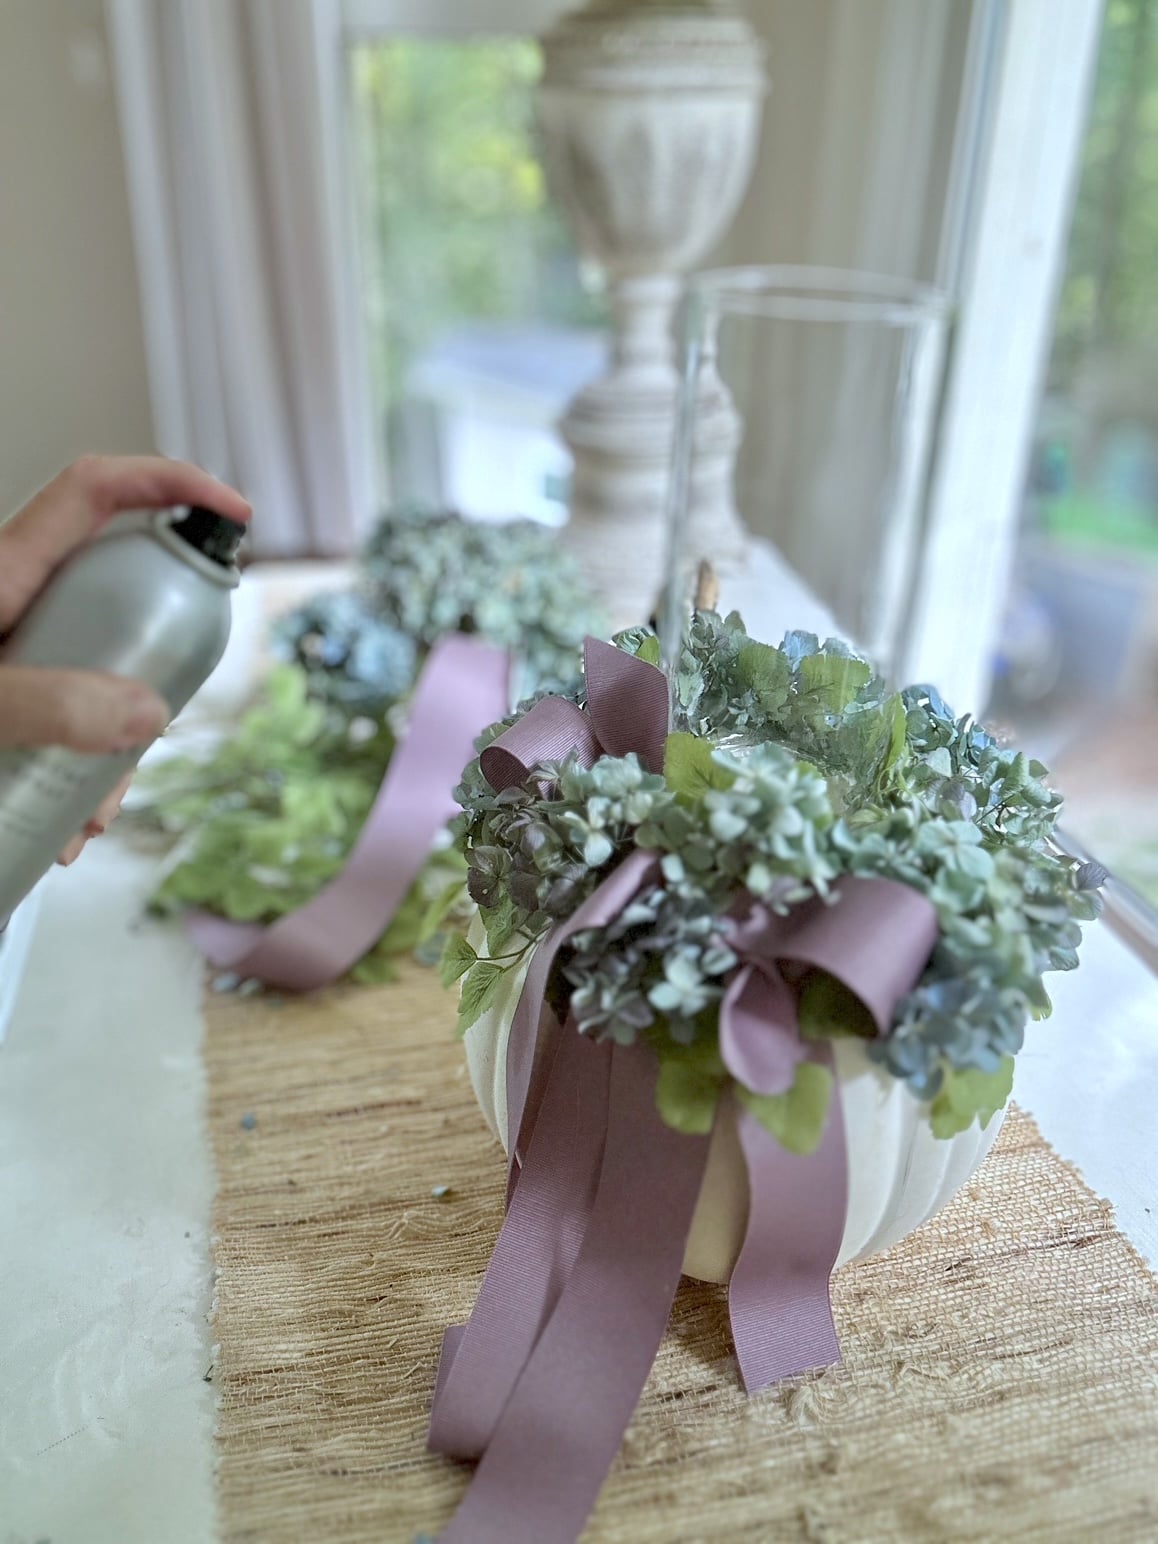
Once your hydrangeas are completely dry, give the blooms a light, even coat of inexpensive aerosol hairspray. This simple trick helps strengthen the delicate petals, minimizes shedding, and helps the flowers hold their color a little longer.
Allow the hairspray to dry completely before arranging the stems or placing them near a candle. While it won't make dried hydrangeas last forever, it does help them stay beautiful throughout the fall season.
Materials needed
For this DIY hydrangea centerpiece, you'll need:
- 1 Large faux white pumpkin
- 1 Clear cylinder vase (8" tall)
- 1 Pillar candle (6" tall)
- 5-7 Stems of dried blue hydrangeas
- 1 Spool of lavender ribbon (1.5" wide)
- 2-3 Stems of faux greenery (I used a faux maiden hair)
- Hot glue gun and glue sticks
Additional tools:
- Wire cutters
- Scissors
- String (to tie the bow)
- Aerosol hairspray (to preserve dried hydrangeas)
Note: The number of hydrangea stems and faux greenery may vary depending on the size of your pumpkin and personal preference. It's always better to have a few extra on hand!
Pro Tip: If you're starting with fresh flowers, you'll need to dry the hydrangea first. We'll cover this process in the tips section of our post.
Step-by-step instructions
- Prepare the Pumpkin
Remove the stem from the white pumpkin using a serrated knife or by pulling it off if it's a separate piece of the pumpkin.

- Secure the Cylinder
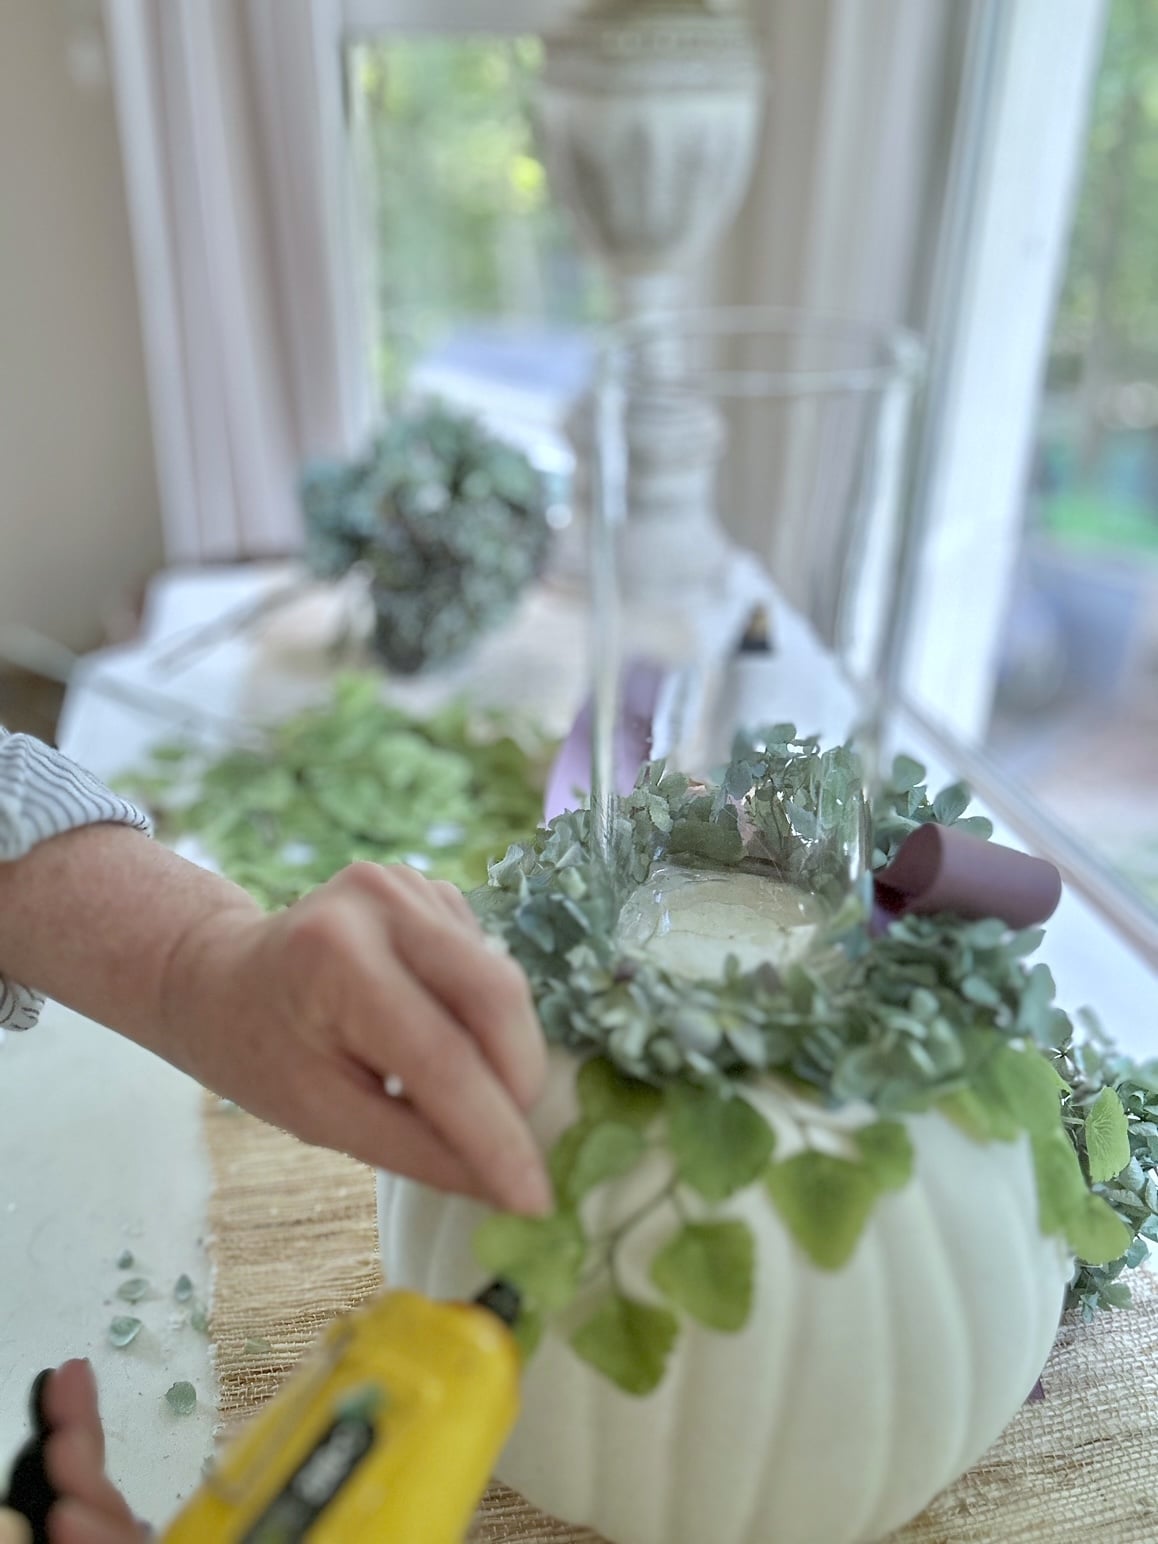
Using a hot glue gun, glue the bottom of the glass cylinder and attach it to the top of the pumpkin. (Tip: Make sure its level, shave more pumpkin off if it's not)
- Add Faux Foliage
Glue faux greenery stems around the glass vase, allowing them to cascade down the sides of the pumpkin for a natural fall look.
- Create the Bow
Craft a lavender ribbon bow, securing the center with string. Glue the ribbon tails to the front of the pumpkin, then attach the bow on top. (see instructions below)
- Arrange Hydrangeas
Separate the dried blue hydrangea blooms into smaller clusters. Affix these around the base of the glass vase and on top of the faux greens with hot glue. Be sure to add some in and around the bow.

- Final Embellishments
Tack down any faux leaves that are sticking out, fill any empty spots with additional faux greenery or ribbon as needed. Place the pillar candle in the vase.
- Display Centerpiece
Position your completed DIY hydrangea centerpiece on your dining room table, kitchen island, or front porch as a beautiful fall decoration.


Steps for bow


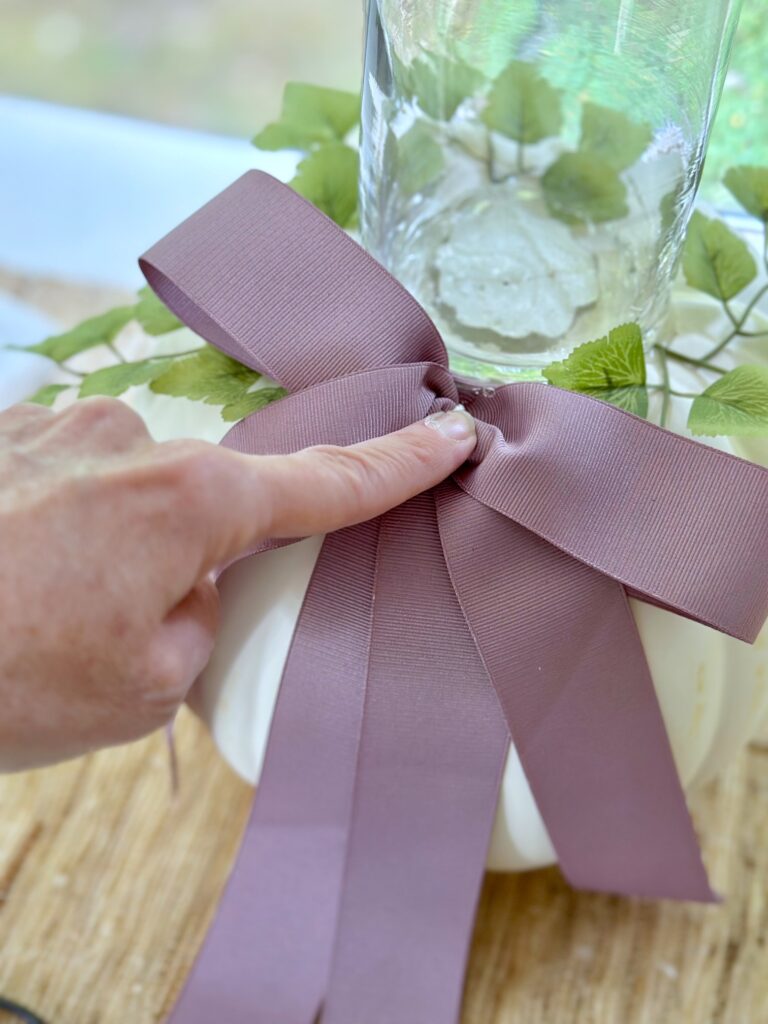
For more bow making tips and ideas be sure to visit my, Bow Making for Wreaths post.
Tips and tricks
- Drying Hydrangeas: Hang fresh hydrangea stems upside down in a cool, dry place for 2-3 weeks. (Optional) Use aerosol hairspray on the dried hydrangeas to help them last longer and maintain their color.
- Color Combinations: While blue hydrangeas offer a unique twist on traditional fall colors, white or green hydrangeas can create equally stunning centerpieces. Try white hydrangeas on a traditional orange pumpkins, add colorful faux flowers and fall foliage!
- Ribbon Bow Tips: For floppy ribbons, create the bow in separate pieces (loops and tails) and assemble with hot glue for better control.
- Safe Gluing: Use scissors or the tip of the glue gun to hold items in place for a few seconds while the glue sets to protect your fingertips.
- Versatile Design: This centerpiece idea works great for various occasions beyond fall, like a baby shower or winter decor. Simply adjust colors and accents to suit the season.
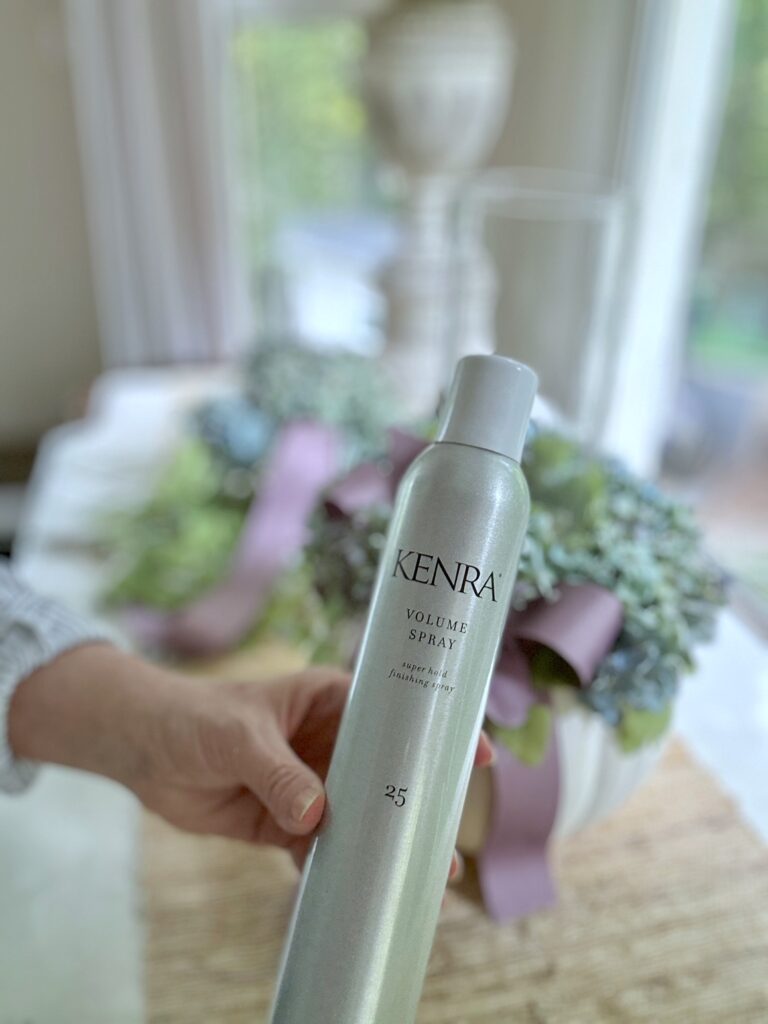
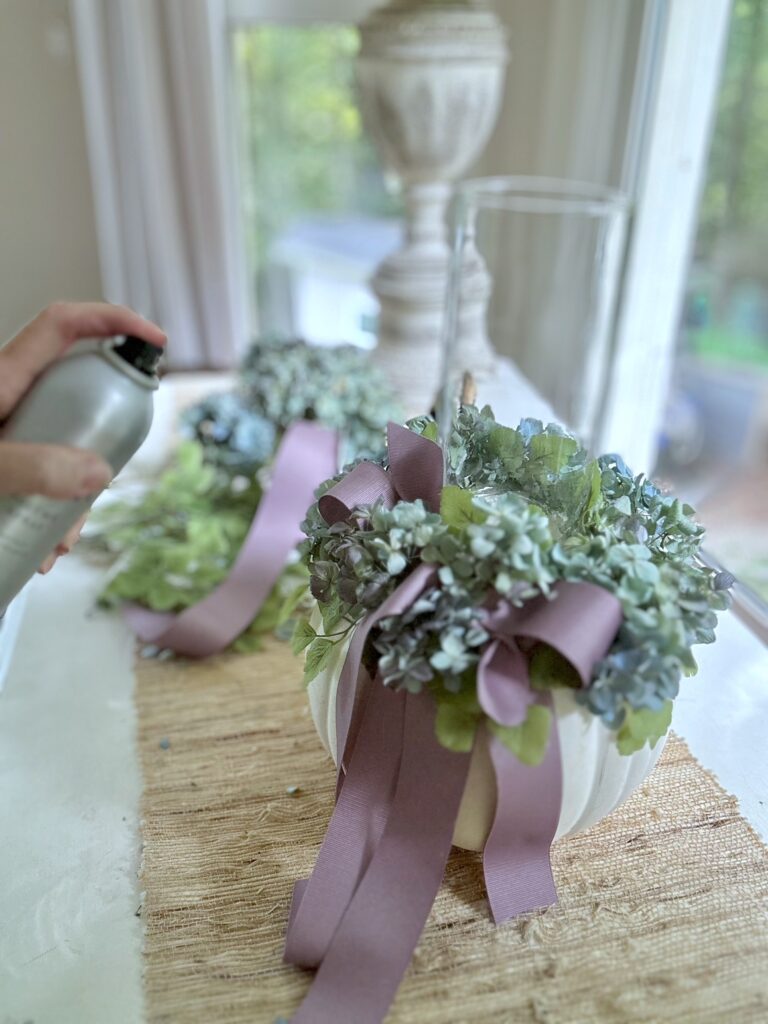
For safety purposes, spray the hydrangea with hair spray and let fully dry before lighting a candle.
Be sure to visit my other fall decorating posts! Create a Grandin Road inspired Vine Pumpkin with natural twists, try Natural Hutch Styling featuring feathers and pine cones for organic displays, build A Simple Layered Fall Dining Centerpiece for elegant tables, or arrange a Stacked Tray Centerpiece for dimensional autumn decor.
Frequently asked questions
When stored indoors and kept away from moisture and direct sunlight, dried hydrangeas can last for several months or even years. While the blooms will naturally become more delicate over time, a light coat of aerosol hairspray can help reduce shedding and keep them looking beautiful throughout the fall season.
The easiest way to dry hydrangeas is to cut mature blooms, remove the leaves, and hang the stems upside down in a cool, dry location for two to three weeks. You can also leave hydrangeas in a vase with a small amount of water and allow them to dry naturally as the water slowly evaporates. Both methods preserve the flowers well for seasonal decorating.
Absolutely! Dried hydrangeas are perfect for centerpieces because they add beautiful texture and soft color that lasts for months. Pair them with pumpkins, candles, ribbon, or seasonal greenery to create elegant arrangements for dining tables, kitchen islands, mantels, or entryways.
Yes, dried hydrangeas will gradually fade over time, especially if they're displayed in direct sunlight. Many varieties, however, retain their soft blues, greens, pinks, or purples for months. Spraying the blooms lightly with aerosol hairspray after drying can help strengthen the petals and slow fading, allowing you to enjoy them longer.


This is just one of several faux flower designs I've done - browse the Floral Design Hub to see how I use them in every season.
This floral arrangement combines the beauty of hydrangeas with the charm of autumn, resulting in a simple fall centerpiece that's sure to impress - we hope you enjoyed this blog post and are inspired to create your own unique pumpkin-based decoration. If you love mixing pumpkins and flowers please visit my Pressed Flower Pumpkin tutorial or my 7 ideas for Pumpkins with flowers post!
We'd love to see your creations! Share your DIY fall centerpiece on social media and tag us and let me know what you think about this project in comments below. I would love to her from you!
Happy crafting!