How to Make No Sew Lavender Sachets (Easy step-by-step instructions)
Looking for a quick project that makes your drawers smell amazing? These no-sew lavender sachets are the perfect afternoon craft! I've always been drawn to the beautiful scent and calming properties of lavender, and these little fabric pouches let you enjoy those benefits throughout your home.
The best part? You don't need a sewing machine or special skills - just grab your trusty glue gun and follow my simple steps. In under an hour, you'll have charming sachets ready to freshen up linens, scent drawers, or give as thoughtful handmade gifts. Let me show you how easy it is to create these fragrant little treasures!

*This post includes affiliate links, for more info on affiliate links visit here
For these sachets, sometimes referred to as lavender bags, I bought pre-bagged dry lavender from Amazon and just gave them a new look using canvas, hemp twine, and a lavender stamp. Other than the fabric, all supplies were bought from Amazon and at my front door in no time! These fabric sachets make great gifts and best of all - no sewing machine is required!
Jump to:
A little sachet history
This project made me curious about the history of sachets. With a quick google search, I learned that sachets date back to the 15th century when garments made of fancy velvet and silk could not be washed and they needed something to...um...make them smell good (insert cringe face) Enter the scented sachet! Knowing this I am now forever thankful for sachets (and today's dry cleaners)! I also learned that during that time they became a staple for the wealthy and their use and charm have carried through the centuries.

Today's uses for lavender sachets
- Place the finished sachet in a lingerie drawer or linen closet to add a fresh scent to your clothes and linens.
- Place inside shoes (or a sock drawer) that need a little freshening up.
- Hang these simple lavender sachets in your closet to enjoy a lavender smell each time you open the door.
- Keep it in your car for a fresh scent and as a natural alternative to car fresheners.
- Slide a homemade lavender sachet under your pillow for a better night's sleep.
- Toss it in your dryer with your laundry.
Note: Lavender sachets can be used as a natural alternative to mothballs.
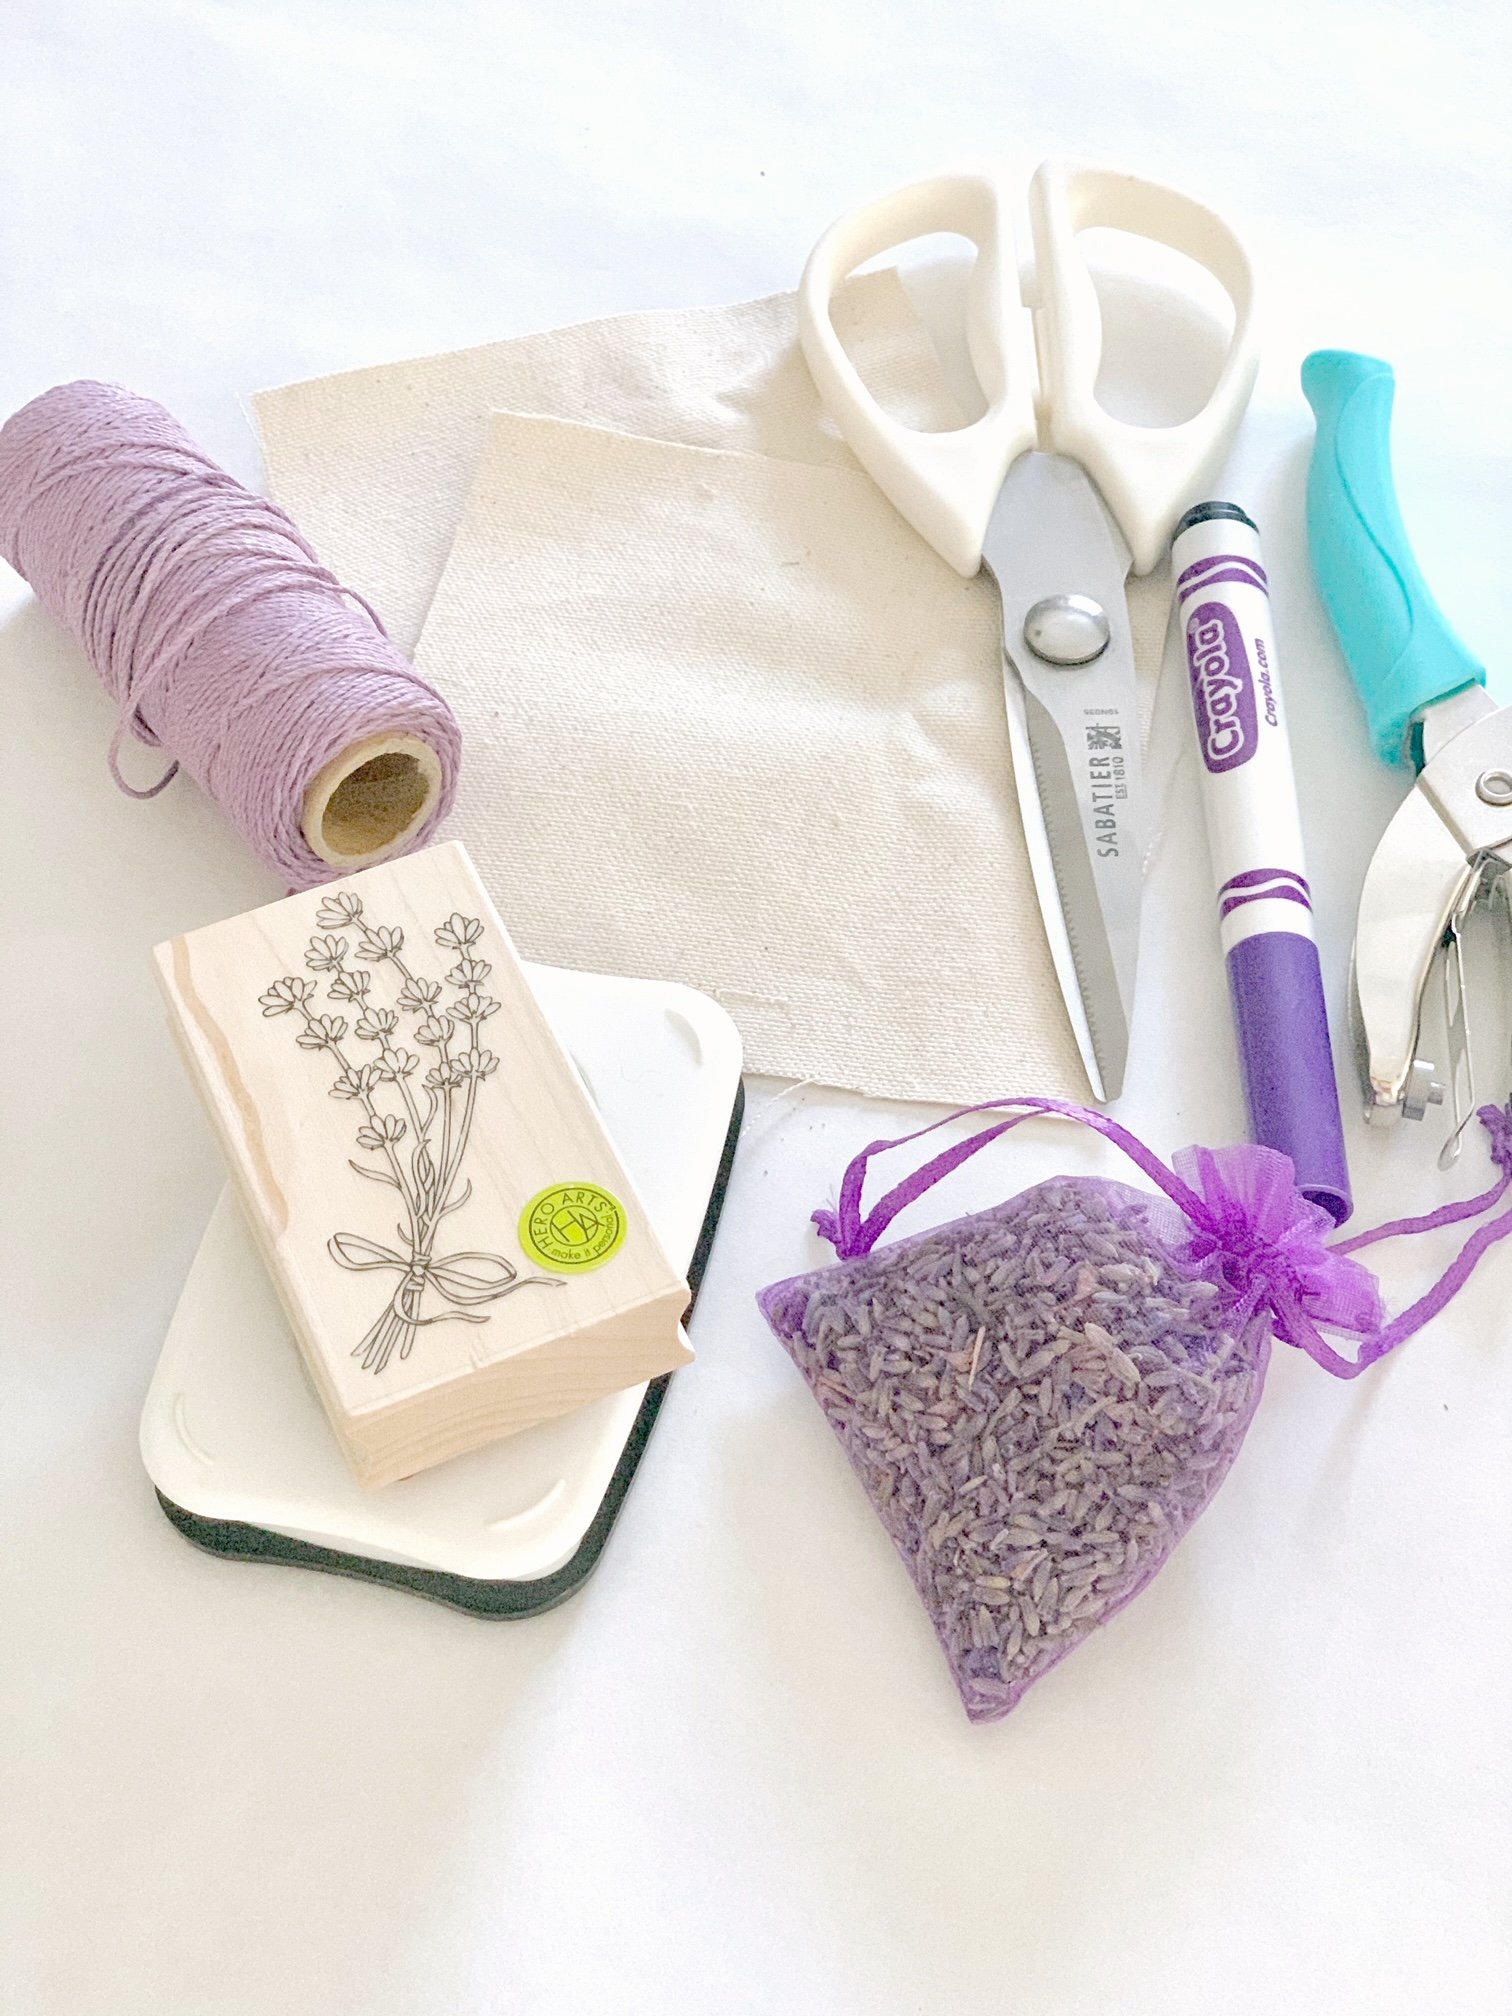
Supplies and tools
- Canvas material
- Lavender sachets
- Lavender stamp
- Green Ink
- Purple marker
- Purple hemp string or another pretty ribbon
- Glue gun/glue sticks
- Hole puncher
- Scissors
Shop Here:

Variations and special considerations
- Fabric: The trick here is to choose a fabric that is not too thin and flimsy. It is also important not to choose one that is thick and stiff. A nice medium-weight canvas or cotton duck should do. A drop cloth would work well for this project. In terms of color, you can choose white or tan. I would not suggest going too dark so you can see the stamp image. For a unique look, you can also use printed pieces of fabric this would be a great way to use up your pretty fabric scraps.
- Lavender: I chose these little bags of lavender buds for ease. They are already bundled using a netting bag and are easily placed in the canvas cover. You may use loose lavender as well. I would just wrap it in cheesecloth or a similar lightweight fabric before placing it in the canvas cover. The netting or cheesecloth will ensure the smell of lavender is still present once covered in canvas. To enhance the lavender scent you can add drops of lavender essential oil. (see steps for drying fresh lavender plants below)
- String: A natural twine, ribbon or even kitchen poultry string would work great for these sachets. You could also use a pretty piece of ribbon. You can also skip the string for a drawer sachet that is tucked in with clothing.
- Marker: Any purple marker will do or leave the stamped lavender as is!
- Glue: My go-to is always a hot glue gun because it dries so fast. You could certainly use fabric glue for these sachets as well. If it's a sewing project you are looking for simply swap out the glue and stitch these closed with your sewing machine.
Steps for drying fresh lavender
If you are a gardener perhaps you want to use some of your own lavender for this project. The first step is to dry it by following these simple steps.
- Cut the stems when they are almost, but not yet in full bloom. This is when you can see the purple and the flowers are most fragrant. Rule of thumb, the best time to cut the flowers for drying is when the buds are bright purple, and right before they open.
- Grab a bundle of stems and tie the stems with elastic or twine. Loop through an extra piece of twine or open a paper clip and thread the paper clip through the bundle wrap to hang it upside down to dry.
- Dry the bundles in a dark, warm place. A basement or closet comes to mind.
- Wait until they are completely dry (typically 2-4 weeks) then with your fingers remove the blooms from the bottom up. Be sure to do this over a pan, piece of paper or tissue, or a box so you can catch all the dried lavender.
- If you do not have enough lavender to fill the sachet, you can make a lavender mixture by adding dried rice. Three cups of rice to one cup of lavender is a great ratio to go by. Please keep in mind if you are adding rice you may want to enhance the scent by adding lavender drops. 12 drops to the mixture ratios mentioned above should do the trick.
- Store extra lavender buds in an air-tight container away from direct sunlight to ensure it keeps its color and fragrance for years to come.
Note: Not a gardener? You can often find fresh and dried lavender at your local farmers market. For help growing lavender visit my sister site, Celebrated Herb.
Step by step instructions
Easy DIY Dried Lavender Sachets (no sew)
Instructions
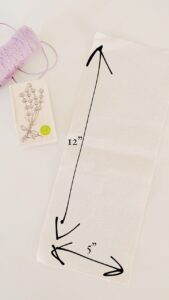
- Start by gathering all your supplies. For each sachet you are making - with your scissors cut a 12" x 5" piece of canvas. (you will be folding the canvas in half to make a 6" x 5" sachet)

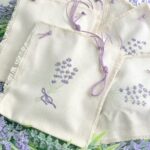
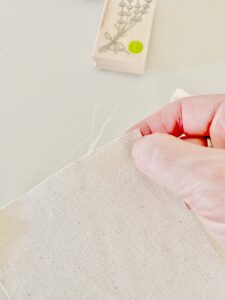
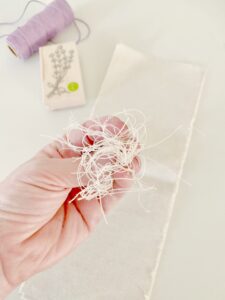
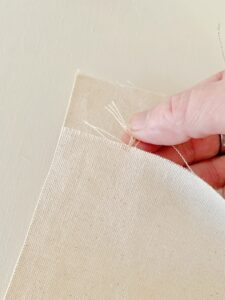
- By simply pulling the edges of the canvas begin to fray the edges. This step is optional but I love how the edges look when they are frayed.

- Discard the fabric you pulled off of the edges.
- Fold the fabric up to create a 6" x 5" sachet. The fold will be on the bottom of the sachet.
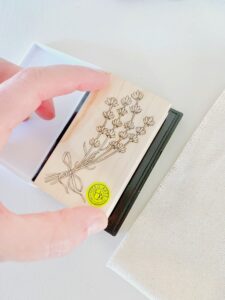
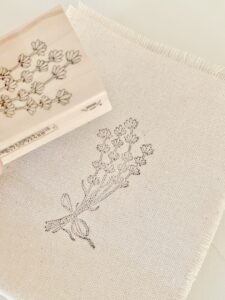
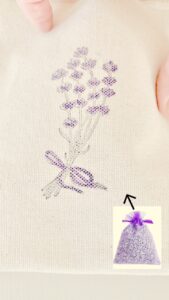
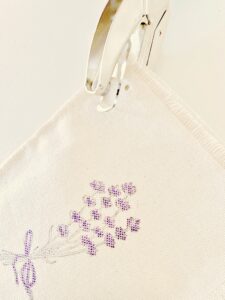
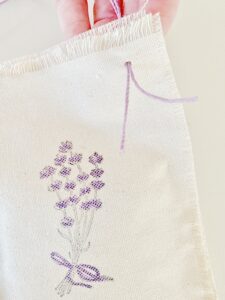
- Press the lavender bunch stamp on the ink pad to transfer the ink to the stamp.
- Move the stamp to the front of the sachet and press firmly to transfer the image.
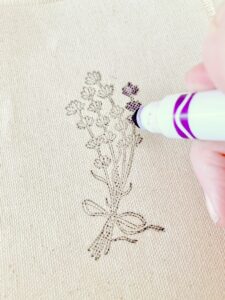
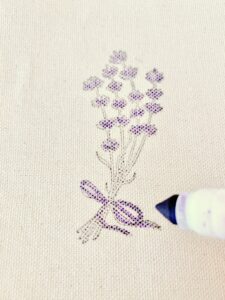
- With a purple marker of your choice, simply color in the lavender flowers.
- Then color in the bow that is tied around the lavender stamp.
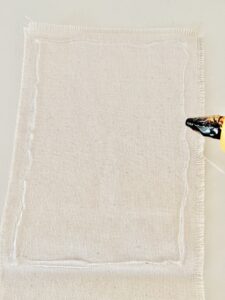
- Unfold the canvas and with your hot glue gun, add glue around the top 6" x 5" section of the canvas cloth. This outline of glue will go above the fold.
- Nestle the lavender bag in the center of the top portion, in the center of the glue and fold the bottom ½ up to meet the top and press to seal.
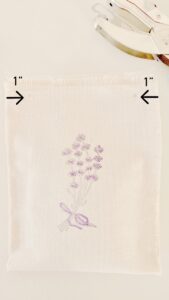
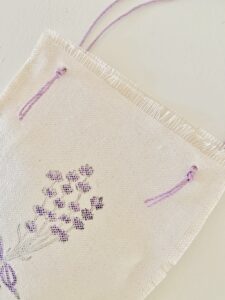
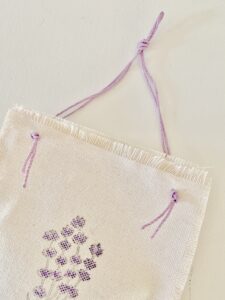
- With a hole puncher punch two holes at the top of the sachet. This is where the string will go.
- The holes should be approximately 1" in from the edge of the sachet.
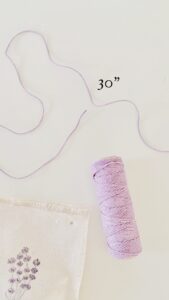
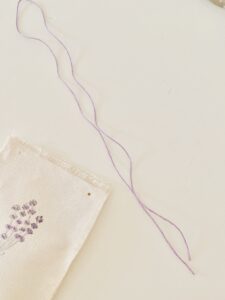
- Cut a 30" section of the light purple string (or piece of ribbon)
- Fold the string in half - essentially doubling it.
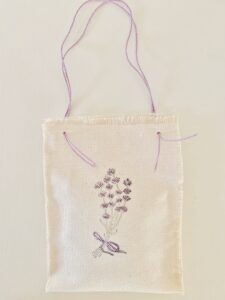
- Feed the double string through the hole from back to front.
- Repeat on the other side.
- Tie a simple knot on the end of the string.
- You may leave the string (which is now a hanger) as is or tie a knot on the top.
More fragrant sachet projects
Explore our collection of herbal pouches:
- Fill your drawers with the invigorating scent of rosemary using our simple herb-infused sachets that keep clothing fresh naturally
- Discover the perfect herb combinations for different spaces with our comprehensive guide to scented sachet creation
These aromatic projects offer beautiful ways to incorporate natural fragrance throughout your home while creating personalized gifts that friends and family will appreciate.
I made several of these easy DIY dried lavender sachets for my vintage booth and they went fast! They make a perfect gift for Mother's day and wonderful favors for a bridal shower. I hope you give them a try! You can view an easy tutorial here: Instagram.
If DIYing is your thing, you may also like my DIY crockpot candles or my Cupcake liner wreath! For more handmade gifts please visit my teacher gifts/hostess gifts/favors Pinterest board.
Thanks for visiting the blog today for how to make no sew lavender sachets!