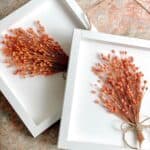
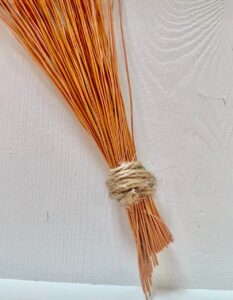
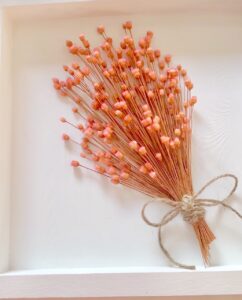
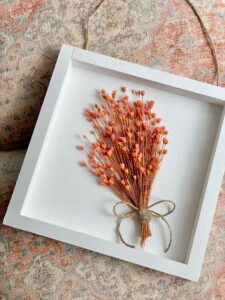
I'm going to take a wild guess that you are here from Pinterest! How do I Know this?? Well, this easy framed star flower bouquet project has over 60,000 views on Pinterest with my fellow Pinterest-loving peeps coming to the blog looking for more information and instructions! Well, I got you covered! Read on to learn more about this DIY dried flower wall art project!
*This post includes affiliate links, for more info on affiliate links visit here!
Jump to:
Dried star flowers
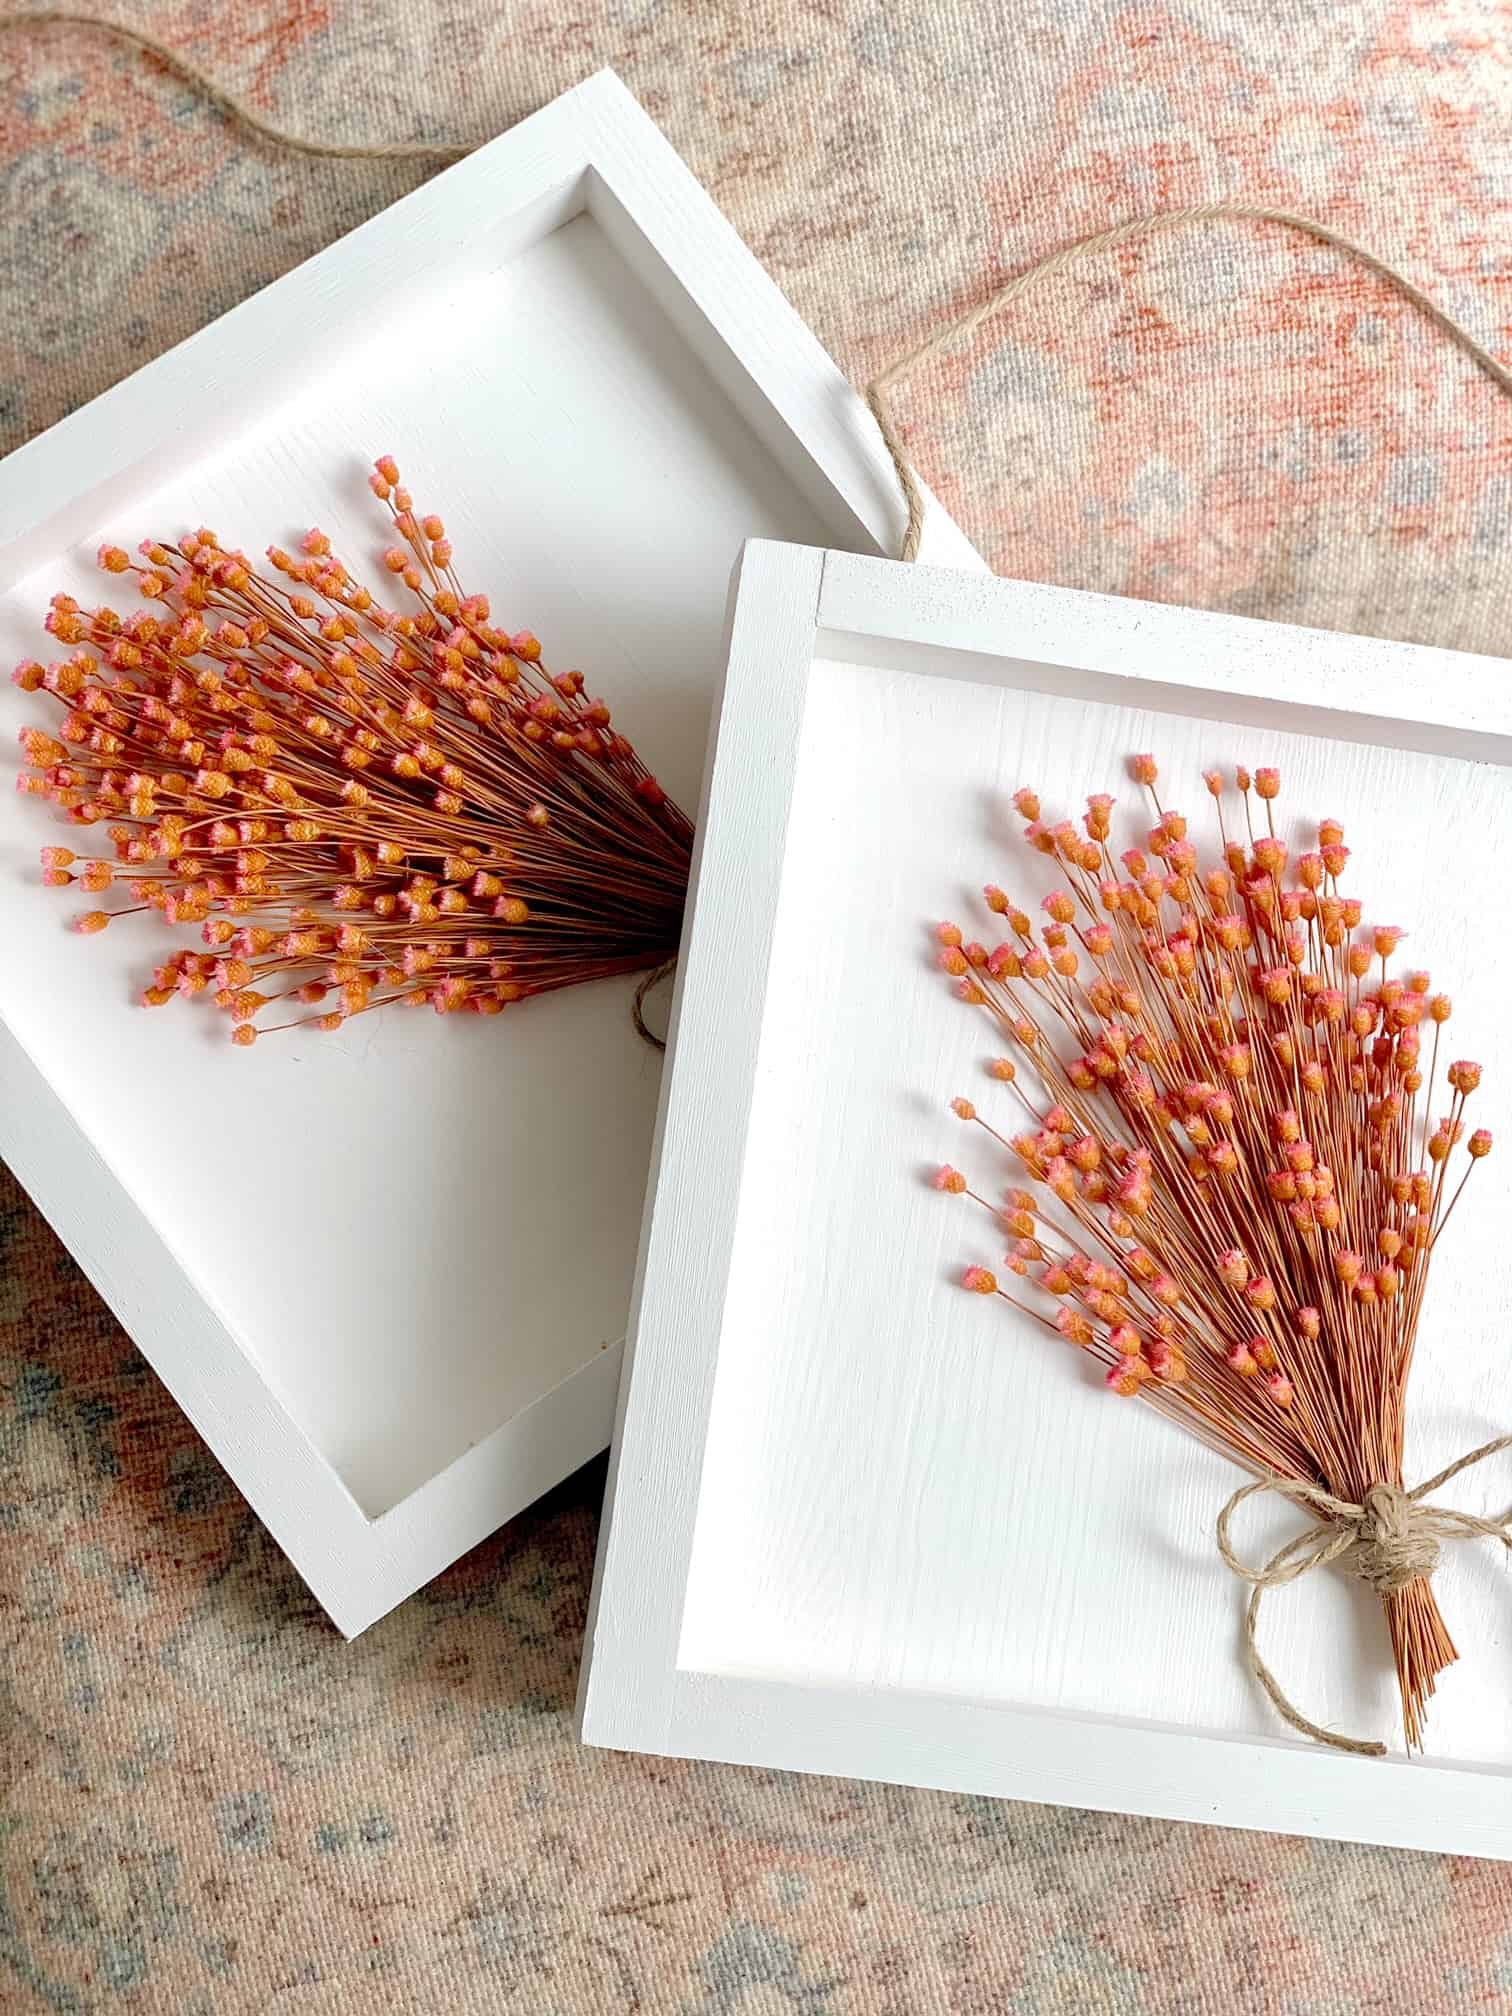
These tiny dried star flowers are the perfect flowers for this dried flower wall art project. Their dainty little blooms along with this pretty vibrant coral color work well with the white painted wood shadow box style frame. Dried star flowers have tiny flower petals so when making a flower arrangement or flower crafts, it's best to use them in clusters.
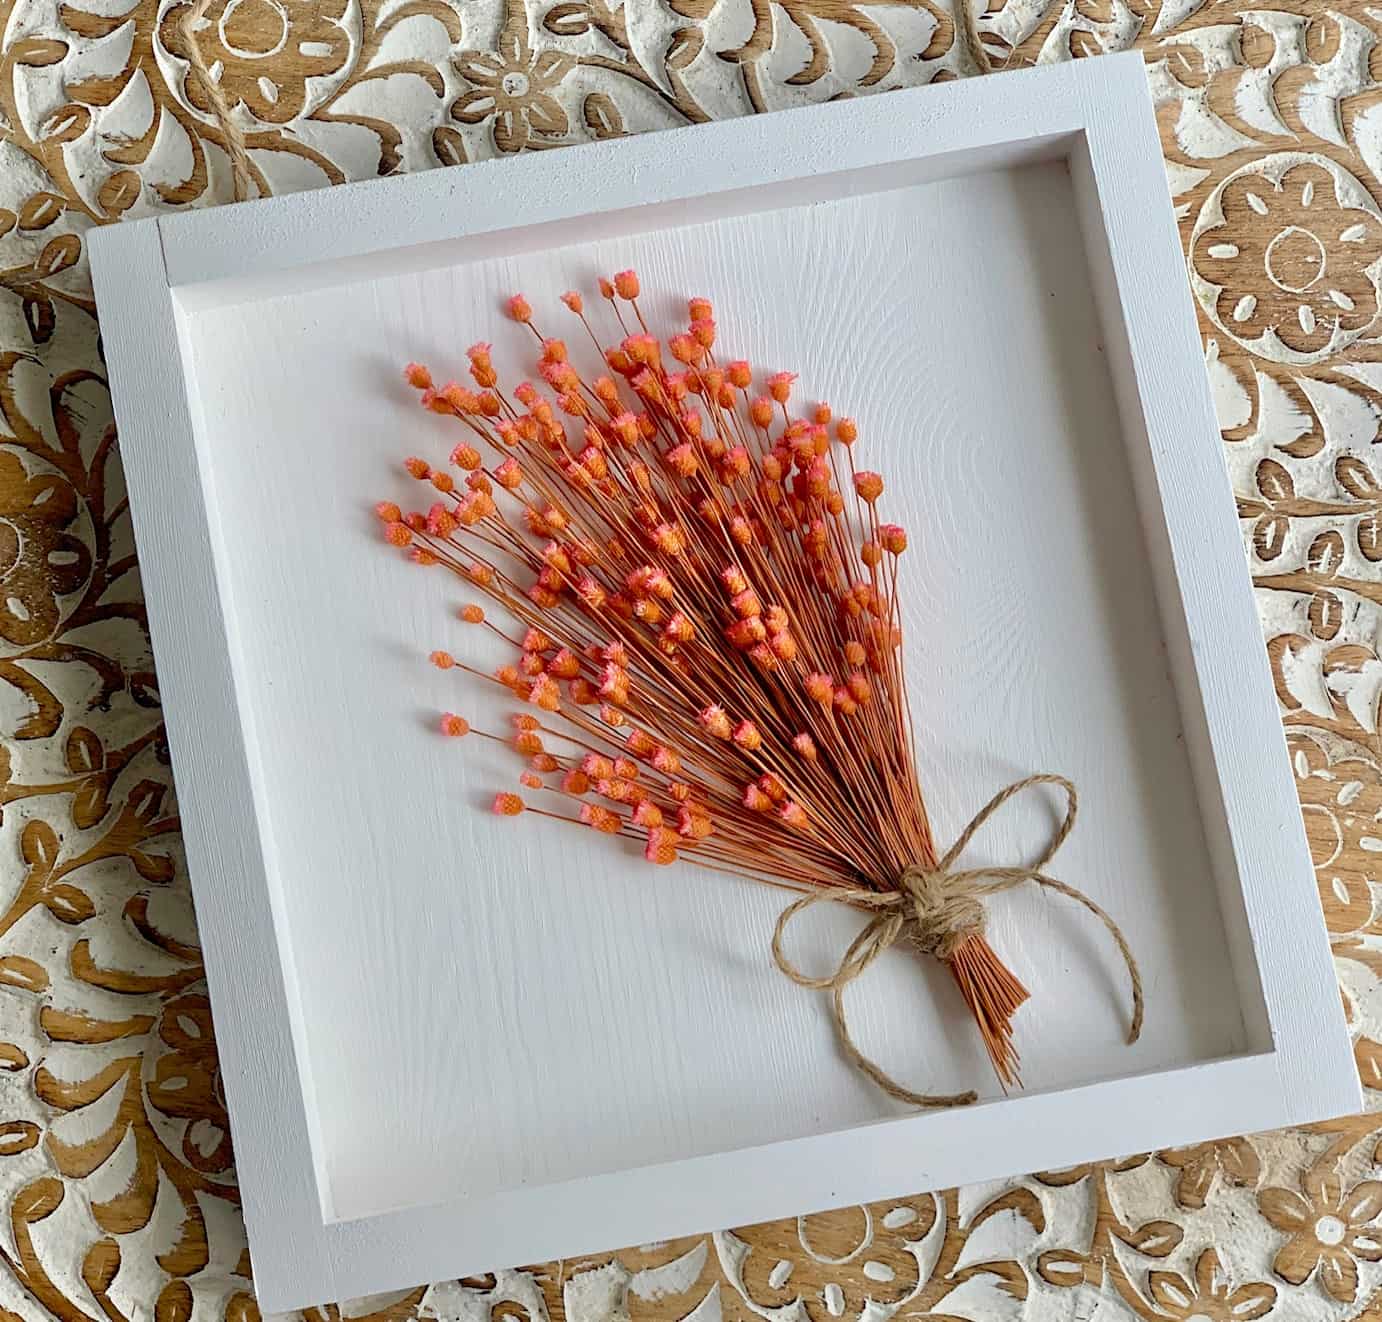
Where to buy dried star flowers
You can find dried star flowers at most craft supply stores like Michaels Stores, Hobby Lobby or Joann's. In fact, all the supplies used to make these easy framed star flower bouquets were purchased at my local Joann's. You can also find unique and interesting star flower colors on Etsy. Here is a mixed-color bunch from Amazon.

Supplies and tools for this project
- 1 bunch of dried star flower (approx 250-300 stems or 3 ounces)
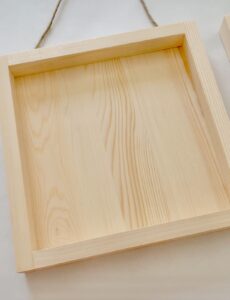
- 1 - 10inches by 10inches unfinished wood frame
- Twine
- Floral Wire
- Glue gun/Glue sticks
- Scissors
- White paint (any kind will work, I used Fusion Mineral paint)
Step by step instructions
Easy Framed Star Flower Bouquet
Equipment
- 1 Bunch of dried Star Flowers (3 oz bunch)
- 1 Unfinished wood frame measuring 10" x 10'
- 1 Roll of twine
- 1 Glue gun with hot glue
- 1 Pair of scissors
- 1 Floral wire (using just one piece of wire)
- 1 White paint of your choice
Instructions
- The first step is to paint your unfinished frame. I needed two coats to cover. Start with your first coat covering both the back and front and allow 30 minutes dry time between coats. Once the frame is painted and dried it is ready for the flowers.

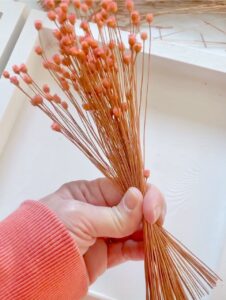
- Next gather the flowers in a cluster and twist to create a fan of flowers. Adjust the height and the length of the flowers as needed.

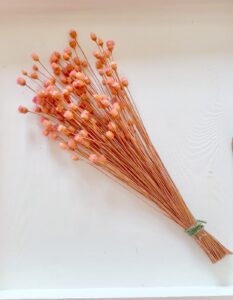
- Wrap the cluster with a 10" piece of floral wire to hold the cluster together.

- With your hot glue gun, glue a 6"-10" piece of twine on the wire to cover it. Simply add glue to the wire and wrap the twine.

- Cut the bouquet stems to fit the cluster in your frame. Add a simple bow over the glued twine then glue the flower cluster to the frame. I choose to place mine at an angle.

- If your cluster is not fanning (spreading) enough, take your glue gun and individually add star flowers by angling them to create a wider fan.

Frequently asked questions
Of course! Any dainty small dried flower or mixture of flowers would work. The possibilities are endless! You can also use your own flowers, even fresh flowers. If using fresh flowers (like baby's breath) you will need to follow a drying process consisting of hanging the flowers upside down in a dry space.
Yes, regular craft glue would work, you will just have to give it an appropriate amount of dry time.
You can choose a regular photo frame and either remove the glass or keep it on and paint right over it. Many different frame options are available at craft stores.
The sky is the limit! Choose twine, yarn, satin ribbon or even raffia.
For more fun floral projects visit:
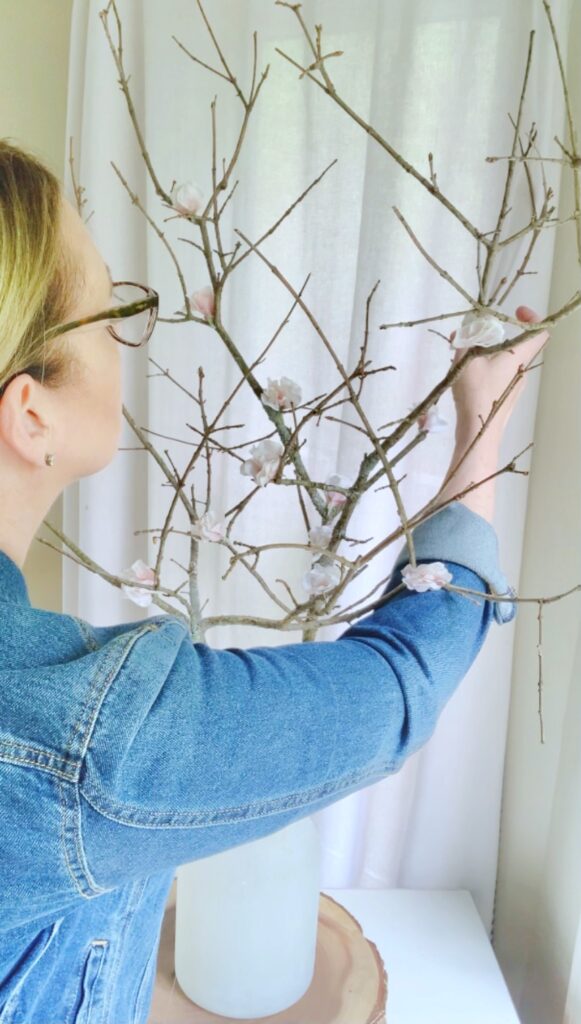
Quick and Easy Faux Cherry Blossom Branches: Want to bring the beauty of spring indoors without the mess? These DIY faux cherry blossom branches are your answer! With just a few craft supplies and some simple steps, you can create gorgeous, long-lasting cherry blossom stems that'll brighten up any room. Perfect for those who love the look of fresh flowers but prefer a low-maintenance option. Get ready to craft your way to a perpetual springtime!

Easy DIY Cupcake Liner Flower Wreath: Transform your door decor with this surprisingly simple craft! Who knew cupcake liners could look so pretty off the cupcakes? This DIY wreath turns ordinary baking supplies into a stunning floral display that'll have your neighbors doing a double-take. It's budget-friendly, customizable to any color scheme, and way easier than it looks. Perfect for brightening up your space or gifting to a crafty friend. Get ready to wow everyone with your cupcake liner magic!
I hope you will consider making this easy wall hanging for yourself or as a gift for a special occasion. To view the video for this project click here.
Thanks for visiting the blog today! For more floral inspiration please visit my Floral design page and for the crafty types visit my handmade home accents page - Glue gun required!!


