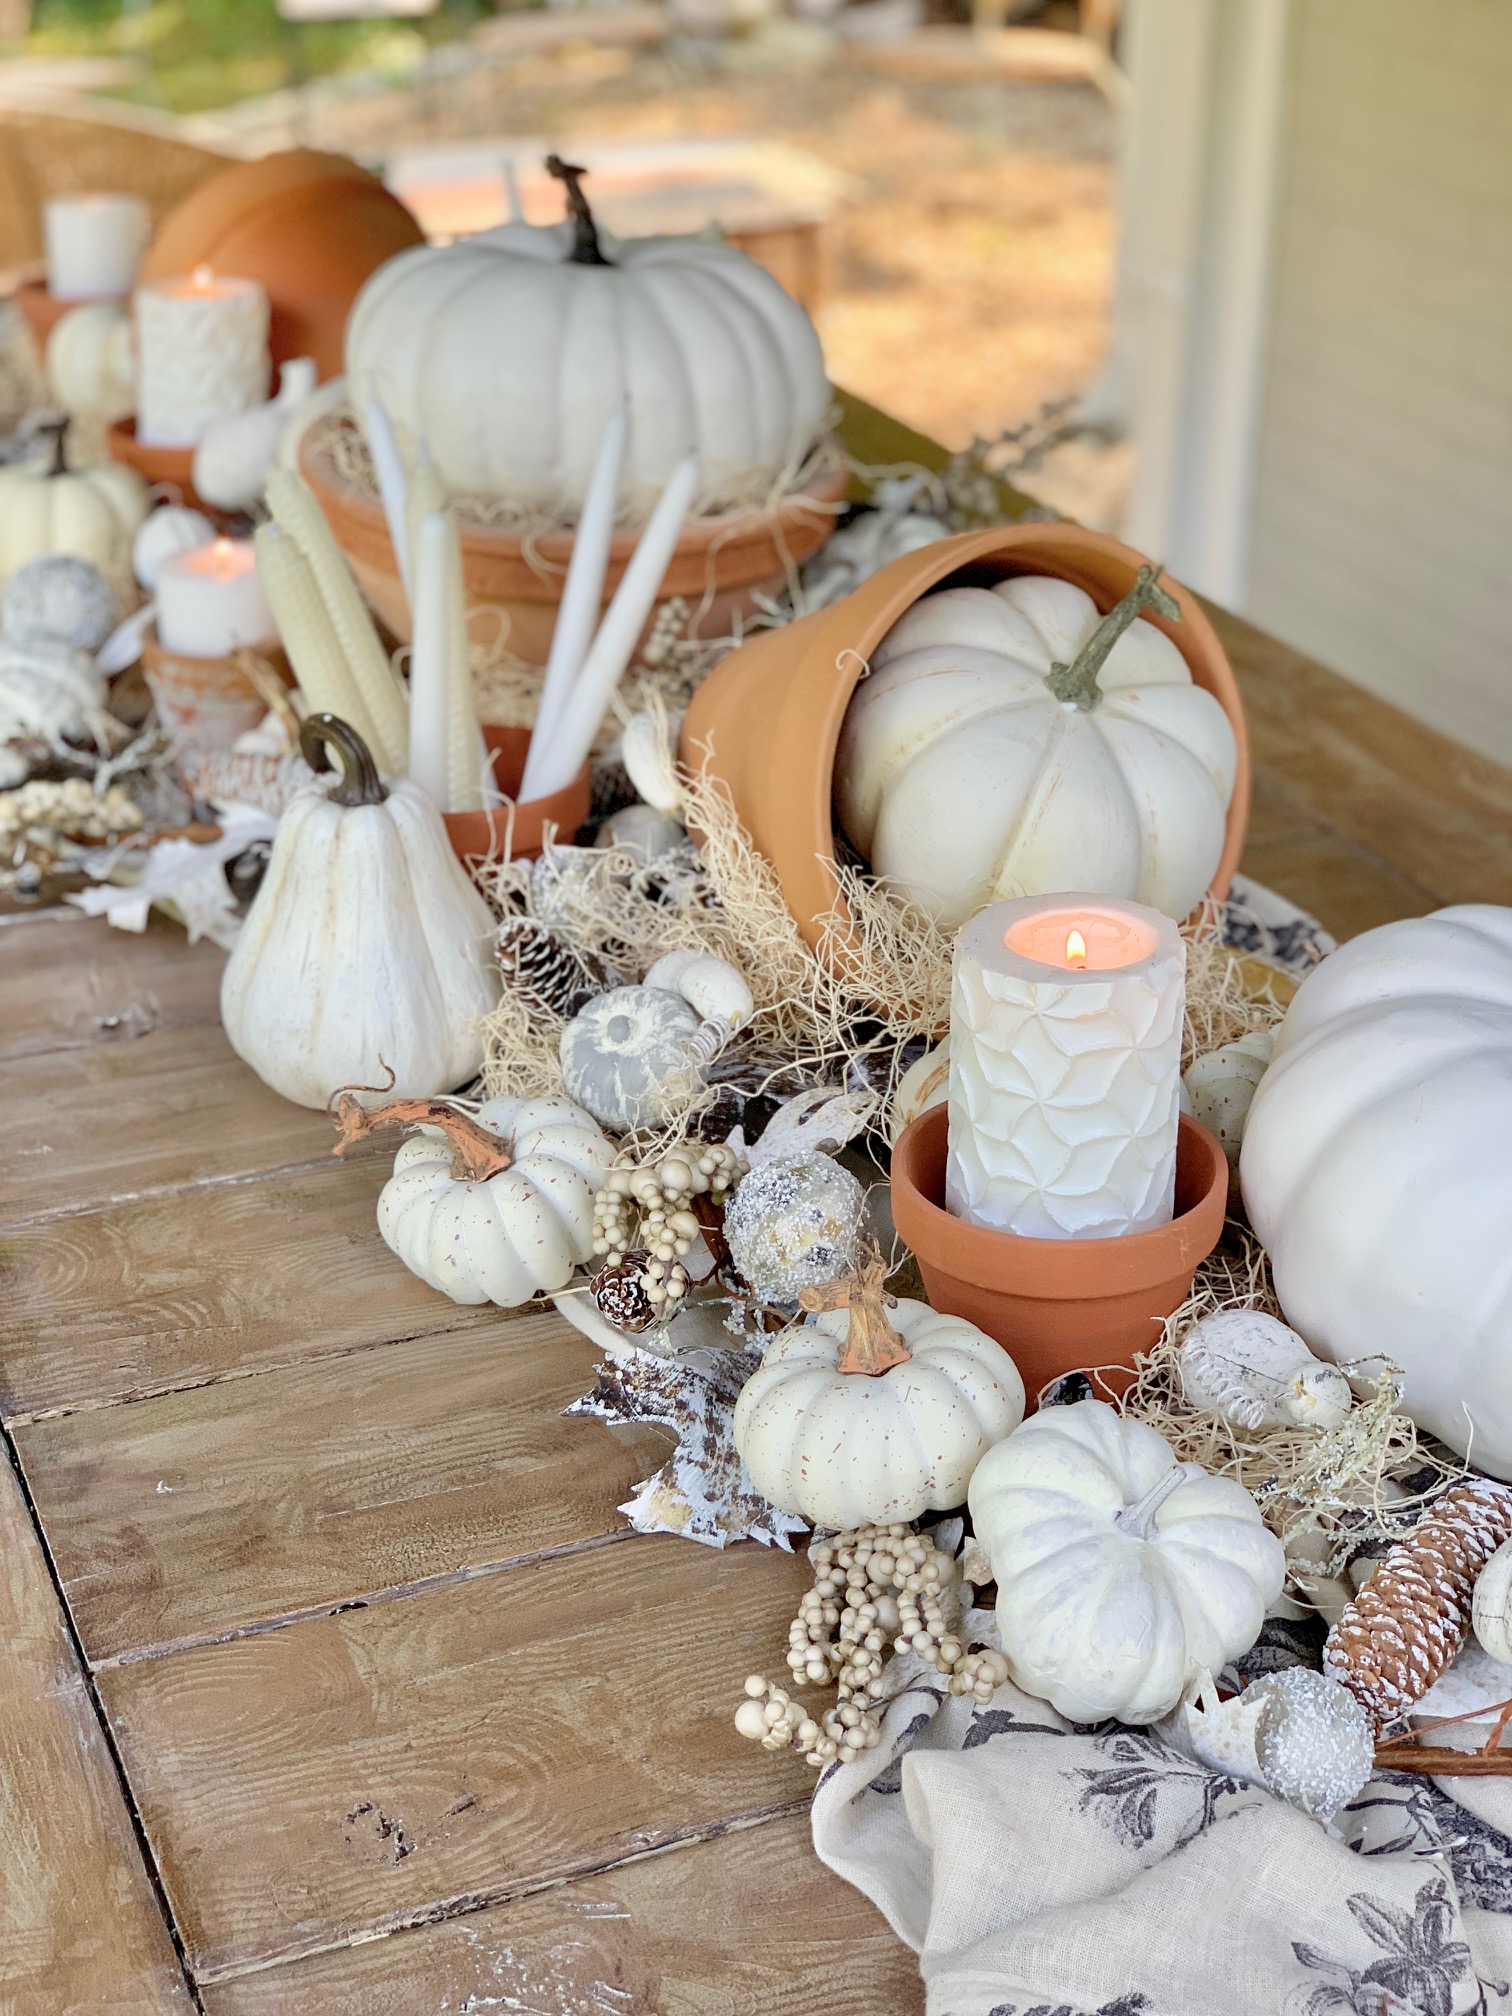
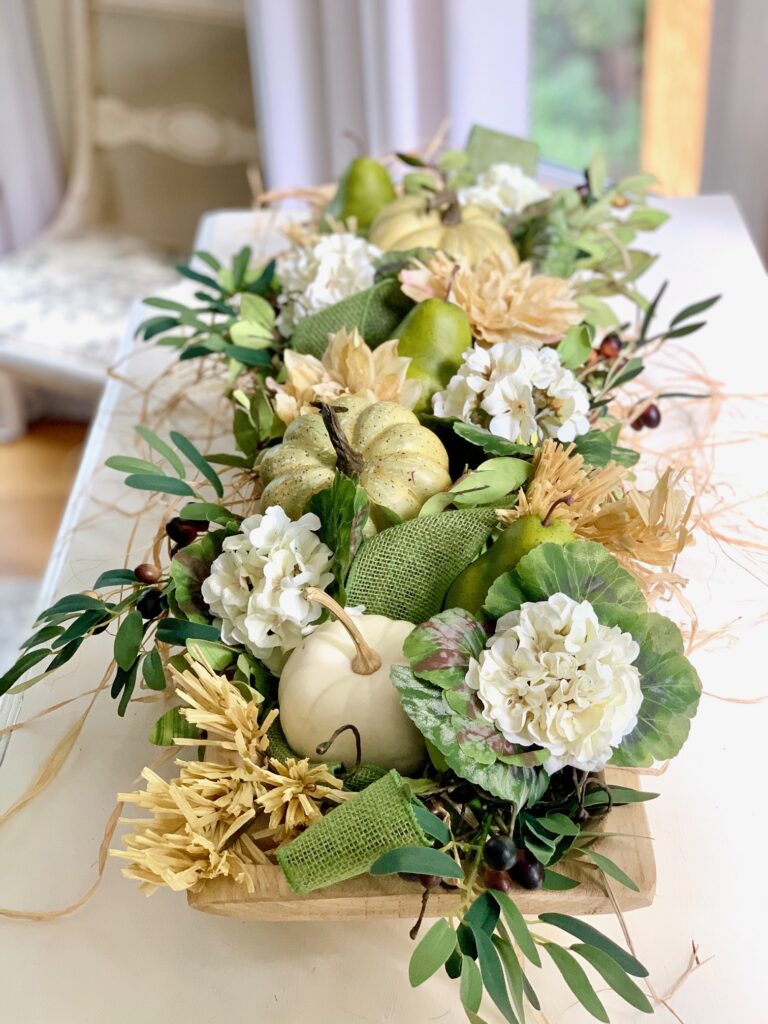
Hey friends! I’m so excited to share this super easy fall dough bowl design with you all. Dough bowls are a timeless staple as a rustic farmhouse decor piece. I mean, can you get anything more perfectly rustic and harvest-esque than a vintage wooden bowl filled with seasonal goodness? I love using mine to create stunning yet simple centerpieces for my dining table.
For this project, we’ll be starting with a nice big dough bowl as our base. Then it’s just a matter of building up pretty layers of raffia, faux greenery stems, gorgeous faux blooms, wheat stems, fall fruits, and a beautiful burlap ribbon running through the design. I’ll walk you through each step so even if you’ve never arranged flowers before, you can make this gorgeous fall design for your home!
*This post includes affiliate links, for more info on affiliate links visit here
The great thing about dough bowls is you can constantly swap out the elements inside to match any season or holiday. It makes changing up your decor fast and easy. I’m so excited to help you create a jaw-dropping centerpiece that looks like you spent a fortune at the florist. But shhh, we’ll just keep that part our little secret! Grab your supplies and let’s dive into the simple steps for major wow factor.
How to Make a Flower and Fruit Dough Bowl Design with Burlap Ribbon
This supply list is tailored for my 34″ x 8 1/2″ dough bowl, which falls on the larger side. Feel free to make necessary adjustments if you’re working with a smaller dough bowl.
Tools:
Supplies
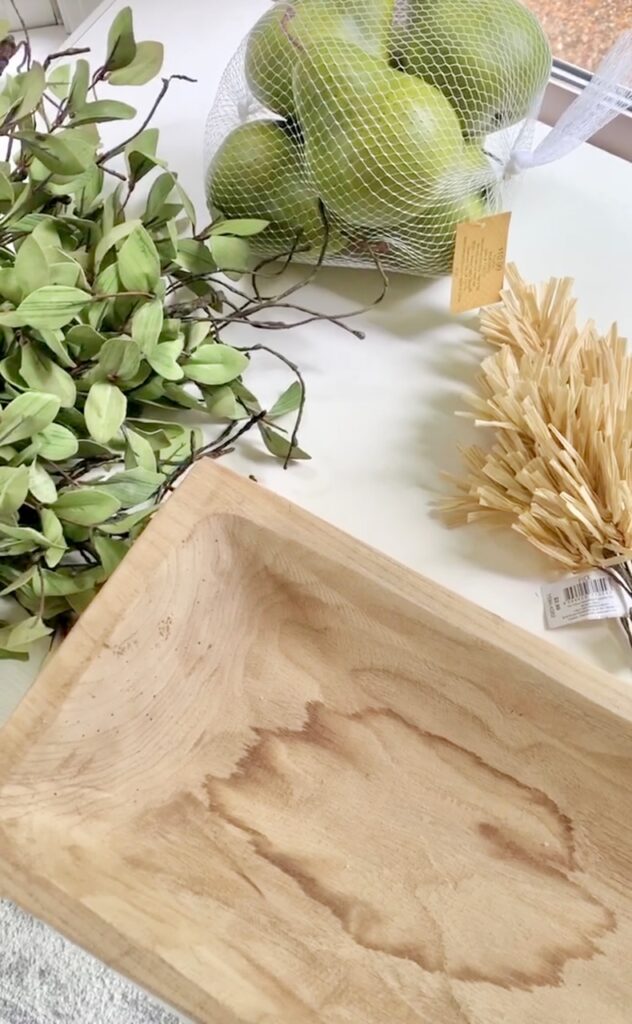
- Large dough bowl (linking similar to mine)
- 3 White mini pumpkins (faux or real)
- 3 Green mini pumpkins or gourds (faux or real)
- 1 package of Raffia
- 3 Tea leaf bush
- 5 – Olive stems
- 1 Roll of Green wired burlap ribbon
- 5 stems of White Geranium
- 3 large gold Dahlia blooms (linking similar)
- 1 bag of Pears
- 1 pkg Raffia picks or small bundles of dried wheat
Mastering Dough Bowl Design
Designing a dough bowl is an art of layering, where each element contributes to the overall masterpiece. It’s about crafting depth, dimension, and visual interest by strategically stacking greenery, flowers, fruits, and decorative items. Like a painter adding layers of colors to a canvas, each addition in a dough bowl design creates a harmonious composition that tells a story, whether it’s a celebration of the season, a burst of color, or a touch of rustic elegance.
Build Up The Base with Raffia
Alright, let’s start constructing our masterpiece! Here’s my secret weapon for full-looking dough bowl designs. Take your bag of raffia and pack it loosely into the dough bowl. Don’t smash it down; we want nice fluffy raffia that we can shape. Fluff it up and mound the raffia into a raised base.
The raffia acts like a pillow to prop up all the other goodies we’ll be adding after. It provides the height and dimension we need to make this arrangement pop. And it creates a soft, sturdy foundation to hold the flower stems and greenery in place.
Think of the raffia base as the support system – or skeleton – that everything else will sit upon. Fluff it, shape it, tease it until you’ve got a base you’re happy with. The fuller the better! Time to start layering on the beauty.
Insert Greenery Stems
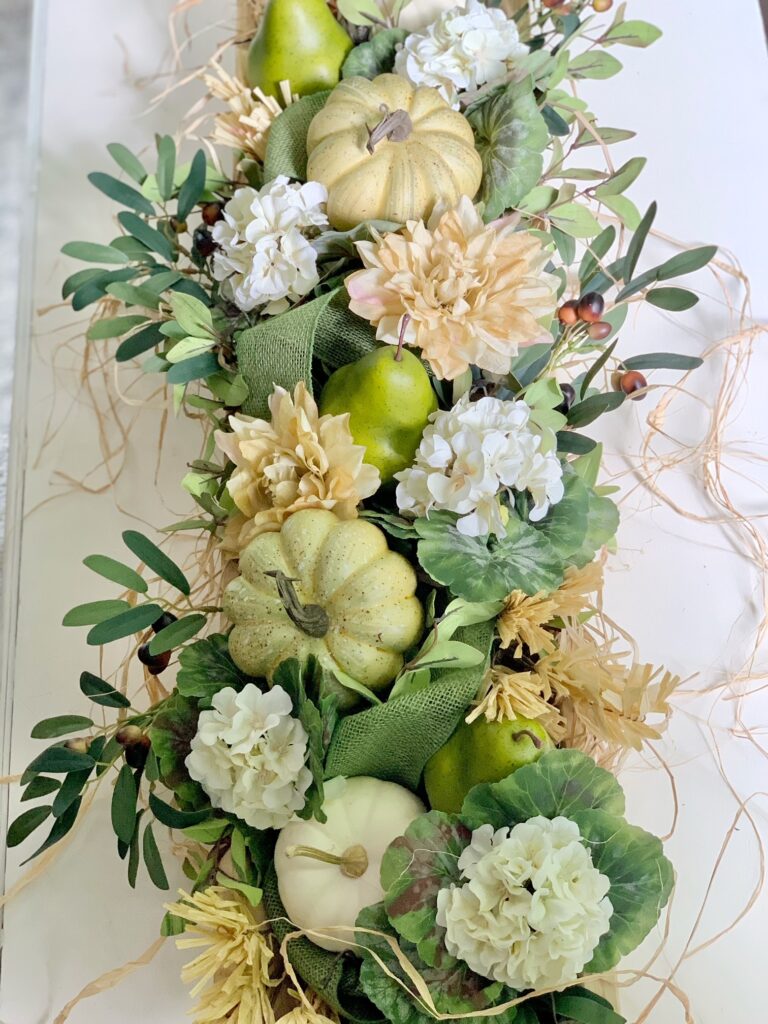
Now it’s time for greenery! For this design, we’ll be using two types of faux leaves: olive branches complete with cute lil’ olives, and a tea leaf bush.
Before inserting any stems, remind yourself to open them up and shape the branches using the wired portions. This will give you more fullness.
Okay, let’s start inserting the olive and tea leaf branches into the raffia base all around the bowl. Push the stems right into that pillowy base we created. Angle the stems in different directions for lots of depth and dimension.
Vary the heights too – some higher, some lower, some in between. We want greenery poking out all over to create a lush, full look. Don’t be afraid to let some stems drape gracefully over the outer edges of the bowl either.
Keep adding and dispersing greenery until you’ve got a thick olive-tea leaf forest sprouting from your dough bowl. This verdant base provides the perfect foundation to build the rest of our masterpiece on!
Add Flower Stems
The fun continues as we move on to the flowers! For this bowl, we’ll be using beautiful white hydrangeas and sunny yellow dahlias.
Take the flower stems and push them into the raffia base dispersed all around the bowl. Use your wire cutters to trim any extra long stems for better placement.
Group some of the blooms together in charming little bunches. Nestle them in and around the greenery to help anchor them.
Vary the height of the flowers for lots of dimension – some taller, some lower, some mid-height. Allow a few flowers to peek up higher than the greenery.
Angle the flowers both upwards towards the sky and downwards in a drooping fashion. Mimic how they grow in nature.
Keep adding stems and filling in any sparse spots until you have a bountiful bouquet sprouting from your bowl. The flowers should really pop against that lush greenery.
Incorporate Wheat and Fruit
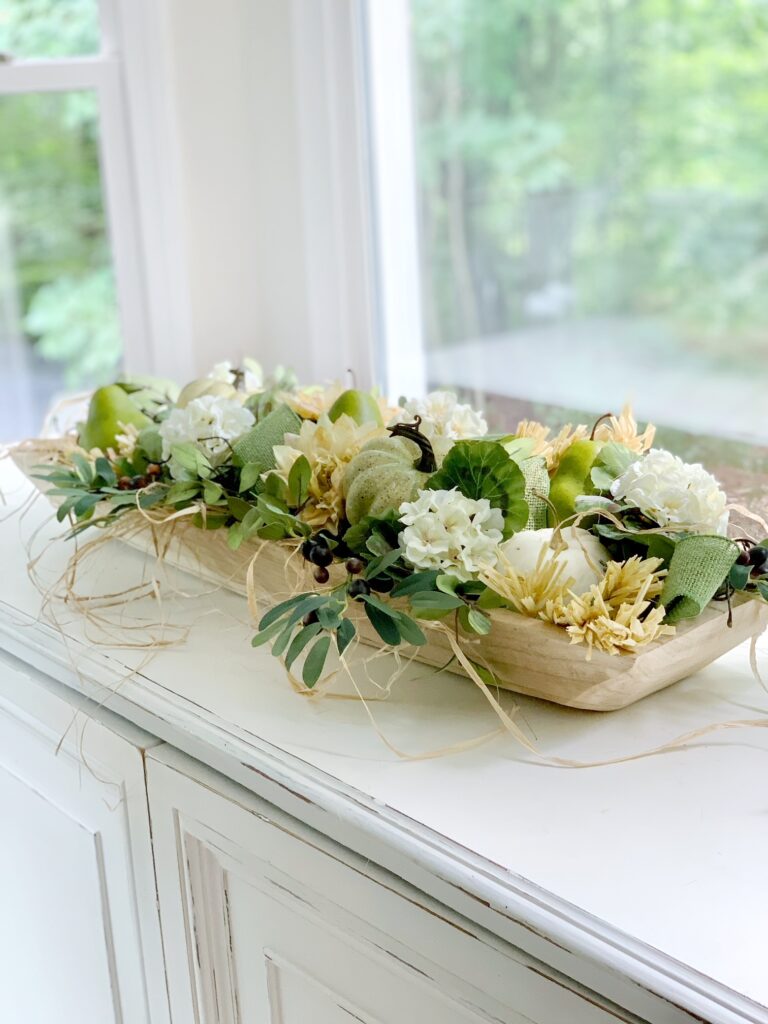
Let’s keep building layers! Take the wheat stems and insert them into the raffia base, dispersing the billowing wheat amongst the flowers. The wheat provides nice height and movement.
Now for the fun fruit elements! We’ll be using faux green pears and mini white and green faux pumpkins. Nestle these into the arrangement, tucking them partly underneath the flowers and greenery.
Make sure to sprinkle the pears and pumpkins throughout to create little pops of color. We aim for an even distribution of fruits mixed in with the flowers.
The key is to nestle and tuck – find little nooks and openings to gently place each fruit element so it looks like a natural part of the floral arrangement. Build that fruit up gradually for a bountiful harvest look!
For more ideas on incorporating wheat into your fall decor visit my 5 Ways to Use Dried Wheat in Your Fall Décor post.
Add Burlap Ribbon
Time for the finishing touch – the burlap ribbon! Take your ribbon and cut it to 10 inches longer than the length of the bowl.
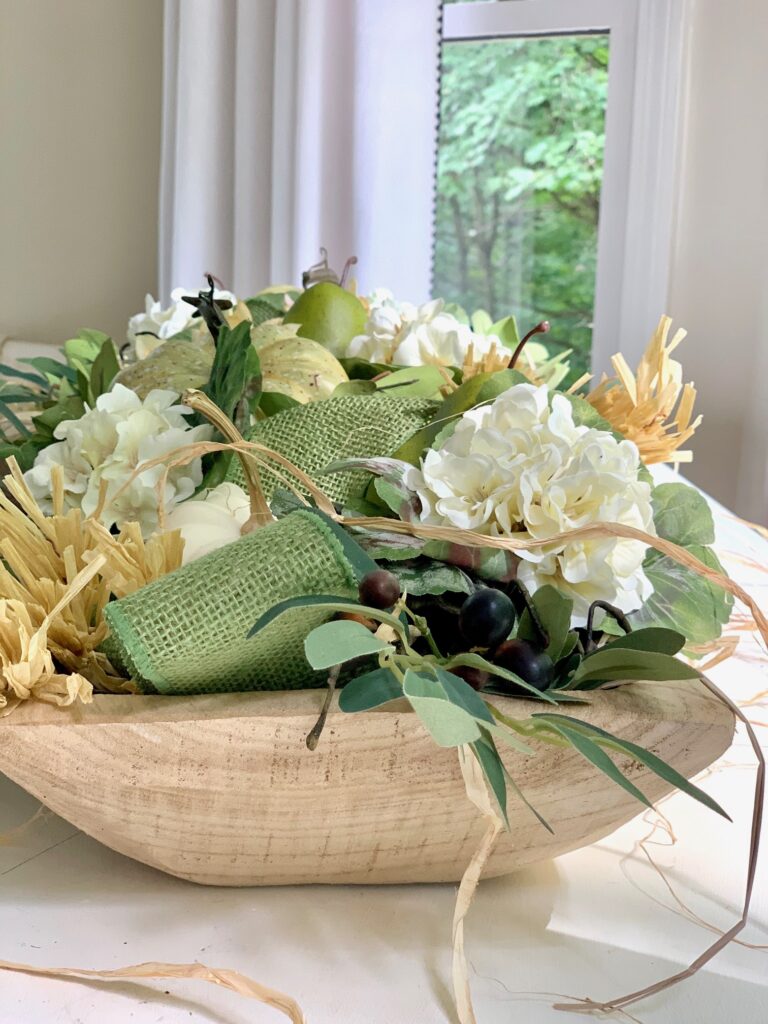
Start at the back and begin weaving the burlap ribbon over and under the greenery and flowers. Work your way up through the center of the bowl, winding the ribbon through the arrangement in an organic way.
Once you reach the end, trim any excess ribbon so the ends meet neatly. Fluff and shape the ribbon one final time to perfection!
The woven burlap ribbon provides the perfect rustic complement nestled into the florals and fruits.
Tip: Any autumn-themed ribbon will suit this project. For larger dough bowls, I suggest using a 1.5-inch wide ribbon like the one used in this bowl.
Explore Creative Variations for Your Dough Bowl Designs
- Seasonal Themes: Swap out the floral and fruit elements to match different seasons. Use pastel-colored flowers and Easter eggs for spring, vibrant sunflowers and faux corn for summer, and pine cones with evergreen branches for winter.
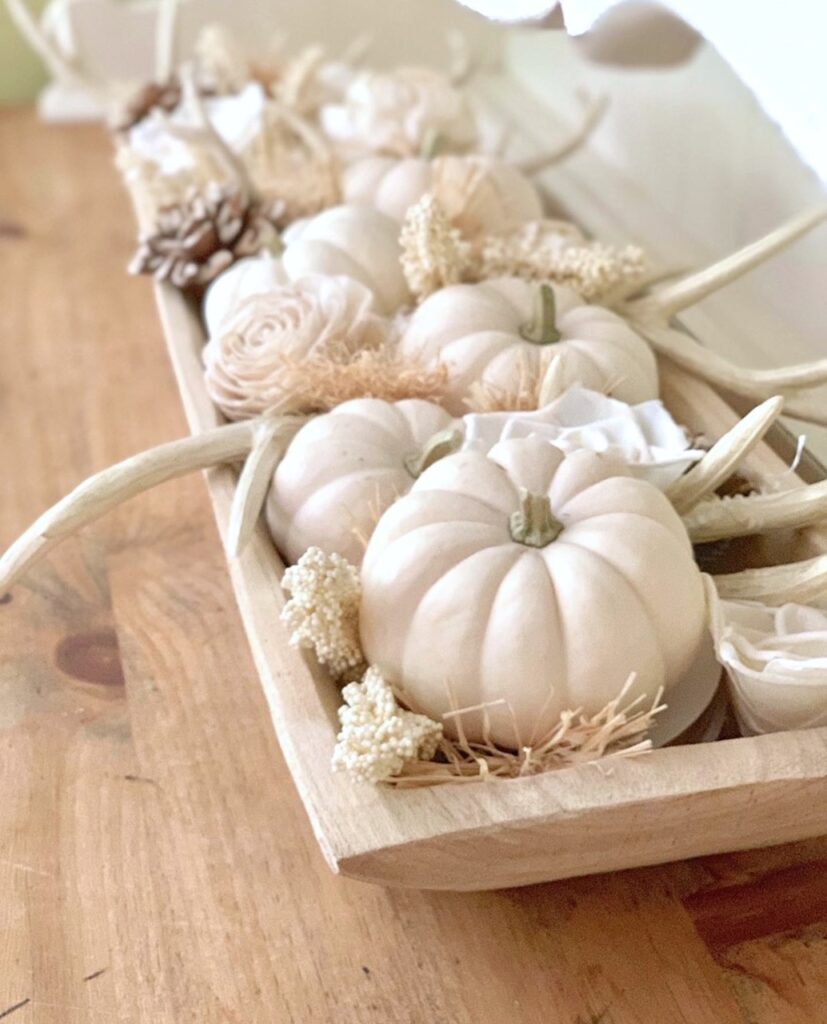
- Monochromatic Elegance: For a different look create a chic and sophisticated single-color scheme dough bowl. For example, go for an all-white like my Fall Farmhouse Dough Bowl or all-red arrangement for a stunning monochromatic effect.
- Harvest Bounty: Embrace the fall harvest theme by incorporating faux vegetables like orange and white pumpkins, gourds, and corn cobs perfect for the fall season. Add some natural elements like dried wheat stems and rustic touches like burlap for a charming farmhouse look.
- Coastal Vibes: Bring a touch of the beach to your decor with seashells, starfish, and blue-hued faux flowers. Sand and driftwood accents can enhance the coastal aesthetic.
- Holiday Cheer: Customize your dough bowl for holidays like Christmas, Halloween, or Thanksgiving. Incorporate themed ornaments, fresh greenery, and mini Christmas trees for the holiday season.
- Succulent Sensation: Opt for low-maintenance succulents in various shapes and colors. Succulent-themed dough bowls can add a trendy feel and give a new look to your modern decor.
- Rustic Charm: Enhance the rustic feel by adding dried cotton stems, twine-wrapped accents, and moss balls. Incorporate neutral tones for a soothing, earthy vibe.
- Minimalistic Beauty: For a minimalist approach, keep it simple with a single type of flower or greenery. A monobotanical arrangement can exude elegance and tranquility.
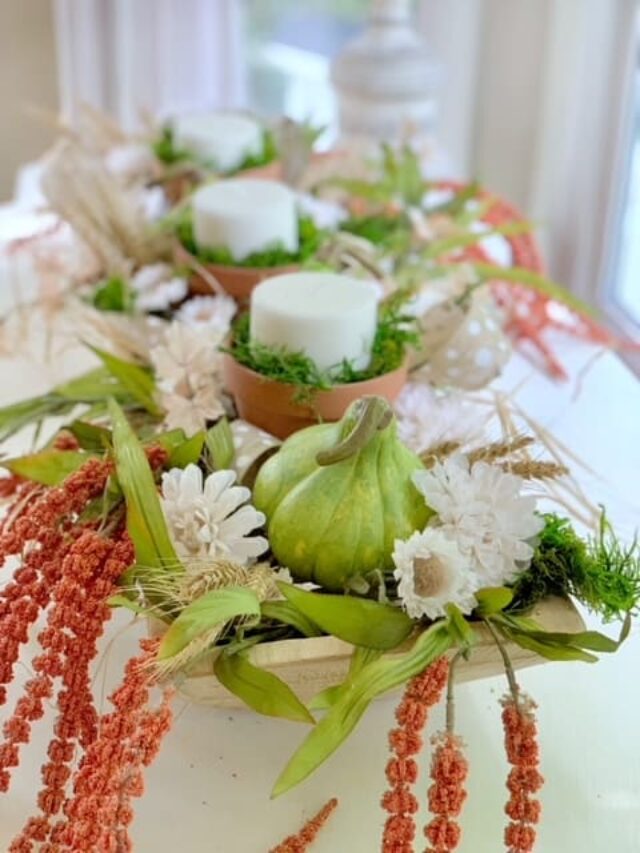
- Candlelit Ambiance: Incorporate battery-operated LED candles of varying heights for a cozy, romantic atmosphere. Nestle a LED pillar candle among faux stems and greenery for a warm, inviting glow.
Feel free to mix and match these variations to create unique and personalized dough bowl designs for different occasions and moods. The possibilities are endless, and your creativity can truly shine through!
Frequently Asked Questions About Designing in a Dough Bowl
A dough bowl is a large, usually wooden, bowl traditionally used for kneading bread dough. In decor, it is repurposed as a decorative centerpiece or display vessel. Its use in decor adds a rustic, farmhouse-inspired touch to spaces and allows for creative seasonal styling.
You can fill a dough bowl with a wide range of decorative elements, including seasonal fruits, vegetables, flowers, greenery, candles, pinecones, ornaments, seashells, and more. The choice of fillers can be tailored to match your design theme or the season.
Consider the dimensions of the surface or area where you plan to place the dough bowl. Larger areas can accommodate larger dough bowls, while smaller spaces may require petite bowls. Ensure the bowl’s proportions are visually appealing within the context of your decor.
Popular fillers and favorite features include seasonal fruits and vegetables, faux or dried flowers, greenery, candles, pinecones, green moss, ornaments, velvet ribbon, and decorative balls. The choice depends on your design preferences and the season. Most supplies can be bought at craft stores like Hobby Lobby and Joann’s.
When using candles in a dough bowl, ensure that they are secure and stable to prevent accidental tipping or fire hazards. Use appropriate candle holders or containers within the dough bowl to contain any melted wax. Never leave burning candles unattended.
You can place your dough bowl design in various locations throughout your home to add a touch of charm and seasonal flair. Consider using it as a stunning centerpiece on your dining room table, where it can effortlessly elevate your dining experience. Alternatively, your dough bowl creation makes a great focal point on a coffee table in the living room, infusing warmth and style into your cozy space. For those seeking an inviting and welcoming ambiance, the entry console table is also a fantastic place to showcase your dough bowl centerpiece, greeting guests with its rustic elegance as they enter your home. Additionally, your kitchen countertop can become a delightful spot to display your dough bowl, bringing a rustic farmhouse vibe to your culinary space.
Certainly, you can use fresh flowers in a dough bowl, especially when paired with water tubes to keep them fresh for a longer period, or a liner with fresh flower foam. This allows you to create a beautiful, long-lasting centerpiece with fresh blooms. Fresh flowers paired with fresh fruit would make a beautiful centerpiece depending on the time of year.
You can buy a wooden dough bowl at various places, grab one at a thrift store, or antique stores and vintage markets. You can also find some online, I’ve included a few below. Dough bowls come in different sizes, and you can often find a cool vintage dough bowl with unique character at these locations. For help preparing and navigating antique and vintage markets visit my Top 10 Tips for Antiquing: The Ultimate Guide to Navigating Vintage Markets and Shops post!
Here are a few dough bowl options!
Creating a stunning dough bowl design is not only fun but also incredibly versatile. Dough bowls offer a fantastic canvas to express your creativity and match your decor to different seasons, holidays, or themes. Whether you’re going for a rustic farmhouse look, a coastal vibe, or a minimalist aesthetic, there are endless possibilities to explore.
You’ve learned how to build a beautiful base with raffia, insert greenery and flowers to add dimension and color, incorporate wheat and fruit for texture and depth, and finish it off with a charming burlap ribbon. Plus, we’ve explored various creative variations to inspire your next dough bowl project.
Remember that dough bowls are a unique and eye-catching addition to your home decor, and they allow you to constantly refresh your living space with new and exciting designs. So, grab your supplies, let your imagination run wild, and have a blast crafting your own jaw-dropping centerpiece. Your secret florist skills will leave your guests in awe!
For more fall dough bowl arrangements visit:
How to Make a Dough Bowl Centerpiece: In this post, you’ll delve into the world of dough bowl design and explore the creation of a beautiful centerpiece. Learn the easy yet artful process of layering various elements, from choosing the right size and focal point to mixing sizes, shapes, and textures. Discover how to adapt your dough bowl design for different seasons and occasions, and get ready to elevate your decor with this versatile and charming decor piece.
Fall Farmhouse Dough Bowl Design: In this post, you’ll learn how to create a stunning “Fall Farmhouse Dough Bowl Design” that seamlessly blends chic elegance with rustic autumn vibes. Discover the art of dough bowl styling, from choosing the right size and focal point to mixing sizes, shapes, and textures for a captivating arrangement. Get ready to infuse your home with seasonal charm and elevate your decor game with this step-by-step guide!
Thanks for visiting the blog today for this Flower and Fruit Dough Bowl Design with burlap ribbon post! Be sure to head to my blog post on 15 amazing Amazon fall wreaths and new this year is my post, 15 stunning fall garlands from Amazon.


