Today I’m excited to share my latest kitchen upgrade – a DIY baking station that’s been a total game-changer. I’ve transformed a simple wall and counter space into a dedicated area for all my baking needs.

This station has everything: a stand mixer, dry ingredient storage, measuring tools, and even a spot for my favorite baking pans. It’s not just functional – it adds a charming touch to my kitchen too.

If you’re tired of scattered baking supplies and want to streamline your process, stick around. in this post, How to Create a Baking Station in Your Kitchen, I’ll walk you through how I put this baking hub together and why it works so well. Let’s get started!

Me in front of my new DIY baking station. This baking station sits on the back wall of my kitchen and is a counter top and a floating shelf filled with baking supplies and decor.

*This post includes affiliate links, for more info on affiliate links visit here

The Vision

The idea for this baking station sparked when I realized how much time I wasted searching for supplies every time I wanted to whip up some homemade bread or sweet cookies. My goals were simple: create a functional space that puts everything at my fingertips, while adding charm to my kitchen.

I envisioned open shelving for easy access to baking pans and a countertop area for my stand mixer and food processor. Storage for dry ingredients was a must. The design had to maximize my limited space without cluttering the kitchen.

I spent time planning the layout, considering the workflow from measuring to mixing, to ensure this baking center would truly make my baking endeavors more enjoyable and efficient.

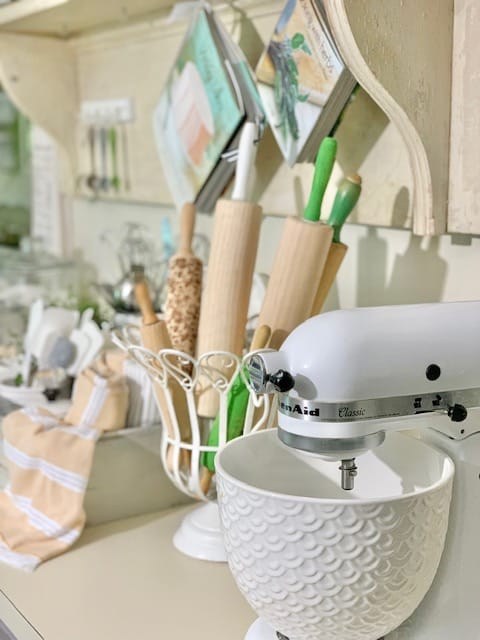
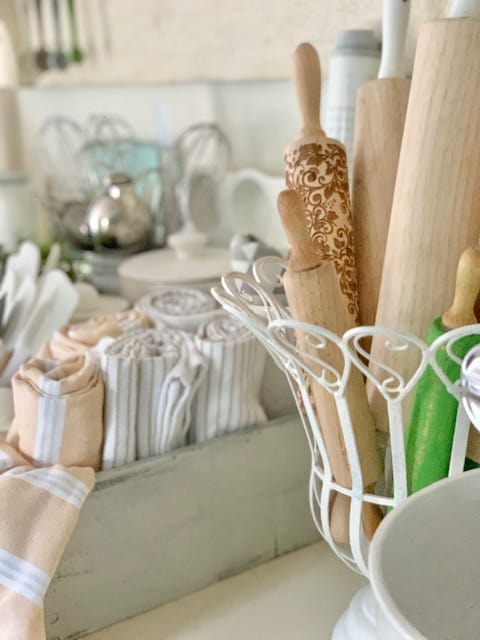
A full view of the baking station with rolling pins, stand mixer, lots of baking supplies.

Time for a Change

I decided to transform my old farmhouse coffee bar into a dedicated baking station. This spot offered the perfect wall and counter space for my vision. The base cabinets I’d previously installed (check out the Base Cabinet transformation DIY adventure here!) provided an ideal foundation for this new project.

The star of the show is the antique mantel I repurposed into a floating shelf. This unique piece not only adds character but also provides the perfect spot for storing baking pans, pie plates, and mixing bowls. Talk about charm meeting function!

On the counter, I made sure to keep frequently used items like measuring cups and spoons within arm’s reach.

The layout ensures a smooth workflow from gathering ingredients to mixing and baking. Everything is now in close proximity, making baking a breeze and turning this counter and wall space into a baker’s dream!

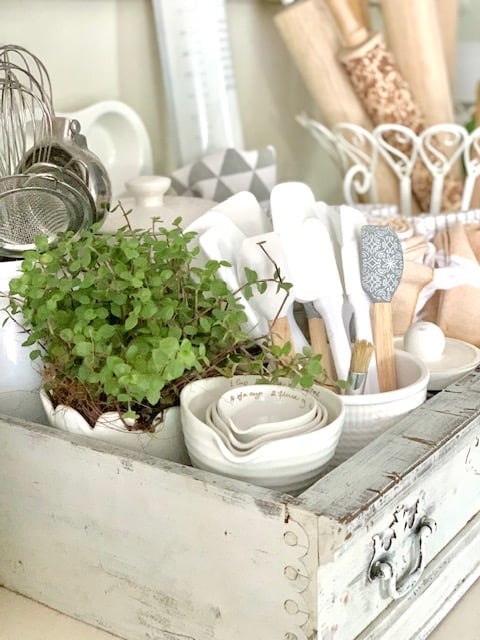
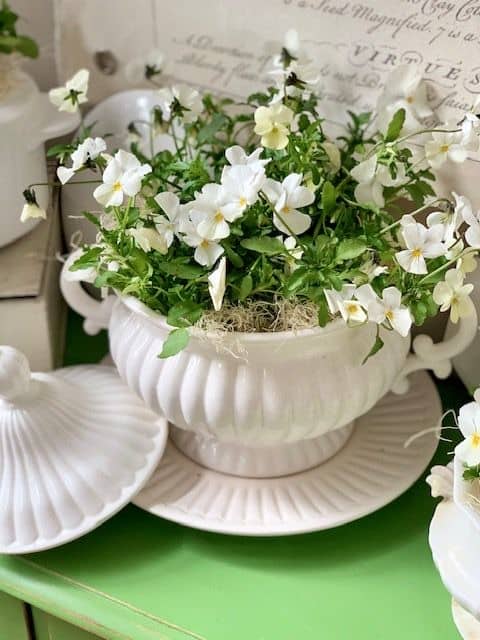
A vintage drawer housing measuring cups and spoons, spatulas, baking tools and a plant.

Aesthetic Considerations

When designing this baking station, aesthetics were crucial since it’s in full view of the kitchen. I wanted a space that was not only functional but also visually appealing and cohesive with the rest of my decor.

To achieve a harmonious look, I opted for mostly white dishes, pans, and measuring items. This clean palette creates a charming, timeless feel while keeping the space bright and inviting. The white elements complement the cream-colored antique mantel shelf and countertop beautifully, creating a soft, warm atmosphere.

I added decorative touches like a vintage kitchen scale and a few small potted herbs to bring in some character and life. These elements contribute to the station’s charm without cluttering the workspace.

Balancing form and function was key. Each item, while beautiful, serves a purpose. The open shelving displays pretty pie plates and mixing bowls, but they’re also easily accessible when needed. This way, the baking station remains an efficient workspace while doubling as an attractive focal point in the kitchen.

A vintage scale, salt and pepper containers, twine, cook book and a plant on the shelf.

Essential Components and Organization

Storing Dry Ingredients

I wanted my baking ingredients and supplies to be easily accessible, so I purchased glass storage jars for flour, sugar, oats, confectioners’ sugar, and even muffin liners. These jars were a great find and very inexpensive from Walmart (all supplies are linked below). An added bonus? I enjoy decorating them for the holidays!

Glass canisters filled with dried goods decorated with bows and greens for Christmas.

Mixing Bowls and Baking Pans

For mixing, I invested in a new ceramic mixing bowl set from Crate and Barrel. I love a thick, sturdy mixing bowl, and the price was right on this set. I also have a few other ceramic bowls from Homegoods that I use regularly.

It was time for an update, so I replaced all my pie, muffin, and loaf pans with white ruffle-y non-stick ceramic ones. Pretty sure my old ones were from 1989! I also bought fresh new white ceramic-coated cookie sheets from Crate and Barrel. Did I mention I made some updates?

Nesting mixing bowls, a book and some whisks.

The Stand Mixer and Its Upgrade

Would you believe my Kitchen Aid mixer is 22 years old and still works perfectly? While it’s been a trusty companion, I decided to splurge a bit on this project. My big purchase was the ceramic Kitchen Aid mixer bowl. I’ve had my eye on this bowl for quite some time, hoping it would come down in price. I love the look and was happy to put the stainless-steel bowl away.

New ceramic mixing bowl for my Kitchenaid stand mixer.

Measuring Tools and Utensils

For decorative purposes and to coordinate with the vintage mantel, I bought a vintage drawer to add baking supplies. It now houses measuring cups, a hand juicer, and several different types of cooking utensils.

To make conversions easier, I added a kitchen conversion chart. The simplicity of this chart drew me in. I bought it on Etsy and then framed it with a simple frame from Walmart. It will be put to good use!

Handy framed conversion chart for baking.

Adding Charm and Personal Touches

Decorative Elements

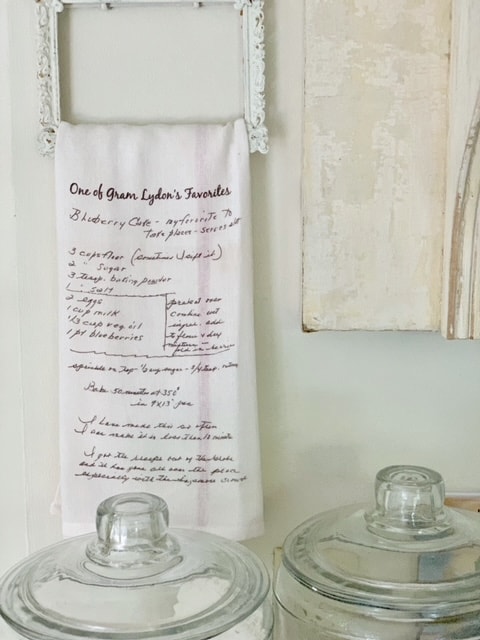
One of my favorite personal touches is the vintage frame I used to display a very special tea towel. This isn’t just any tea towel – it has one of my Grandmother’s favorite recipes printed on it, complete with her own comments! I received this treasure from my Aunt just weeks after my grandmother passed away last September at the age of 95. She was very special to me, and I’ve enjoyed her Blueberry Cake many times over the years. Needless to say, this tea towel holds a special place in my heart, so featuring it on this baking station was a must. (Want to try it yourself? Here’s her Blueberry Cake Recipe!)

To add some extra charm and functionality, I hung a couple of cookbooks under the mantel shelf. It’s a simple trick – I just ran a ribbon through them and hung them from hooks. Not only does it look great, but it keeps my favorite recipes close at hand. For more ideas for adding books to decor visit my, Books in Decor – Beyond the Bookcase.

Cookbooks hanging from the shelf with ribbon.

The theme here is a place for everything and everything in its place – and at my fingertips! These personal touches not only make the space more visually appealing but also infuse it with memories and inspiration for future baking adventures.

Lighting and Decor

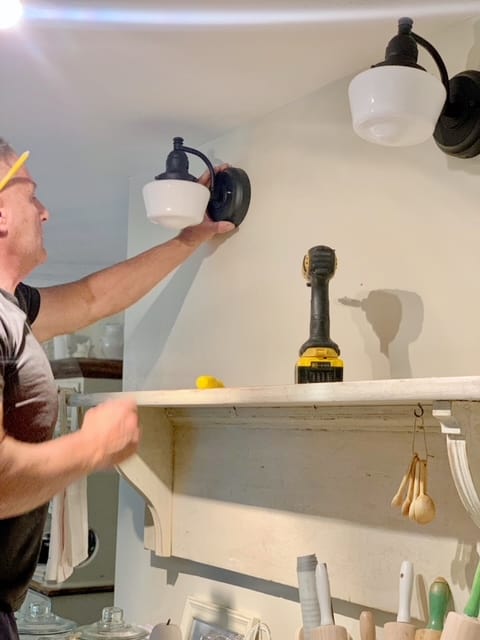
Perhaps my favorite change was adding these charming old schoolhouse light fixtures. We decided to get creative with the installation and skip the hardwiring process. Instead, we used a clever battery-operated puck light trick that I originally learned from Brooke over at Nesting with Grace.

Here’s how it works: We simply attached the puck light to the socket with command strips, and use a remote to turn them on and off. The best part? We can dim the lights and even set them on a timer. The trick was finding puck lights small enough to fit this particular fixture, but once we did, it was smooth sailing. It’s a very simple solution when you don’t want to bring in an electrician. (Curious about more lighting hacks? Check out my DIY Cordless lamp post for more ideas!)

To complete the look and add some practical functionality, I hung a clock on the wall. It’s perfect for keeping track of baking times and adds to the overall charm of the space.

These lighting solutions not only brighten up the baking station but also contribute to its cozy, vintage-inspired atmosphere. Plus, the remote-controlled lights make it easy to set the perfect ambiance for late-night baking sessions! Heres the space with the lights on, decorated in Greens and Whites for Christmas.

Baking station decorated for Christmas, the lights are on in this photo.

10 Tips for Creating Your Own Baking Station

  1. Choose the right spot: Look for a dedicated space with a counter top and storage. The end of a kitchen island or a sunny window area can be great options.
  2. Assess your needs: Consider the tools and appliances you use most, from your stand mixer to your rolling pin and pastry brush.
  3. Maximize storage: Use open shelves, full-extension drawers, or a large pullout shelf to keep everything accessible.
  4. Create zones: Designate areas for mixing, measuring, and rolling dough to create a functional triangle.
  5. Think vertically: Utilize wall space with hooks or a spice rack for hanging measuring spoons and cups.
  6. Invest in quality containers: Store dry ingredients like flour and brown sugar in airtight canisters for freshness and easy access.
  7. Add a prep station: Include a hard surface for kneading dough or decorating cakes.
  8. Don’t forget small items: Make space for parchment paper, small bowls, and rubber spatulas.
  9. Consider mobility: A rolling cart can add extra workspace and flexibility to your baking area.
  10. Make it personal: Add touches that inspire you, whether it’s a favorite recipe on display or a cherished kitchen tool.

Remember, whether you’re an avid baker or just starting out, creating a baking station is a great way to streamline your process and make baking more enjoyable. It doesn’t require much space or a big budget – just some thoughtful planning and organization.

Using item from my baking station to make a favorite recipe.

Shop this DIY Kitchen Baking Station

Creating your own baking station is a rewarding DIY project that can transform your kitchen experience. Whether you’re working with a lower countertop, the end of a kitchen island, or even an existing table, the key is to maximize your space and make it work for you. From storing your hand mixer and small appliances to organizing your muffin tins and wooden spoons, a well-planned baking area becomes a great place for whipping up delicious treats.

Remember, you don’t need to be a professional baker or have a comprehensive budget to create a successful baking station. It’s all about finding creative solutions that fit your particular area and baking style. Whether you’re rolling out pastry dough or trying new weeknight dinner recipes, your baking station will be a helpful tool.

Now that you’ve seen how I’ve set up my baking haven, why not put your new space to the test? I’ve got some fantastic recipes that are perfect for breaking in your baking station. From perfect bread to mouthwatering desserts, check out some of my favorite recipes, Easy Raspberry Squares and The Best Rosemary Butter Cookies and my Grandmother’s Blueberry cake.

Happy baking friends!

a drawing of me holding a cup of coffee.

Similar Posts

2 Comments

  1. Stephanie, I absolutely LOVE this! You are so creative, & it really shows here. What a fun way to display the special towel, all the things in the old drawer…I could go on & on. Thanks for sharing!!

Leave a Reply

Your email address will not be published. Required fields are marked *