
Our IKEA Laundry Room: How We Used Kitchen Cabinets to Create a Custom Look

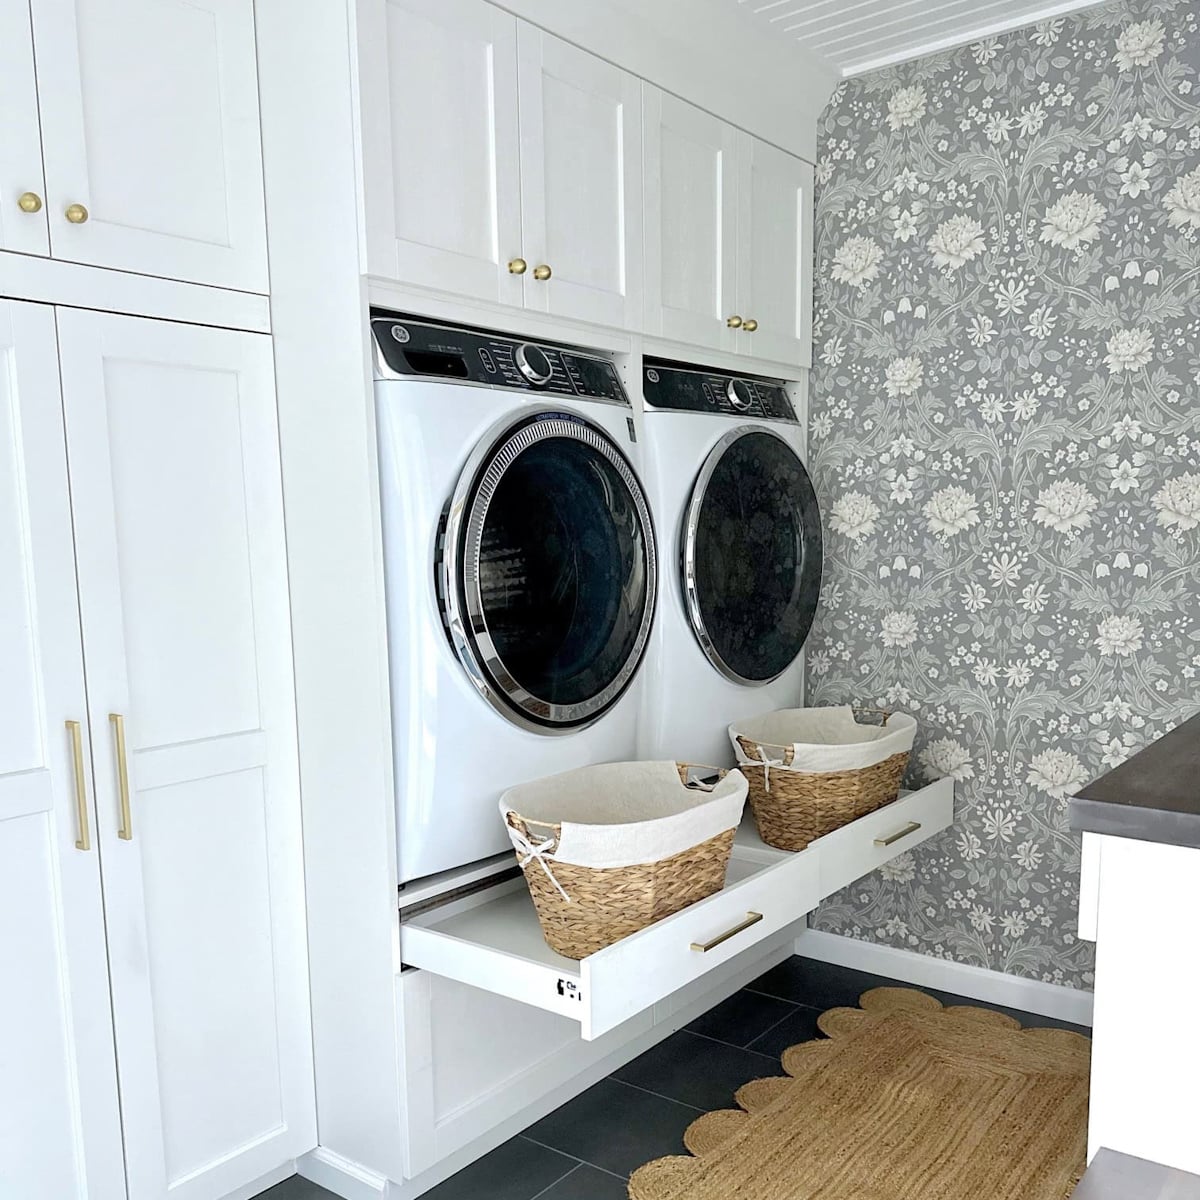
Our IKEA laundry room features a custom built-in look created using IKEA SEKTION kitchen cabinets. We transformed a kitchen cabinet configuration into a functional laundry space with raised washer and dryer units, pull-out laundry baskets, floor-to-ceiling storage, and a galley-style layout. See how we planned and designed our small laundry room to maximize storage, function, and style.
Content may contain affiliate links. When you shop the links, we receive a small commission at no cost to you. Thanks for supporting my small business.
When Ray and I decided to tackle our cramped laundry room, we wanted more than a pretty makeover. We dreamed of a hardworking space with raised appliances, plenty of hidden storage, and a beautiful custom built-in look without the custom cabinetry price tag.
The inspiration came during a trip to IKEA, where we spotted a kitchen cabinet display and realized we could use those same cabinets to create our dream laundry room.
Here's how we transformed our small, awkward space into a beautiful and functional IKEA laundry room that works for our everyday needs.
Please note that this post was not sponsored by IKEA.
At a Glance: IKEA Laundry Room
_______________________
- Room size: 8 x 10 feet, including the mudroom area, with an 8 x 8-foot laundry space.
- Cabinetry: IKEA SEKTION kitchen cabinets customized to create a floor-to-ceiling built-in look.
- Layout: Galley-style design with raised washer and dryer cabinets on one side and a folding counter and dog-walking station on the other.
- Favorite features: Pull-out tray for laundry baskets, hidden storage, a utility closet, and raised front-loading appliances.
- Design details: Floral wallpaper, beadboard ceiling, butcher block countertops, and custom trim.
- IKEA cost: Just over $2,000 for our original IKEA cabinetry and supplies, excluding additional renovation costs.
- DIY approach: We modified and reinforced IKEA kitchen cabinets to accommodate our washer and dryer and create a custom-looking laundry room.
Summarize and Save this content on:
Jump to:
- At a Glance: IKEA Laundry Room
- Planning our small laundry room layout
- Why we chose IKEA kitchen cabinets for our laundry room
- How we reinforced our IKEA washer and dryer cabinets
- Our laundry folding counter and dog-walking station
- How have our IKEA laundry room cabinets held up?
- Our laundry room: Before and after
- Shop the look: Explore the paint colors and accessories
- Frequently asked questions
- More laundry room inspiration to explore
Planning our small laundry room layout
Our original laundry room and mudroom were divided into two awkward spaces that never quite worked for us. By opening them up into one 8-by-10-foot room, we had the opportunity to rethink the layout and make better use of our 8-by-8-foot laundry area.
We initially considered a U-shaped design with cabinetry along three walls, but the room felt cramped, and we realized we'd lose valuable storage space in the corners. Instead, we took inspiration from galley kitchens and planned two functional areas facing each other.
On one side, we placed the raised washer and dryer, laundry baskets, and tall storage cabinets. On the opposite wall, we made room for a folding counter, our dog-walking station, and additional storage.
This layout keeps everything within easy reach while leaving the center of the room open. Sketching out a few options before we started helped us find the right balance between storage, workspace, and room to move around.
Why we chose IKEA kitchen cabinets for our laundry room
When Ray and I began planning our laundry room, we reached out to a few kitchen cabinet companies for estimates. At the time, cabinetry alone was going to cost us around $9,000 to $10,000, so we decided to explore a more affordable option at IKEA.
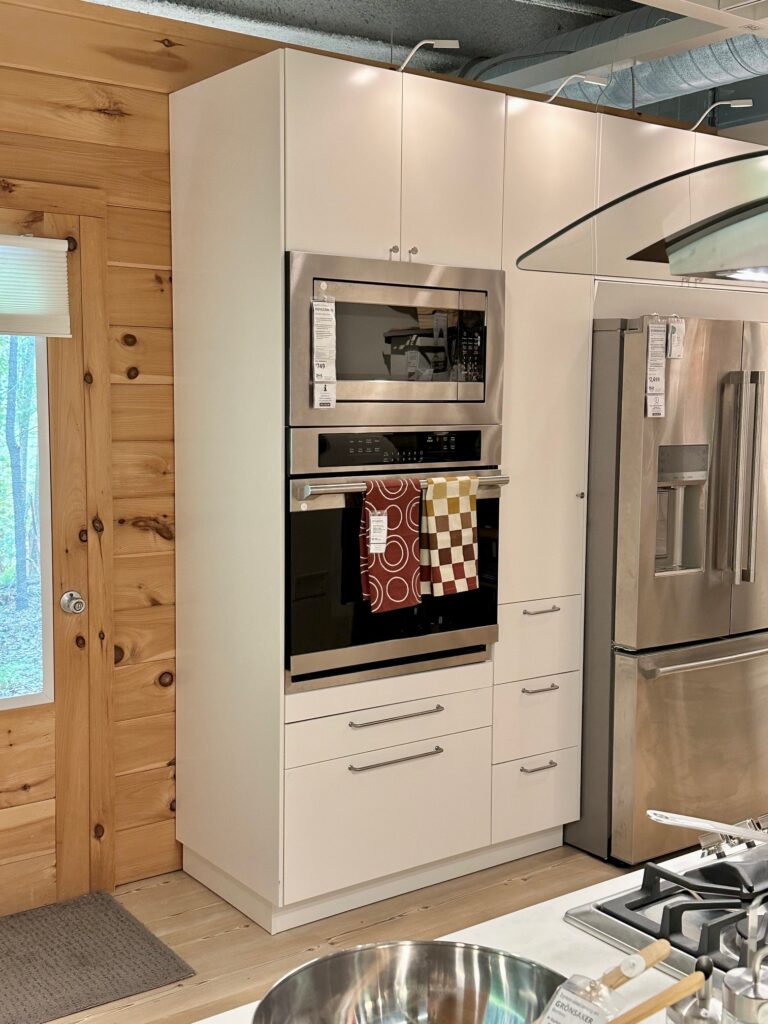
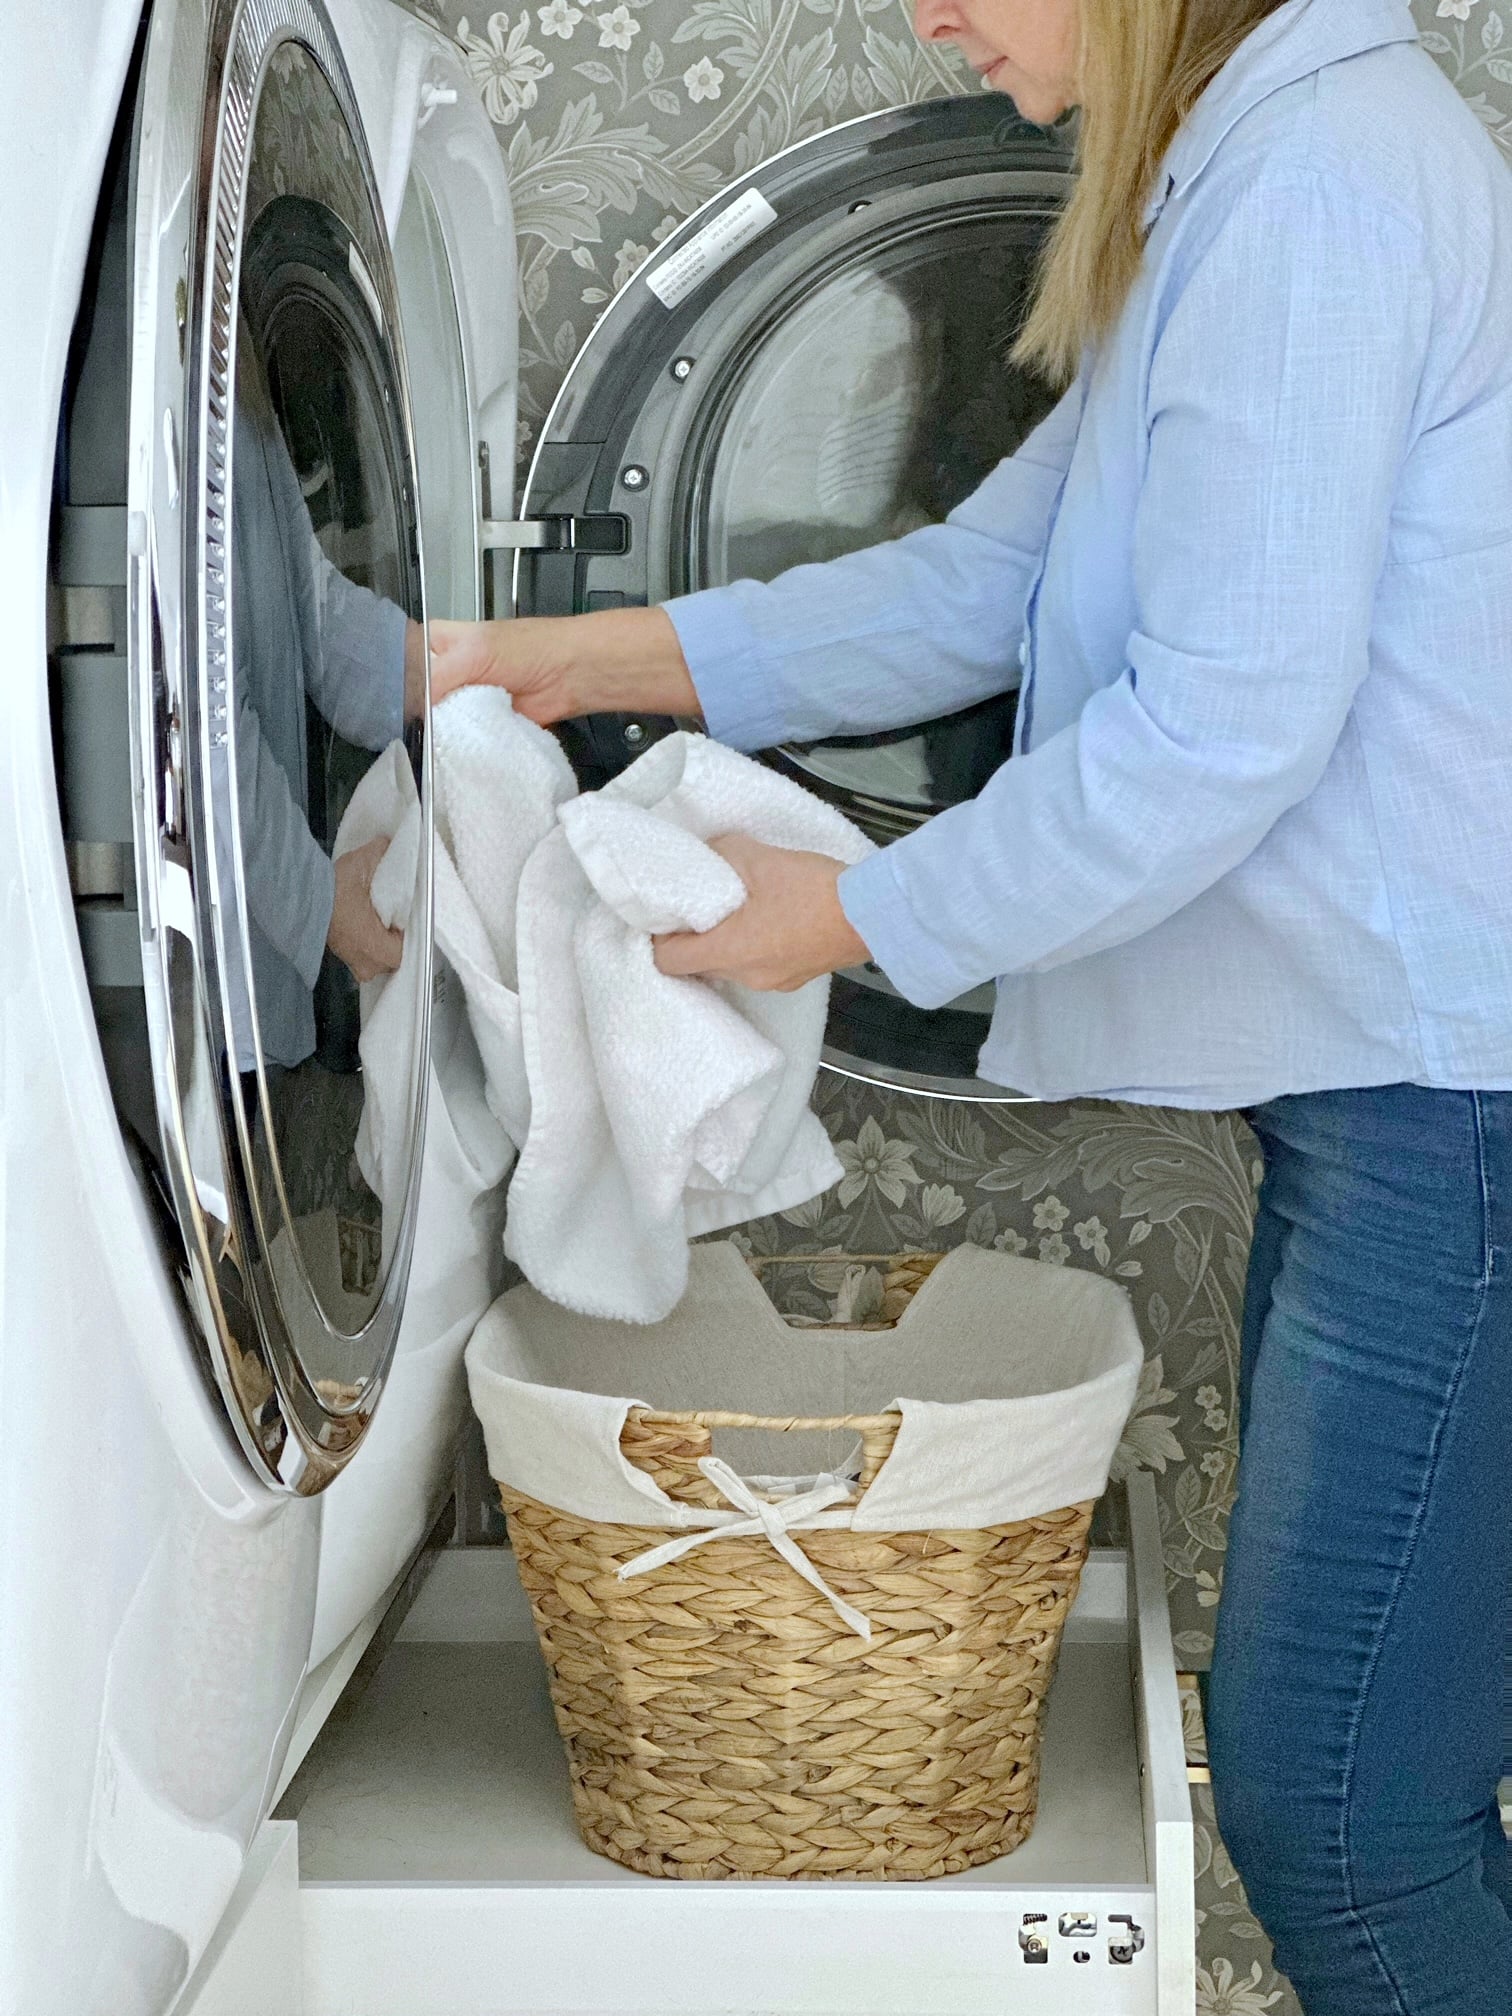
We headed to the kitchen department, where we spotted a tall SEKTION cabinet display designed to hold a wall oven and microwave. It had upper cabinets, open spaces for the appliances, and a slim pull-out drawer below. We immediately started imagining how we could adapt that setup for our laundry room, replacing the kitchen appliances with a raised washer and dryer and using the pull-out drawer as a tray for our laundry baskets.
That display became the inspiration for our built-in laundry wall!
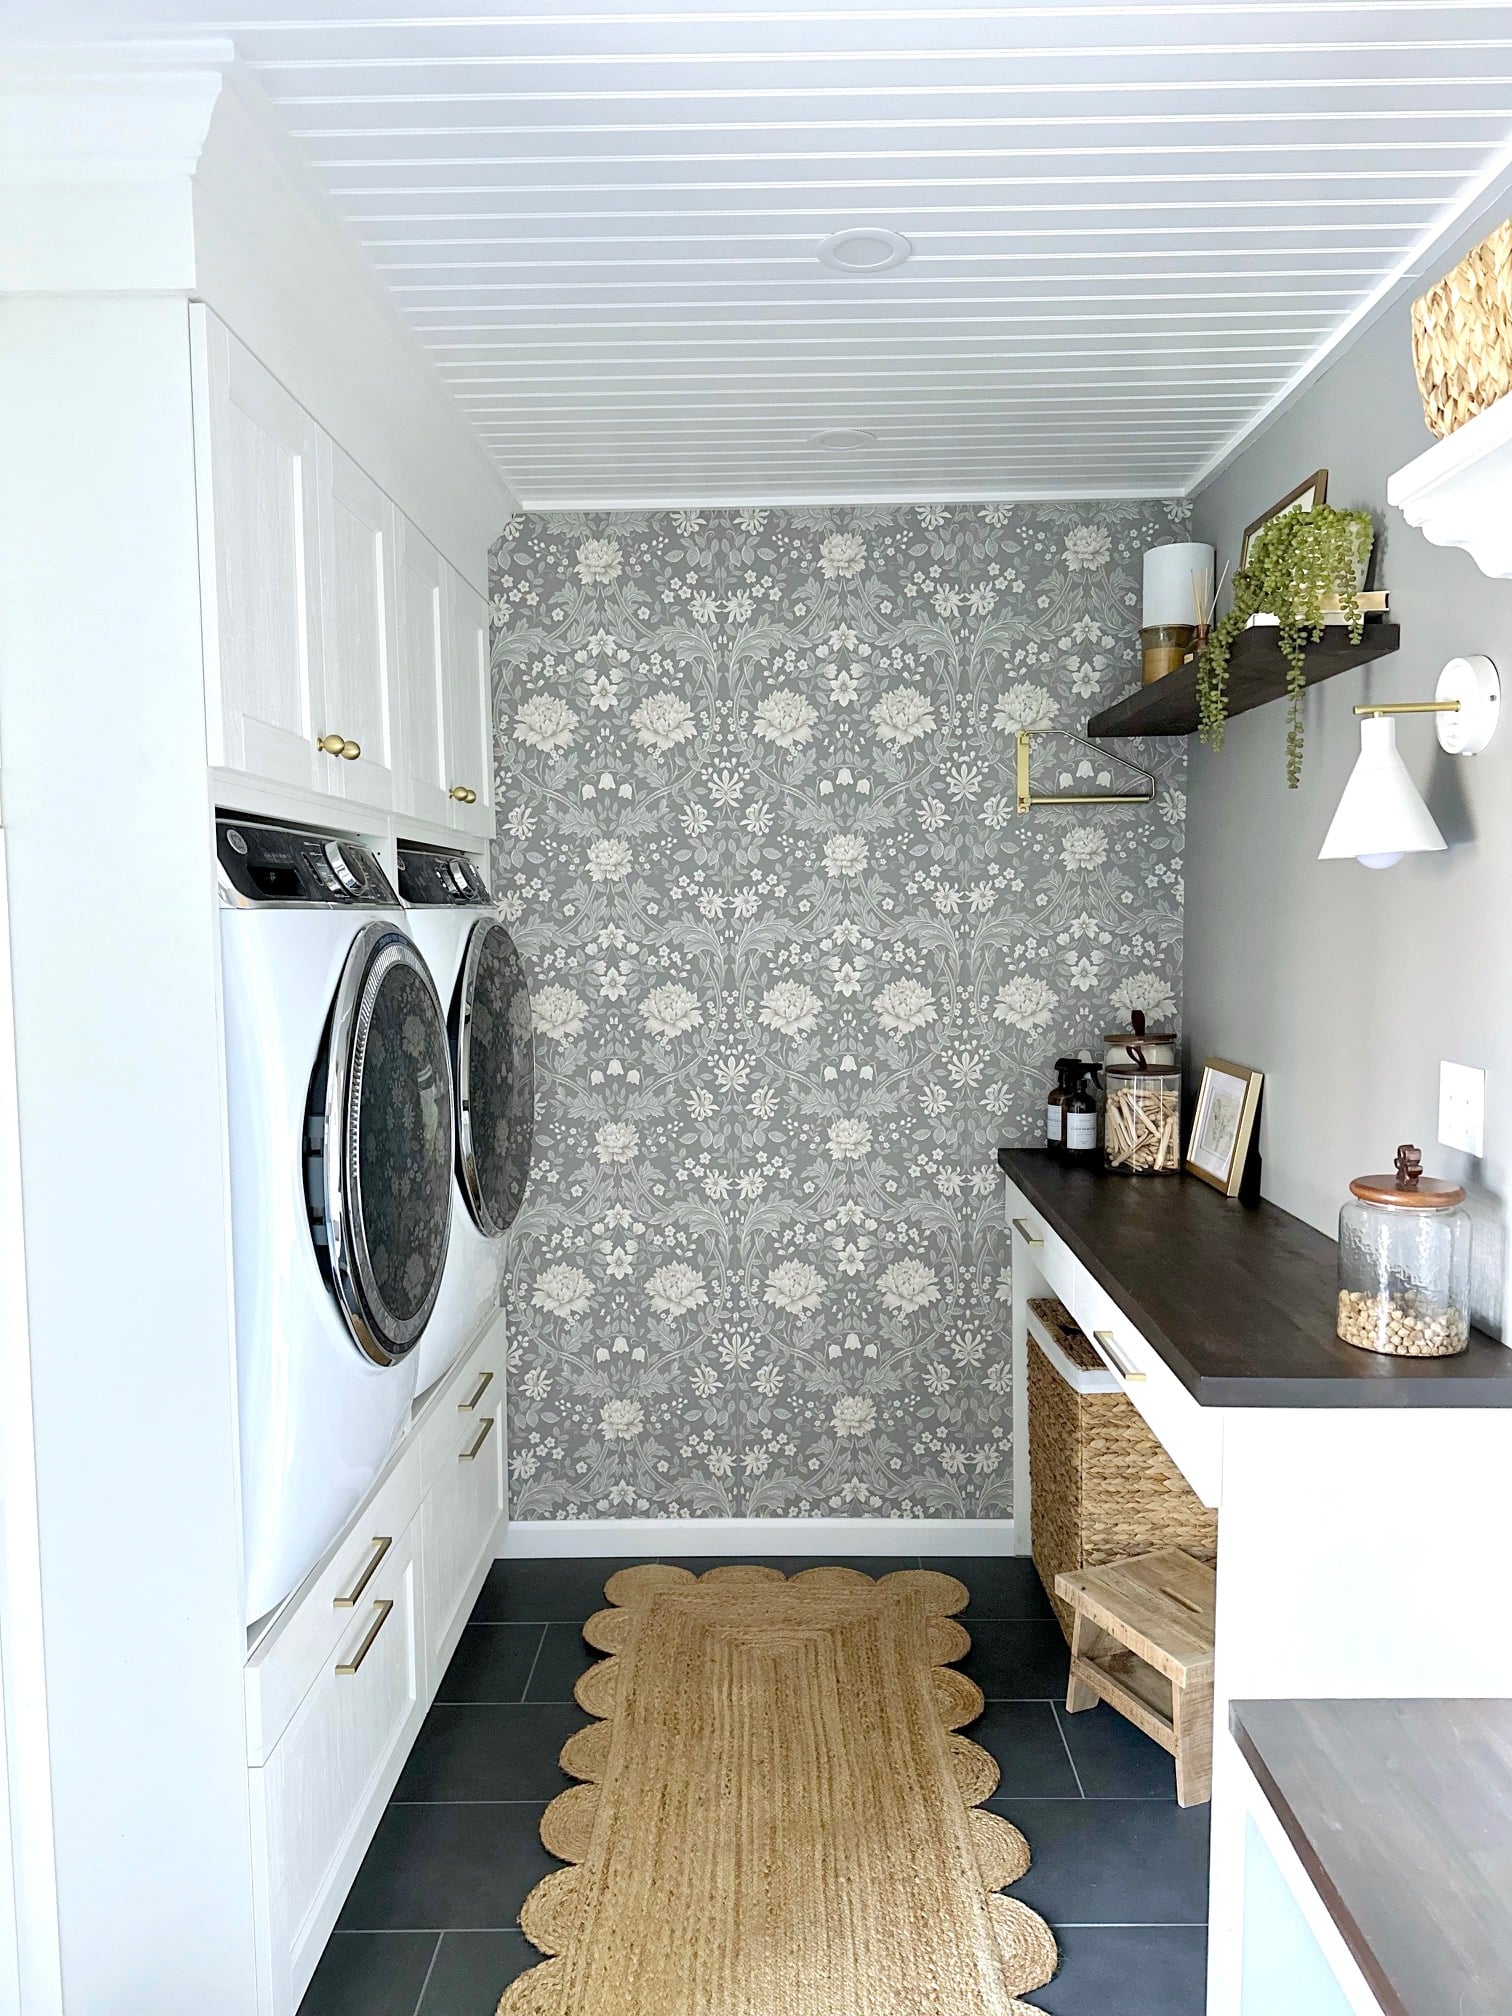
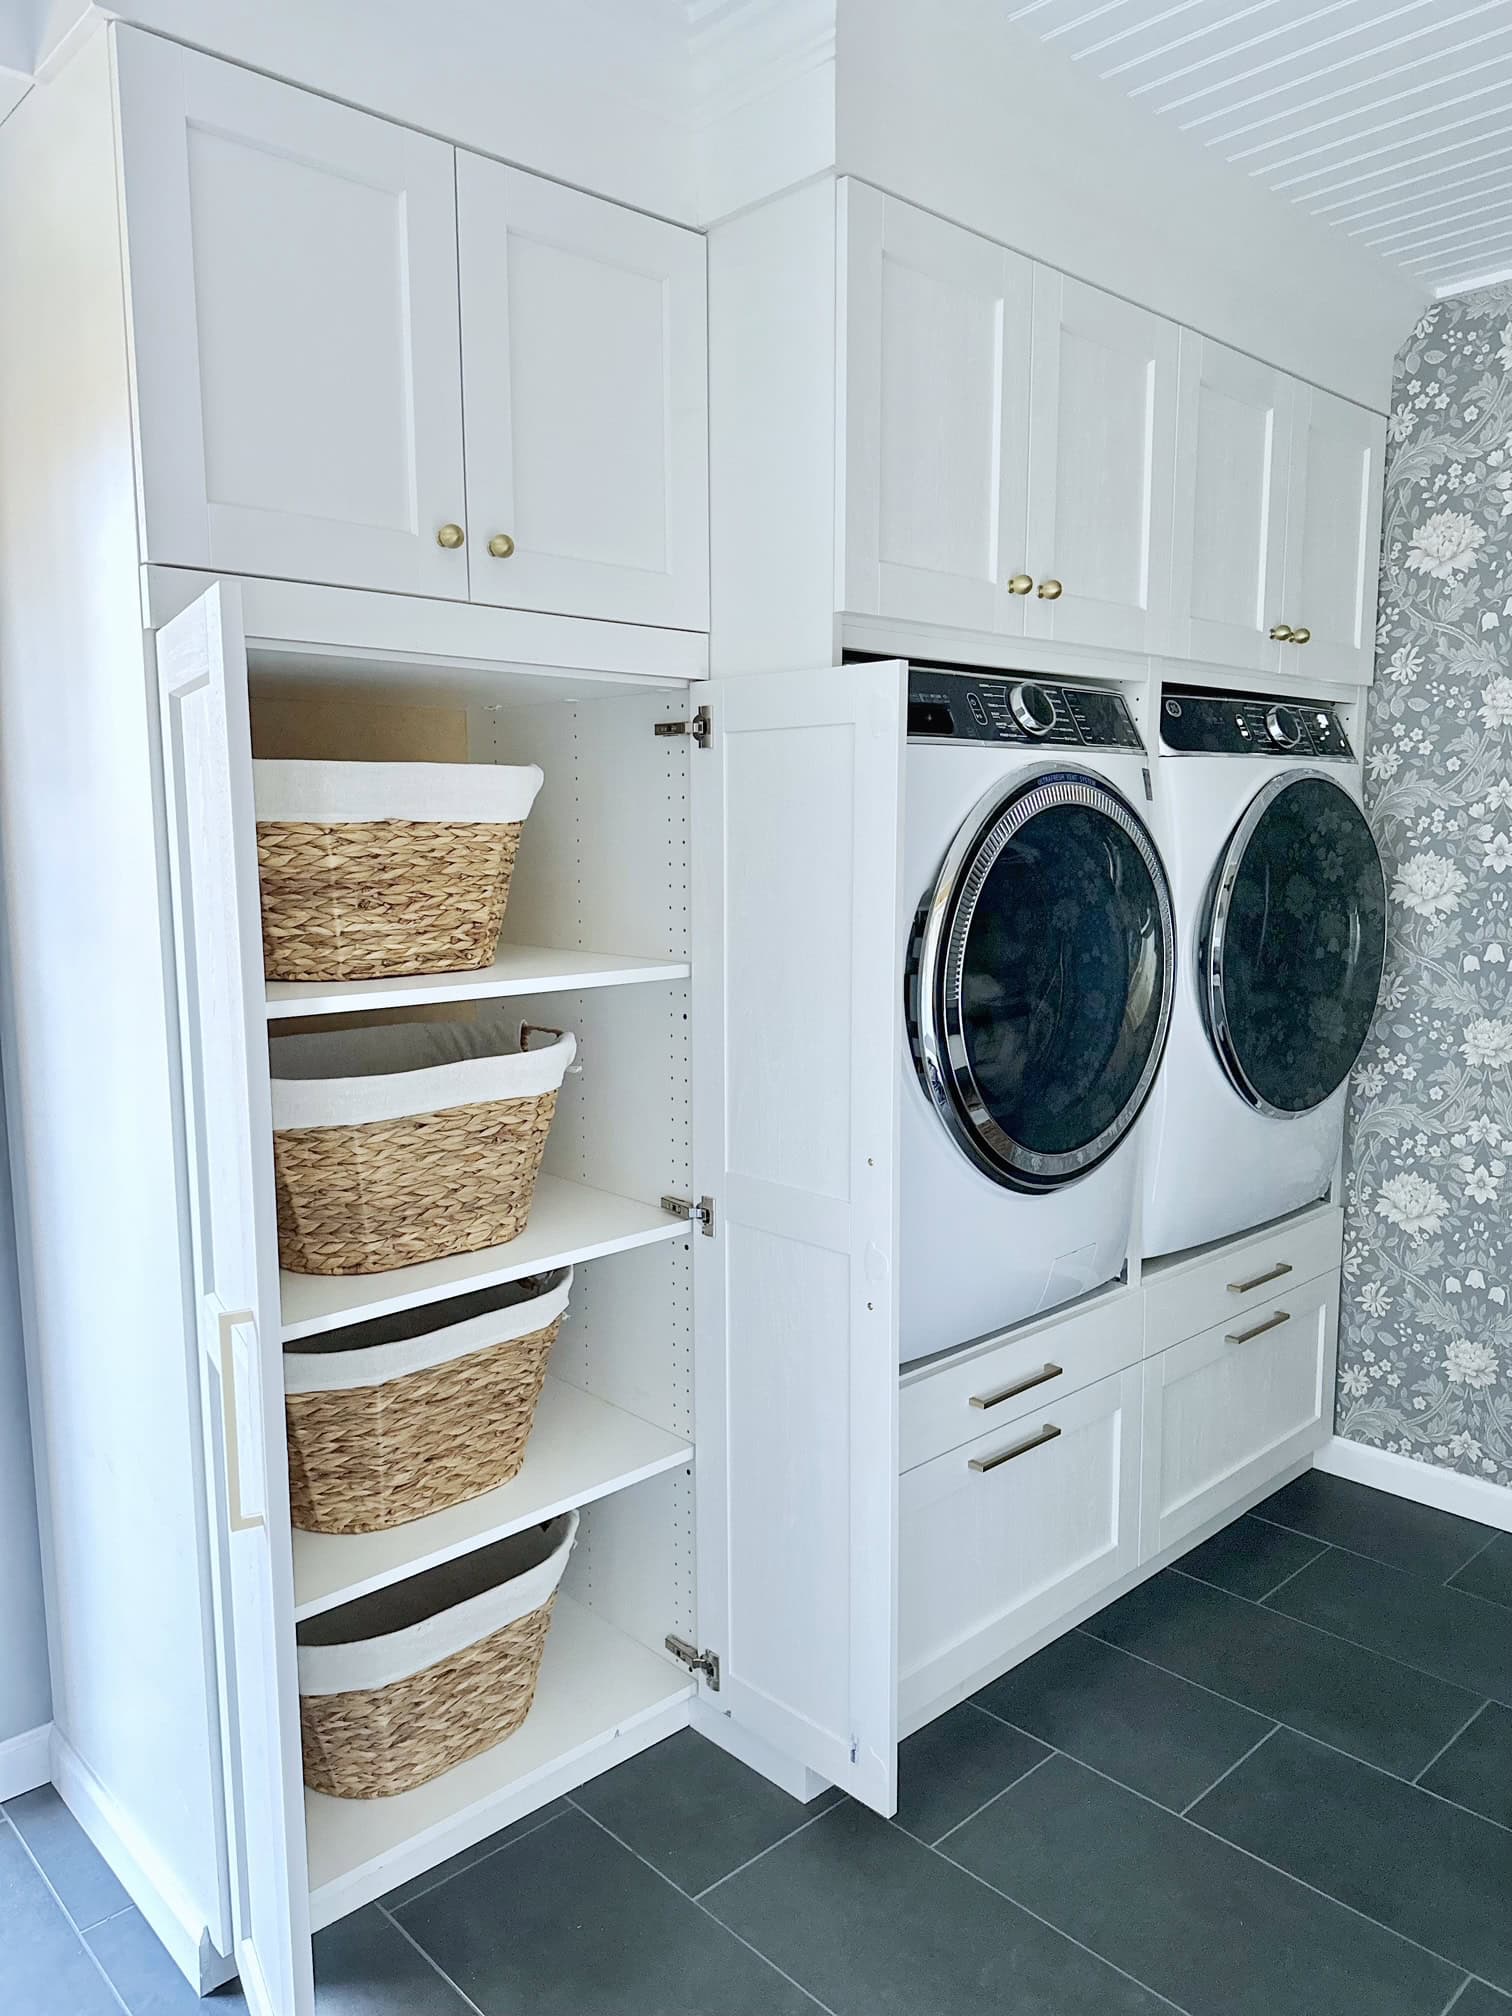
We purchased two tall IKEA SEKTION cabinet units, one for the washer and one for the dryer. Ray modified and reinforced the cabinets to accommodate our appliances, creating the raised, built-in look we wanted. We also incorporated a third recessed cabinet for laundry baskets and household supplies, with ENKÖPING cabinet doors and upper storage for detergent, dryer sheets, and other laundry essentials.
Our IKEA cabinetry and supplies came to just over $2,000, a significant difference from the cabinet estimates we'd received. That was our IKEA purchase, not the total cost of the renovation. Flooring, countertops, plumbing, electrical work, trim, hardware, and the other finishing details were separate expenses.
For a closer look at how we adapted the cabinetry to fit our appliances, see our built-in washer and dryer cabinet design .
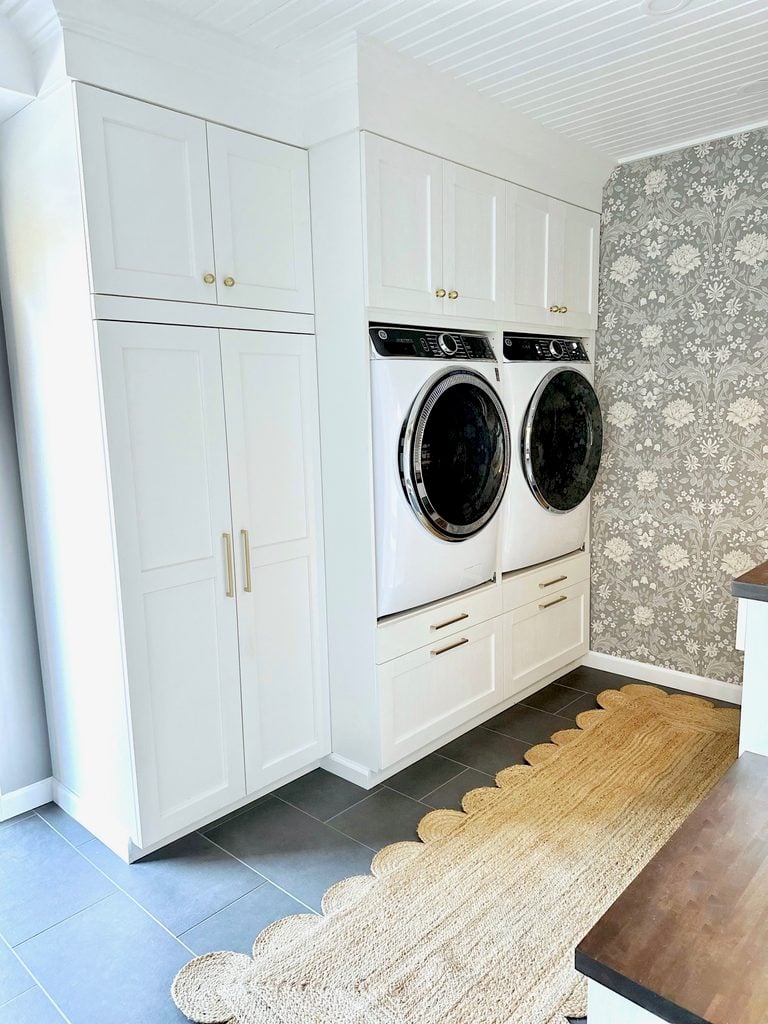
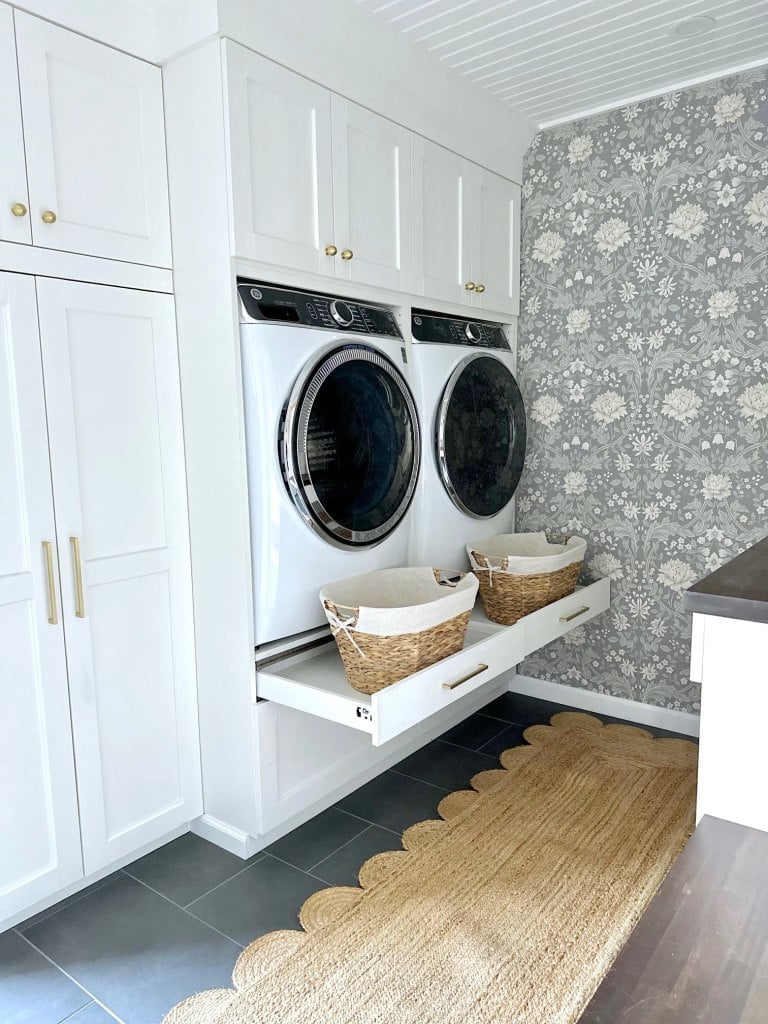
We used three IKEA SEKTION high cabinet frames (30 × 24 × 90 inches) with ENKÖPING doors . We gave the cabinets a more custom, built-in look by adding crown molding and painting it to match the cabinet doors .
How we reinforced our IKEA washer and dryer cabinets
I wish I could have captured the IKEA kitchen planner's face when we explained that our dream kitchen cabinet setup involved a washer and dryer instead of an oven and microwave. We knew we were asking these cabinets to do something they weren't designed to do, so reinforcing them was an important part of our plan.
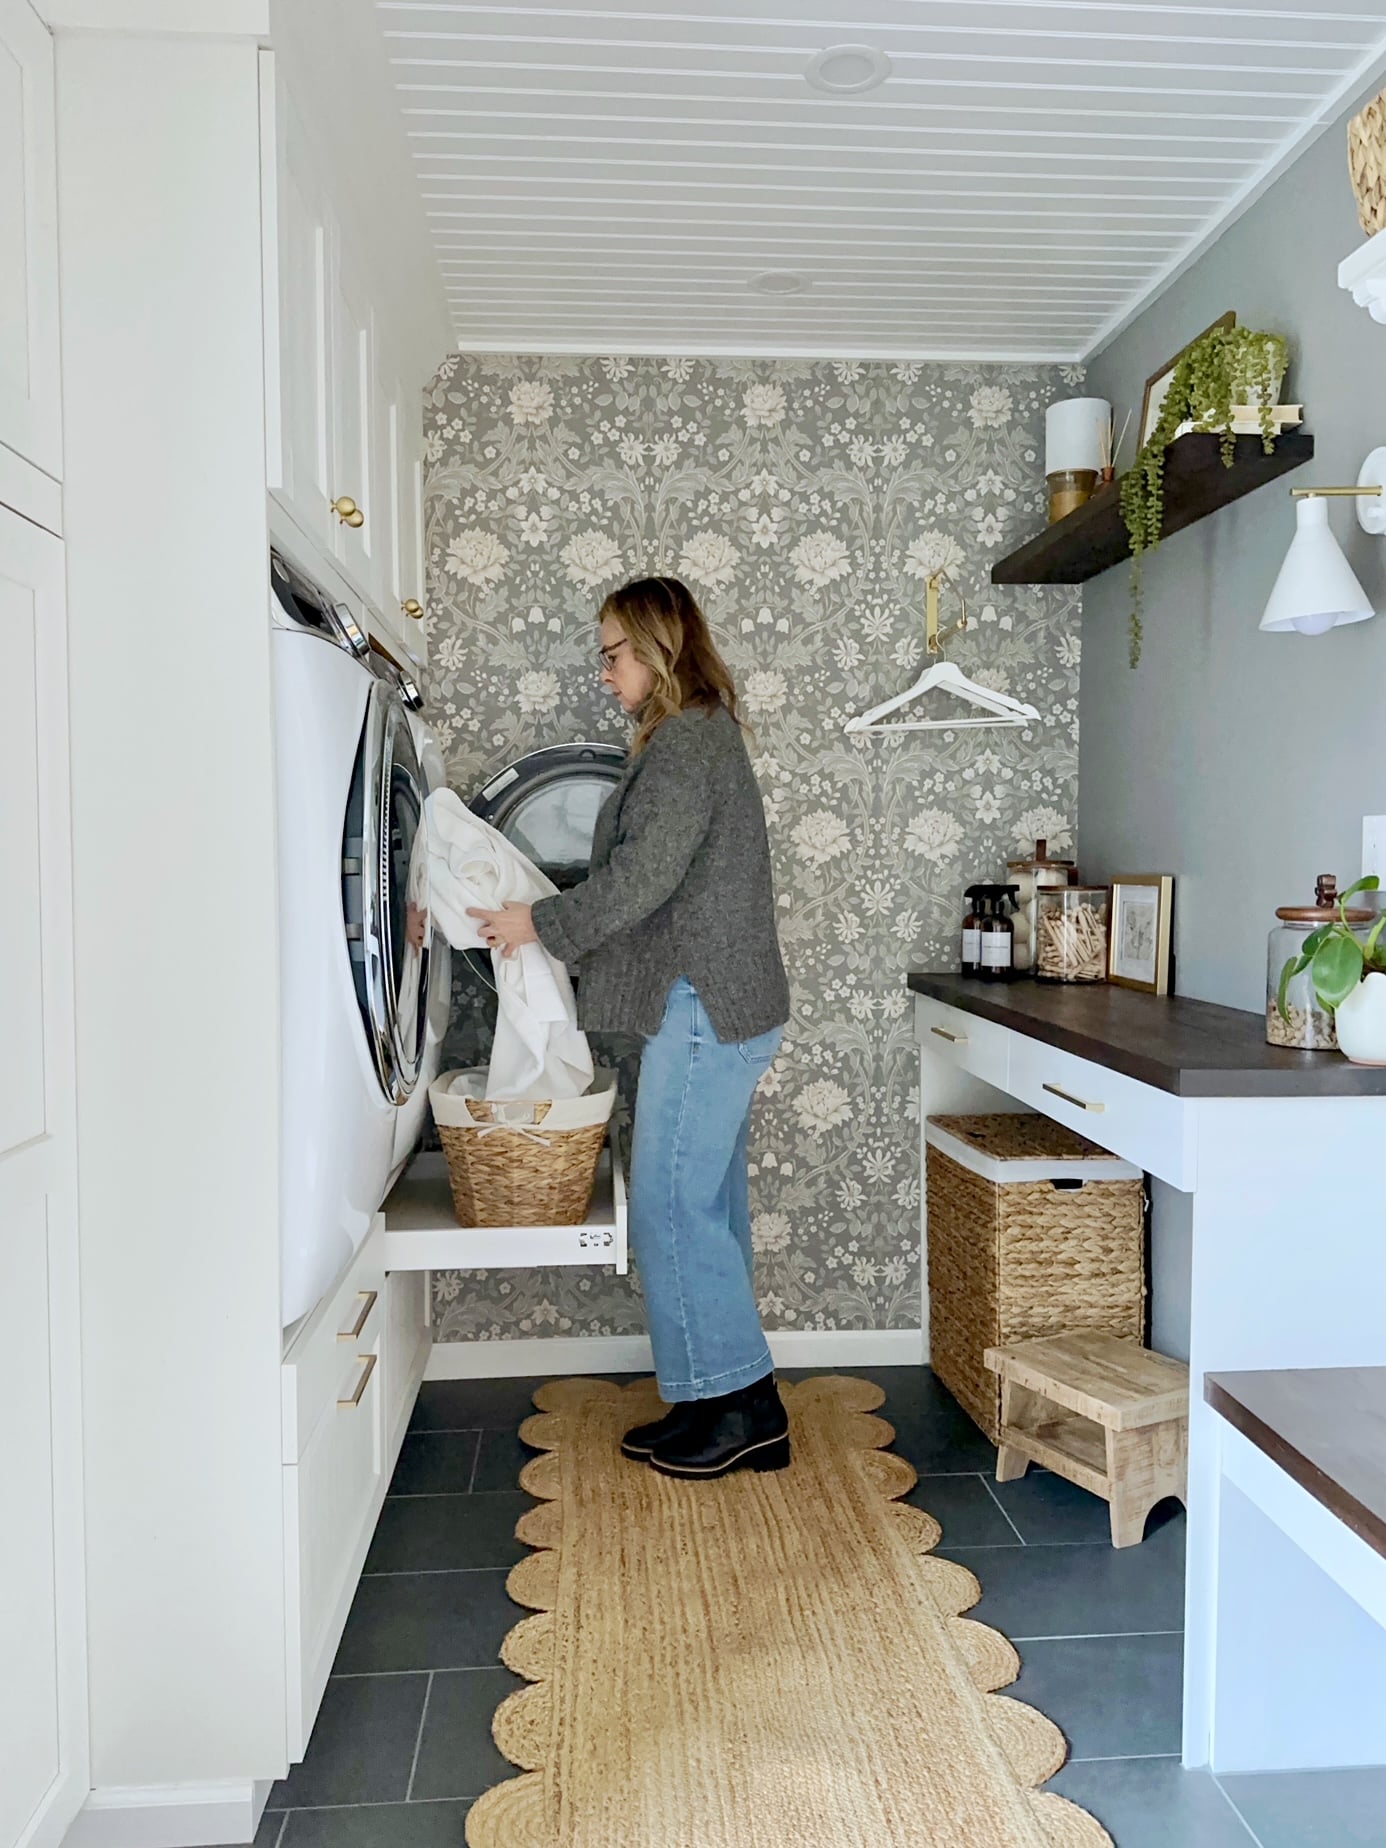
Washers and dryers are heavy, and they move a bit while running. To give each appliance the support it needed, Ray installed heavy-duty aluminum brackets inside the cabinets and added two steel tubes beneath each appliance shelf, one toward the front and another across the middle.
He also built a supporting platform behind the cabinets to accommodate the depth of our appliances while leaving room for ventilation and hookups.
And here's the part I love: all that extra support still left enough room for the slim IKEA drawers beneath the appliances! We use them as pull-out trays for our laundry baskets, just as we imagined when we first spotted that kitchen display.
Of course, this was our own adaptation of IKEA kitchen cabinetry, not a standard IKEA laundry setup. If you're considering something similar, be sure to check your appliance installation requirements and plan for proper support, ventilation, hookups, and service access.
Want to see how it all came together? I share more construction photos and details in our washer and dryer cabinet support tutorial .


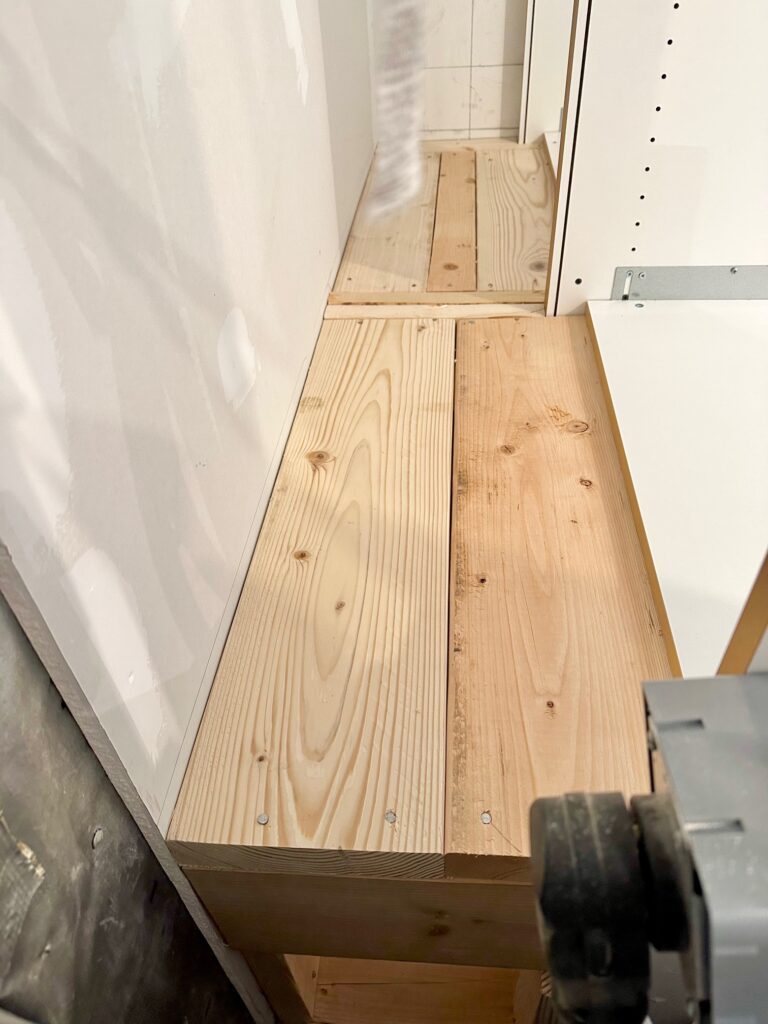
✨ Please note: Our washer and dryer cabinets are a custom adaptation of IKEA kitchen cabinetry. Before planning a similar project, check your appliance installation requirements and confirm with IKEA how modifications may affect cabinet warranty coverage.
Our laundry folding counter and dog-walking station
Once our washer and dryer wall was planned, we turned our attention to the opposite side of the room. We wanted a generous folding surface and a dedicated spot for all the things we need when heading out the door with the dogs, while still leaving plenty of room to move between the two sides.
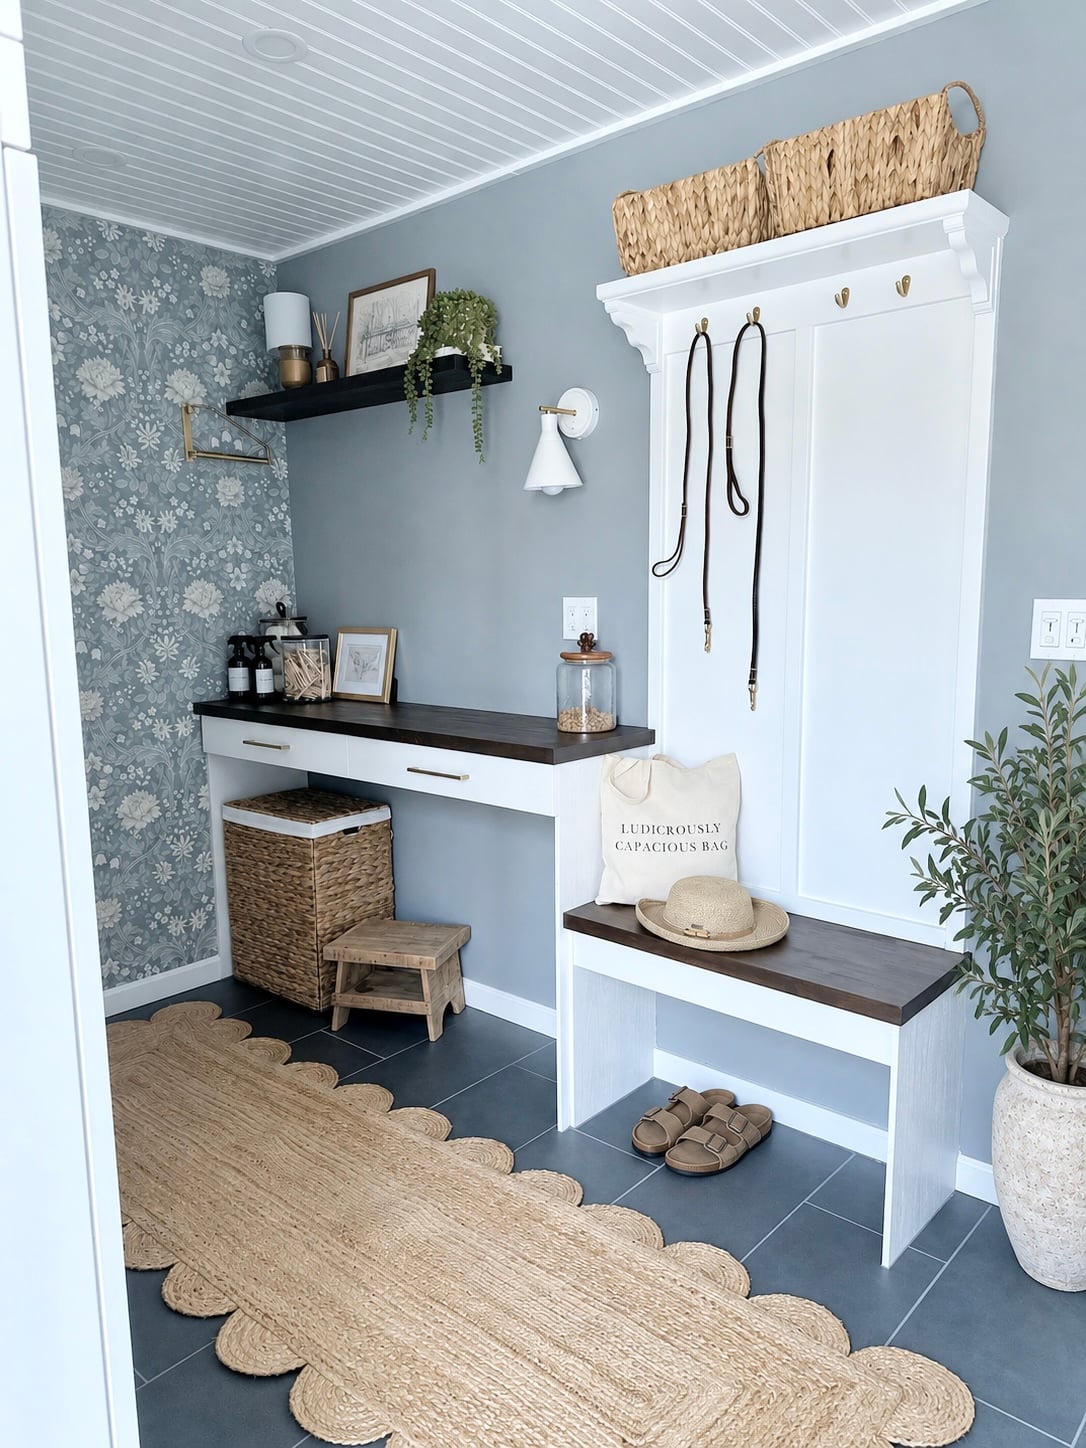
Ray built both pieces using IKEA panels to coordinate with the cabinetry across the room. We added faux drawer fronts and matching brass pulls for a cohesive look, then topped the folding counter and bench with espresso butcher block from Lowe's to bring some warmth into the space.
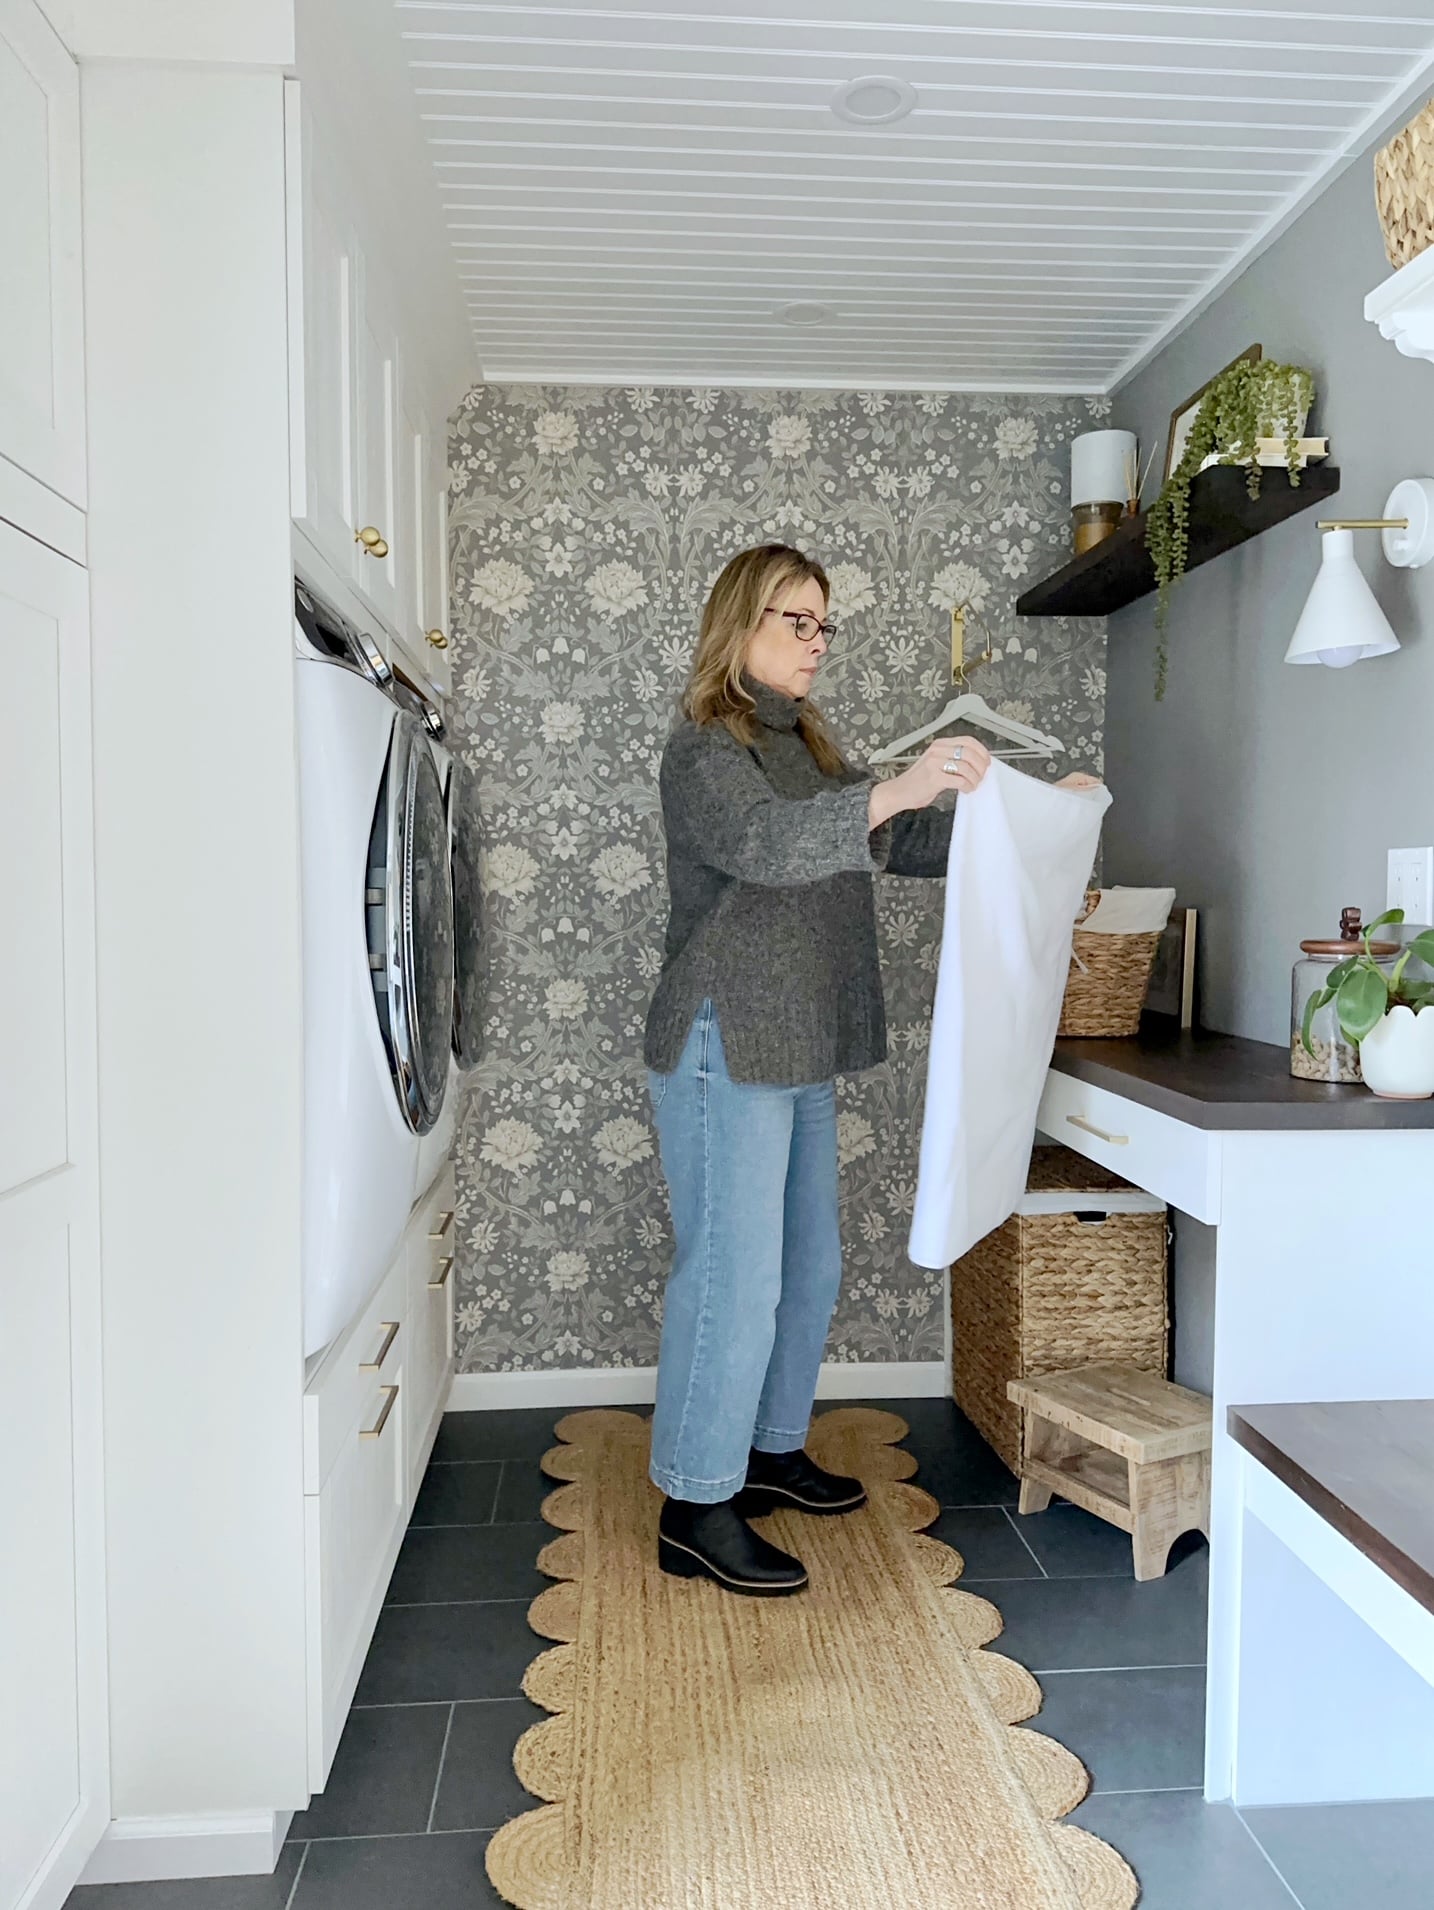
A dedicated laundry folding counter
After years of folding laundry on top of the dryer, having a counter just for folding feels like a luxury! Ours measures 61 inches wide by 16 inches deep, giving me plenty of room to sort and fold clothes.
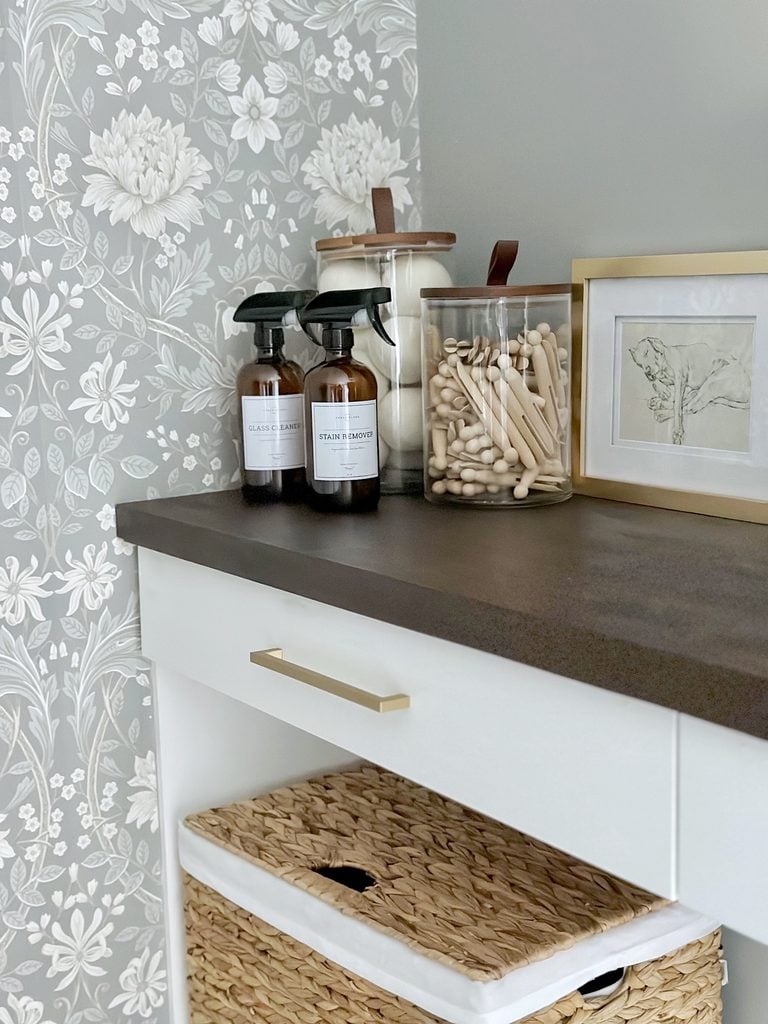
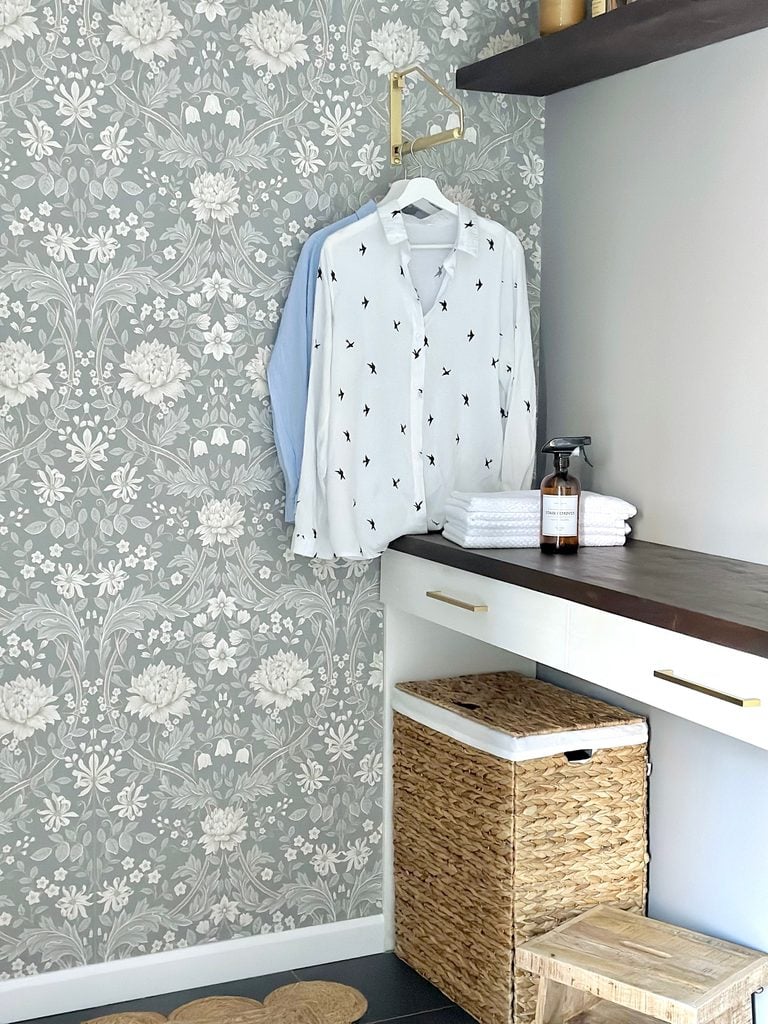
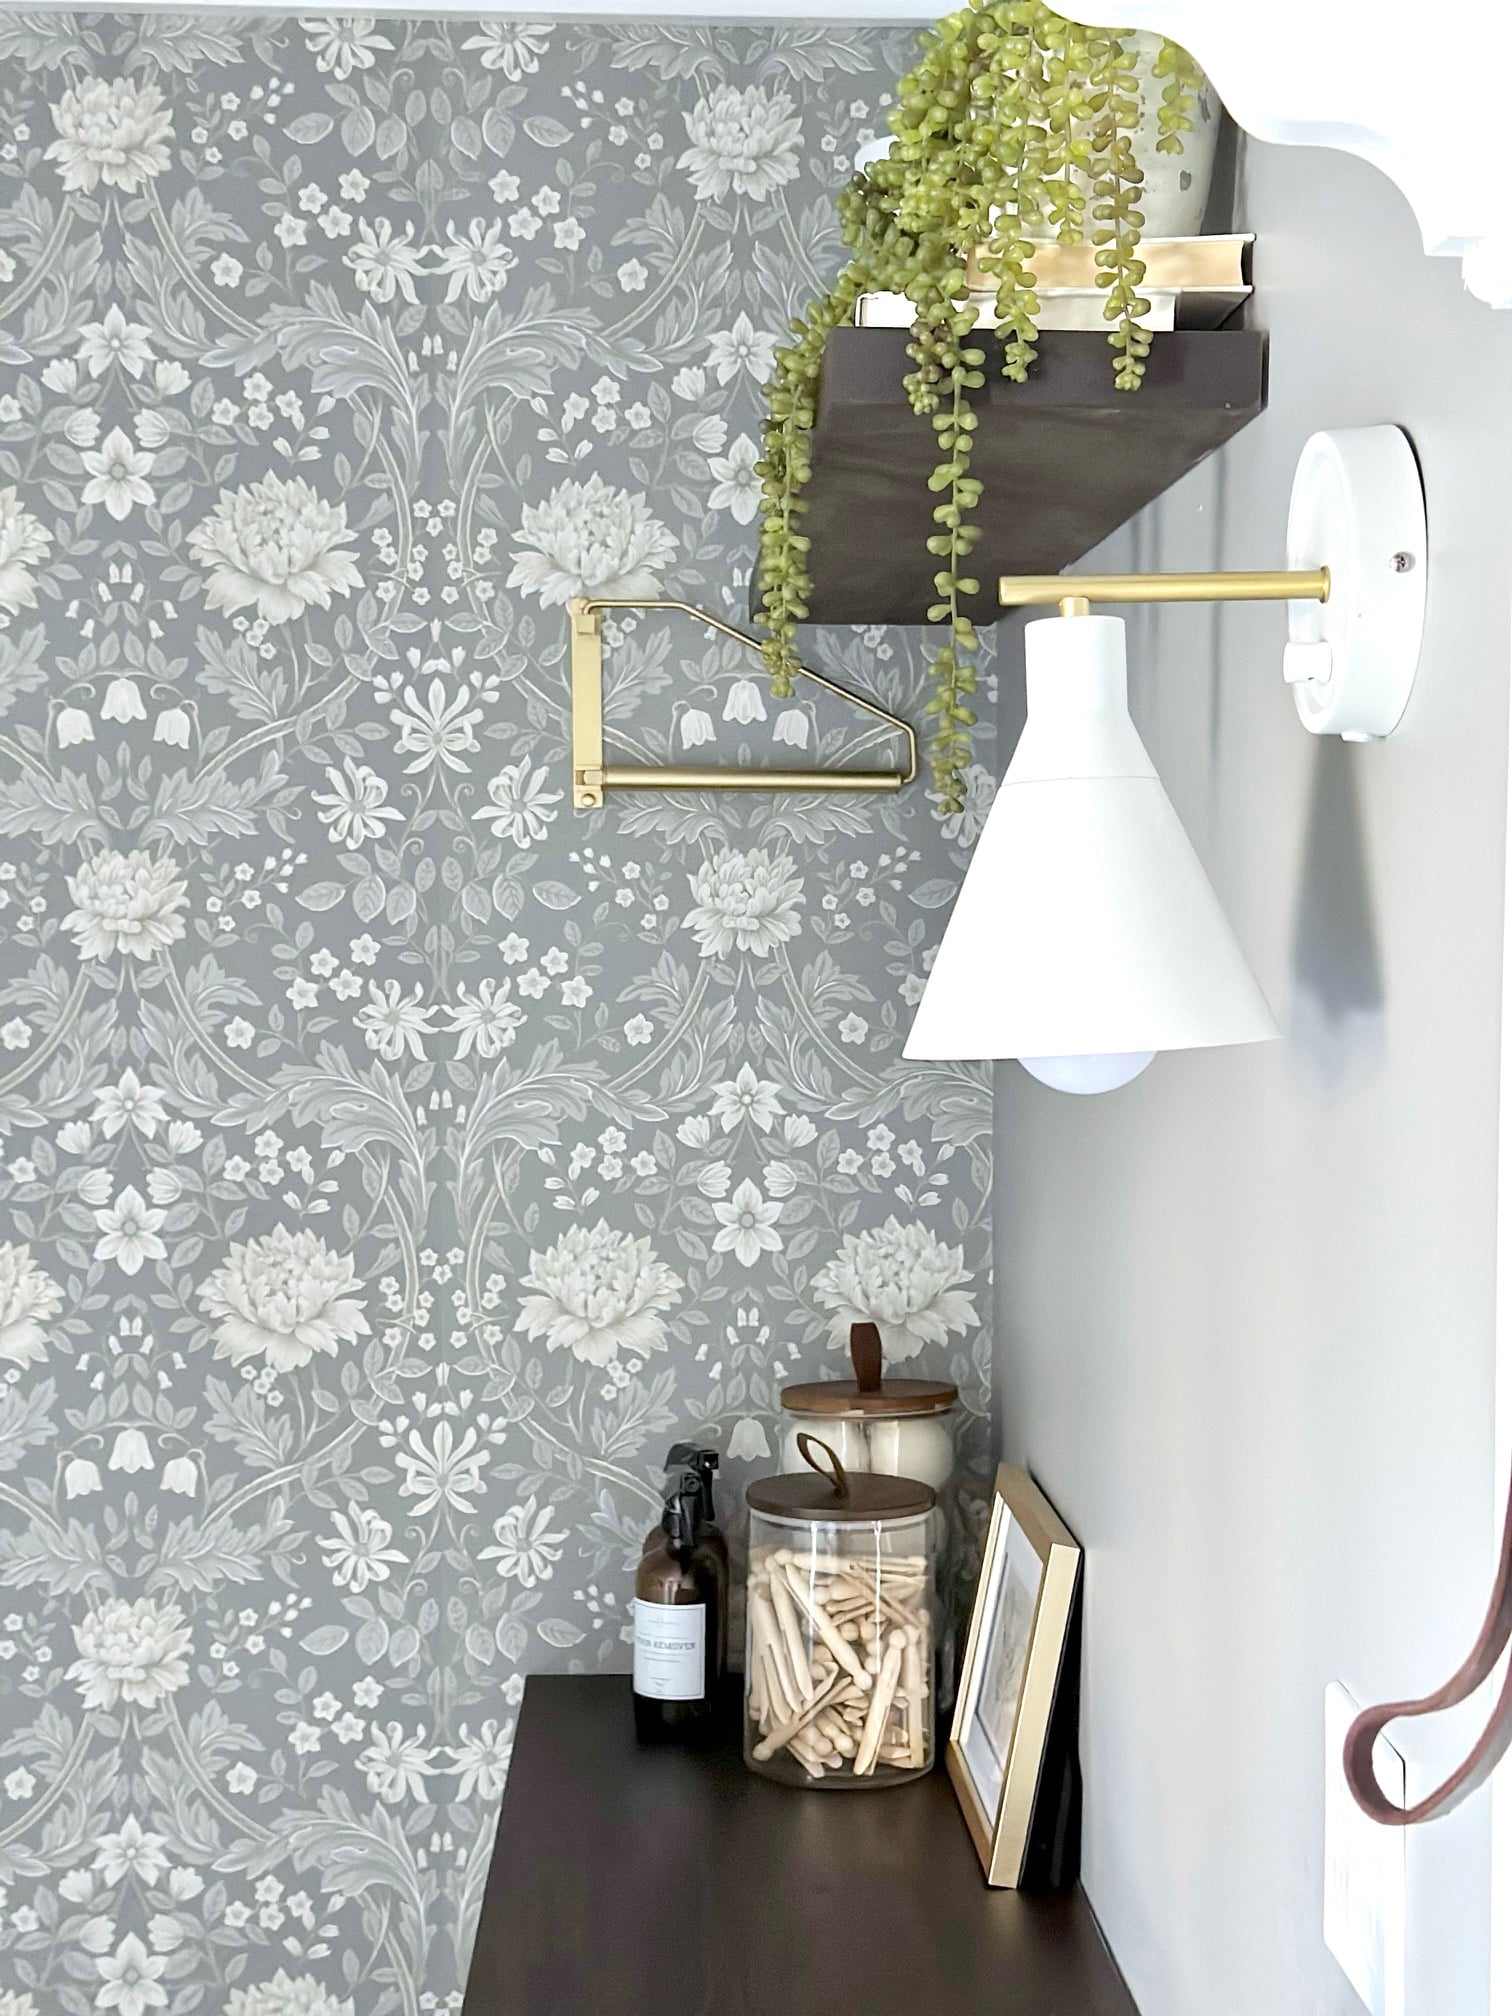
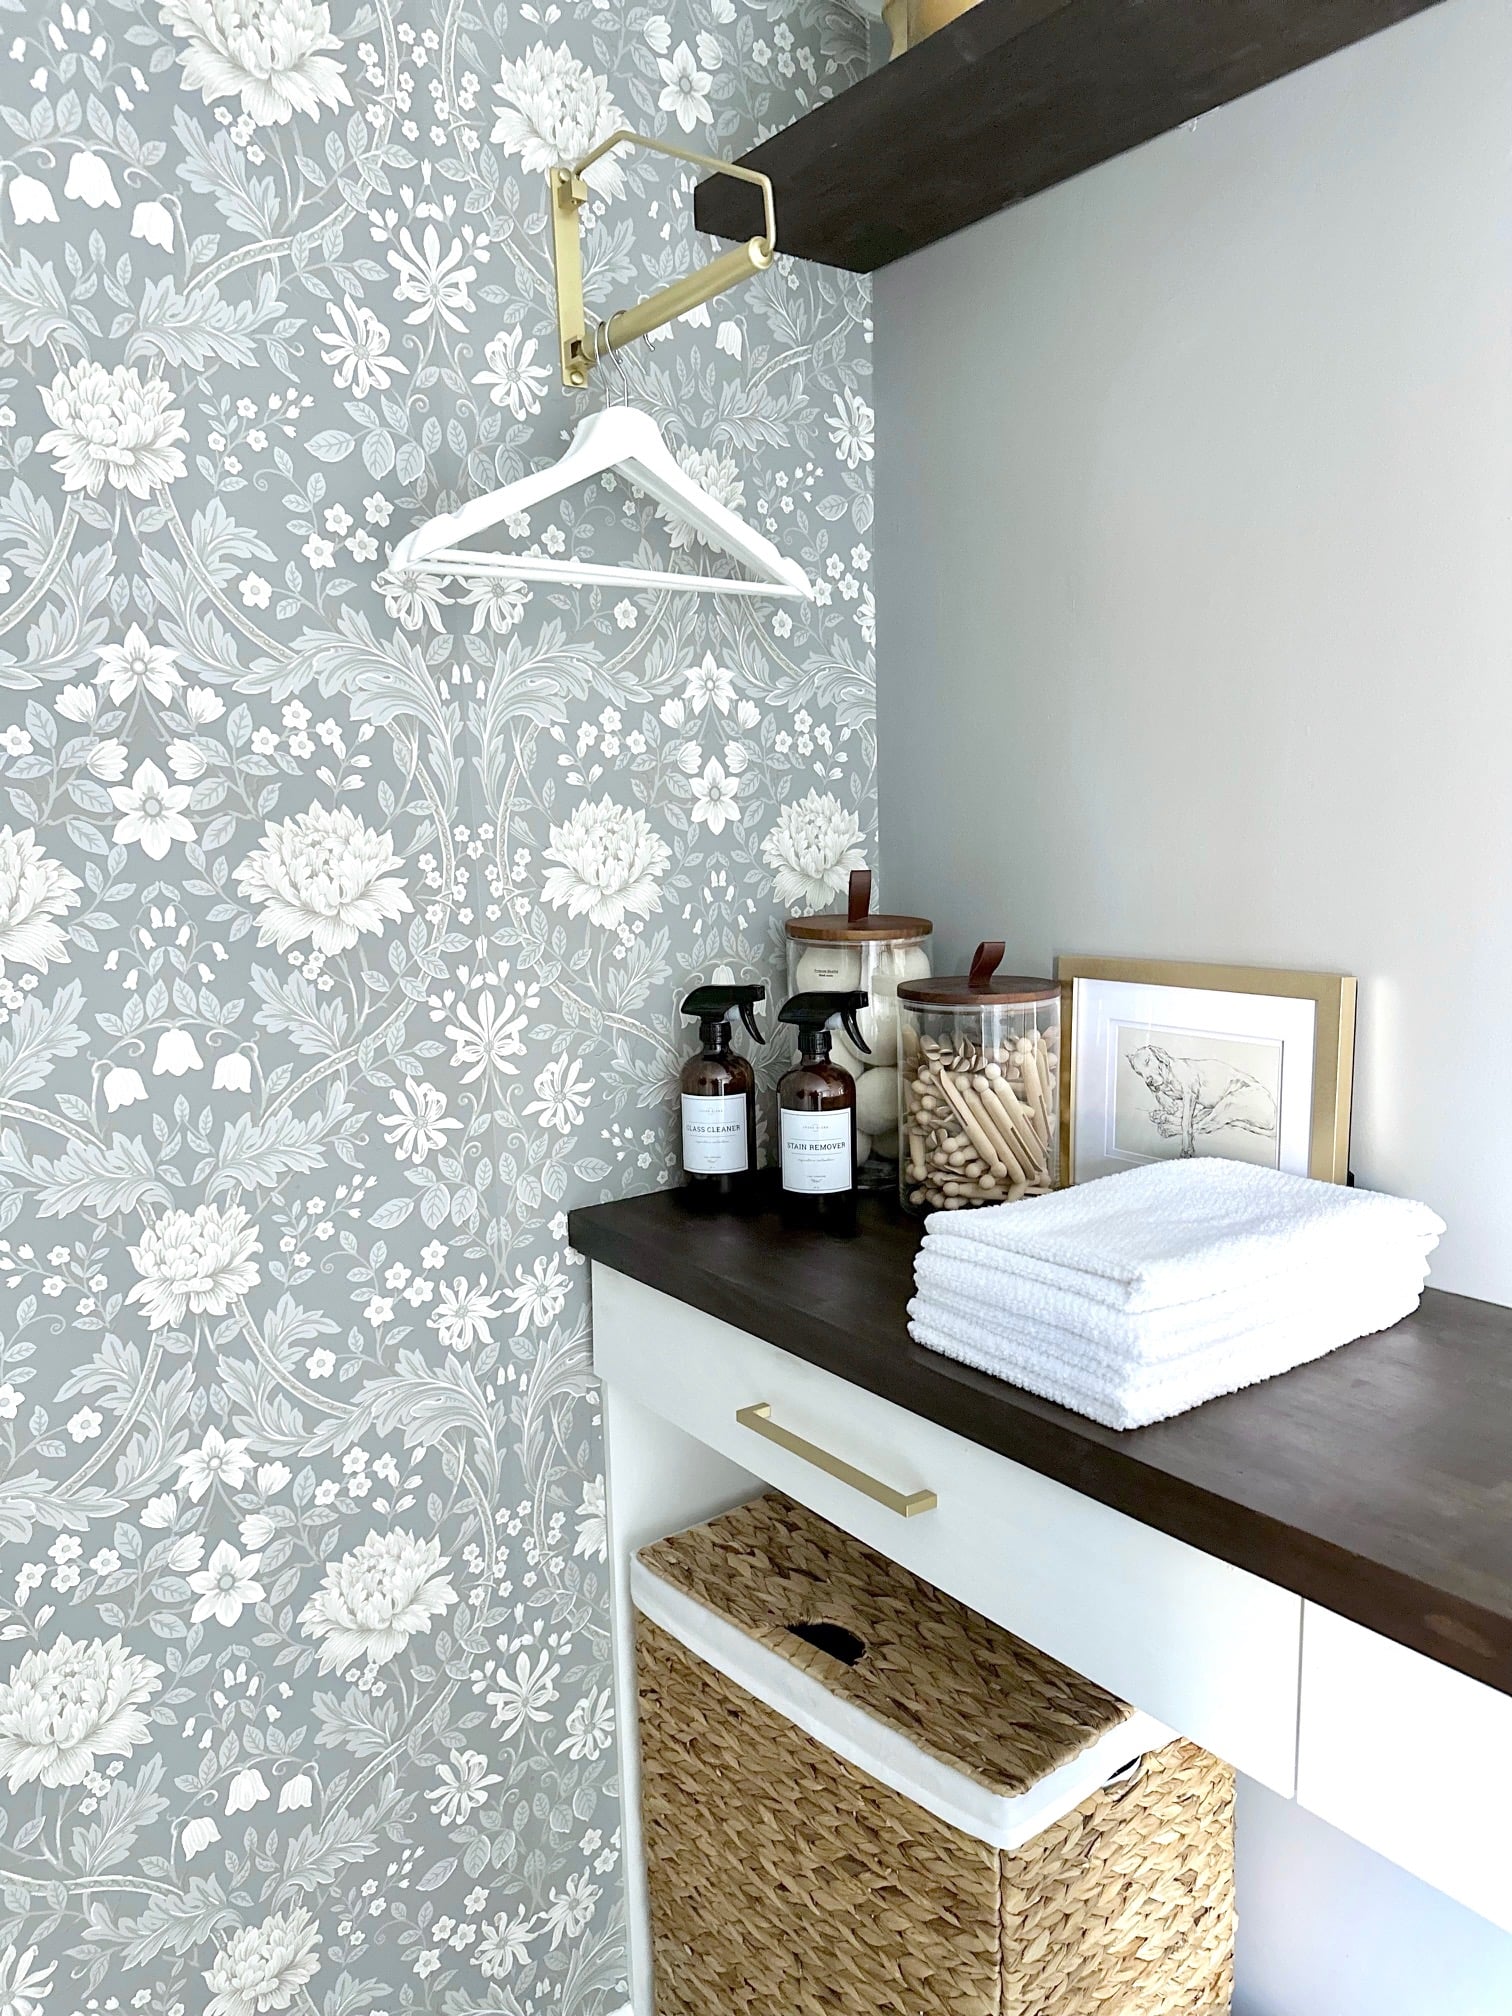
A swing-arm drying rack beside the counter folds away when we aren't using it, while a cordless wall sconce adds a little extra light. Above the counter, a floating shelf repeats the butcher block finish and gives me a place for a few decorative touches. I keep everyday laundry essentials close at hand in glass jars, including some of my DIY natural cleaning supplies .
A dog-walking station that keeps us organized
With two energetic chocolate Labs, we also needed a place to keep leashes, collars, and everything else that comes with getting the dogs out the door.
Ray built a bench where we can sit to put on our shoes, with hooks above for leashes and collars, baskets for extra supplies, and open space underneath for boots and shoes. It keeps our dog-walking essentials in one spot instead of scattered around the house.
The details that give our IKEA laundry room a custom look
The IKEA cabinets gave us the foundation for the room, but the finishing details are what made the space feel like our own.
I chose a soft patterned wallpaper for the back wall and painted the remaining walls to coordinate with its background color. It adds just enough pattern without overwhelming the small space, and we hung it in a day .
We also removed the old drop ceiling, gaining a few precious inches of height before installing a beadboard ceiling . We completed the ceiling before assembling the IKEA cabinets, which made that part of the project much easier. Recessed lighting and striped schoolhouse-style globe lights help brighten the room.
Dark gray floor tile from Floor & Decor grounds the space and contrasts beautifully with the white cabinetry. For the finishing touches, I mixed brushed brass cabinet hardware with black door knobs, painted the back door Benjamin Moore Wrought Iron , and brought in texture with a jute rug and woven baskets.
One of my favorite little tricks is the woven hamper beneath the folding counter. It looks right at home with the other baskets but actually hides our wastebasket!
Maximizing utility and light: Opposing wall features
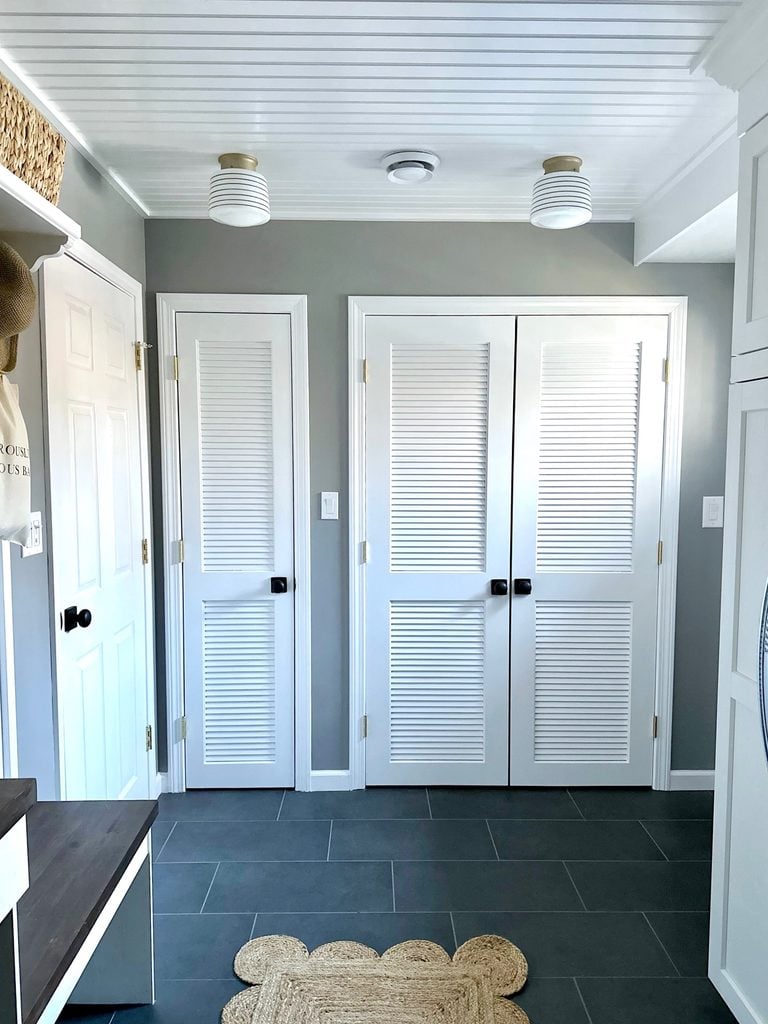
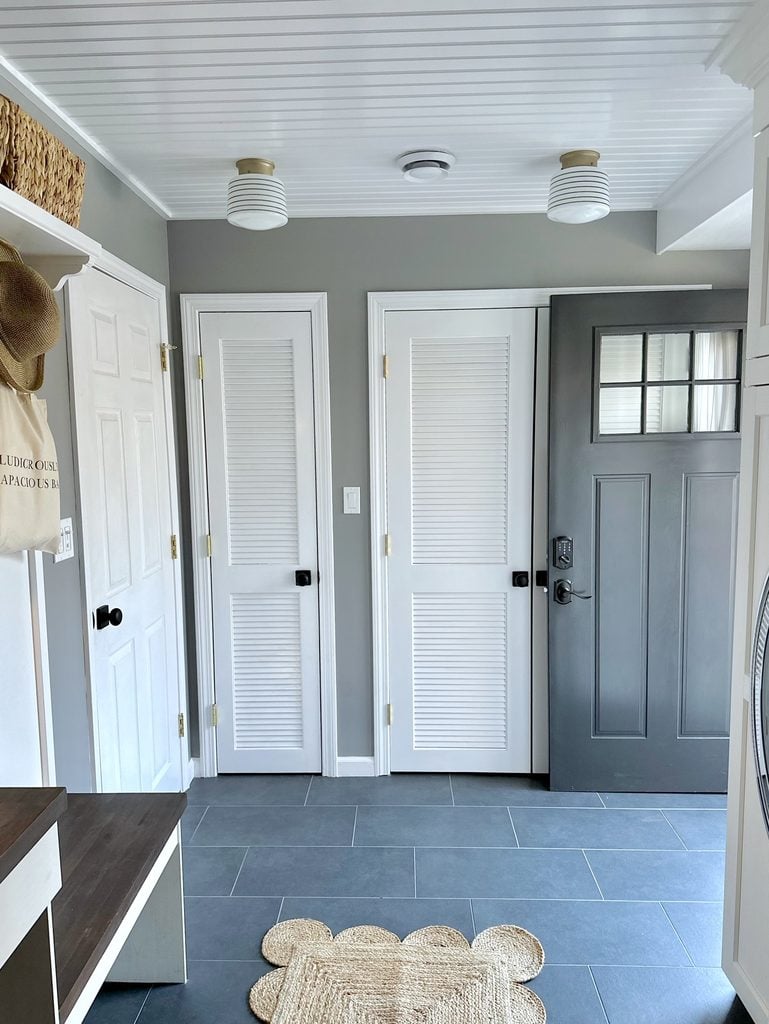
On the opposing wall, we've allocated space for the water well pump, water heater, and utility closet. Louvre doors were chosen to promote ventilation, providing a breathable environment while discreetly housing these necessary utilities. The closet area also adds additional storage, making the most of the available space. Adjacent to these closet areas, natural light floods in from the backdoor, enhancing the overall atmosphere with its brightness and warmth.
How have our IKEA laundry room cabinets held up?
We completed our laundry room in the summer of 2023, so we've now had three years to put our IKEA cabinets to the test. I'm happy to report that we've had zero issues!
The cabinets still look great, the pull-out laundry basket trays work beautifully, and the raised washer and dryer setup has made doing laundry so much easier. We were a little hesitant about adapting kitchen cabinets for this space, but three years later, we're still very happy with our decision.
Our laundry room: Before and after
It's hard to believe this is the same room! Before the makeover, our laundry area looked like a typical unfinished basement space, complete with exposed utilities, missing ceiling tiles, and a washer and dryer that had seen better days.
We knew we could make the space more functional, but I don't think either of us imagined just how different it would look when we were finished. Take a look at where we started and what we created using IKEA kitchen cabinets, a lot of planning, and plenty of work along the way.
Before:

After:
Shop the look: Explore the paint colors and accessories
See something you like that is not linked? You can shop this makeover on my LTK where you will find links to the wallpaper, hardware, light fixtures, baskets, and more.
Paint Colors:
- Walls: Benjamin Moore - Storm - Eggshell
- Trim and ceiling: Benjamin Moore - Chantilly Lace Semi-Gloss
- Crown molding (to match IKEA cabinets) - Benjamin Moore White Heron - Eggshell
- Backdoor: Benjamin Moore - Wrought Iron - Semi-Gloss
Tile Floor: Concept Gray Porcelain Tile (Grout: Latte)
Cabinets: SEKTION cabinets with ENKOPING doors from IKEA
Butcher block: Espresso Stained Butcher Block
Frequently asked questions
We used IKEA SEKTION kitchen cabinets as the starting point for our built-in laundry wall, but they weren't designed to hold laundry appliances. Ray modified and reinforced the cabinets to support our washer and dryer, while allowing room for hookups, ventilation, and access. You can see more about our approach in our built-in washer and dryer cabinet post .
Start with a layout that leaves the center of the room open. A galley-style design places appliances and storage along one wall, with a folding counter or additional storage on the opposite side. Tall cabinets make use of vertical space, while light cabinetry and good lighting help a small laundry room feel bright and open.
Use floor-to-ceiling cabinets to take advantage of vertical space, and give frequently used items a designated home. Pull-out laundry baskets, a utility closet, and shelves above the folding counter can keep supplies close at hand without cluttering the room. Planning storage around your daily routine makes a small space easier to use.
Choose coordinating cabinet fronts and panels to create a cohesive look, then add finishing details that make the cabinetry feel like part of the room. In our laundry room, we paired white IKEA kitchen cabinets with custom trim, butcher block countertops, brass hardware, wallpaper, and a beadboard ceiling to achieve a built-in look.
More laundry room inspiration to explore
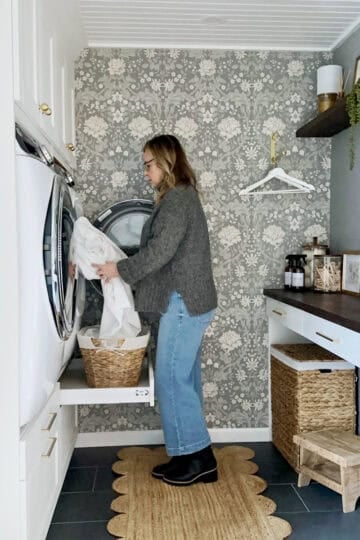
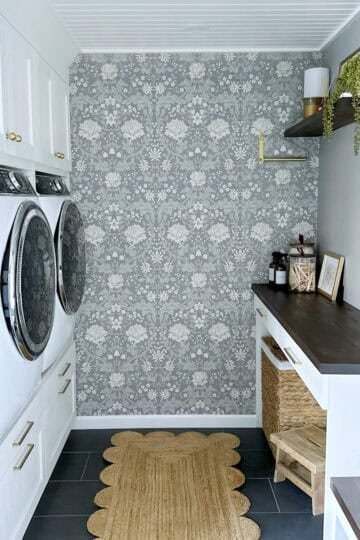

Three years later, I still appreciate this room every time I do a load of laundry. Raising the washer and dryer, giving everything a designated place, and adding a counter just for folding have made our everyday routine so much easier.
What started with an IKEA kitchen display became a laundry room that feels custom-made for our home, and I'm so glad Ray and I took a chance on that idea!
If you're planning your own laundry room, I hope our makeover gives you a few ideas for making the most of your space. You can explore more of our projects in my DIY Home Decor Hub , and I'd love to hear what features are on your laundry room wish list.





Hi Stephanie! What is the final depth of the washer dryer cabinets? I saw you added support and extra space in the back so I’m wondering how far it all protrudes in total 🙂
Hello! Thanks for visiting the blog! Here are the measurements for our laundry room setup:
• Washer/dryer depth: 32"
• IKEA cabinet depth: 24"
• This creates an 8" overhang for the appliances, plus there needs to be space for plumbing/electrical hookups
Total depth breakdown:
• Wall to front of cabinet: 32"
• Appliance protrusion (including door): +4"
• Total wall-to-appliance front: 36"
You can see in the images how the unit bows out slightly from the cabinet front. I hope this helps! Please let me know if you have any other questions!
Stephanie
Beautiful! Once you removed the microwave cabinet space, was there a ton of extra room you needed to compensate for? Wondering how you made the washer and dryer spots to fit your machines so perfectly!
Hi Laura, The cabinets have an adjustable shelf system so we were able to raise/lower the shelving to fit the appliances. Theres a second post on the blog specifically covering how we managed to fit and support the washer and dryer. Be sure to visit IKEA Hacks for Built-In Washer and Dryer Cabinets: Design Secrets where it shows the shelving.
Hi - do you have a link to your laundry room floor tile? Thanks!
HI! Love the makeover, just beautiful. I was wondering where you got the folding station table? Thank you!
Thank you! My husband built it! the folding station and the dog walking bench was designed and crafted by us.
Love this idea and I’ve had this on my dream board for a while. Question for you on how you would access the hookups if you ever needed to. Thanks and thanks for such informative ways to do this in mine!
Hello, The appliances pull forward and can be lowered onto the floor in front of the cabinets for repair. Of course they are heavy so this takes two strong people to lower them. Second to that the cabinets directly above the washer and dryer have a backing that we made to come off easily. This way we can check on any issues we may be having behind the appliances. Hope this helps!