
Benjamin Moore Cabinet Paint: Our 10-Year Review
Benjamin Moore cabinet paint is known for its durability and smooth, furniture-like finish, especially when using Benjamin Moore Advance. After living with painted kitchen cabinets for over 10 years, this review shares how the paint has held up to daily use, including wear, cleaning, and long-term performance. It focuses on real-life results rather than product comparisons, offering an honest look at what to expect over time.
Content may contain affiliate links. When you shop the links, we receive a small commission at no cost to you. Thanks for supporting my small business.
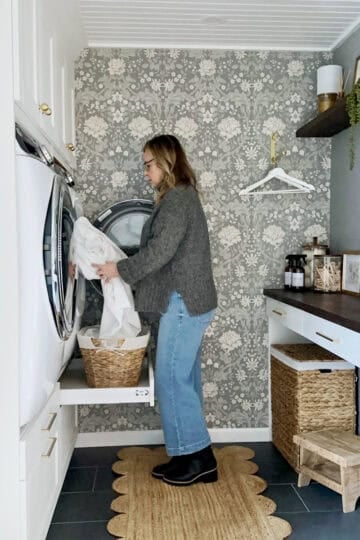
Do you ever look at your kitchen cabinets and think, something has to change… but a full remodel is not happening? I have been there. Our cabinets were still solid, but the orange stain made the whole kitchen feel tired. A renovation was out of the question, so paint became the plan.
When I started researching cabinet paint, I was not just looking for something that looked good on day one. I wanted a paint that would level into a smooth, professional finish and still hold up to real family life with kids (four to be exact), cooking, cleaning, and constant use. There is a big difference between paint that looks nice at first and paint that truly lasts in a busy kitchen.
After living with painted cabinets for 10 years, I can say there is one paint I would choose again, and that is exactly what this post is here to share.
Just a quick note - this post is not sponsored. I am not affiliated with Benjamin Moore or any paint brand mentioned. Every opinion here comes from my own experience living with painted cabinets for over a decade.
Jump to:
- Why choosing the right cabinet paint matters
- Which Benjamin Moore paint is best for kitchen cabinets?
- What makes a true cabinet paint? (Understanding waterborne alkyd)
- What living with painted cabinets is really like (10 years later)
- How Benjamin Moore Advance compares to other cabinet paints
- Other things to consider when choosing cabinet paint
- Application and prep considerations
- Application tips that matter most
- Frequently asked questions
- Getting inspired for your next makeover
Why choosing the right cabinet paint matters
Painting kitchen cabinets is not the same as painting walls or furniture. Cabinet paint has to handle constant use, from daily cooking and cleaning to greasy hands, water splashes, and regular wipe-downs. A standard latex paint may look good at first, but it often cannot hold up to the constant wear a kitchen demands.
That is why choosing the right paint matters so much. The goal is not just changing the color. It is achieving a finish that levels smooth like a factory coating and stays strong without chipping, peeling, or softening over time. When you invest the time to paint your cabinets, you deserve results that last for years, not months.
Which Benjamin Moore paint is best for kitchen cabinets?
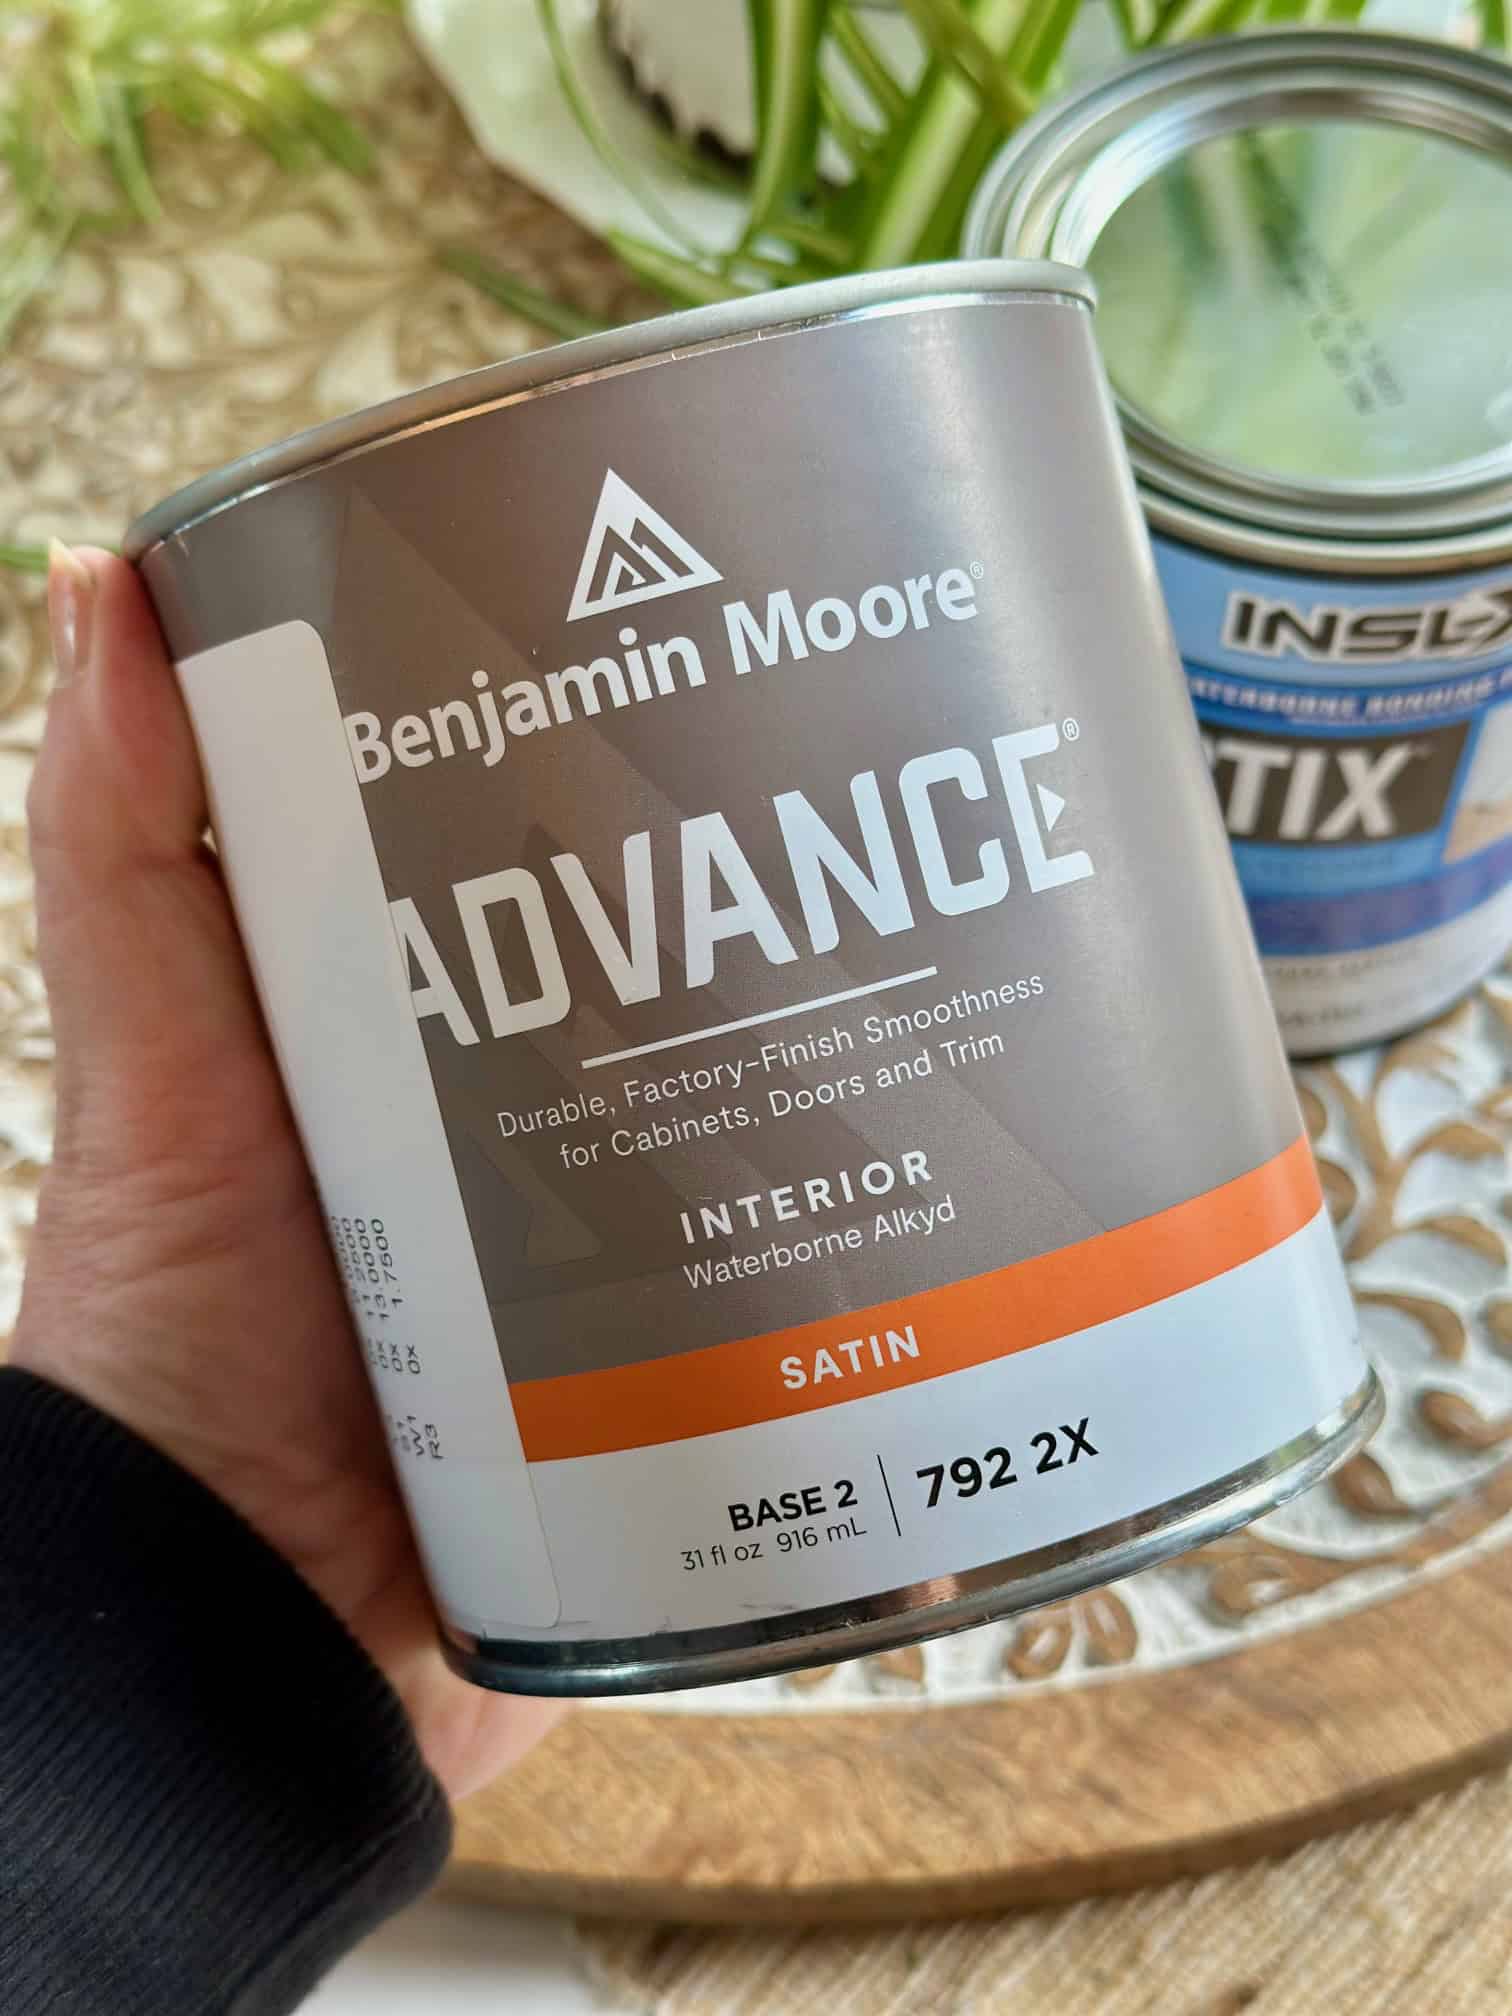
After living with painted kitchen cabinets for over 10 years, the Benjamin Moore paint I trust most for cabinets is Benjamin Moore Advance. It's a waterborne alkyd designed specifically for trim, doors, and cabinetry, and it levels out beautifully for a smooth, professional finish. More importantly, it has proven itself to be incredibly durable in our busy kitchen with four kids.
Benjamin Moore Advance offers the best of both worlds. It cleans up with water like a latex paint, but it cures to a hard, enamel-like finish that resists chipping, peeling, and constant wiping. Our cabinets still look strong and smooth after a full decade of daily use, and that long-term performance is why I would choose it again without hesitation.
There are other Benjamin Moore cabinet paint options on the market, and I'll touch on a few alternatives later in this post. But if you're looking for a Benjamin Moore paint that truly lasts and delivers a furniture-quality finish, Advance is the one I recommend.
Widely Trusted: Independent reviewers back this up - in 2025, Reviewed.com named Benjamin Moore Advance the Best Overall Cabinet Paint for its leveling, durability, and professional finish.
What makes a true cabinet paint? (Understanding waterborne alkyd)
Not all paint is made for kitchen cabinets. Sure, you can use wall paint, but it often stays soft, shows every brush stroke, and never really cures hard. Cabinets need more than just color. They need a finish that looks smooth, feels solid, and can handle real life without sticking or peeling.
This is where waterborne alkyd paint makes a real difference. It is a hybrid formula that cleans up with water, but cures like an oil enamel. It dries slowly enough to self-level, which helps hide brush marks, and then hardens into a tough finish you can actually wipe clean. And if your kitchen is anything like ours, that means grease splatters, fingerprints, and a whole lot of daily traffic. A pretty finish only matters if it stays that way, am I right?
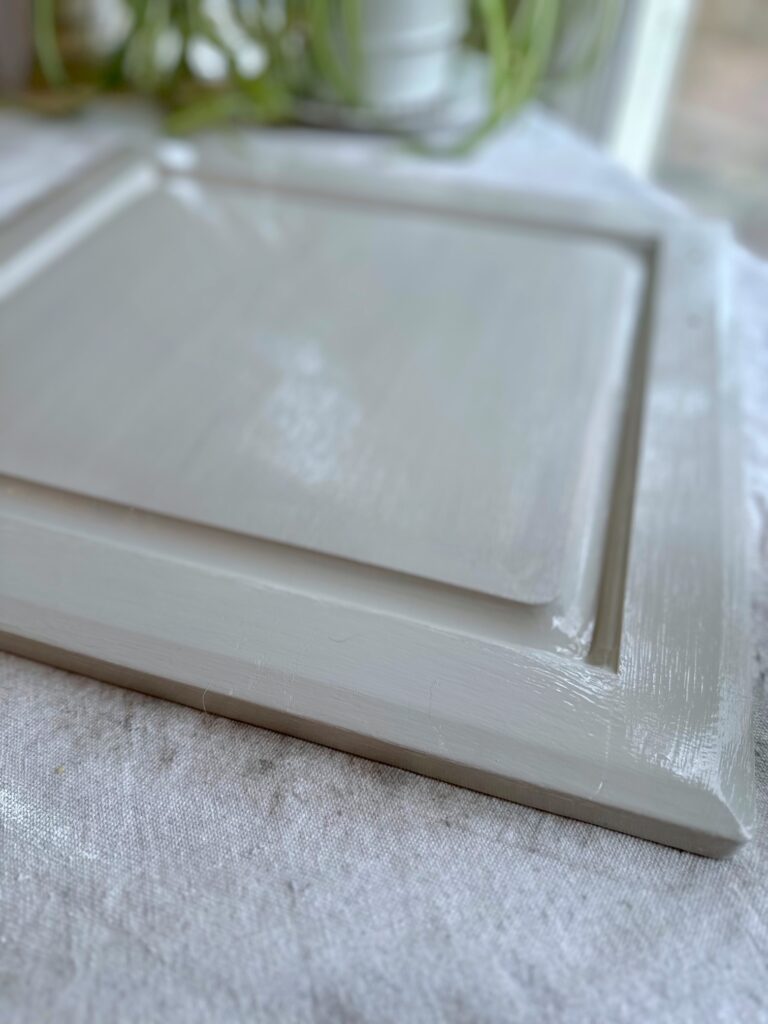
Benjamin Moore Advance uses this technology, and it is the reason our cabinets still look good a decade later. It does not stay tacky and it does not peel when you swipe a cloth across it. It settles into that smooth, factory-like finish that makes people ask if we had them professionally sprayed. That is when you know you picked the right paint.


What living with painted cabinets is really like (10 years later)
They have truly held up over time
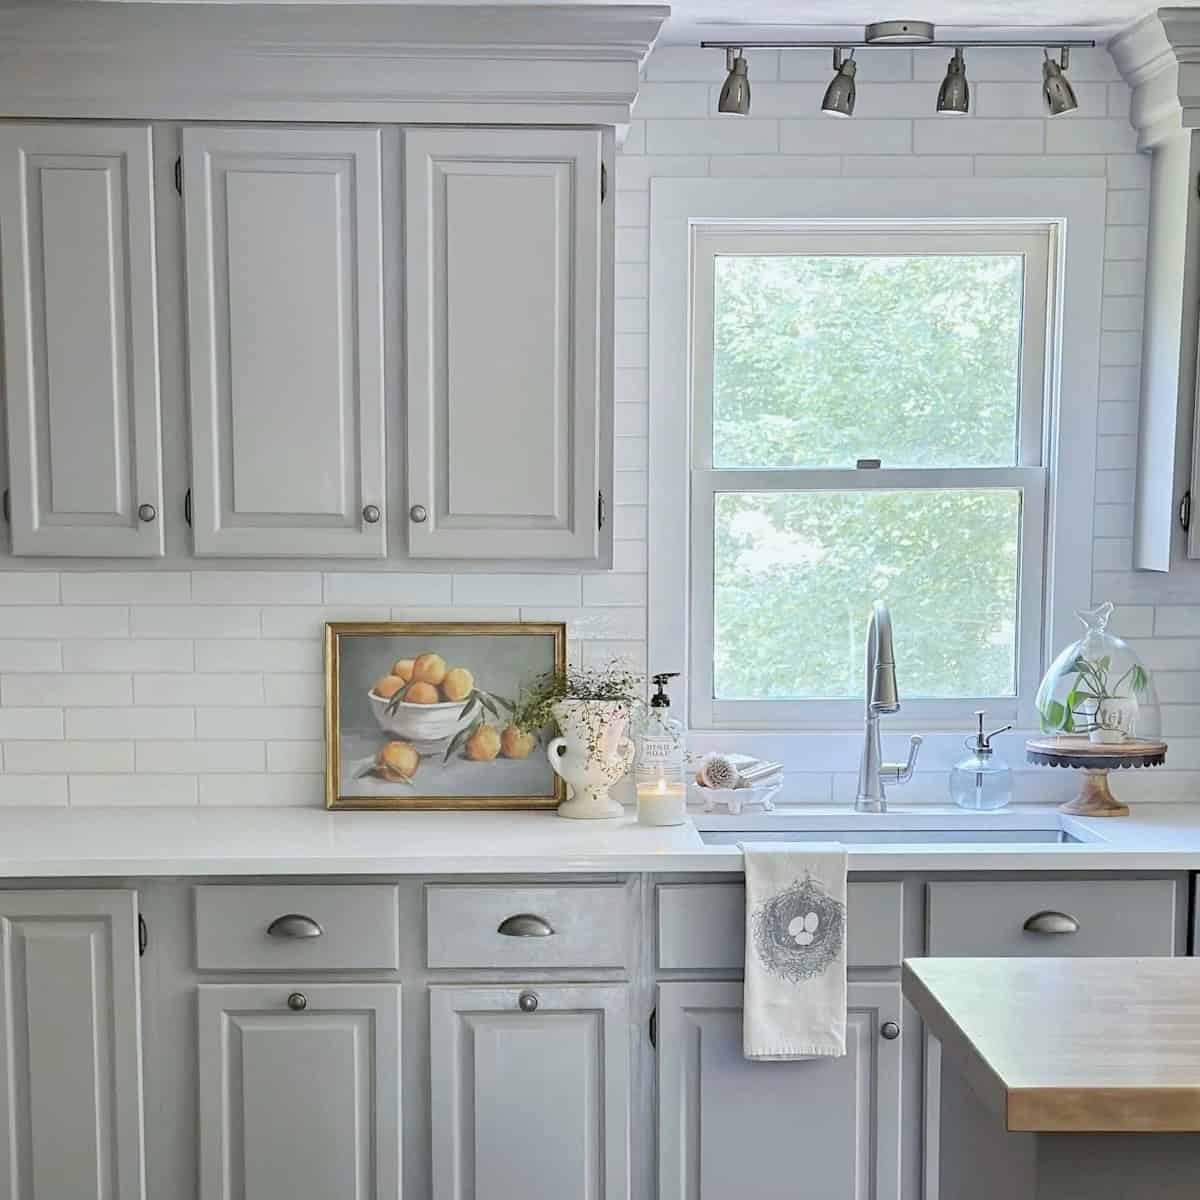
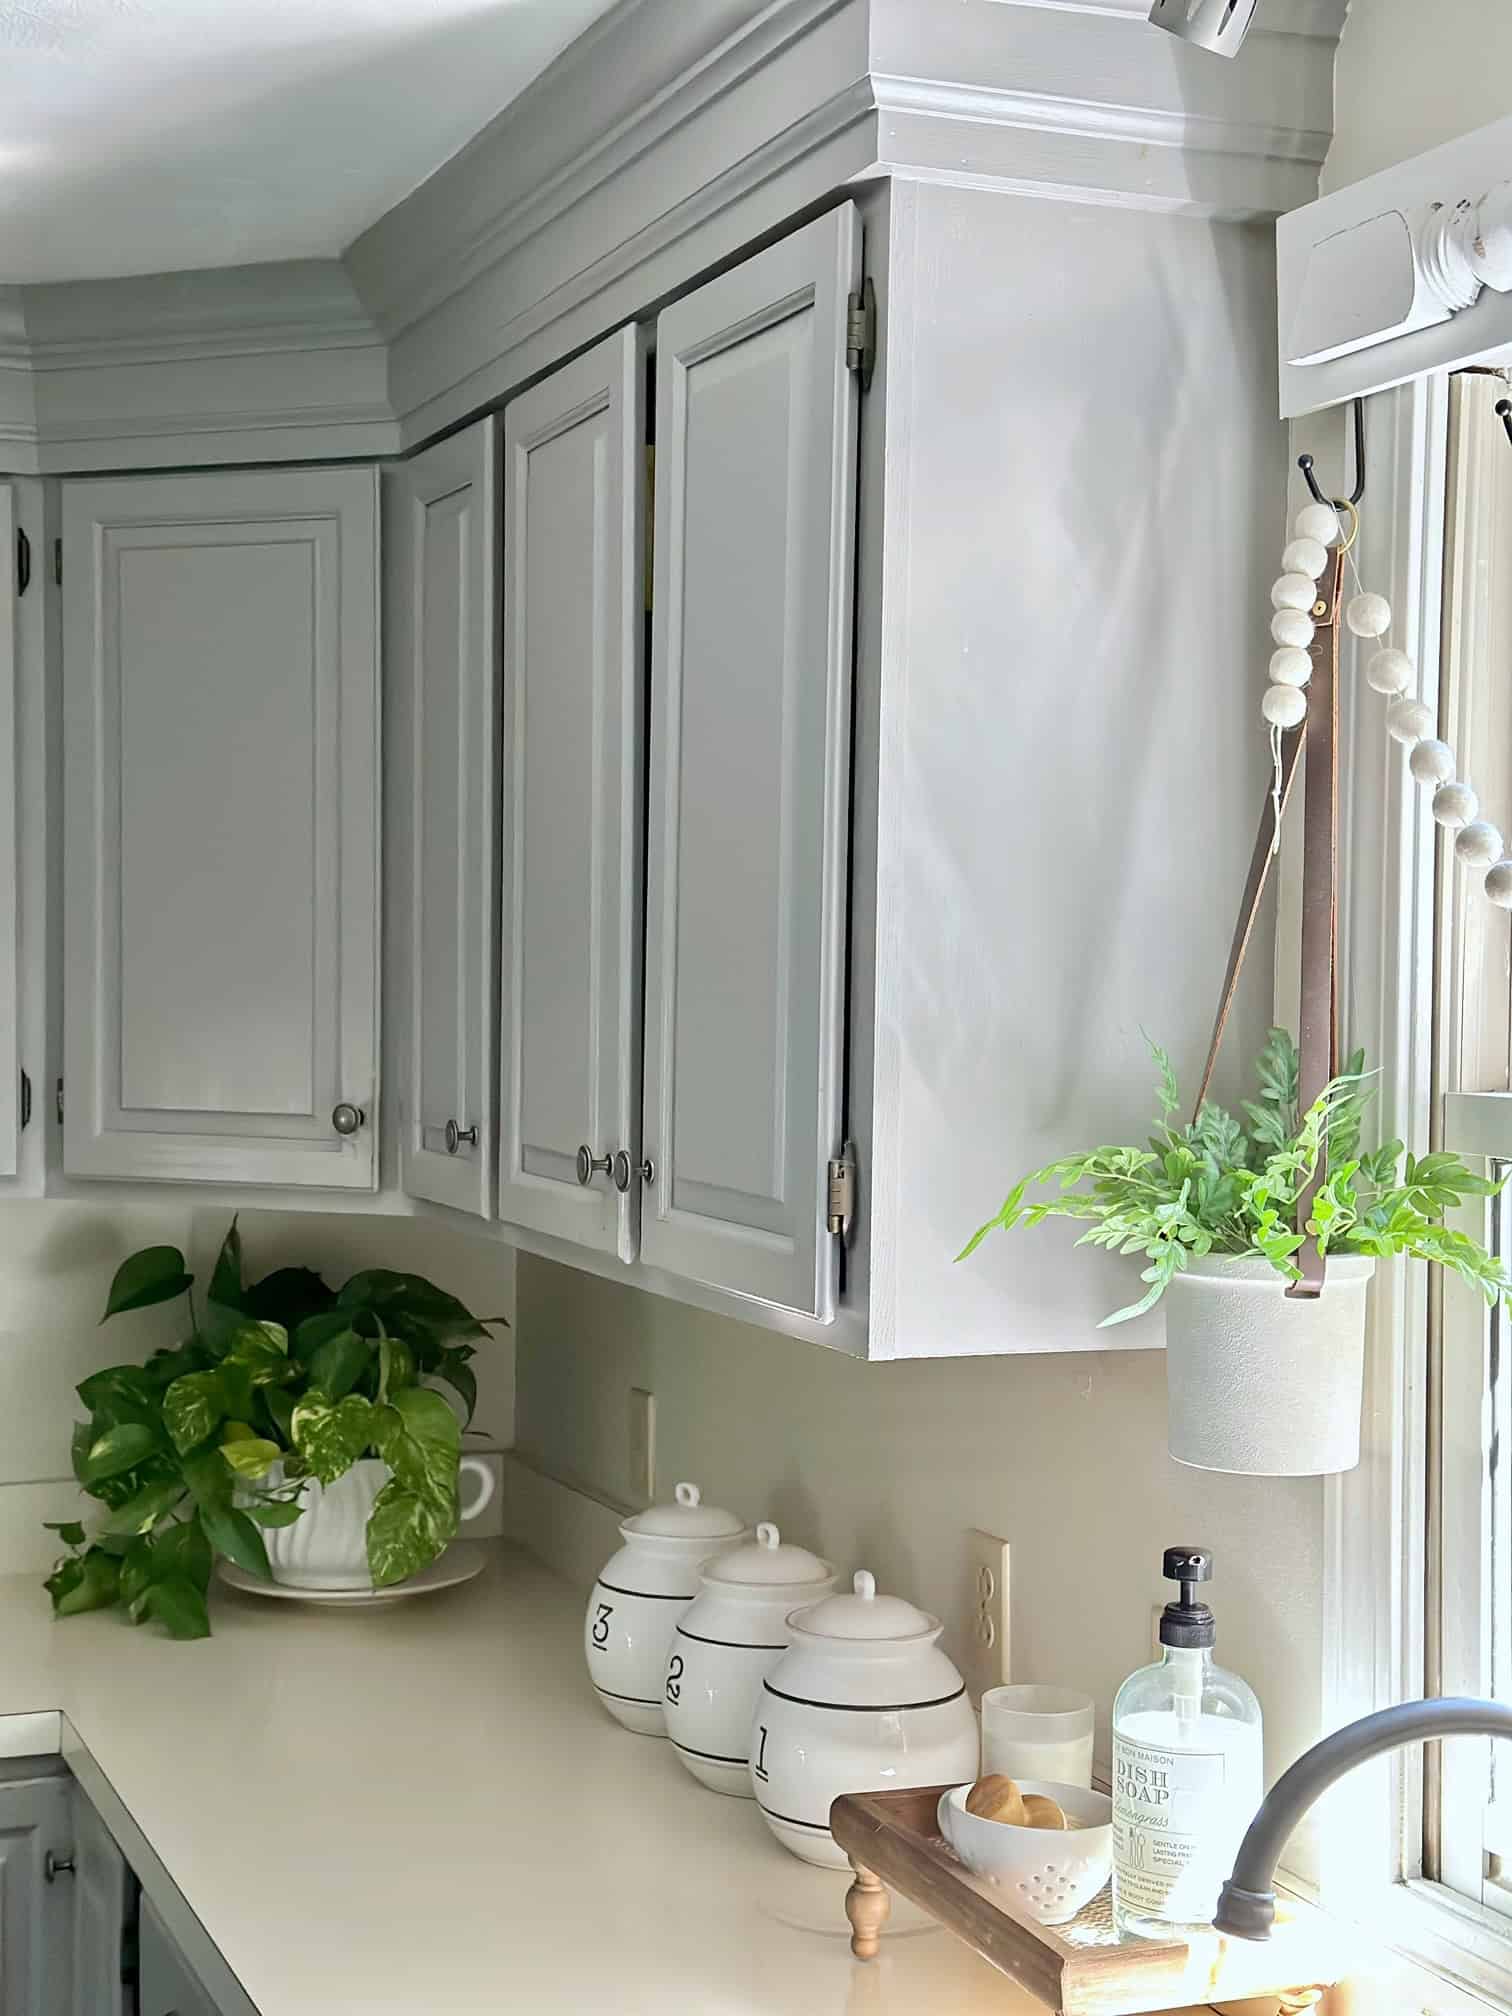
I know painted cabinets can feel like a risky leap, but I can genuinely say ours still look solid and intact after ten years. There are no cracks, no peeling corners, and nothing that suggests a temporary fix. The color has stayed rich, and our kitchen still feels bright, clean, and updated. They have functioned just like factory-finished cabinets, only in a color we love.
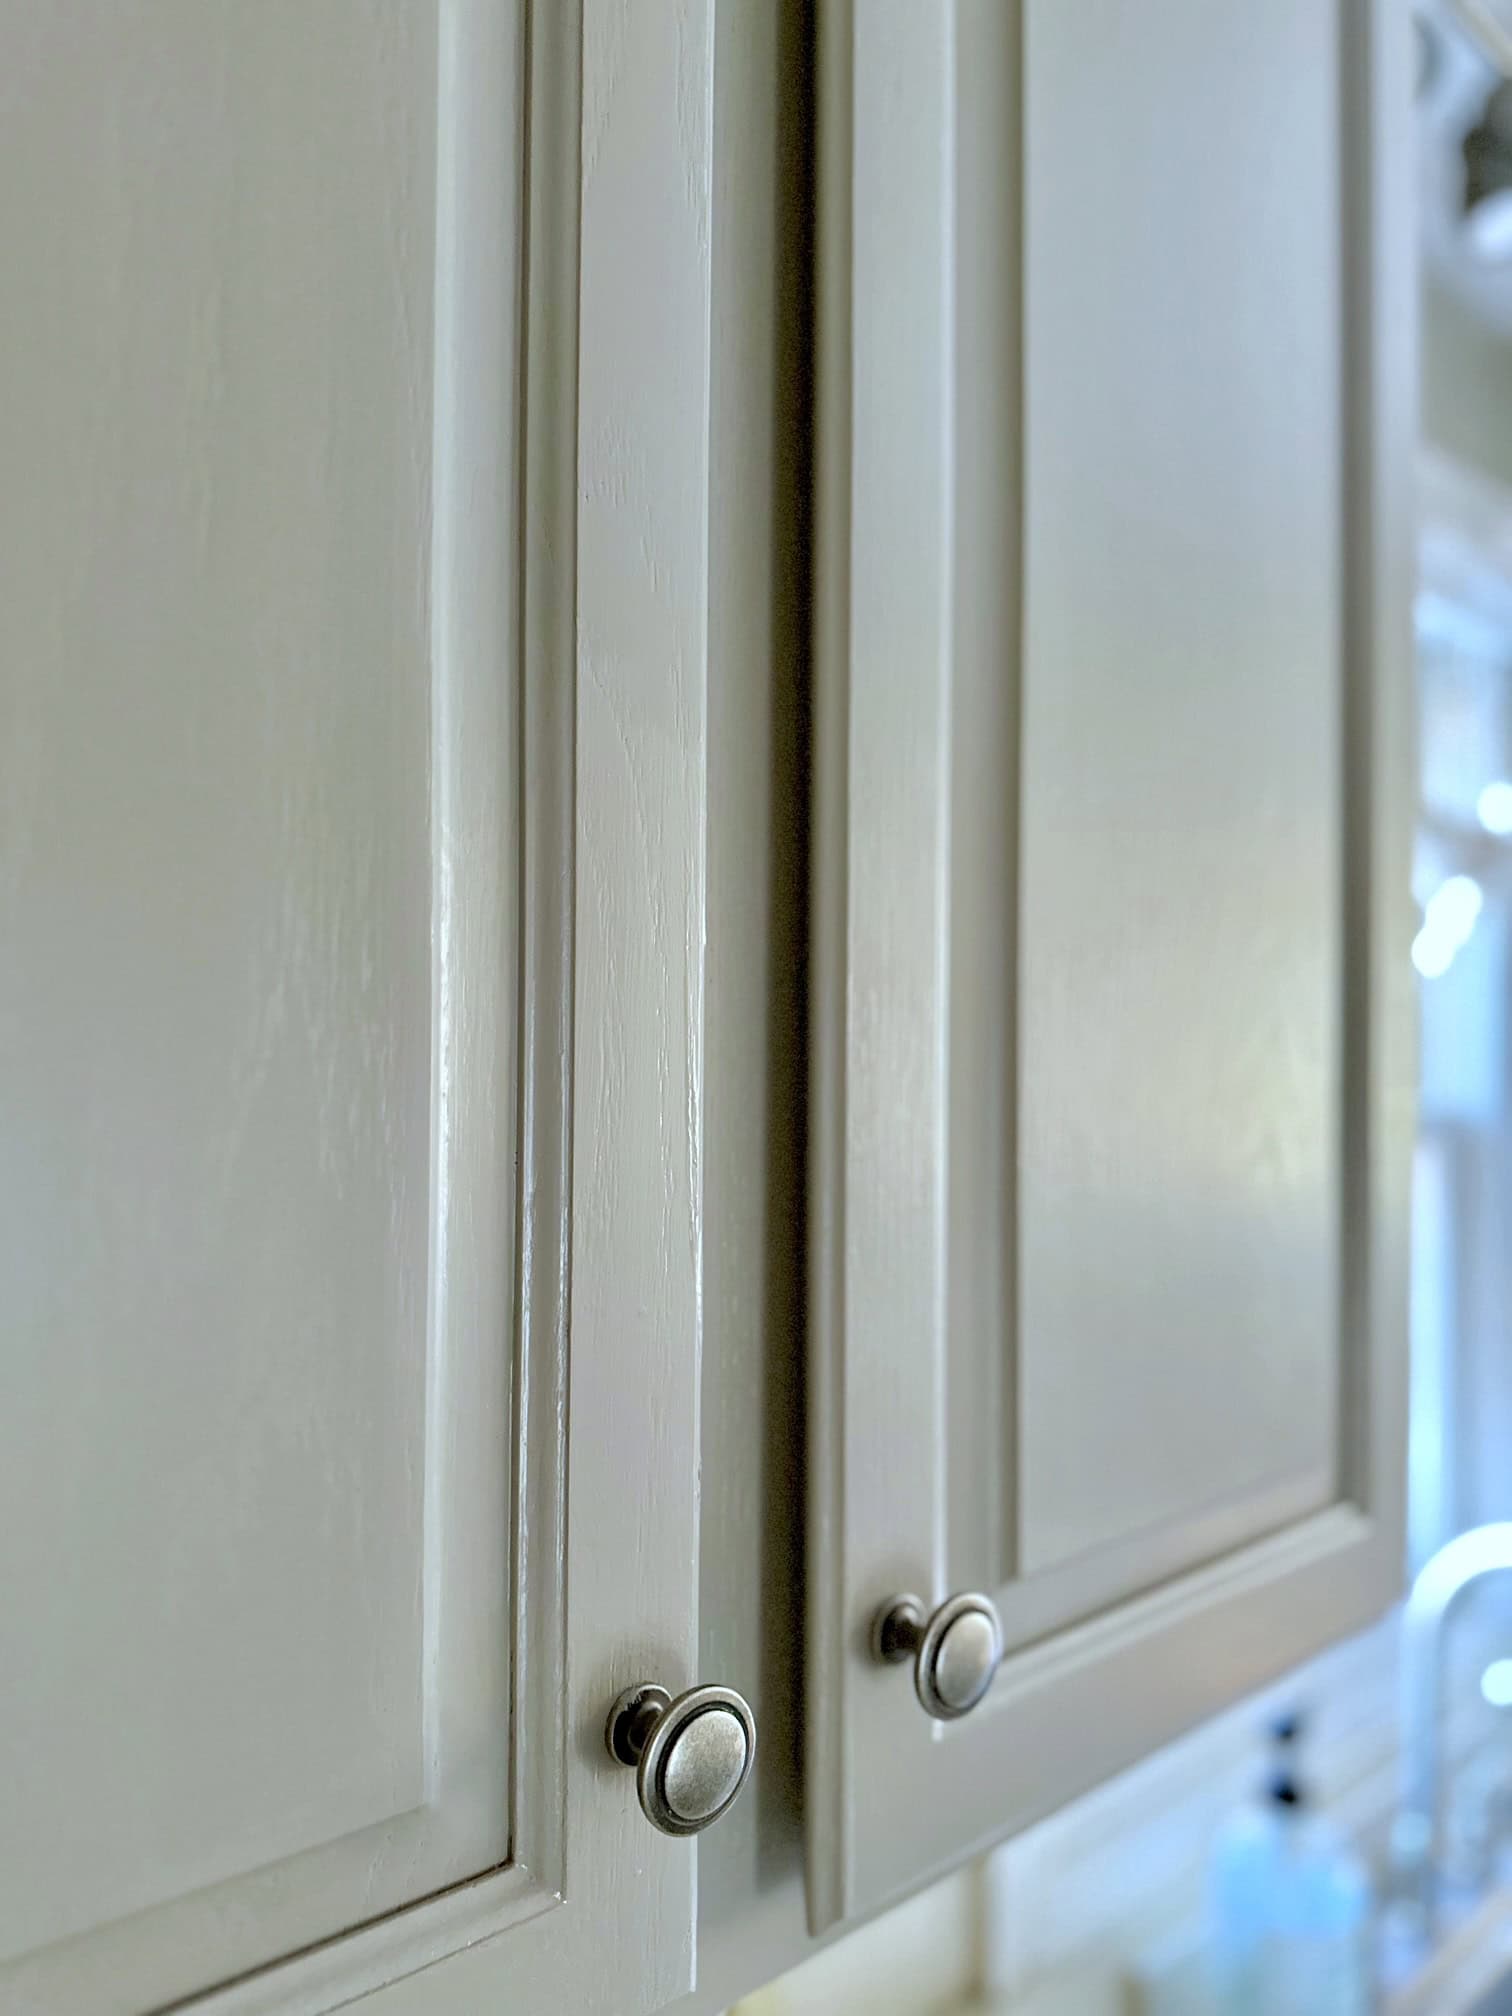
The finish still looks professional, Not DIY
One of the biggest fears people have is that painted cabinets will eventually look like a weekend project. Ours do not. The finish is smooth, even, and still has that subtle sheen that makes them look like they were professionally done. No streaks, no dull patches, and no chalky texture. Even up close, they look like they came this way, which is the biggest win for choosing the right paint.
Touch-ups have been minimal and easy to manage
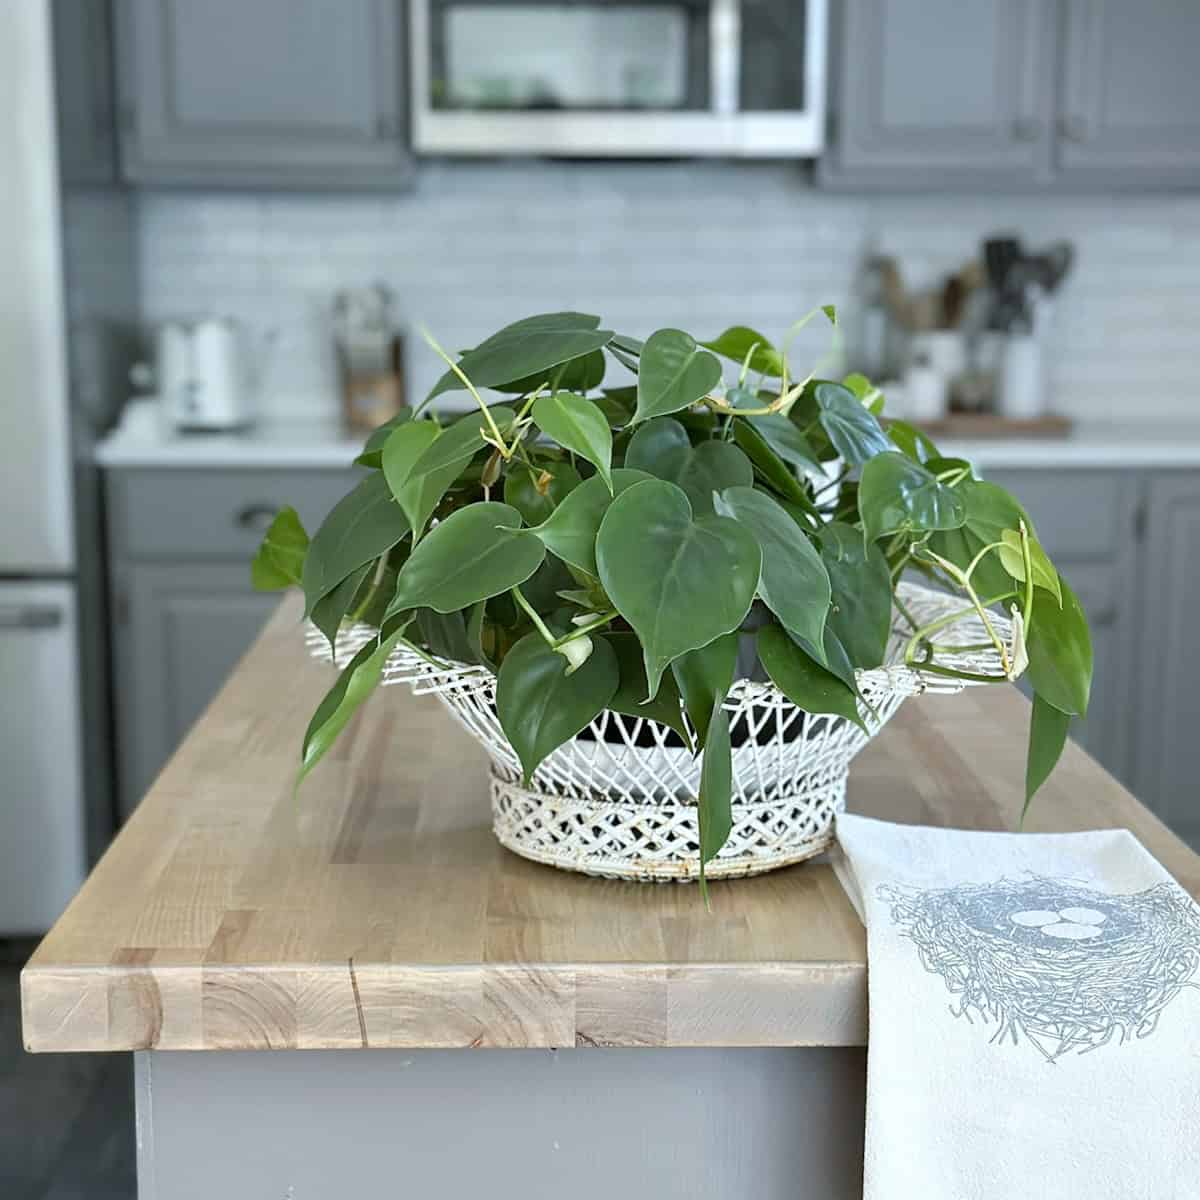
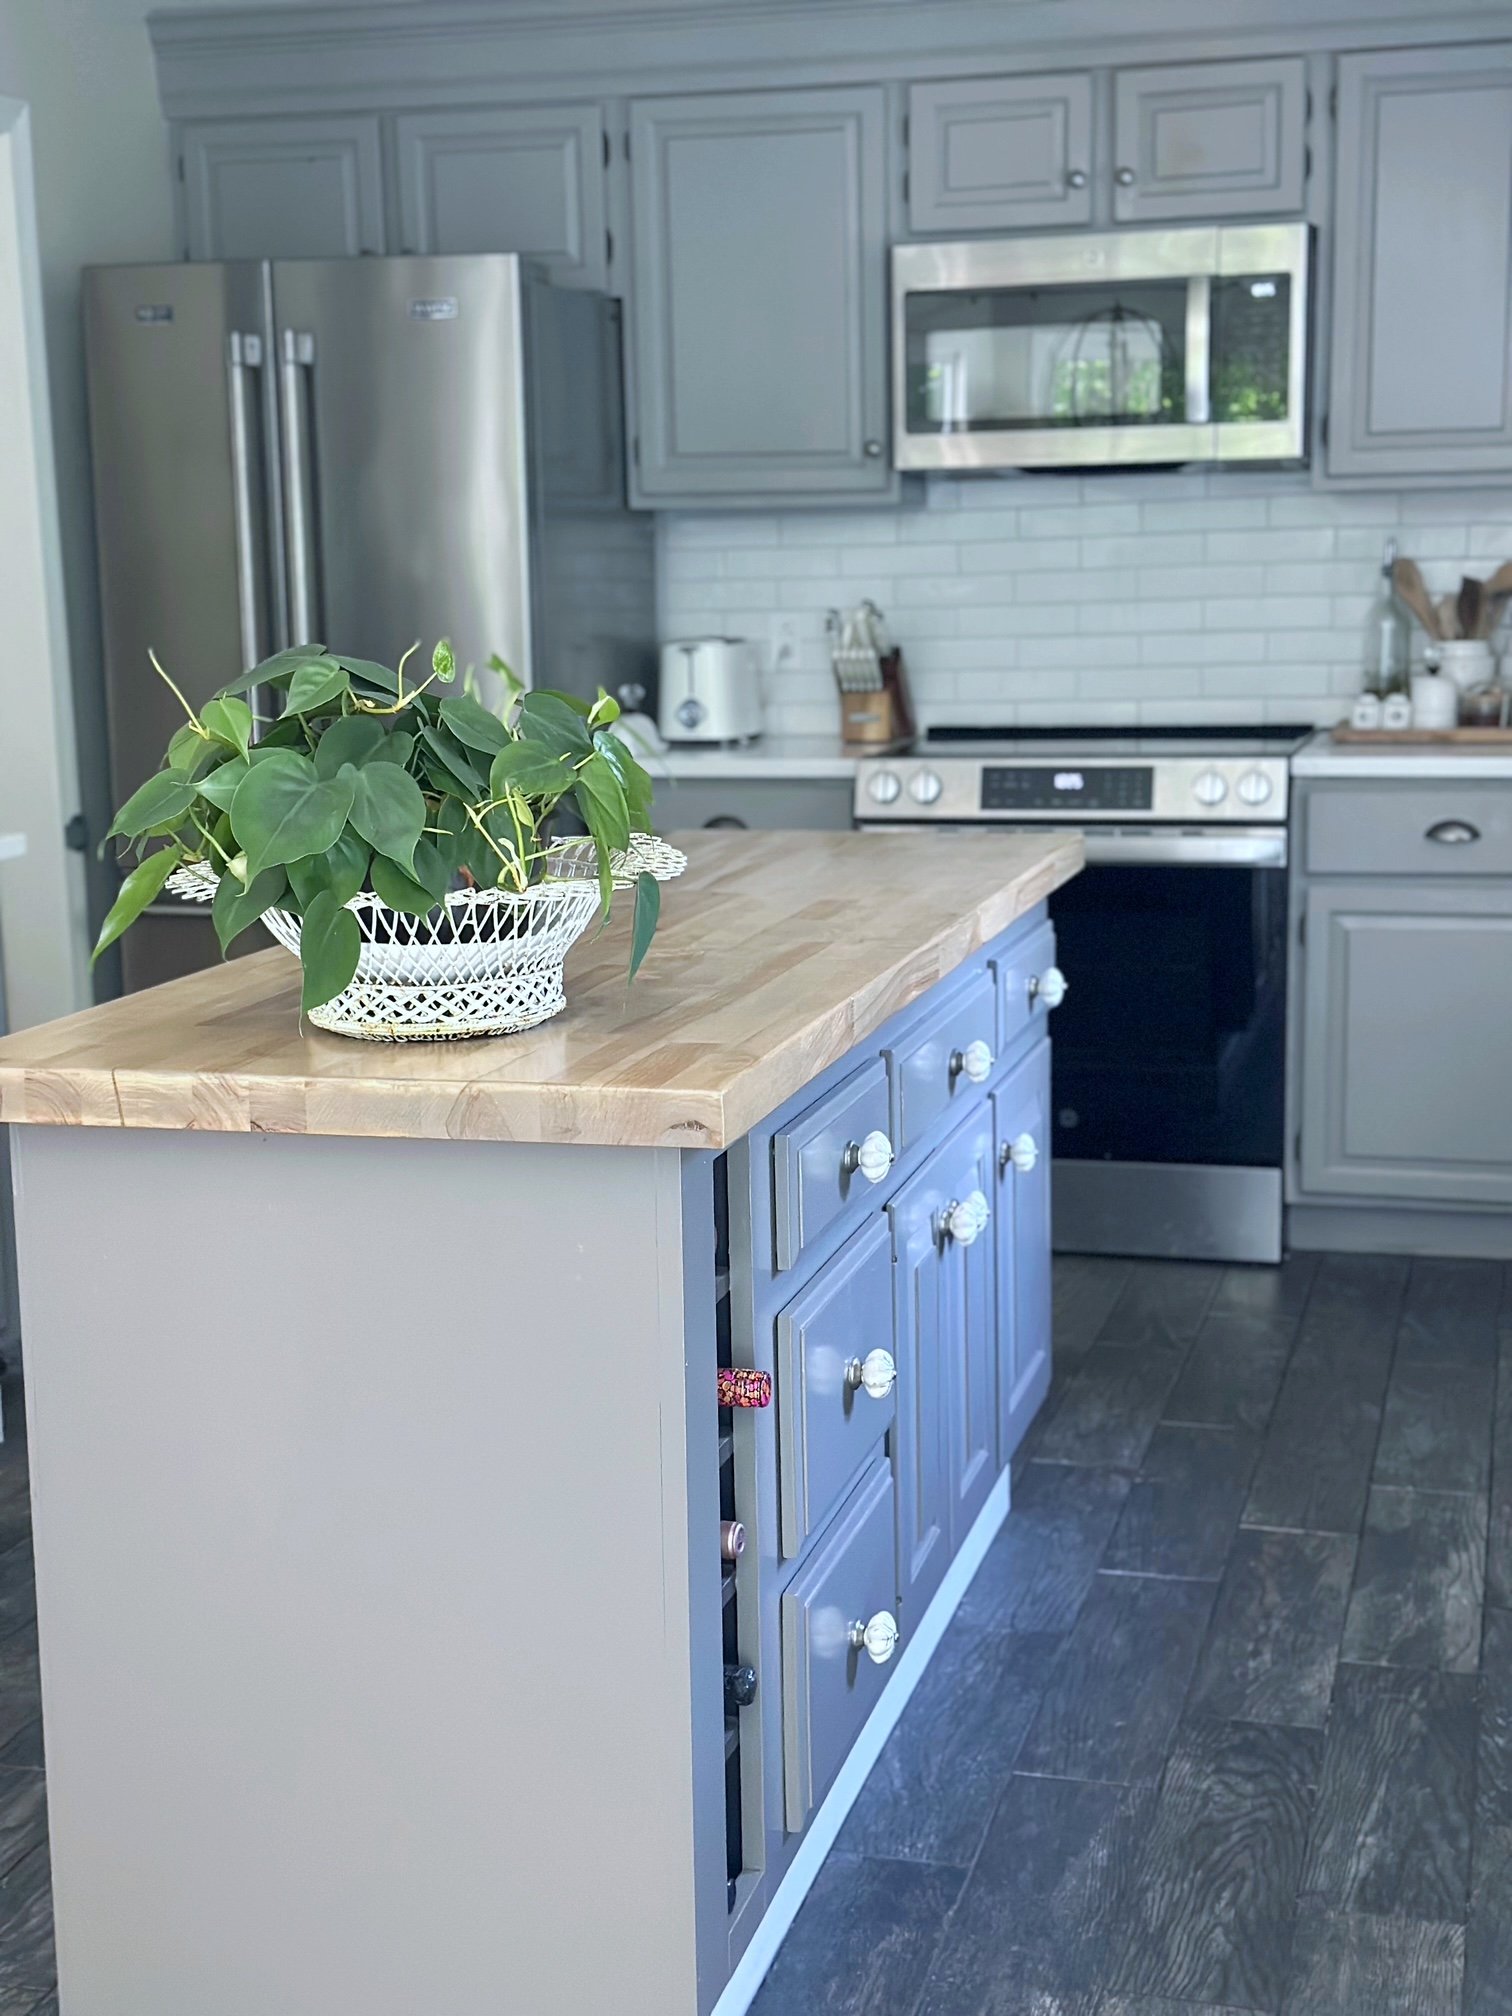
In ten years, I have only touched up a few small spots, mainly along the top edges of our trash and recycling pull-outs where hands constantly grab. A quick dab of paint and it blends right in. That is the extent of maintenance. The upper cabinets have never needed a thing. For a kitchen used daily by a busy family of six, I call that a major success.
Painted cabinets are easy to clean and care for
These cabinets clean up beautifully. A soft cloth and mild soap take care of fingerprints and splatters without dulling the finish. Nothing gets tacky or gummy, and the paint has not worn down, even around the handles. If grease or sauce splashes happen, I wipe them down without worrying. They hold up just like factory paint.
The effort was worth it for the results and savings
Painting our oak cabinets was not a quick afternoon project. There are doors to remove, dry times to respect, and patience required. But the payoff has lasted us an entire decade. We saved thousands by not replacing or refacing, and we gained a kitchen that still feels custom and current. Looking back, I would make the same decision again without hesitation.
How Benjamin Moore Advance compares to other cabinet paints
Before choosing Advance, I looked at several other paints that DIYers and professionals often recommend for cabinets. Each of these can work well in the right situation, but they do perform differently over time.
Sherwin Williams Emerald Urethane Trim Enamel
Known for: Professional-grade durability
Best for: Sprayed finishes and high-traffic trim work
What to know: This is a strong and reliable paint with a hard finish, but it takes longer to fully cure and may feel slightly softer under hand compared to Advance. It is often preferred by professionals using sprayers.
Behr Cabinet & Trim Enamel
Known for: Being budget-friendly and easy to find
Best for: Smaller projects and quick DIY updates
What to know: A practical option when cost is a factor, but it does not level as smoothly and may show wear earlier in busy kitchens. With careful prep, it can work, but the finish may not look as refined.
General Finishes Milk Paint
Known for: Beautiful matte finishes on furniture
Best for: Dressers, hutches, and decorative pieces
What to know: Popular for furniture painting, but it requires a separate topcoat and is not designed for the moisture and cleaning demands of a kitchen. Better suited for statement furniture than cabinetry.
Benjamin Moore Advance
Known for: Smooth, self-leveling finish with long-term durability
Best for: Kitchen cabinets that need to last and look professionally done
What to know: Levels beautifully and cures to a hard enamel-like shell. In our own kitchen, it has held up for over ten years without peeling, softening, or losing its finish.
After living with painted cabinets for a decade, Advance has proven itself in both appearance and durability. I am not sponsored in any way by Benjamin Moore. This recommendation is simply based on real-world use and how well it has stood up to daily life in our family kitchen.
Widely Trusted: Even independent reviews like Good Housekeeping recently named Advance 'Best Overall Cabinet Paint' for its leveling and durability - and I agree after ten years.
Other things to consider when choosing cabinet paint
Choosing the best paint is only part of the decision. Your final result also depends on the sheen, the color you choose, and how it will look in your actual kitchen. These choices make a big difference in how professional your cabinets will appear and how well they will hold up over time.
Choosing the right sheen (Satin vs semi-gloss)
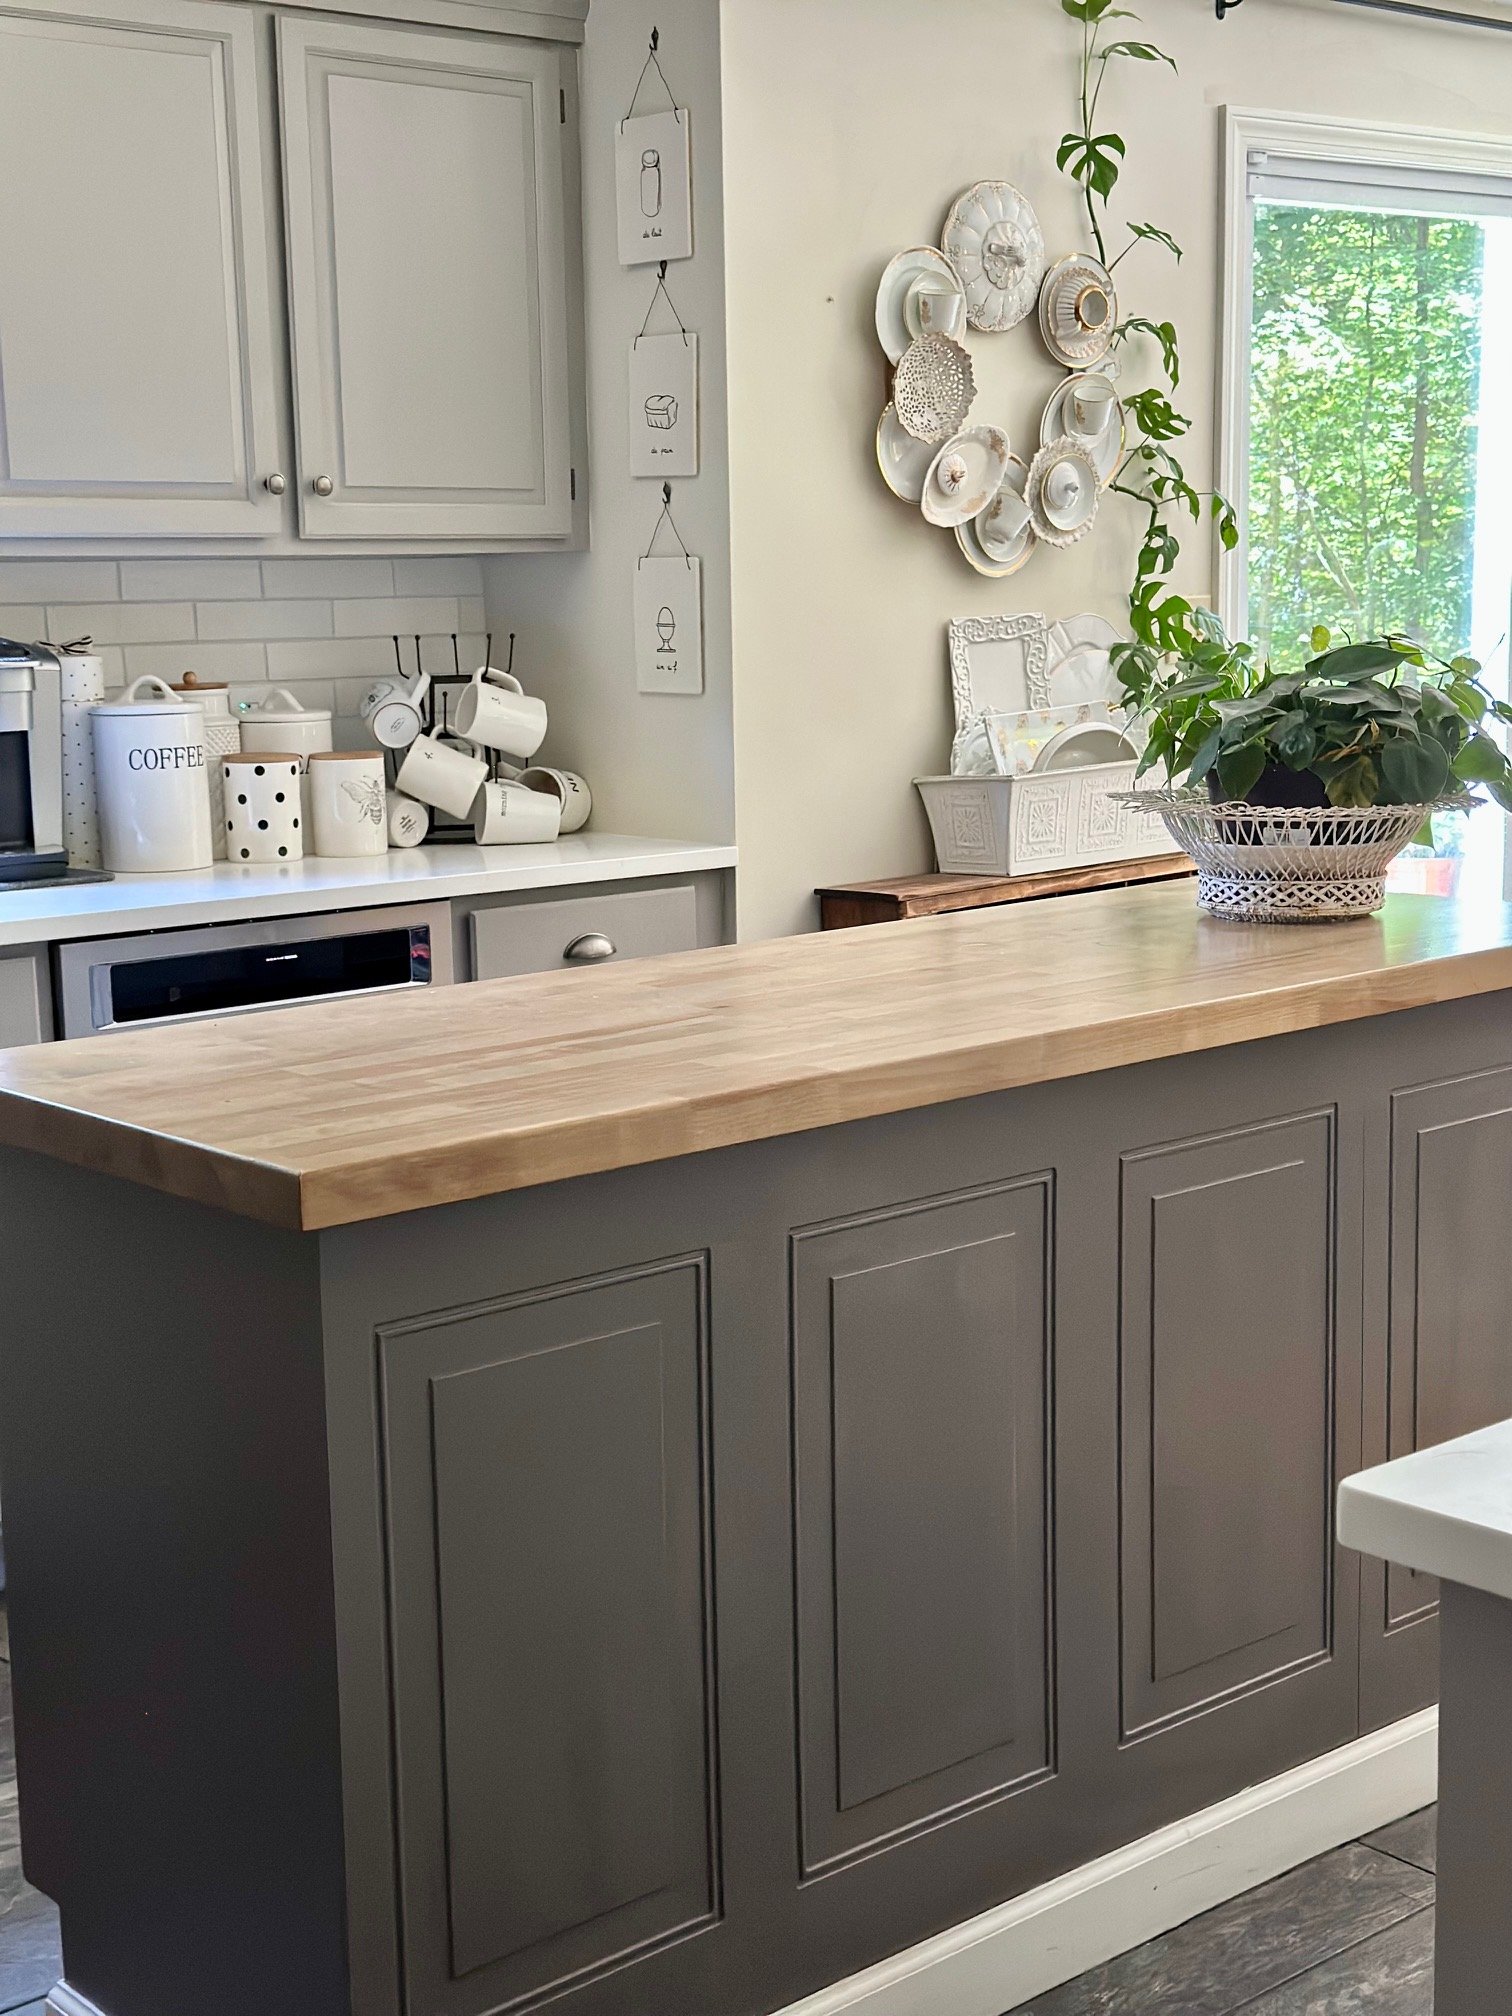
Sheen affects both the look and durability of your cabinets. For most kitchens, satin is the sweet spot. It has a soft, low-luster finish that hides small imperfections and still wipes clean easily. Semi-gloss has more shine and is durable as well, but it can highlight brush strokes and texture. I chose satin because it gives a smooth, modern look without drawing attention to every surface detail. I talk more about sheen options in my post about Benjamin Moore - Wrought Iron.
Picking a cabinet color you can live with
Cabinet paint is not like wall paint. This is a long-term color choice that you will look at every morning while making coffee. Neutral colors like grays, whites, and soft taupes tend to age well and work with changing decor. Bold colors can be beautiful, but they require more commitment. Whatever color you choose, make sure it works with the fixed elements in your kitchen like countertops, backsplash, and flooring. Cabinets do not stand alone, and a beautiful color can look off if it clashes with permanent surfaces. The best advice I can give is to test large samples and look at them in morning, afternoon, and evening light. I personally use Samplize peel-and-stick paint samples because they are large enough to place directly on cabinet doors and show how the color will really read in your space. Visit these other posts to see the exact Benjamin Moore colors we chose for our kitchen cabinets and our DIY kitchen island.
How lighting affects paint in real kitchens
Kitchen lighting plays a major role in how your cabinet color will actually look. Natural light can cool or warm a color, and overhead lighting can add yellow or blue tones. If your kitchen has limited sunlight, a darker color may feel heavy. If you have bright, warm lighting, a cool-toned paint can balance the space. Take the time to view sample boards in different lighting so you are choosing the color you will see in real life, not just on a paint chip.
Application and prep considerations
Primer matters more than sanding
One of the biggest misconceptions about painting cabinets is that you must sand everything down to bare wood. In most cases, you do not - but skipping primer is a different story. If you want a finish that truly lasts, primer is what does the heavy lifting.
You absolutely need primer if you are painting:
- Laminate or MDF cabinets (they need bonding power)
- Raw or stained wood
- Glossy or previously oil-based finishes
- Cabinets prone to tannin bleed, like oak or cherry
We did not sand our cabinets back in 2015, but we did use a high-quality primer designed to grip. If you choose the right primer, you can skip endless sanding and still get a professional finish.
There are two types of primers that truly stand above the rest for cabinet painting:
- Bonding primers like Benjamin Moore Stix, which grip slick surfaces such as laminate or factory finishes
- Stain-blocking primers like BIN Shellac, which lock in tannins and prevent yellow bleed-through when painting wood
If you are not sure which one your cabinetry needs, I break down both options clearly in my guide to the best primers for cabinets.
Brush, roller, or sprayer
You can get a beautiful finish with any method if you take your time. Sprayers give a factory-smooth look, but most DIYers achieve excellent results with high-quality brushes and foam rollers. Benjamin Moore Advance levels on its own, which helps minimize brush marks. The key is thin coats and a consistent direction.
Dry time and patience
This is not a weekend touch-up project. Cabinet paint needs proper dry time between coats, sometimes overnight, to cure correctly. The patience is worth it. Rushing will cause tackiness, peeling, or fingerprints in the finish. I always tell readers this: your cabinets will look DIY only if you treat it like a DIY rush job.

Application tips that matter most
Once you have the right paint, how you apply it makes just as much difference in how it wears. You do not need a sprayer or special tools. These simple habits make the biggest impact on the final finish:
- Use quality brushes and rollers: A good synthetic brush, like Purdy, helps Advance paint level out smoothly instead of dragging or streaking.
- Lightly sand only if you feel rough spots: You do not need to fully sand between coats. A quick pass with fine-grit sandpaper (around 220) keeps the surface silky and professional.
- Respect the drying and curing time: It might feel dry to the touch, but curing takes longer. Let each coat dry fully before adding another. Patience shows in the final finish.
- Skip a top coat with Advance: Benjamin Moore Advance cures to a hard enamel-like finish. Adding a clear coat is not necessary and can even cause yellowing over time.
- Check for drips before they dry: Pay special attention to recessed panels and door edges. A 10-minute check after brushing can save you from hard-to-sand ridges later.
Painting cabinets is not difficult. It is patient work. Take your time and your finish will thank you for it.

Frequently asked questions
The best paint for kitchen cabinets is Benjamin Moore Advance, a waterborne alkyd enamel that levels smoothly and cures to a hard, durable finish. After 10 years with painted cabinets in our home, it has proven to resist yellowing, scuffs, and everyday wear better than other cabinet paints.
Professional painters often choose Benjamin Moore Advance or Sherwin-Williams Emerald Urethane Trim Enamel. Both are trusted for durability, but Advance is especially popular for DIYers because it gives a factory-like finish without needing a topcoat.
Not always. Heavy sanding is not required if you clean properly and use a bonding primer like Stix. A light scuff with fine-grit sandpaper is optional, but you can skip full sanding when you use cleaners and primers made for adhesion. Our cabinets were never sanded, and the finish has held for ten years.
Satin and semi-gloss are the most popular choices for cabinets. Satin offers a soft, modern look with easier cleaning, while semi-gloss has more shine and wipes down quickly. Gloss is rarely used because it highlights every imperfection.
A high-density foam roller or a microfiber roller with a very low nap gives the smoothest finish. A quality brush can also work, especially with self-leveling paint like Advance. The key is thin coats and checking for drips.
Not with Benjamin Moore Advance or other alkyd enamels. These paints cure into a hard shell on their own. Adding a clear coat can cause yellowing or stickiness over time, so skipping it is recommended.
Oil-based paints used to be the gold standard for cabinets because they cured rock-hard. But modern waterborne alkyds, like Benjamin Moore Advance, give you that same hard finish without the strong fumes, yellowing, or long dry times. They level smoothly, clean up with water, and do not amber over time like oil-based paint can. Unless you are committed to heavy ventilation and days of drying, I would choose waterborne alkyd every time.


Painting your kitchen cabinets is not a quick shortcut, but it is one of the most rewarding projects you can take on. With the right products and a little patience, you can completely transform your kitchen without a full renovation. I am living proof that a good paint job truly lasts.
Ten years later, I still walk into our kitchen and feel proud of what a few cans of paint accomplished. If you are on the fence, let this be your nudge. You can do this, and it will be worth it.
If you have questions along the way, please ask in the comments. I am always happy to help and cheer you on.
You got this!


Heavily cooked in kitchens where there is grease build ups. What's your recommendation for that? Ive found that even with your recommendations for products of cleaning and priming there is still paint separation that occurs and especially in oak fronted cabinets
Hi there! Thanks for reaching out. Im surprised to hear this. These are excellent products and typically the steps I laid out work perfectly! I would check with your local paint supplier and see if a topcoat would be helpful. Perhaps another coat of BM Advance followed by a top coat? If the cabinets are white just be careful with oil based poly as it can turn yellow over time.