Best Furniture Wax for Chalk Paint: Secrets to a Professional-Looking Finish
Welcome, furniture enthusiasts! If you're here, you're probably looking for the best furniture wax for chalk paint. Look no further because in this post I've got you covered with some useful information and product recommendations! Also included is a waxing technique you're not going to want to miss! But first, let's jump right in and reveal the answer to the best furniture wax for your chalk-painted pieces!
*This post includes affiliate links, for more info on affiliate links visit here
Jump to:
- Why wax is essential
- What you'll learn in this guide
- The best furniture wax revealed!
- Why Annie Sloan wax is the best
- Honorable mention waxes
- Why you need a top coat for your painted furniture
- 10 top tips for applying furniture wax
- Step-by-step instructions for using both Annie Sloan clear and dark wax to achieve an aged effect
- Frequently qsked questions
Why wax is essential
Chalk paint has revolutionized DIY furniture makeovers with its ease of use and beautiful matte finish. However, many people don't realize that the job isn't complete once the paint dries. Enter furniture wax - the unsung hero of chalk paint projects.
Why use wax on chalk paint? The answer lies in the nature of chalk paint itself. It's a flat-finish, porous paint that, while beautiful, leaves your furniture vulnerable to stains, scratches, and wear. Wax acts as a protective sealant, enhancing the paint's durability and giving it a smoother, more polished appearance.
But choosing and applying the best furniture wax for chalk paint can be confusing. Questions like "Which brand is best?", "How do I apply it?", and "Is it really durable?" are common among DIY enthusiasts.

What you'll learn in this guide
In this comprehensive guide, you'll discover:
- How to properly wax chalk-painted furniture for lasting protection
- Detailed reviews of top furniture wax brands including pros and cons
- Why Annie Sloan Soft Wax earns my top recommendation for chalk paint projects
- Step-by-step application techniques for achieving professional results
- Special aging methods using clear and dark wax combinations for antique effects
- Common waxing mistakes and how to avoid them
- Tips for maintaining waxed furniture surfaces long-term
- Alternative finishes to consider based on your specific project needs
Whether you're a seasoned upcycler or new to chalk painting, these insights will help you master furniture waxing and elevate your DIY projects to professional quality.stunning, durable finishes on your chalk-painted furniture.
The best furniture wax revealed!
Now, when it comes to choosing a furniture wax, it's a matter of personal preference. There are a variety of products with different finishes all with their own positive attributes. But since you came here for my take on the best furniture wax for chalk-painted furniture the answer is... hands down... Annie Sloan wax and I feel pretty passionate about this! (Please note I am not affiliated with Annie Sloan and this is not a sponsored post - I'm just a huge fan with lots of furniture painting experiance!)
Annie Sloan Soft Wax is a highly favored option for DIY furniture enthusiasts. Having experimented with various brands, I still consider AS my go-to pick due to several compelling reasons. Firstly, the product offers both clear and dark wax variants, which I find delightful to mix (I'll elaborate on this later). Additionally, the wax now comes in black, which I am eager to try. Moreover, it is a user-friendly wax that novice furniture renovators can comfortably work with. Annie Sloan Soft Wax provides a stunning matte finish, making it an ideal choice for high-traffic furniture items like kitchen and coffee tables. But wait, there's more! Keep reading to discover additional benefits.
Why Annie Sloan wax is the best
- High-quality ingredients: Annie Sloan wax is made with high-quality ingredients, including beeswax and carnauba wax, which provide a durable and protective finish.
- Specifically designed for chalk paint: Annie Sloan wax is designed to work specifically with chalk paint, ensuring a smooth and even finish.
- Easy to apply: The wax has a smooth, buttery consistency that makes it easy to apply with a brush or a lint-free cloth.
- Versatile finish: Annie Sloan wax can be applied in thin or thick layers to achieve a variety of finishes, including a matte, satin, or glossy finish.
- Enhances the color of the paint: The wax deepens and enhances the color of the chalk paint, giving it a rich and vibrant look.
- Durable finish: The wax provides a durable finish that can withstand daily wear and tear, making it ideal for furniture that gets a lot of use.
- Can be buffed to a shine: Once the wax has cured, it can be buffed to a shine using a soft cloth, giving the furniture a smooth and polished look.
- No harsh chemicals: Annie Sloan wax is made without harsh chemicals, making it a safer and more environmentally friendly option.
- Long-lasting: A little goes a long way with Annie Sloan wax, so one tin can last for many projects.
- Made by the inventor of chalk paint: Annie Sloan is the inventor of chalk paint, and her wax is designed to work specifically with her paint, ensuring the best possible results.
And my personal favorite use is combining Annie Sloan clear wax with their dark wax and how these two work together. More on that below.

Honorable mention waxes
I will admit, there are other wax brands that deserve some recognition and are worth a try on your future chalk-painted masterpieces. As mentioned above, it's all a matter of preference and the only way to determine your favorite is to give them a try.
Minwax Paste Wax is another great option. It comes in a variety of colors, including black and white wax, and it provides a protective coating for outdoor use. It's also excellent for aged effects on antique furniture.
For those who prefer a satin finish, Flat Out Flat from General Finishes is a good option. It's a water-based topcoat that dries quickly and provides a protective layer without altering the chalk paint color.
Dixie Belle Best Dang Wax is a popular choice for sealing and protecting painted furniture, and it comes in a range of colors to enhance the finish.

Why you need a top coat for your painted furniture
Now that my number 1 pick for furniture wax is out of the way let's discuss why your next chalk-painted project needs a top coat.
- Protection: A top coat, like wax, can provide a layer of protection to your furniture from scratches, water, and other forms of damage.
- Durability: Applying a top coat can make your furniture more durable and able to withstand wear and tear over time.
- Color enhancement: Some waxes can enhance the natural color of the wood or the paint finish, making your furniture look richer and more vibrant.
- Satin or glossy finish: A wax top coat can provide a satin or glossy finish to your furniture, which can add to its overall beauty and appeal.
- Easy maintenance: Furniture with a wax top coat is easier to clean and maintain, as the wax layer can prevent dirt and grime from settling into the wood or paint.
- Preserving patina: For vintage or antique furniture, a wax top coat can help to preserve the patina, or natural aging of the wood or paint, which can add character and value to the piece.
Overall, a top coat like wax can provide several benefits to your furniture, including protection, durability, color enhancement, and ease of maintenance.

10 top tips for applying furniture wax
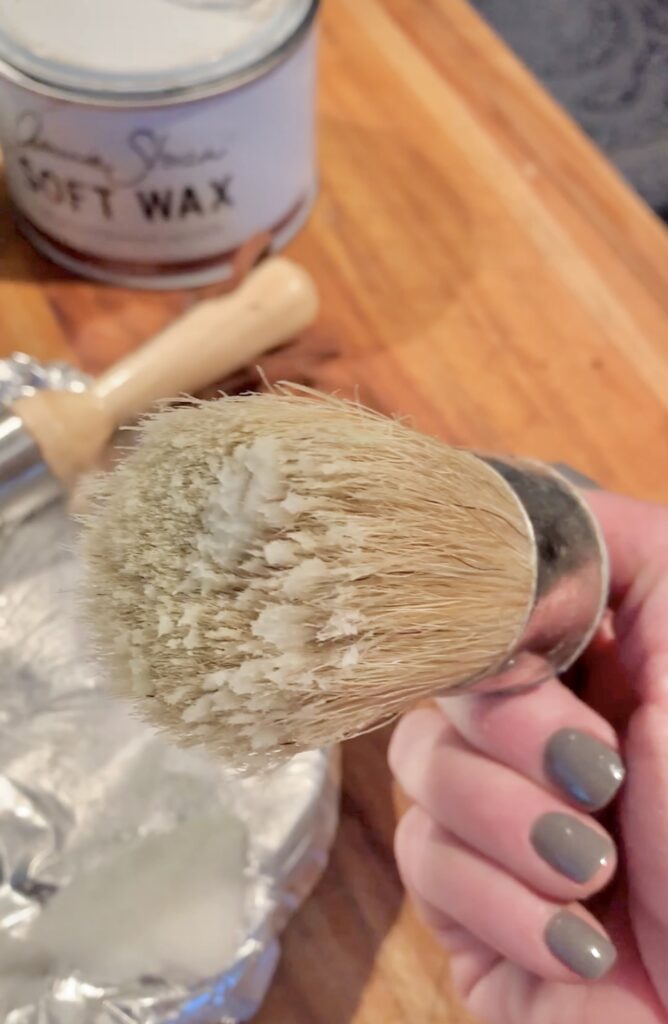
- Use the right tools:
- Always use a lint-free cloth or a high-quality wax brush
- Invest in a good brush to avoid loose bristles ruining your finish
- Consider natural bristle brushes for better wax distribution
- Microfiber cloths work well for application and buffing
- Apply in thin layers:
- Work in small sections, about 2-3 square feet at a time
- Remove excess wax with a clean cloth immediately after application
- Remember, multiple thin layers are better than one thick layer
- Use circular motions when applying for even coverage
- Be patient:
- Allow the wax to cure completely before using the furniture
- Curing time can vary, but typically takes 24-48 hours
- Avoid placing objects on the surface during curing time
- For high-use surfaces, consider waiting up to a week before heavy use
- Prepare your brush:
- Inspect for loose bristles before starting
- Remove any loose bristles to prevent streaks or clumps
- Clean your brush thoroughly after each use with mineral spirits
- Store brushes properly to maintain their shape and quality
- Practice makes perfect:
- Test on a small area or spare board first
- This is especially important when mixing clear and dark wax
- Experiment with different application techniques to find what works best for you
- Keep notes on your process for future reference
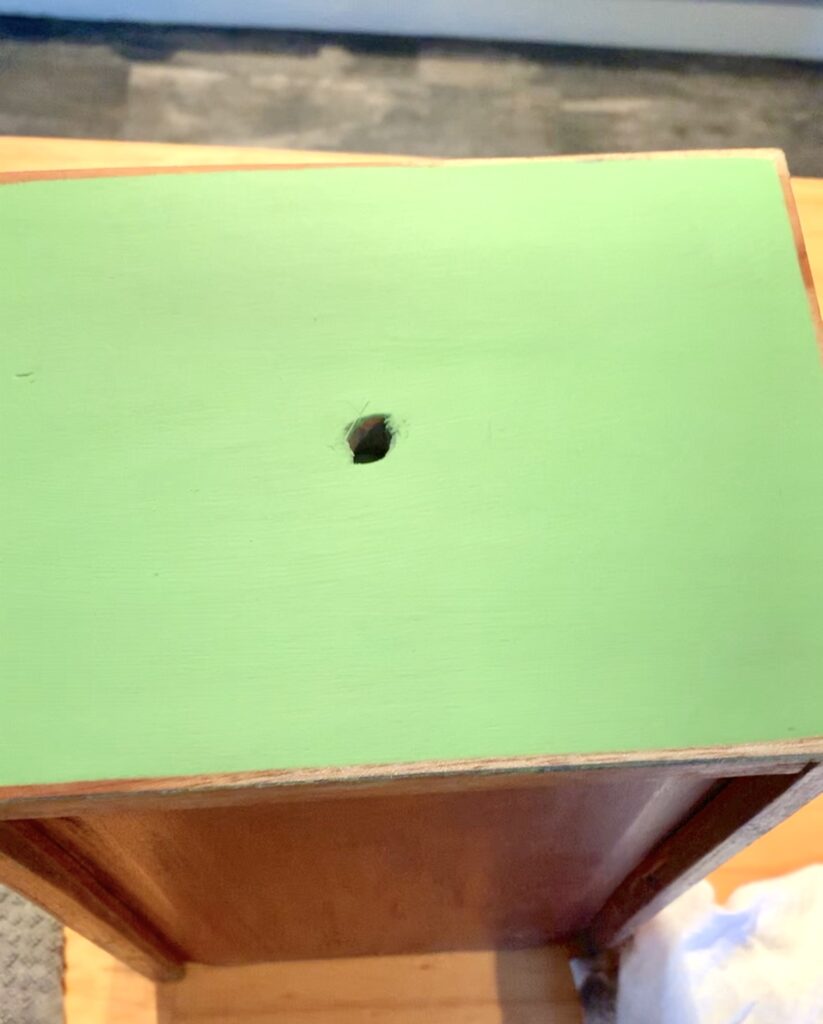
- Start small:
- For first-timers, begin with a small project like a side table or picture frame
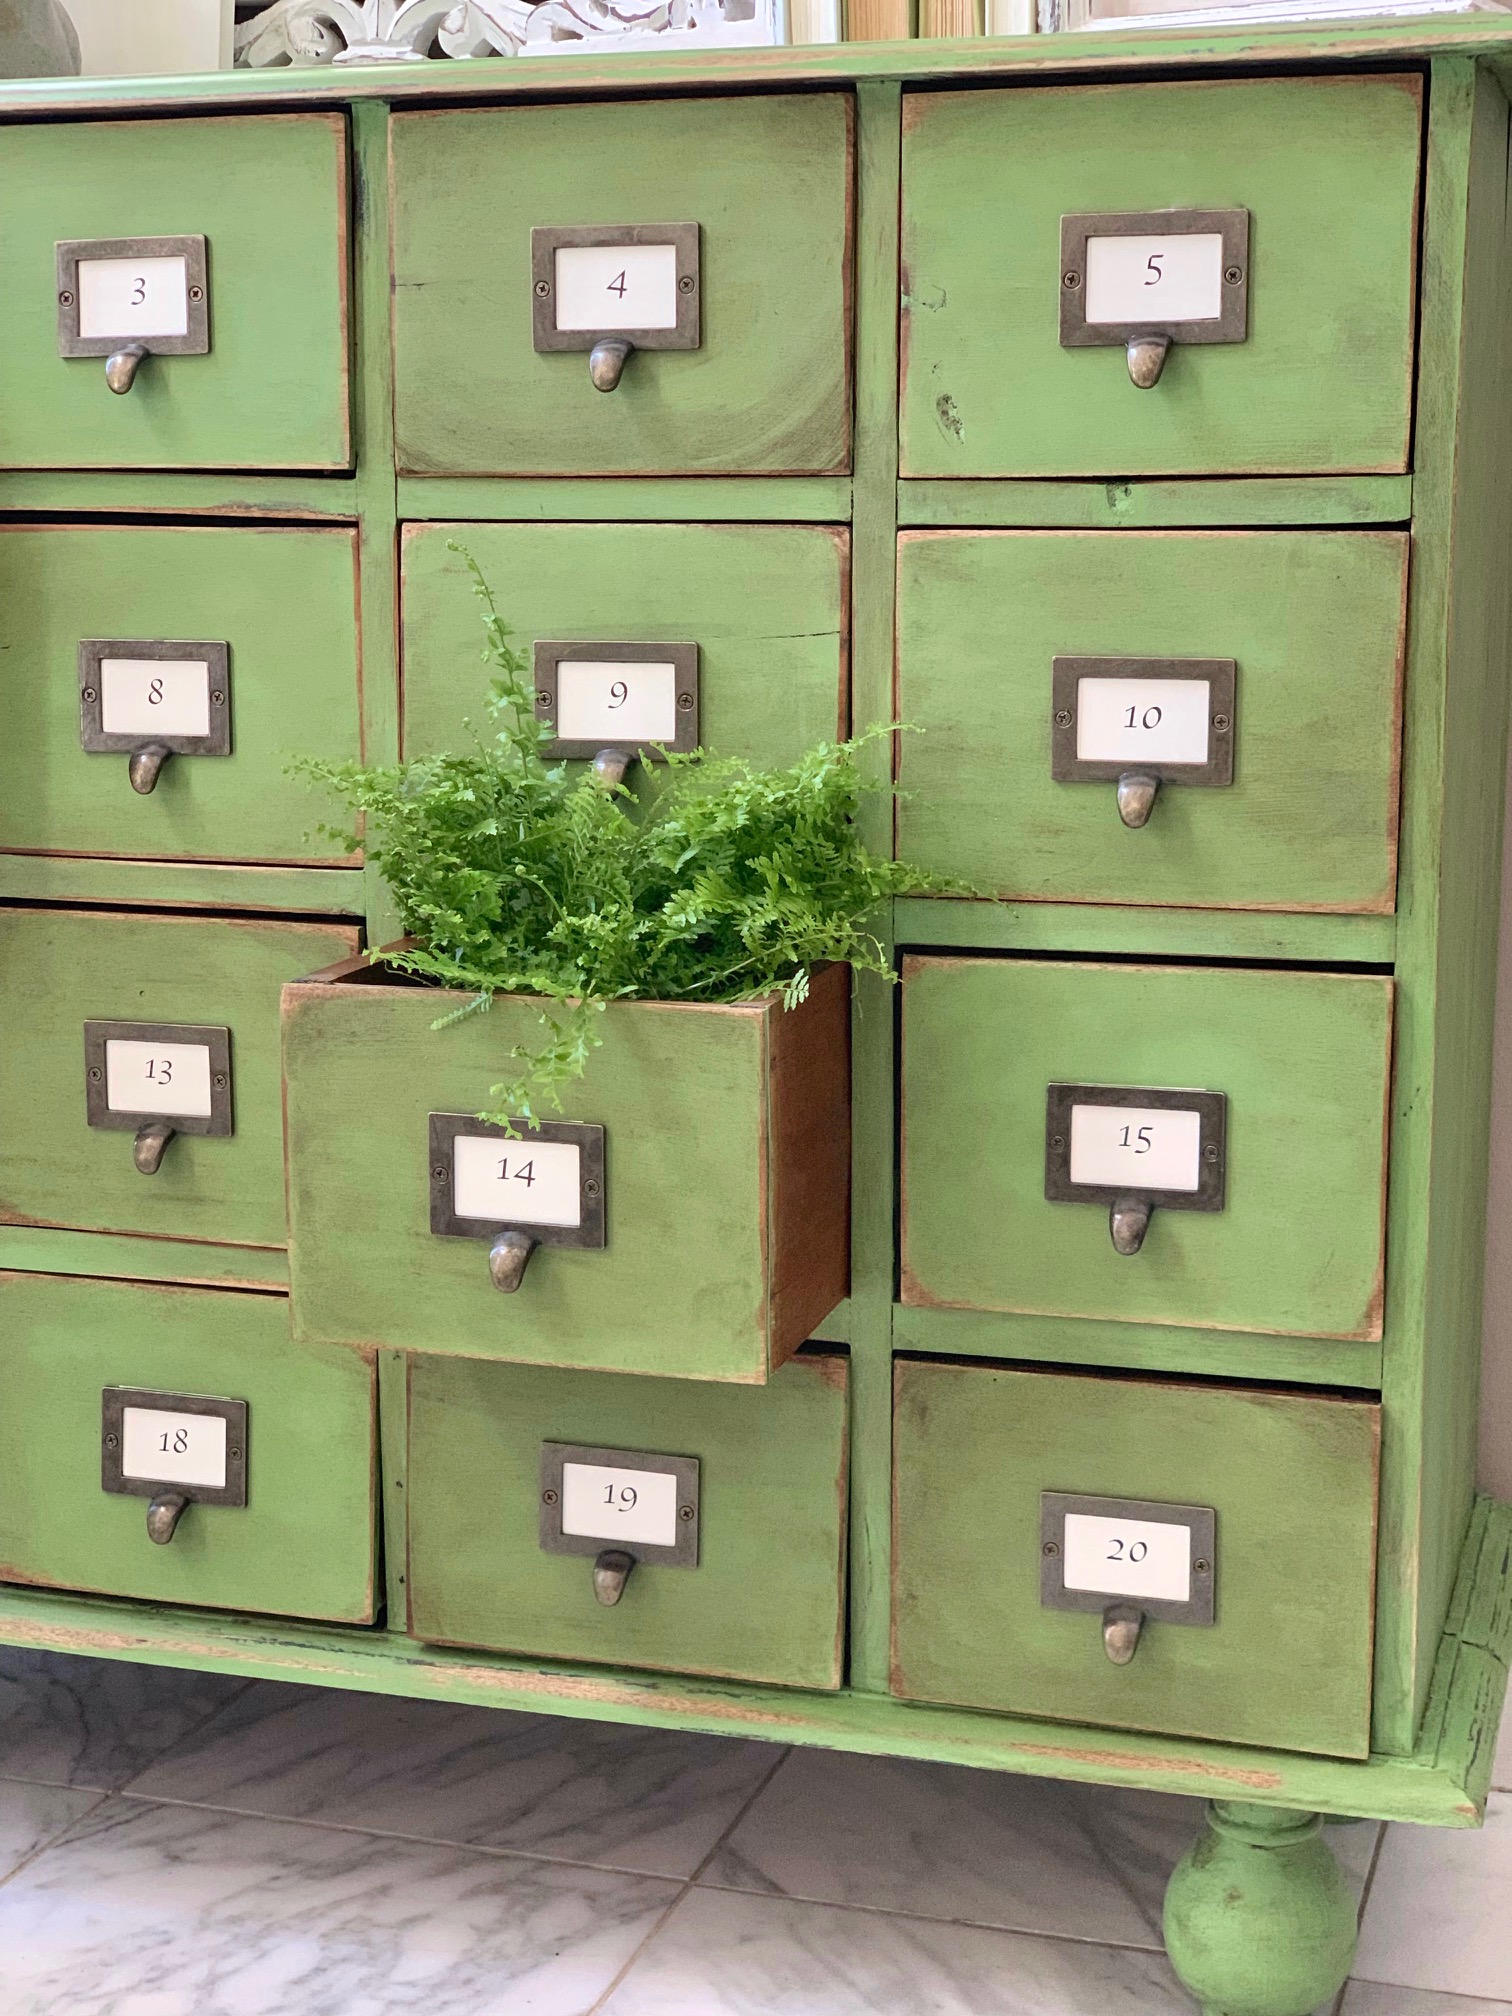
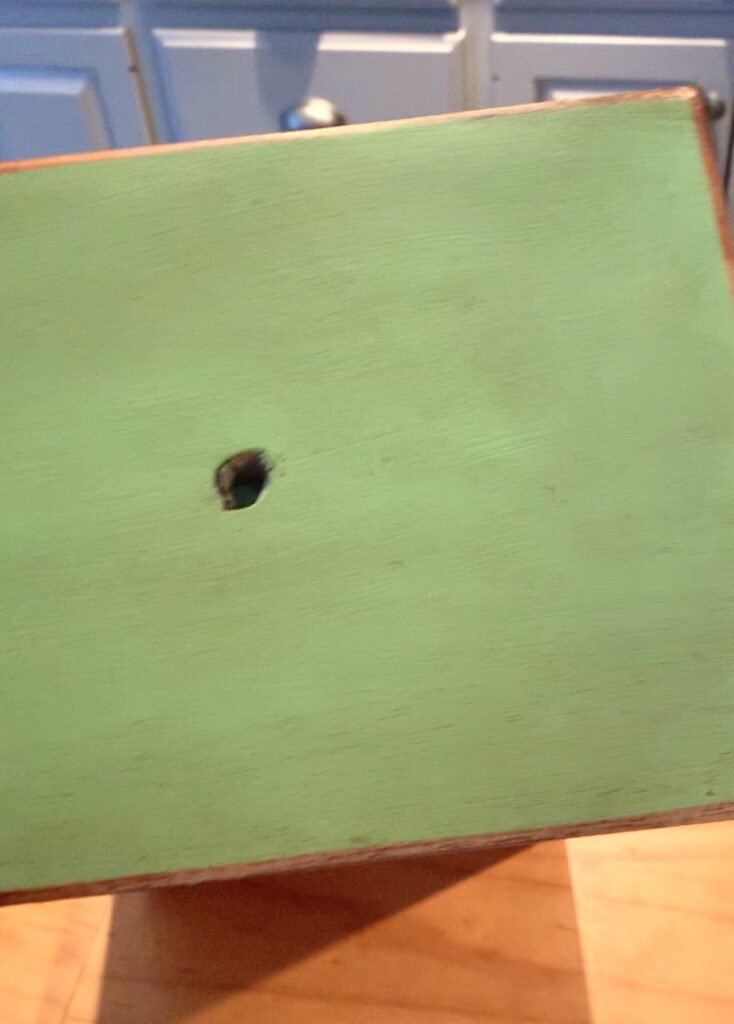
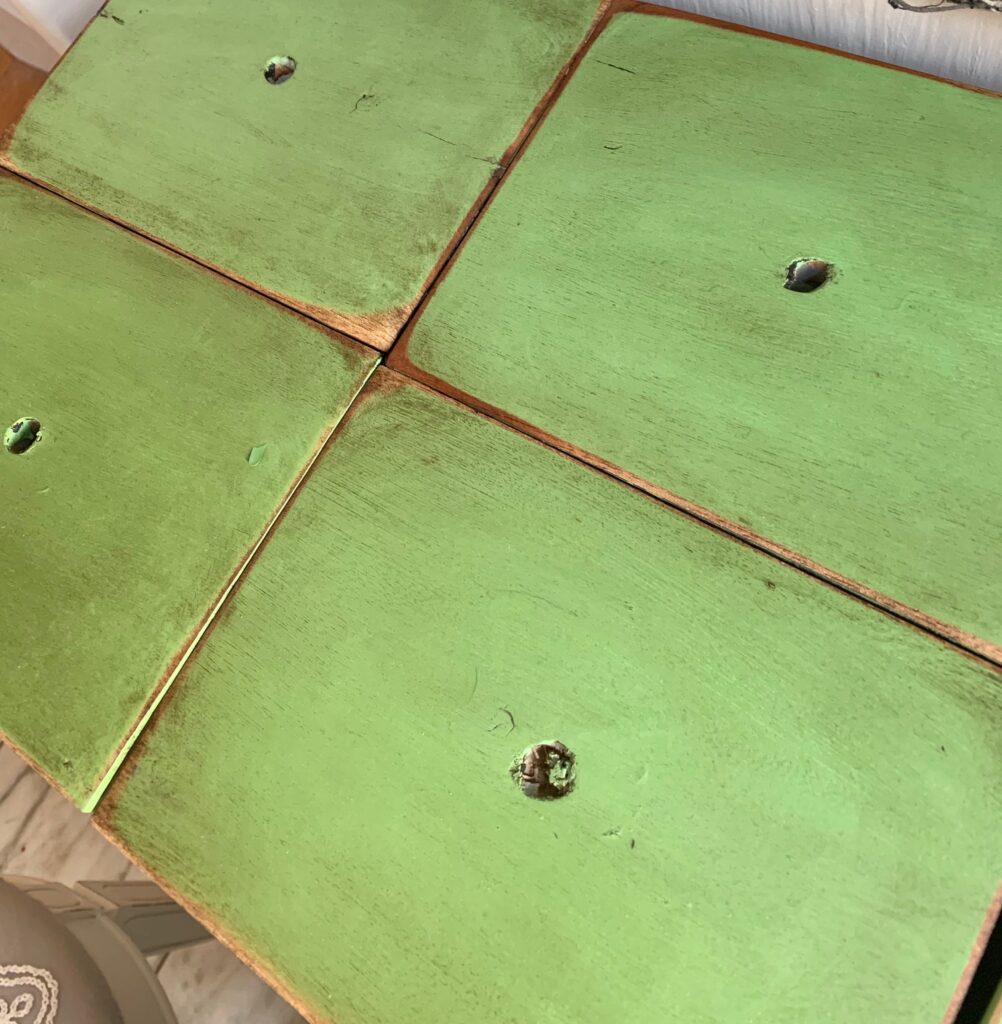
- Try my DIY Card Catalog using Green Chalk Paint as an example
- Gradually work up to larger pieces as you gain confidence
- Remember, each piece of furniture may require slightly different techniques
- Consider the temperature:
- Wax is easier to apply in warmer temperatures (around 70°F/21°C is ideal)
- If your space is cold, consider warming the wax slightly before use
- Avoid applying wax in direct sunlight or very humid conditions
- Buff for shine:
- After the wax has cured, buff with a clean cloth for added shine
- Use firm pressure and circular motions for best results
- The more you buff, the higher the sheen will be
- Pay attention to details:
- Use a small brush or cloth to get into crevices and intricate areas
- Ensure even coverage in corners and on edges
- Wipe away any wax buildup in detailed areas
- Maintain your finish:
- Clean waxed surfaces with a soft, damp cloth
- Avoid harsh chemicals or abrasive cleaners
- Reapply a thin coat of wax every 6-12 months or as needed
Remember, the key to a beautiful wax finish is patience and attention to detail. With practice, you'll develop a technique that works best for you and your furniture pieces.

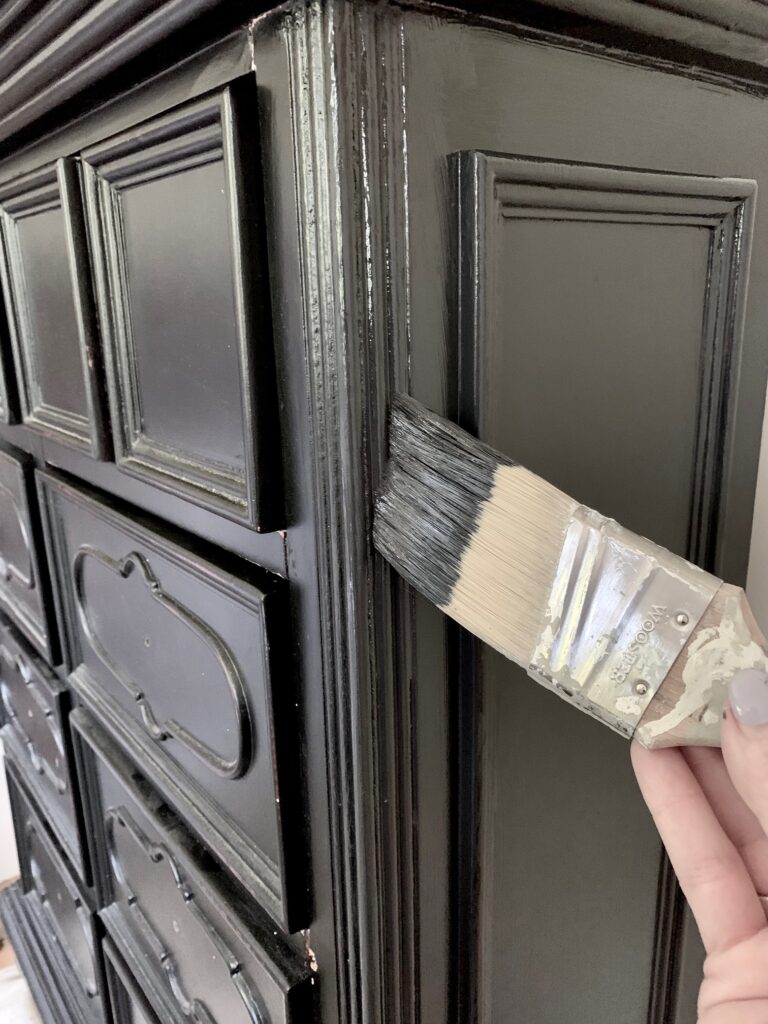
Step-by-step instructions for using both Annie Sloan clear and dark wax to achieve an aged effect
Materials you will need:
- Annie Sloan clear wax
- Annie Sloan dark wax
- Annie Sloan wax brush (or similar)
- Lint-free cloth (I use cut-up t-shirts)
- Chalk-painted piece
- Sandpaper (optional)
- Protective gloves (optional)
- 1 Disposable plastic plate, paper plate, or dinner plate covered in foil
- 2 plastic spoons or small paint stirrers
Instructions:
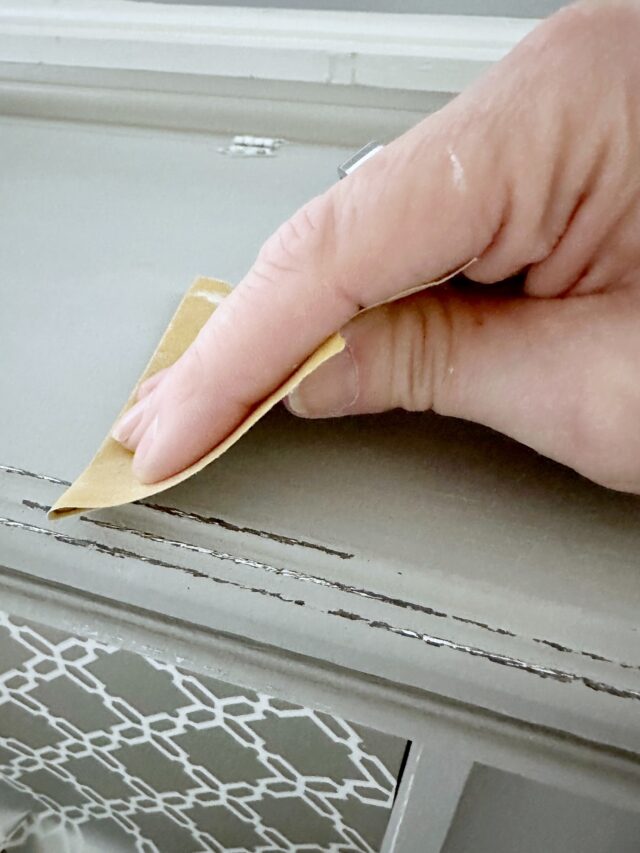
Step 1: Prepare the surface of the chalk-painted piece. Ensure that the chalk paint has fully dried before applying wax. If the piece has any rough areas, gently sand it with sandpaper.
Step 2: Remove the covers of the clear wax and dark wax and with two separate plastic spoons scoop a generous heaping of each wax (keeping them separate) onto a disposable plastic plate paper plate or dinner plate covered in foil. Put the lids back on the wax while you work.

Step 3: Apply clear wax using an Annie Sloan wax brush or a lint-free cloth, and apply a thin layer of clear wax over a section of the piece. Rub the wax in a circular motion to ensure it penetrates the chalk paint then swiftly move on to step 4.

Step 4: While the clear wax is still wet, apply dark wax using a second Annie Sloan wax brush or a lint-free cloth, apply a small amount of dark wax onto the clear wax. The clear wax acts as a buffer to the dark wax giving you more control over how much dark wax deposits on the piece. Work in small sections and apply the dark wax in the direction of the wood grain then with a lint-free cloth wipe the excess dark wax off depositing only what you want on the piece. Once complete, allow the wax to dry for about 24 hours.
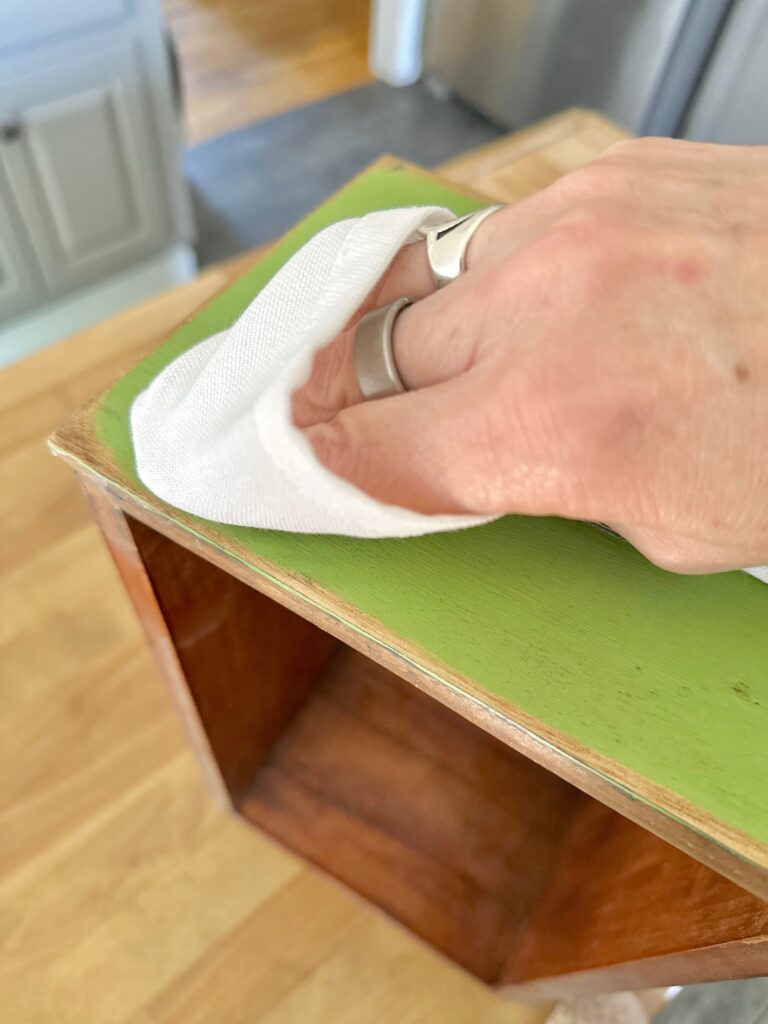
Step 5: Buff the combined wax with a clean, lint-free cloth or the Annie Sloan wax brush. Buffing will help to create a smooth and even finish.
That's it! These steps will give your chalk-painted piece a beautiful aged finish and you will find the dark wax is easy to manipulate when placed on the clear wax. This combination of clear and dark wax is an excellent solution for when your paint finish seems too bright so be sure to add this idea to your furniture refinishing toolbox for a more muted, aged look!
Frequently qsked questions
For chalk paint, it's best to use a specialized furniture wax. Clear wax is ideal for most projects, as it enhances the paint color while providing protection. It creates a soft, matte finish that resists fingerprints and minor stains. The wax also offers some water resistance, allowing you to clean the surface with a damp cloth. For an aged look, consider using dark wax after applying clear wax.
While wax is a popular choice, clear lacquer or varnish can be excellent alternatives for sealing chalk paint, especially on high-use furniture pieces. These sealants dry quickly, provide a durable finish, and can be easily recoated if needed. They offer superior protection against wear and tear, making them ideal for tables, chairs, and other frequently used items.
The choice between wax and polyurethane depends on the furniture's use and desired finish. Wax is great for low-traffic pieces and provides a soft, matte look that's easy to touch up. Polyurethane, on the other hand, offers more durability and is better for high-traffic items. Generally, use wax for decorative pieces and poly for functional furniture that sees daily use.
Streaky chalk paint after waxing usually results from applying too much wax or not buffing it properly. You might see white streaks or lumps if excess wax remains on the surface. To fix this, simply wipe away the excess with a lint-free cloth. If the wax has already dried, you can still remove it by applying a bit more wax and then wiping it off immediately.
After applying wax to chalk paint, let it sit for about 24 hours before buffing for best results. However, you can remove excess wax immediately after application with a lint-free cloth. For a higher sheen, wait until the next day to buff the surface with a clean, lint-free cloth. This allows the wax to properly set, resulting in a smoother, more polished finish.
The top coat is the last step in your furniture refinishing project so you would distress your piece before adding the wax top coat. See my The Best Paint for Distressing Furniture post for distressing techniques. 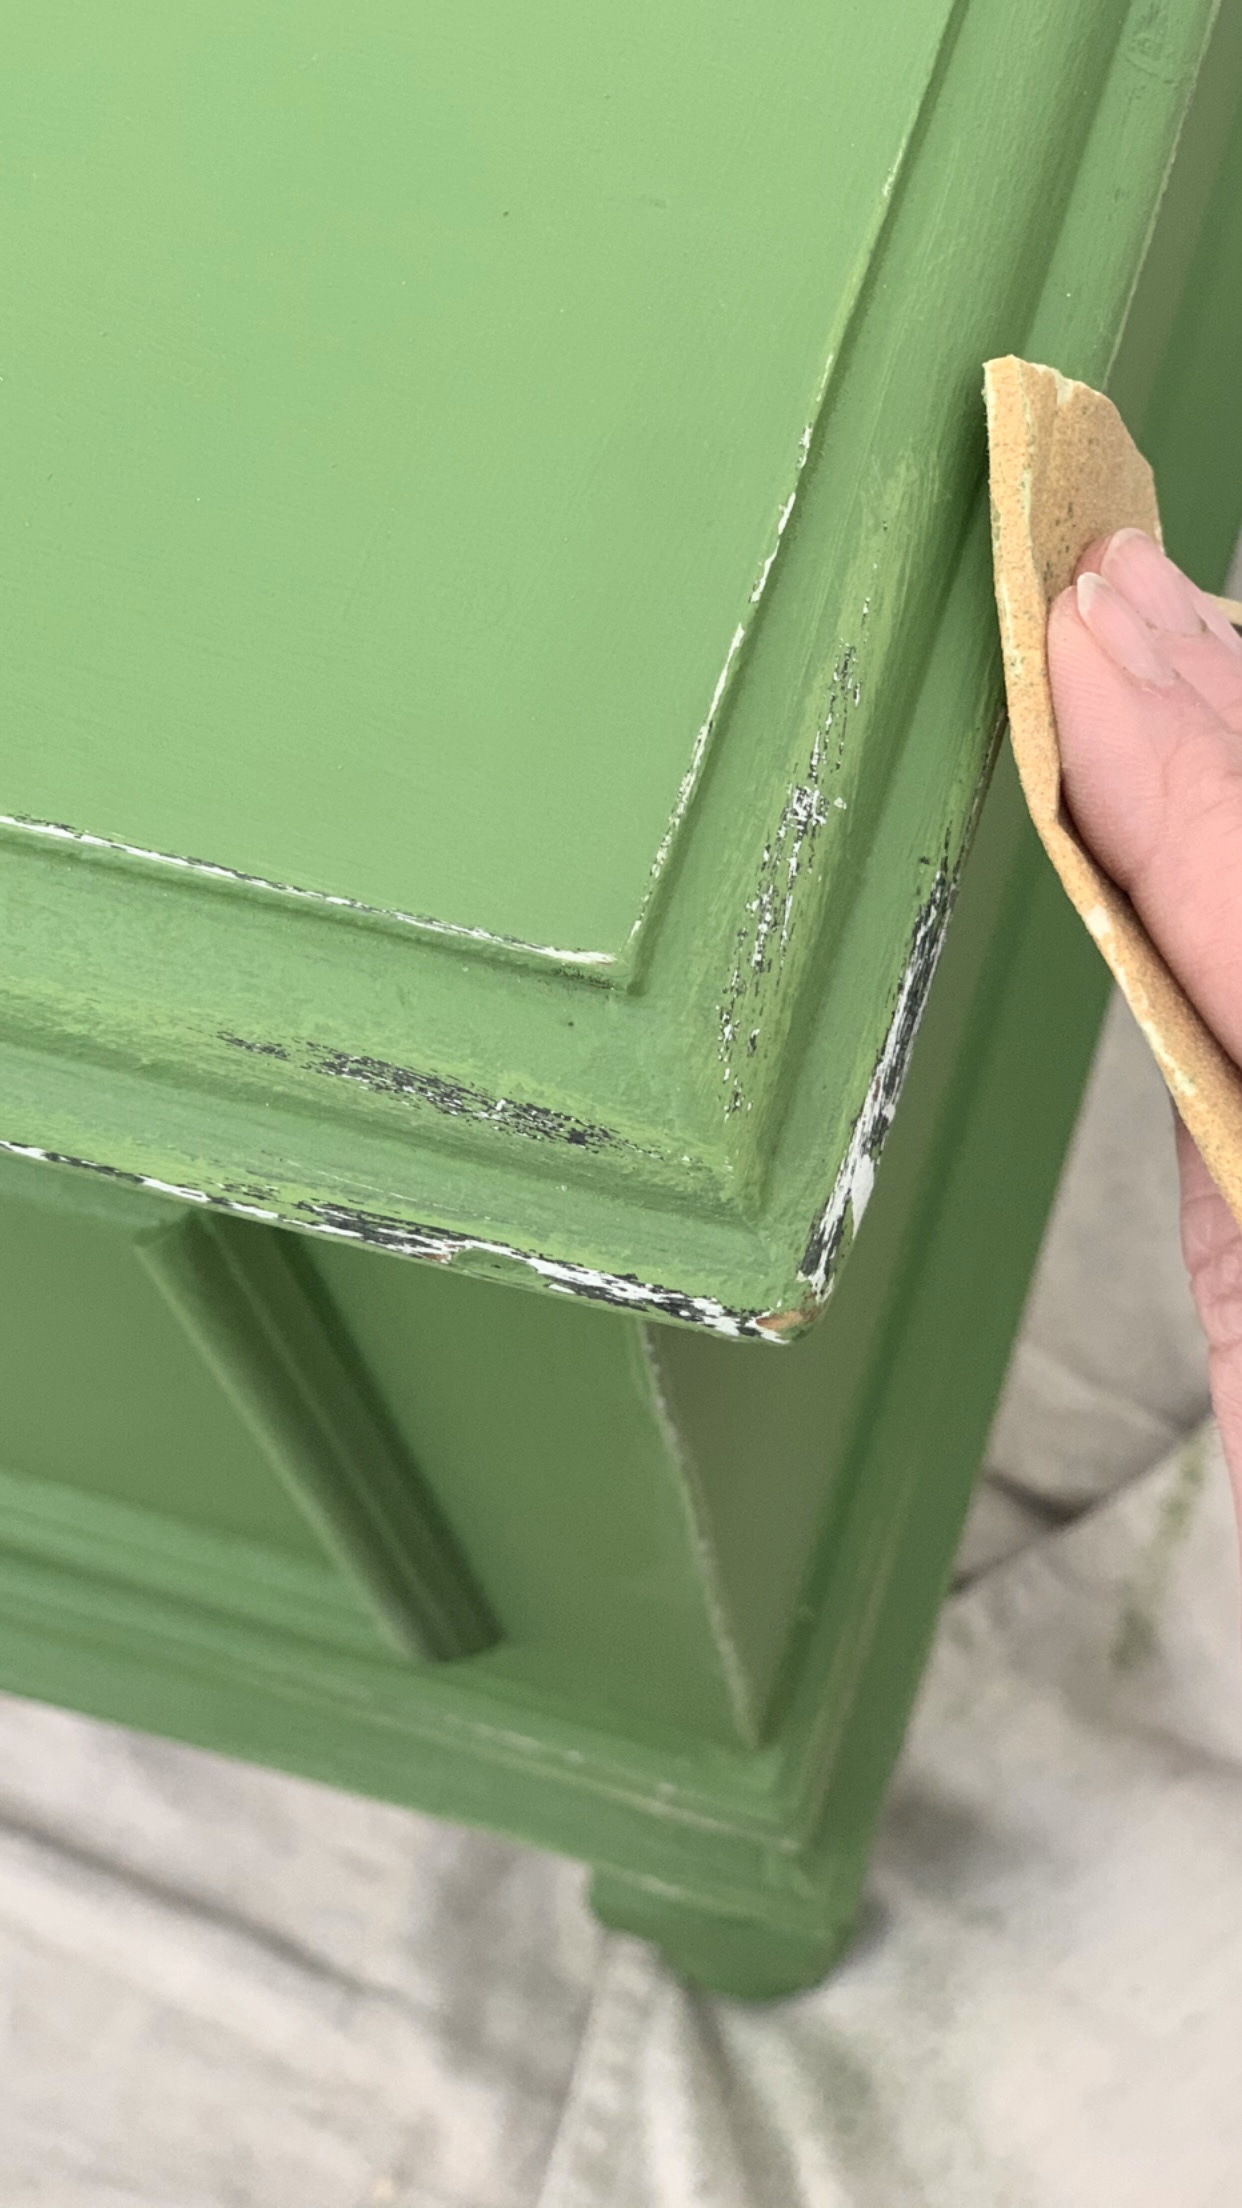
It is possible that wax can turn white-painted furniture yellow over time. This is because wax has a slight yellow tint and can darken over time as it ages. This effect can be more pronounced in areas that are exposed to sunlight, heat, or humidity.
To prevent this from happening, it's recommended to use a clear wax specifically designed for use on white-painted furniture. Additionally, you should ensure that the furniture is completely dry before applying the wax, and avoid applying too much wax at once, as excess wax can lead to discoloration. It's also important to note that wax is not a permanent finish and will need to be reapplied periodically to maintain the protective layer on your furniture.
Visit this website to find a retailer near you. Or you can buy online from The Purple Painted Lady.
Head to my furniture painting page for more topics and for inspiration visit:
The Best Black Paint Color for Furniture (6 experts weigh in): Black painted furniture is popular for its versatility, timelessness, and durability. It pairs well with any color scheme and decor style, making it a great option for farmhouse-style homes, traditional homes, modern homes, and everything in between. In this blog post, six furniture flipping experts were interviewed, who shared their top picks for the best black paint colors, and their go-to black paint when working on projects for their customers, as well as some expert tips.
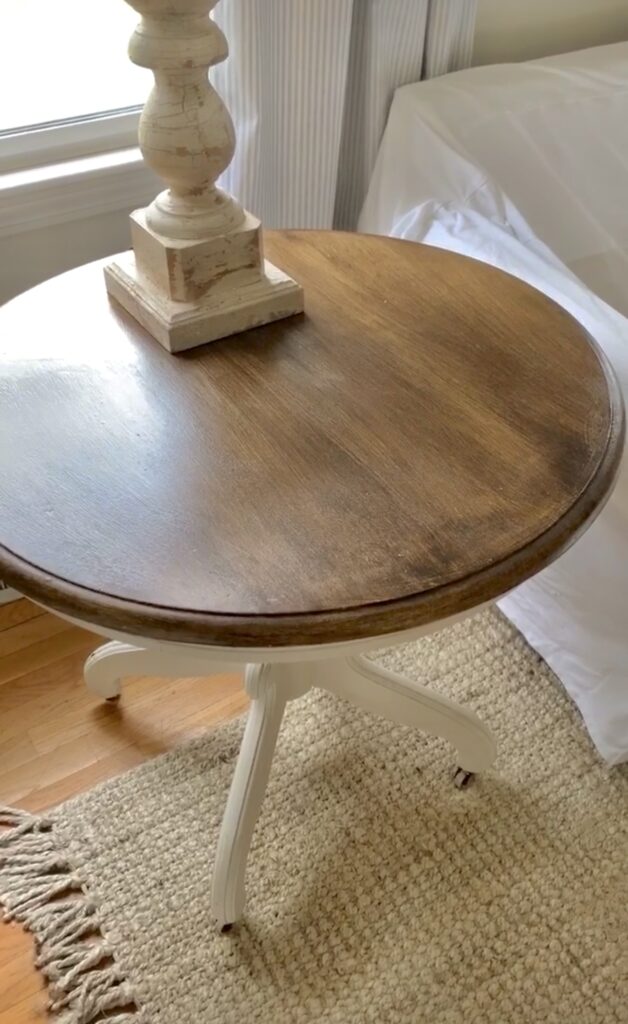
How To Paint Furniture To Look Like Wood in 3 Simple Steps: In this post, learn an easy way to make a faux wood grain table top using chalk paint and antiquing wax. There is no need to strip or stain, and the steps required are simple. I share how to achieve a natural-looking faux wood finish using these techniques, along with the benefits of the project, the required supplies, and a step-by-step guide.
Thanks for reading my post, Best Furniture Wax for Chalk Paint: Secrets to a Professional-Looking Finish! I hope I've helped you make an informed decision on which product to choose. Remember, wax is important for protecting your chalk paint from scratches and moisture. While there are many different products available, my top recommendation is Annie Sloan wax. It's made with high-quality ingredients, specifically designed for chalk paint, and easy to apply. Plus, it provides a durable and versatile finish that enhances the color of your paint. Happy painting!
Keep creating friends!