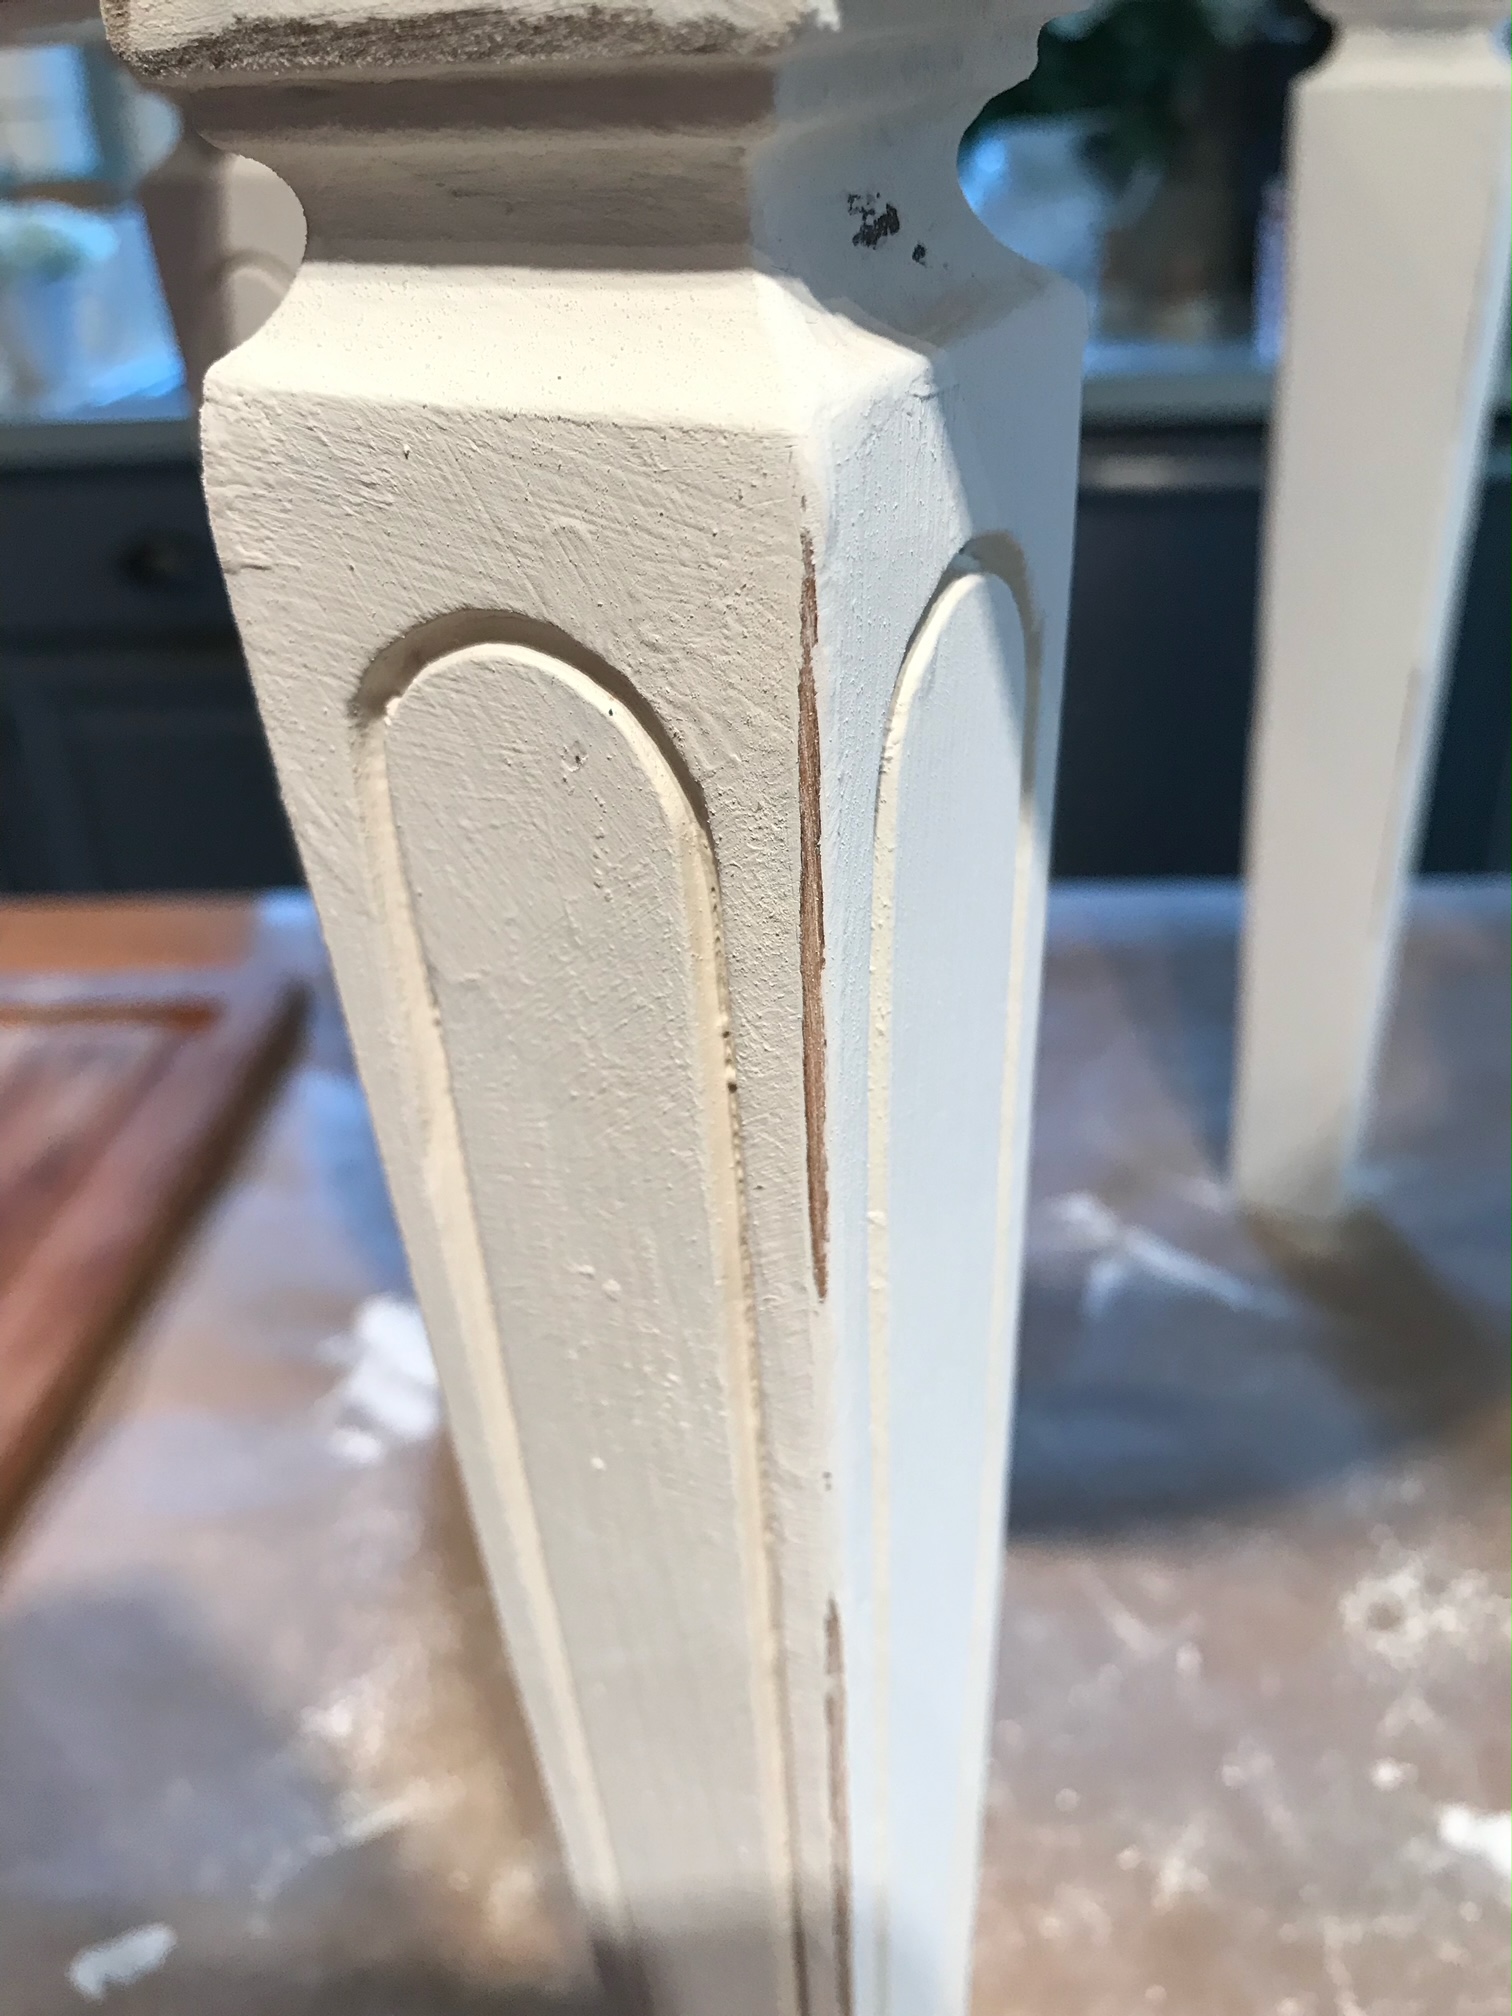
With a little know-how and some elbow grease, distressing furniture can be done with just about any type of paint. However to make the job easy, fun, and well...foolproof, my go-to is always a good chalk paint. In this post, the best paint for distressing furniture, I share tips on how to distress furniture including 4 different distressing techniques.
I also share my top 4 favorite chalk paints (and what I love about them) and tips for painting with chalk paint. Let's dive in!

*This post includes affiliate links, for more info on affiliate links visit here
Jump to:
- A little chalk paint history
- Why I love chalk paint for distressing furniture
- Tips for painting with chalk paint
- How durable is chalk paint?
- Why and when to distress furniture
- 4 easy ways to distress
- Step by step instructions
- How To Use A Candle To Make Distressing Easy (Resist distressing)
- Frequently asked questions
- My favorite brands of chalk paint
A little chalk paint history
In 1990 Annie Sloan searched for a paint that required less prep and was easier to work with. When she couldn't find a product that met her needs, she decided to make her own. Annie Sloan created a water-based paint made from calcium carbonate and talc and low and behold...success! This new paint formula (known as Annie Sloan Chalk Paint) does not require sanding or priming! If you are a furniture flipper you know how much time goes into prepping a piece before you can paint, the inception of chalk paint made furniture artists everywhere give a collective sigh of relief as so much time is saved!
Annie Sloan Chalk Paint is still one of the best around along with many of the chalk paint lines that have been created since Annie Sloan's launch into revolutionizing the world of paint (to shop Annie Sloan visit Annie Sloan Chalk Paint near me).

Chalk paint is by far one of the easiest applications as far as furniture paint goes and is the perfect paint to start for a novice furniture refinisher! Generally, no prep is required, goes on smooth, and leaves a matte chalky finish that is perfect for a vintage, shabby chic, or farmhouse style look. I find it is the best paint for old furniture and it distresses well!
Why I love chalk paint for distressing furniture
As I mentioned above chalk paint is very easy to apply and it has the perfect formula for distressing, a technique that originated by Annie Sloan herself. The porous, gritty, chalk-like finish lends itself to being easily sanded and when sanded in just the right spots a piece will appear older than it is. In short, the ultra-matte chalk finish along with planned distressing and scuff marks makes for a beautiful vintage-like finish.

Tips for painting with chalk paint
- Prep: The beauty of chalk paint is it requires very little prep work. Make sure your piece is clean and lint-free before painting. You can sand if you choose to but it is not required. One thing to keep in mind if you plan on distressing, the finish that sits under the new coat of chalk paint is what will show through once it is sanded. For instance, if you are painting an old red chair with white paint when you sand to distress the red will show through.
- Painting dark-stained pieces: Ahhh the joys of painting those old dark cherry pieces! While no prep is needed for most pieces you will want to prime the pieces that have a dark stain on them. The dark stain will often bleed through a light-colored chalk paint if not sealed with a good primer. Not fun! My favorite primer for this purpose and the best way to avoid that mess is BIN Primer.
- Be patient: The first coat looks awful! It's often streaky, uneven with riddled with brush marks and if you're new to chalk paint you will assume you did something wrong. You will also be tempted to quickly go over the piece again while it is still wet to fix it. Don't do it...wait! Let it dry (as ugly as it is!) the second coat is where the magic happens and it all comes together. Some pieces require a third coat but with good chalk paint, most just need two coats for that perfect chalky finish!
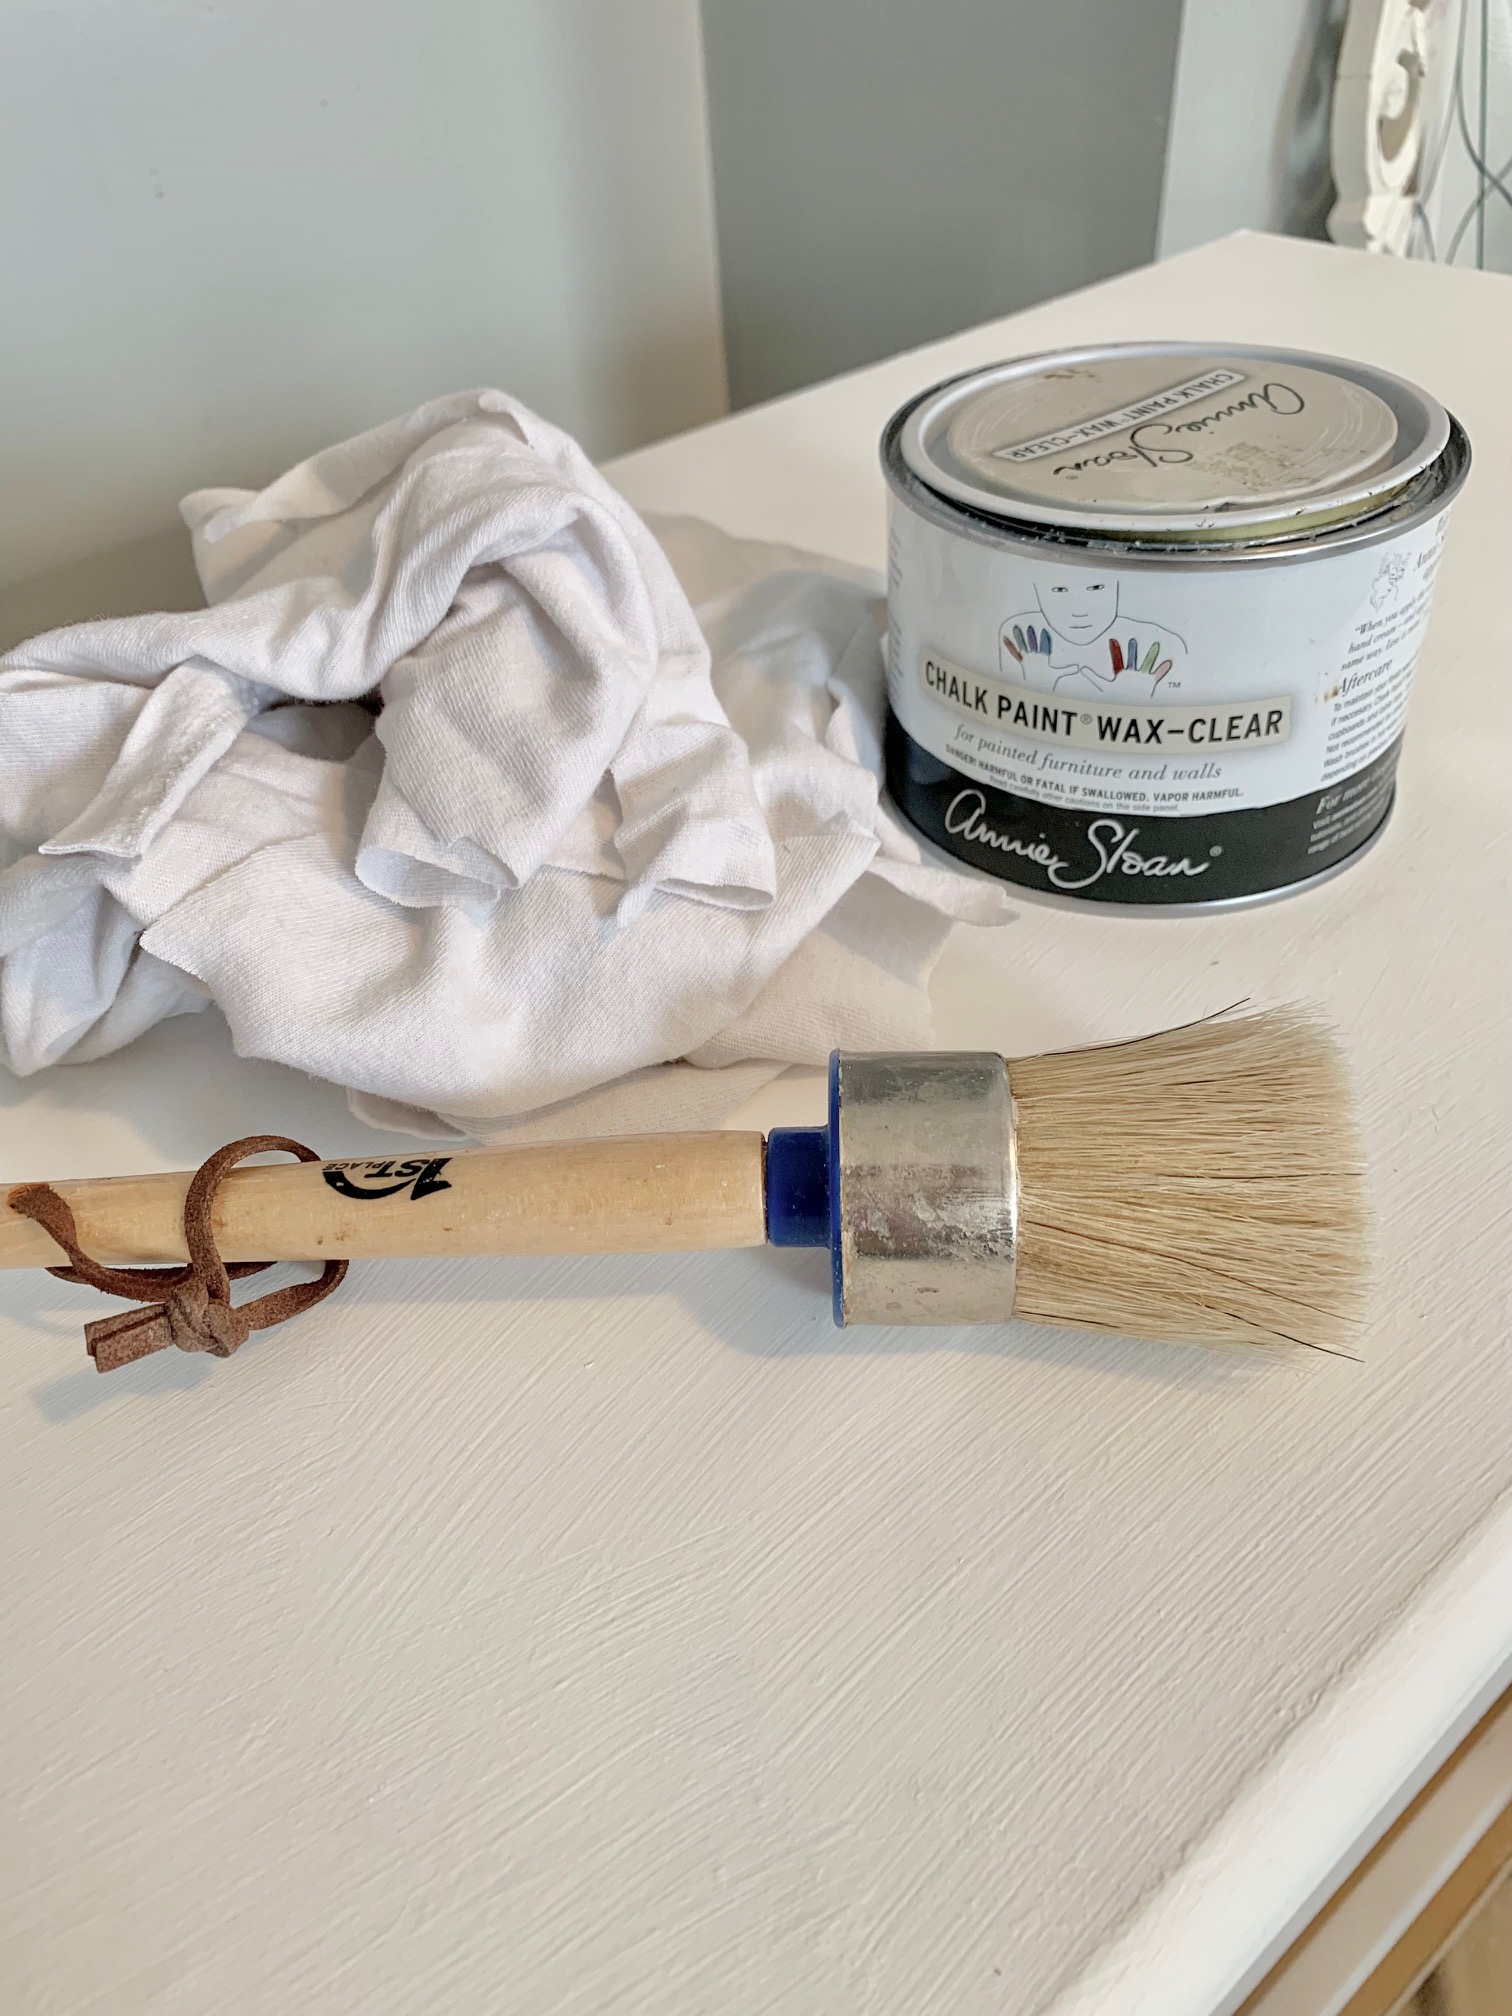
- To seal or not to seal: Always the question... but yes, sealing chalk paint is almost always a good idea. There are several different ways and different techniques to seal a distressed piece. I prefer to seal with wax, either clear wax (soft wax) or a combination of clear and dark wax. You can see this process in my DIY Card Catalog post. Wax adds depth and a soft luster to the color and will protect the finish making it a good topcoat for chalk paint. My personal preference is to seal the entire piece after I've achieved the distressed look I'm going for. Some prefer to seal their pieces with Polycrylic which doesn't yellow over time as polyurethane does.
How durable is chalk paint?
A question that gets asked a lot is how durable is chalk paint. With proper application and waxing, I find chalk paint to be surprisingly durable. The paint is porous which is what makes its ability to adhere to the furniture stand out from traditional paint. The wax adds depth and protection to the piece. It is often recommended to wax your chalk-painted furniture piece every 3 years.
Tip: If the furniture piece will be used daily like a chalk-painted dining room table you may want to add extra protection by using Polycrylic instead of wax.
Why and when to distress furniture
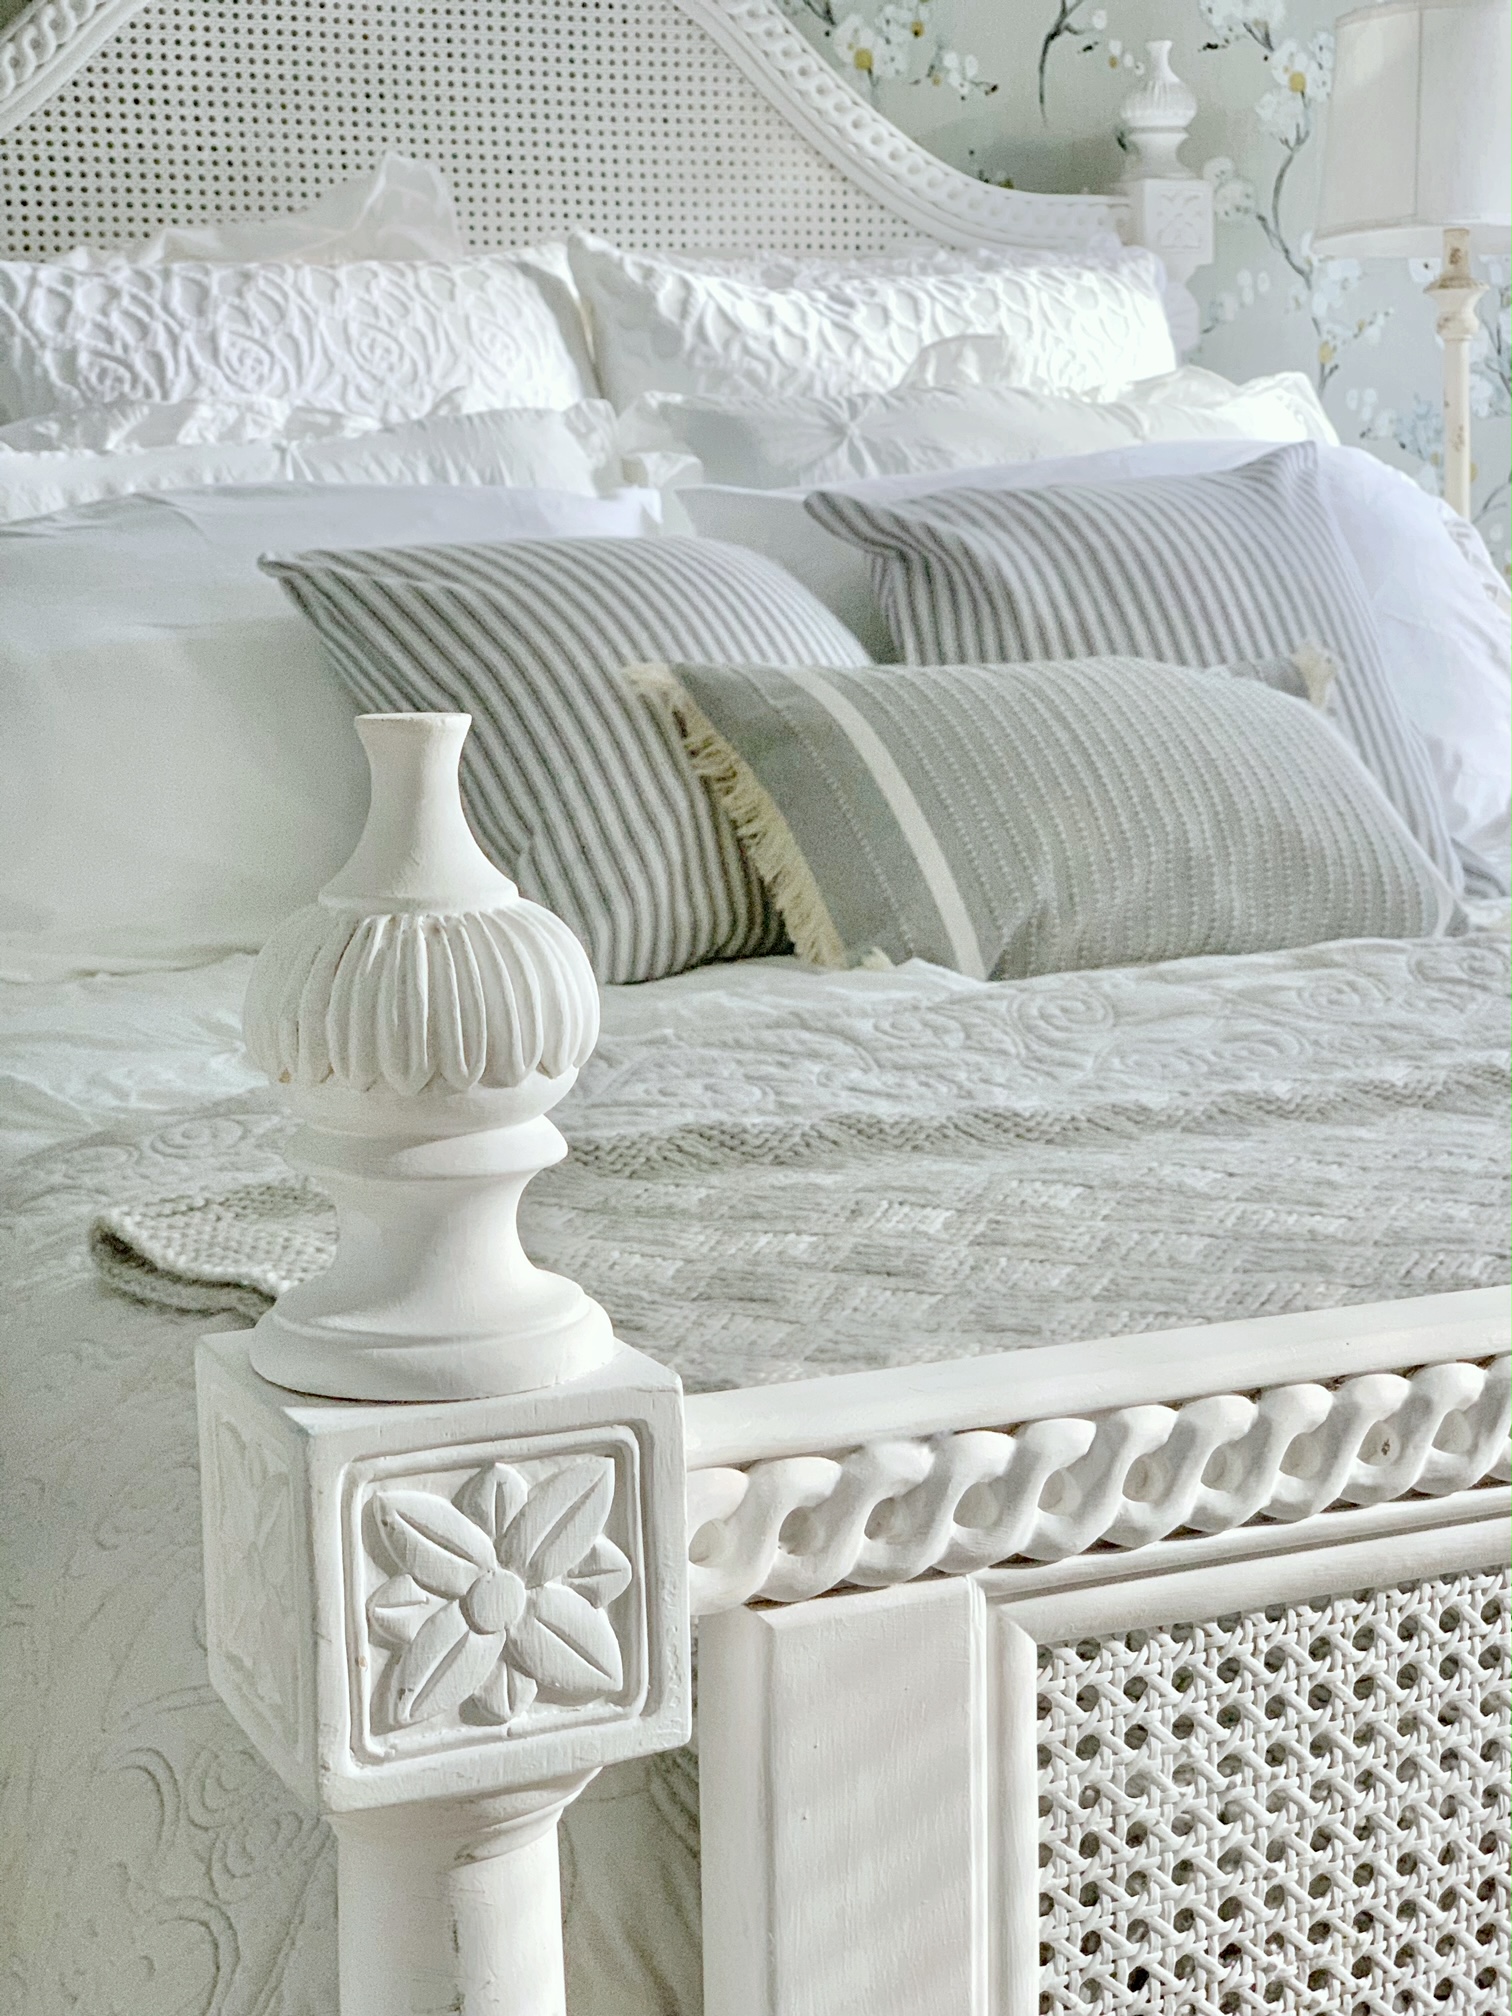
Let's move on to distressing! As mentioned above, distressed furniture refers to pieces that have been deliberately weathered, scuffed, or damaged to give them an older appearance. This gives a relaxed often "home-y" look to the piece. Through distressing, you can transform a brand new piece of furniture into something that looks like it's been around for years. You can also take a thrifted item or a piece of furniture that has been handed down to you and give it new life... by making it look old again!
4 easy ways to distress
- Wet Distressing: For this technique, you will paint your wood furniture as you normally would and let it dry for about 30 minutes (it will not be completely dry) Next take a damp sponge or a damp cloth and rub the paint off to distress.
- Dry Distressing: (my most preferred method) - Paint the furniture as you normally would and let it fully dry. Once dried take fine-grit sandpaper, sanding block, or steel wool and sand the paint off where you want the distressing to show.
- Layered Distressing: (layering paint for a distressed look) Layered distressing requires 2 or more layers of paint. Start with the first coat of paint and allow that first coat to dry. Then add a second layer using different paint colors and while the second layer is still wet take a lint-free cloth (or dry brush) and wipe to blend. Sometimes it's helpful to add water to the second layer of paint or to wipe the paint down with a damp lint-free cloth.
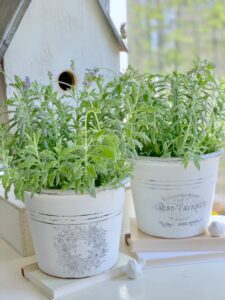
- Resist Distressing: This technique makes sanding the paint off very easy. Take either a Beeswax distressing bar or a regular household candle and rub the wax on where you plan to sand. Then apply the chalk paint over the piece including the waxed areas. The wax adds a barrier between the top coat and the furniture piece making sanding a snap. I share this process for distressing chalk paint below using a clay pot.
Step by step instructions
How To Use A Candle To Make Distressing Easy (Resist distressing)
Equipment
- 1 large clay poy
- 1 black latex paint
- 1 white candle or Beeswax distress bar
- 1 white chalk paint
- 1 fine grit sandpaper
Instructions
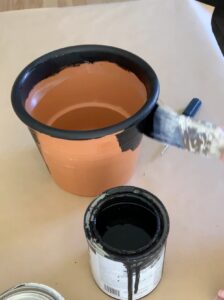
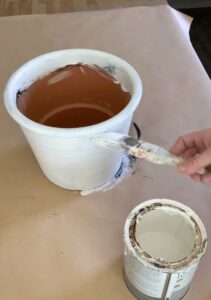
- Take a large clay pot and paint it black with latex paint. Let dry completely. Note: I paint the the clay pot black black first so that the black and not orange clay color will show through when I sand the chalk paint.

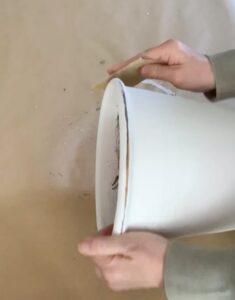
- Once the clay pot is completely dry the next step is to take a wax candle or Beeswax distressing bar and rub the wax on the pot where you plan to sand it (distress it). The wax applied hard/not melted.

- Paint the clay pot with 2 coats of white chalk paint and allow to dry.

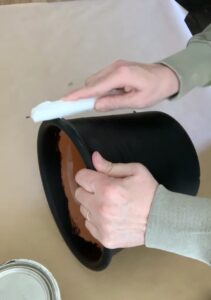
- With a fine-grit sandpaper, sanding block or steel wool gently sand where the wax was applied to remove the layer of chalk paint.

- The wax acts as a barrier between the item that is being painted and the chalk paint. With gentle sanding the chalk paint is easily removed showing the black base coat of the pot.

Frequently asked questions
The most common spots to sand are the corners, knobs, and the parts that are handled the most. When distressing a piece of furniture I always think - if I was to move this piece through a doorway where would it likely hit the door jam and scuff? I make sure to distress those spots. When distressing it is best to practice some restraint. "Over-distressing" will result in a loud busy finish that may not look like natural wear and tear.
As mentioned above you can use just about any paint including acrylic paint, flat latex paint, chalk spray paint, milk paint such as General Finishes milk paint, and mineral paint such as Fusion Mineral paint. Some paints will require more prep and may not sand as easily as chalk paint. If you are not using milk paint or chalk paint (both sand easily) you may want to go with the resist distressing technique listed above.
You can! If distressing the painted piece without adding another layer of paint simply sand the edges and corners with sandpaper. You may need a coarser grit for tough paint finishes. Otherwise, add a coat of paint in your color of choice and use one of the 4 distressing techniques listed above for a unique painted finish. Remember, once you sand the top coat, the original finish will show through.
If the piece has a dark stain and you plan to paint using a lighter color you may want to use BIN Primer. This primer is excellent for stain blocking and prevents the stain from bleeding through the light colored paint. You could also try sanding the piece. However, in my experience sanding does not always remove all the stain and you still run the risk of it bleeding through. If you do not want to prime, you can try to remove the stain using a stripping agent like Citristrip and then move forward with painting, distressing, and finishing with chalk paint wax.
Old furniture, new furniture, kitchen cabinets, shelving, planters, repurposed vintage items, tables, desks, dressers, candle holders, wood trays, an apothecary, or card catalogs - even flooring! Anything you want to make appear used, weathered, or as having textural interest.
My favorite brands of chalk paint
When refinishing furniture I typically use either chalk paint or Fusion mineral paint. I occasionally use milk paint and I've been dying to try General Finishes Milk Paint. Some of my furniture painting friends say it is their favorite! If painting with chalk paint I typically go between 4 different brands - depending on the project. Below are the brands I use and why they made my top 4 list.
Annie Sloan Chalk paint:
(average cost for 1 liter (approx 33 ounces) $38-$45)
Where to buy: Select Annie Sloan retailers
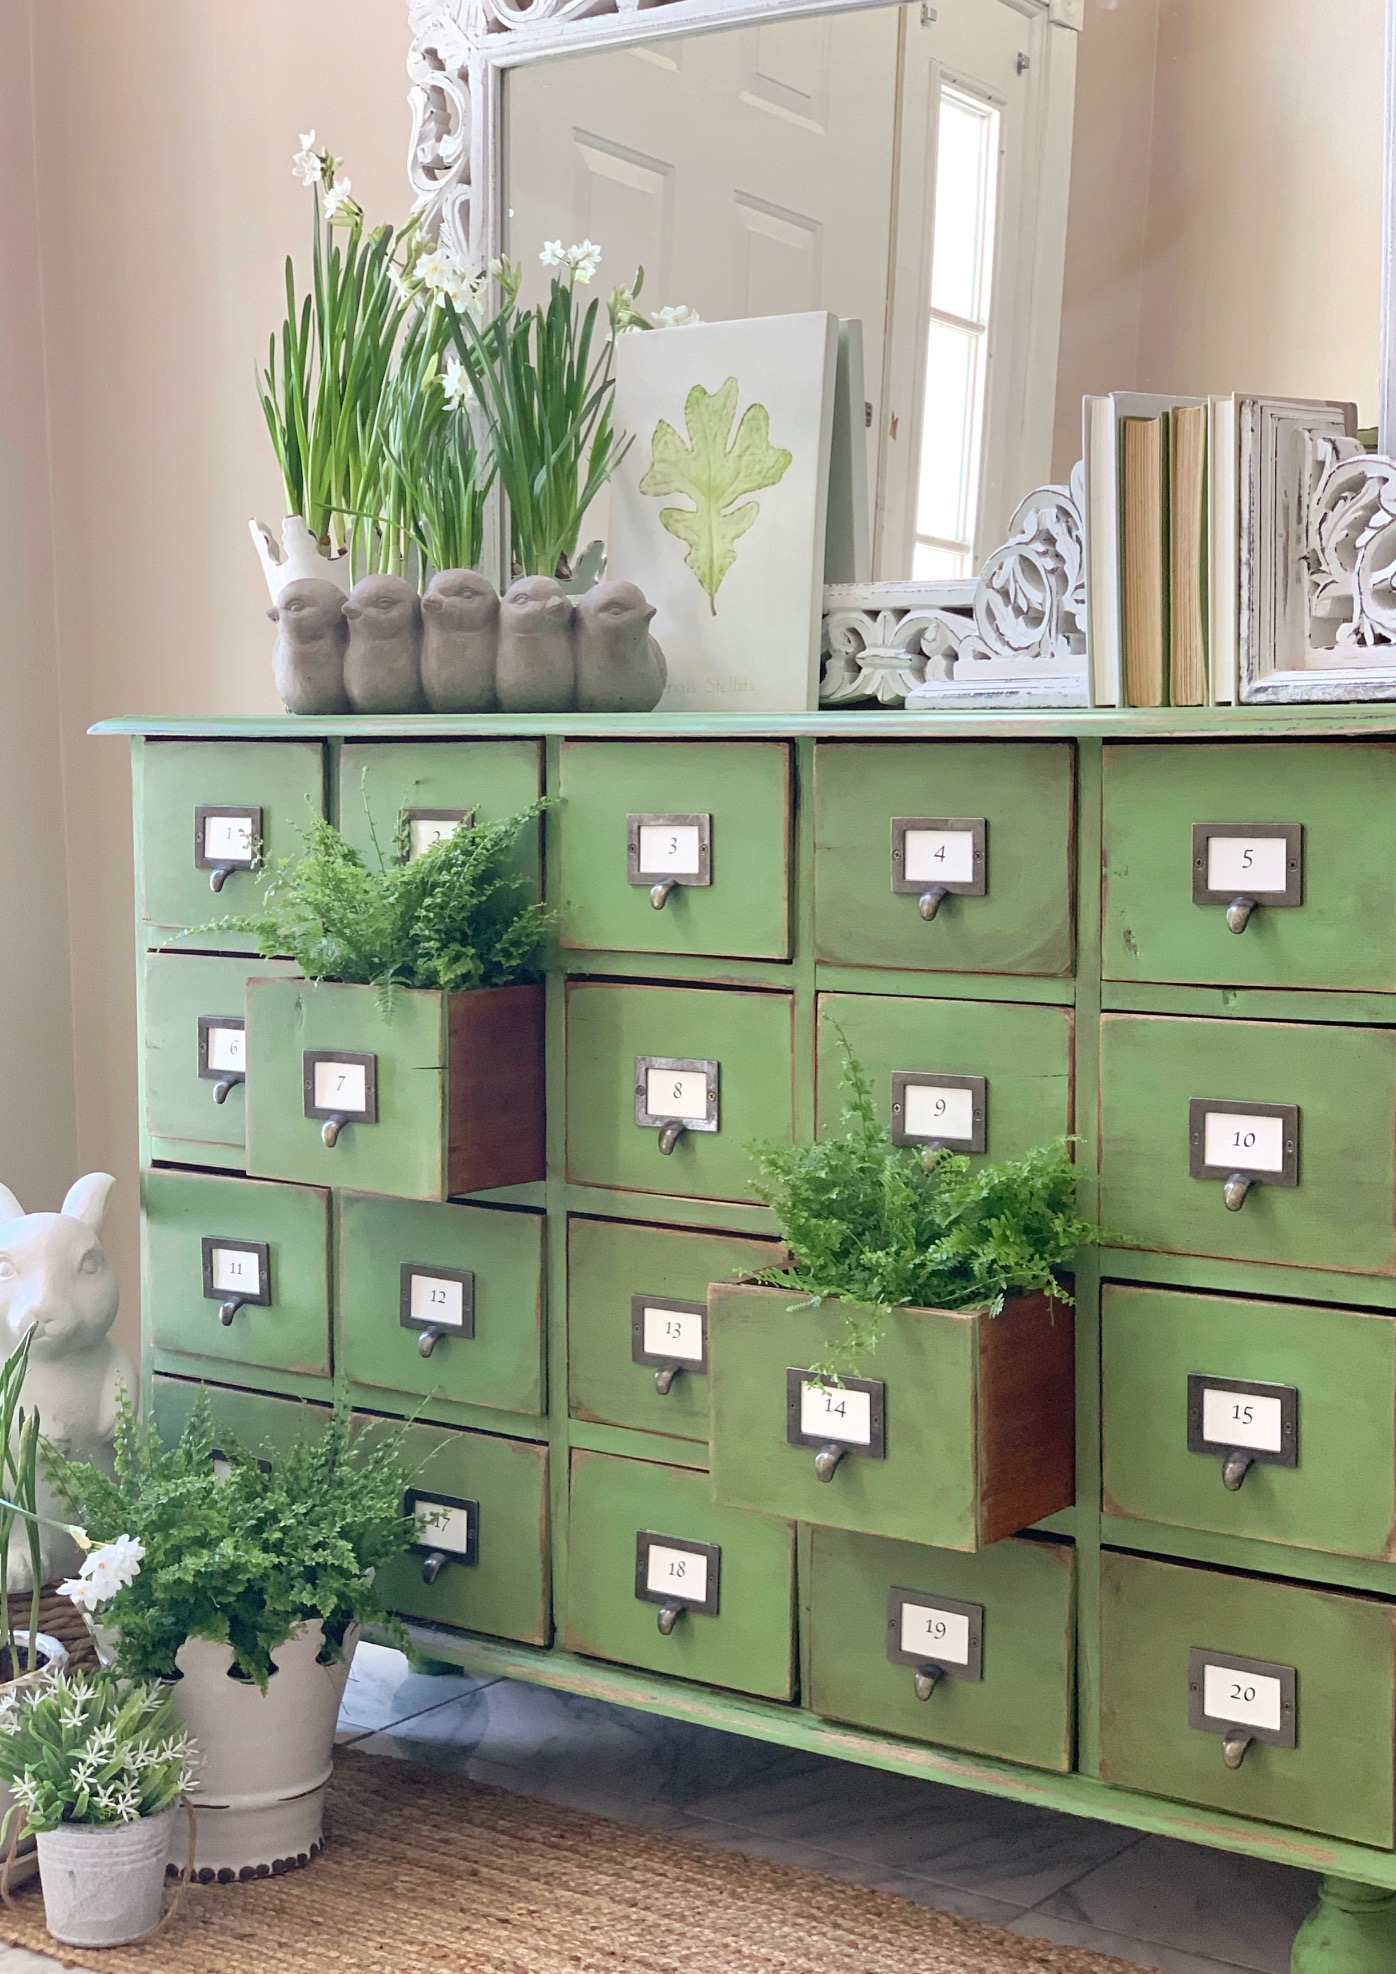
There's a reason she is the queen of chalk paint! Still one of the best chalk paints around! Great coverage, rich tones, and exceptional ability to combine colors to create unique custom colors. With over 40 shades to choose from and excellent how-to books authored by Annie Sloan, AS has you covered! As a side note her wax is my favorite as well! This card catalog project uses only Annie Sloan products and got the nod of approval from Annie Sloan herself!
Dixie Belle Chalk paint:
(Average cost for 16 oz $22-$30)
Where to buy: Select Dixie Belle retailers/Etsy
My new obsession! Dixie Belle Chalk paint goes on like butter, I'm not kidding! It's formulation is a bit thicker than other chalk paints I've used resulting in better coverage and less dripping. A little goes a long way. If it's too thick for your liking many DB artists incorporate water either by diluting the paint itself or painting while simultaneously using a water mister. Dixie Belle has a great color assortment consisting of 69 colors including some pretty fabulous metallics. Their line is always growing and now includes products such as clear coat, spray wax, glazes, chalk paint brushes, sanding sponges, decals, etc. As a bonus Dixie Belle is non-toxic and no VOC (No-VOC means the paint contains no volatile organic compounds or a very small number of VOCs.) I used Dixie Belle chalk paint on the DIY apothecary with linen hutch pictured below.
Wise Owl Chalk paint
(Average Cost for 32 ounces $38-$45)
Where to buy: Select Wise Owl retailers
Another favorite! I can purchase Wise Owl locally from The Princess and the Peacock at Off the Common Antiques. Wise Owl is a Chalk Synthesis paint that is a zero VOC, premium clay/mineral paint with excellent adhesion. Like most chalk-type paint very little prep is required. WO is self-leveling, easy to apply and has excellent coverage which makes painting furniture a snap! With over 42 different colors and some of the best shades of whites around, I've used it a number of times. It never disappoints!

Kiltz Chalk paint
(average cost for 32 oz $20)
Where to buy Kiltz Chalk Paint: Hardware stores, Home Depot, Amazon, Walmart
Kiltz is a popular, affordable, and easy to find chalk paint! I typically buy mine at Walmart or on Amazon. For the price, Kiltz is a great option and those on a budget will appreciate its smooth application. It adheres well and dries quickly but often a 3rd coat is required. Kiltz distresses beautifully and is my go-to for a quick, inexpensive project. Paint colors are limited at Walmart and Amazon and I've only used their white.
Tip: For a super low budget option you can make your own chalk paint using latex paint, Plaster of Paris and water, baking soda, or unsanded grout. I have never done this but know of many furniture painting experts who do.

Hope you found the best paint for distressing furniture post helpful! When planning your next furniture project whether it be refinishing an old family heirloom or a brand new furniture piece (a blank canvas of bare wood) chalk paint is sure to give you that beautiful flawless matte finish. By using one of the 4 distressing techniques above you can create your own design and achieve the look of an authentic piece of aged furniture.
Be sure to visit my furniture refinishing page for more ideas and inspiration! Thanks for visiting the blog! I appreciate it when you do!


