The Secret Behind That Designer-Looking Christmas Tree Base
Tired of hiding your tree stand with a blanket? Try a DIY decorative Christmas tree base instead. Using a simple bucket and planter, you can give your Christmas tree that polished, designer look you see in magazines without spending a fortune.
Content may contain affiliate links. When you shop the links, we receive a small commission at no cost to you. Thanks for supporting my small business.
Every year I'm drawn to those beautifully styled Christmas trees you see in home magazines and on Pinterest. They always look so intentional, right down to the base. That's when I realized the tree stand was giving mine away. So instead of hiding it under a blanket or skirt, I started setting our tree into a planter. It instantly looked more polished, like it belonged in the room. And the best part? It's easy to do with a simple bucket, a bit of cement, and a container you already have.
Jump to:
Why the base matters
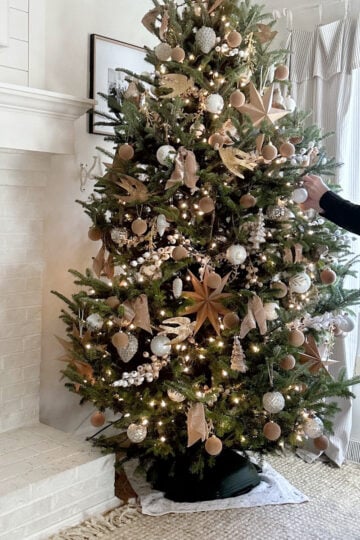
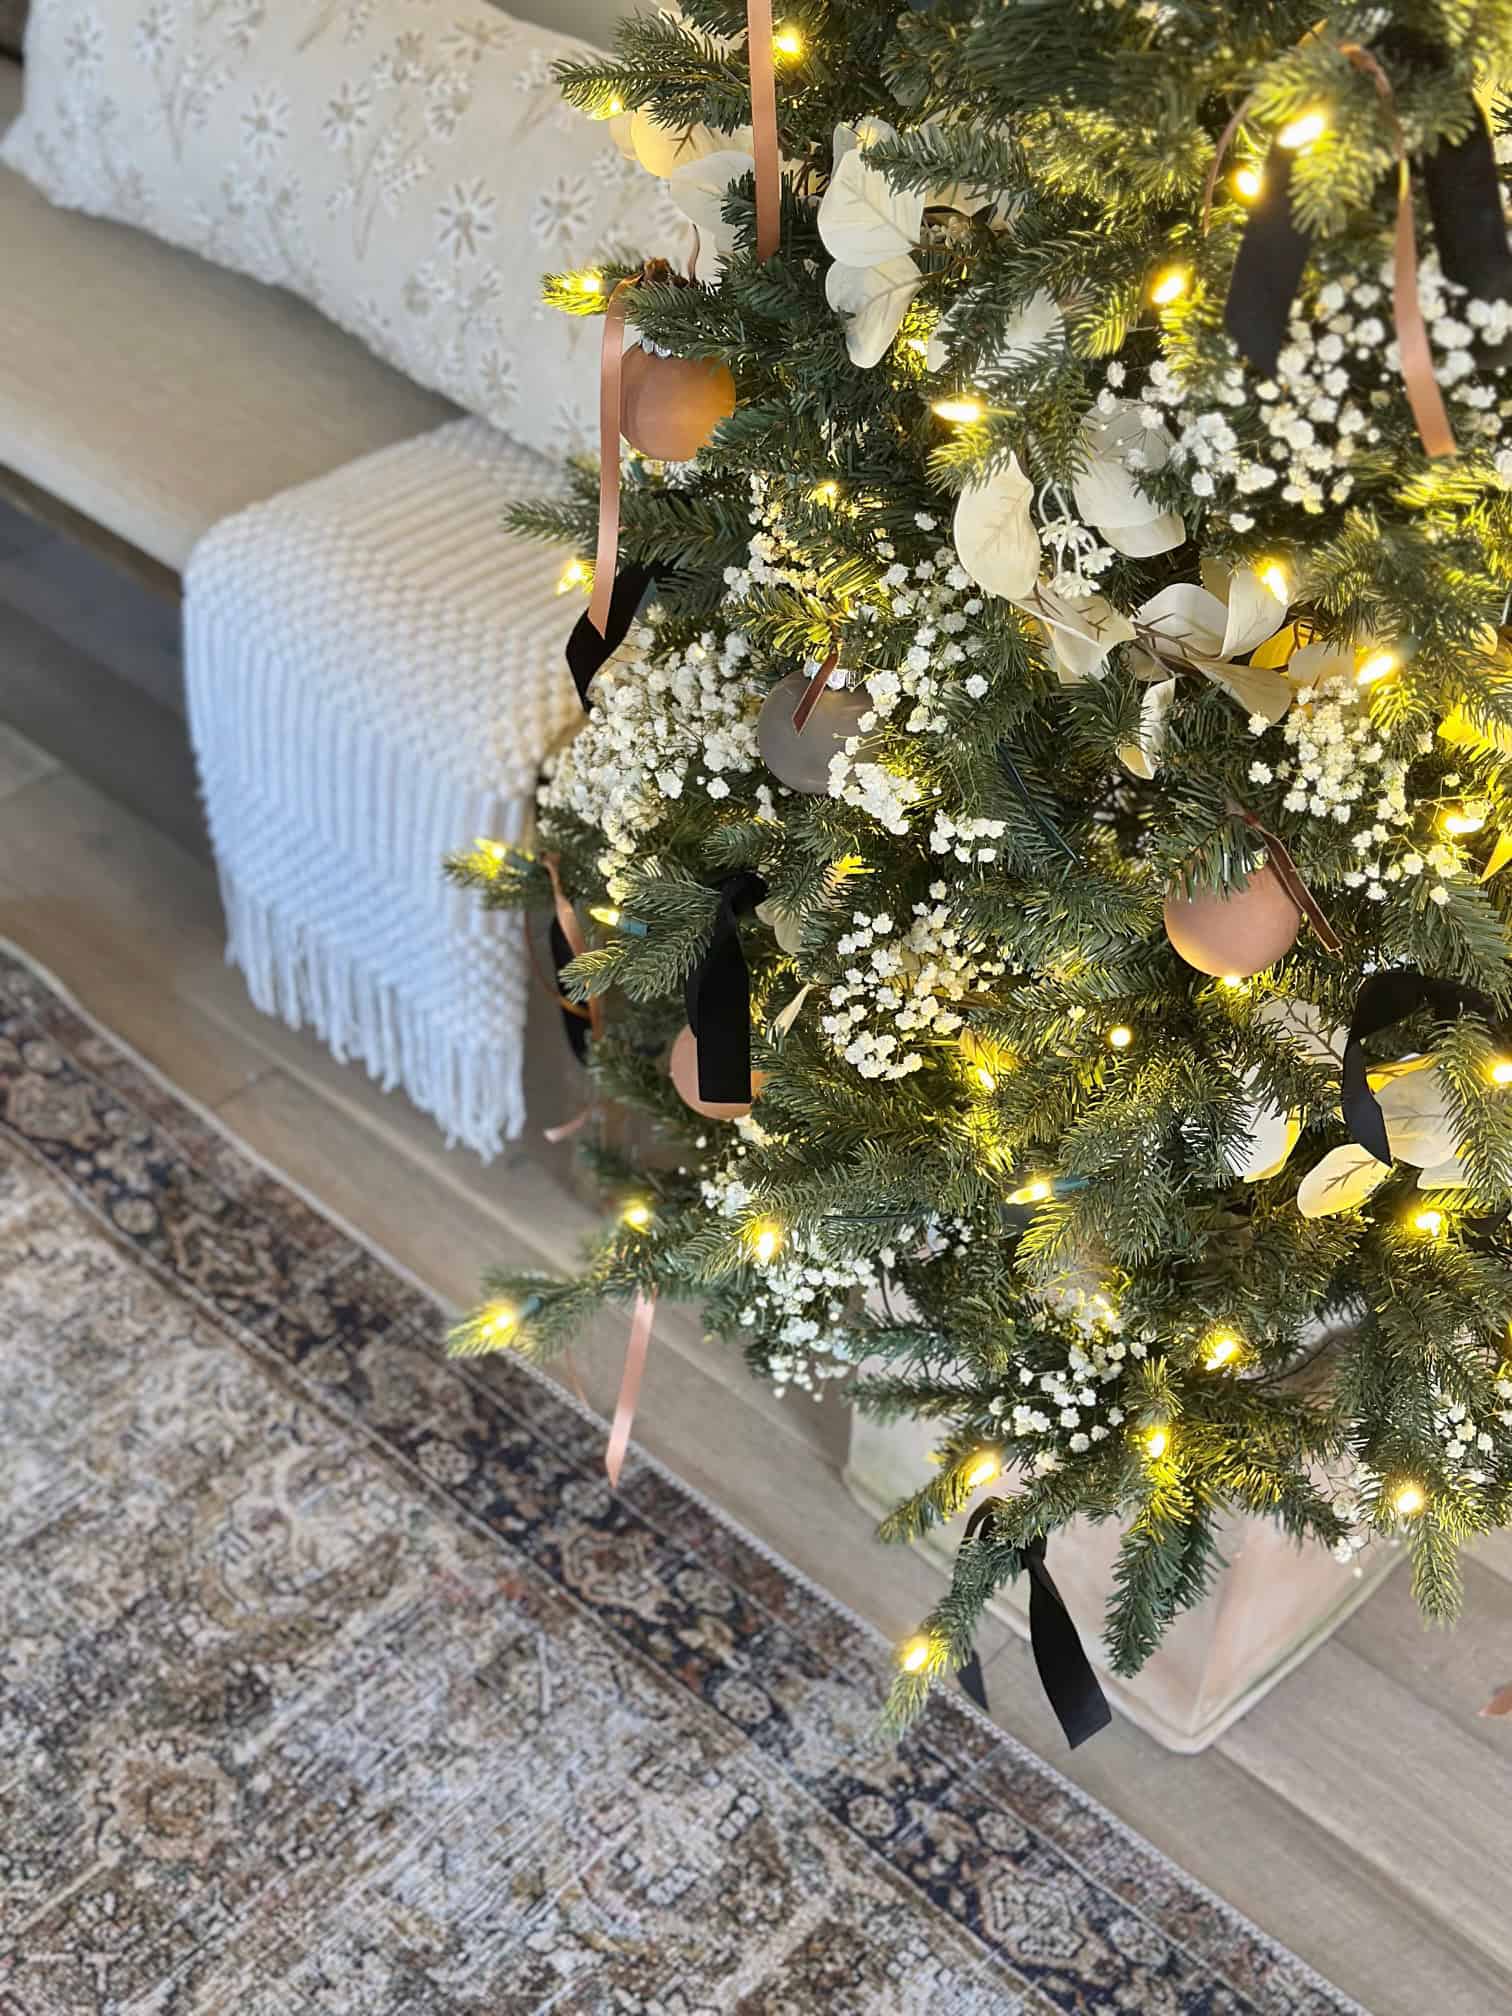
When you step back and look at a Christmas tree, your eye does not stop at the ornaments or the lights. It travels all the way down. That is why the base matters more than we think. A metal stand or a pile of fabric at the bottom can make even the prettiest tree feel a little unfinished. It breaks the illusion.
By swapping the stand for a planter or decorative container, the whole tree suddenly looks intentional. It feels like part of the room instead of something that was just set there for the season. The shape of the container, the texture, even the height all add polish and balance. It is a small change, but it instantly elevates the entire look.
What I used to create the look
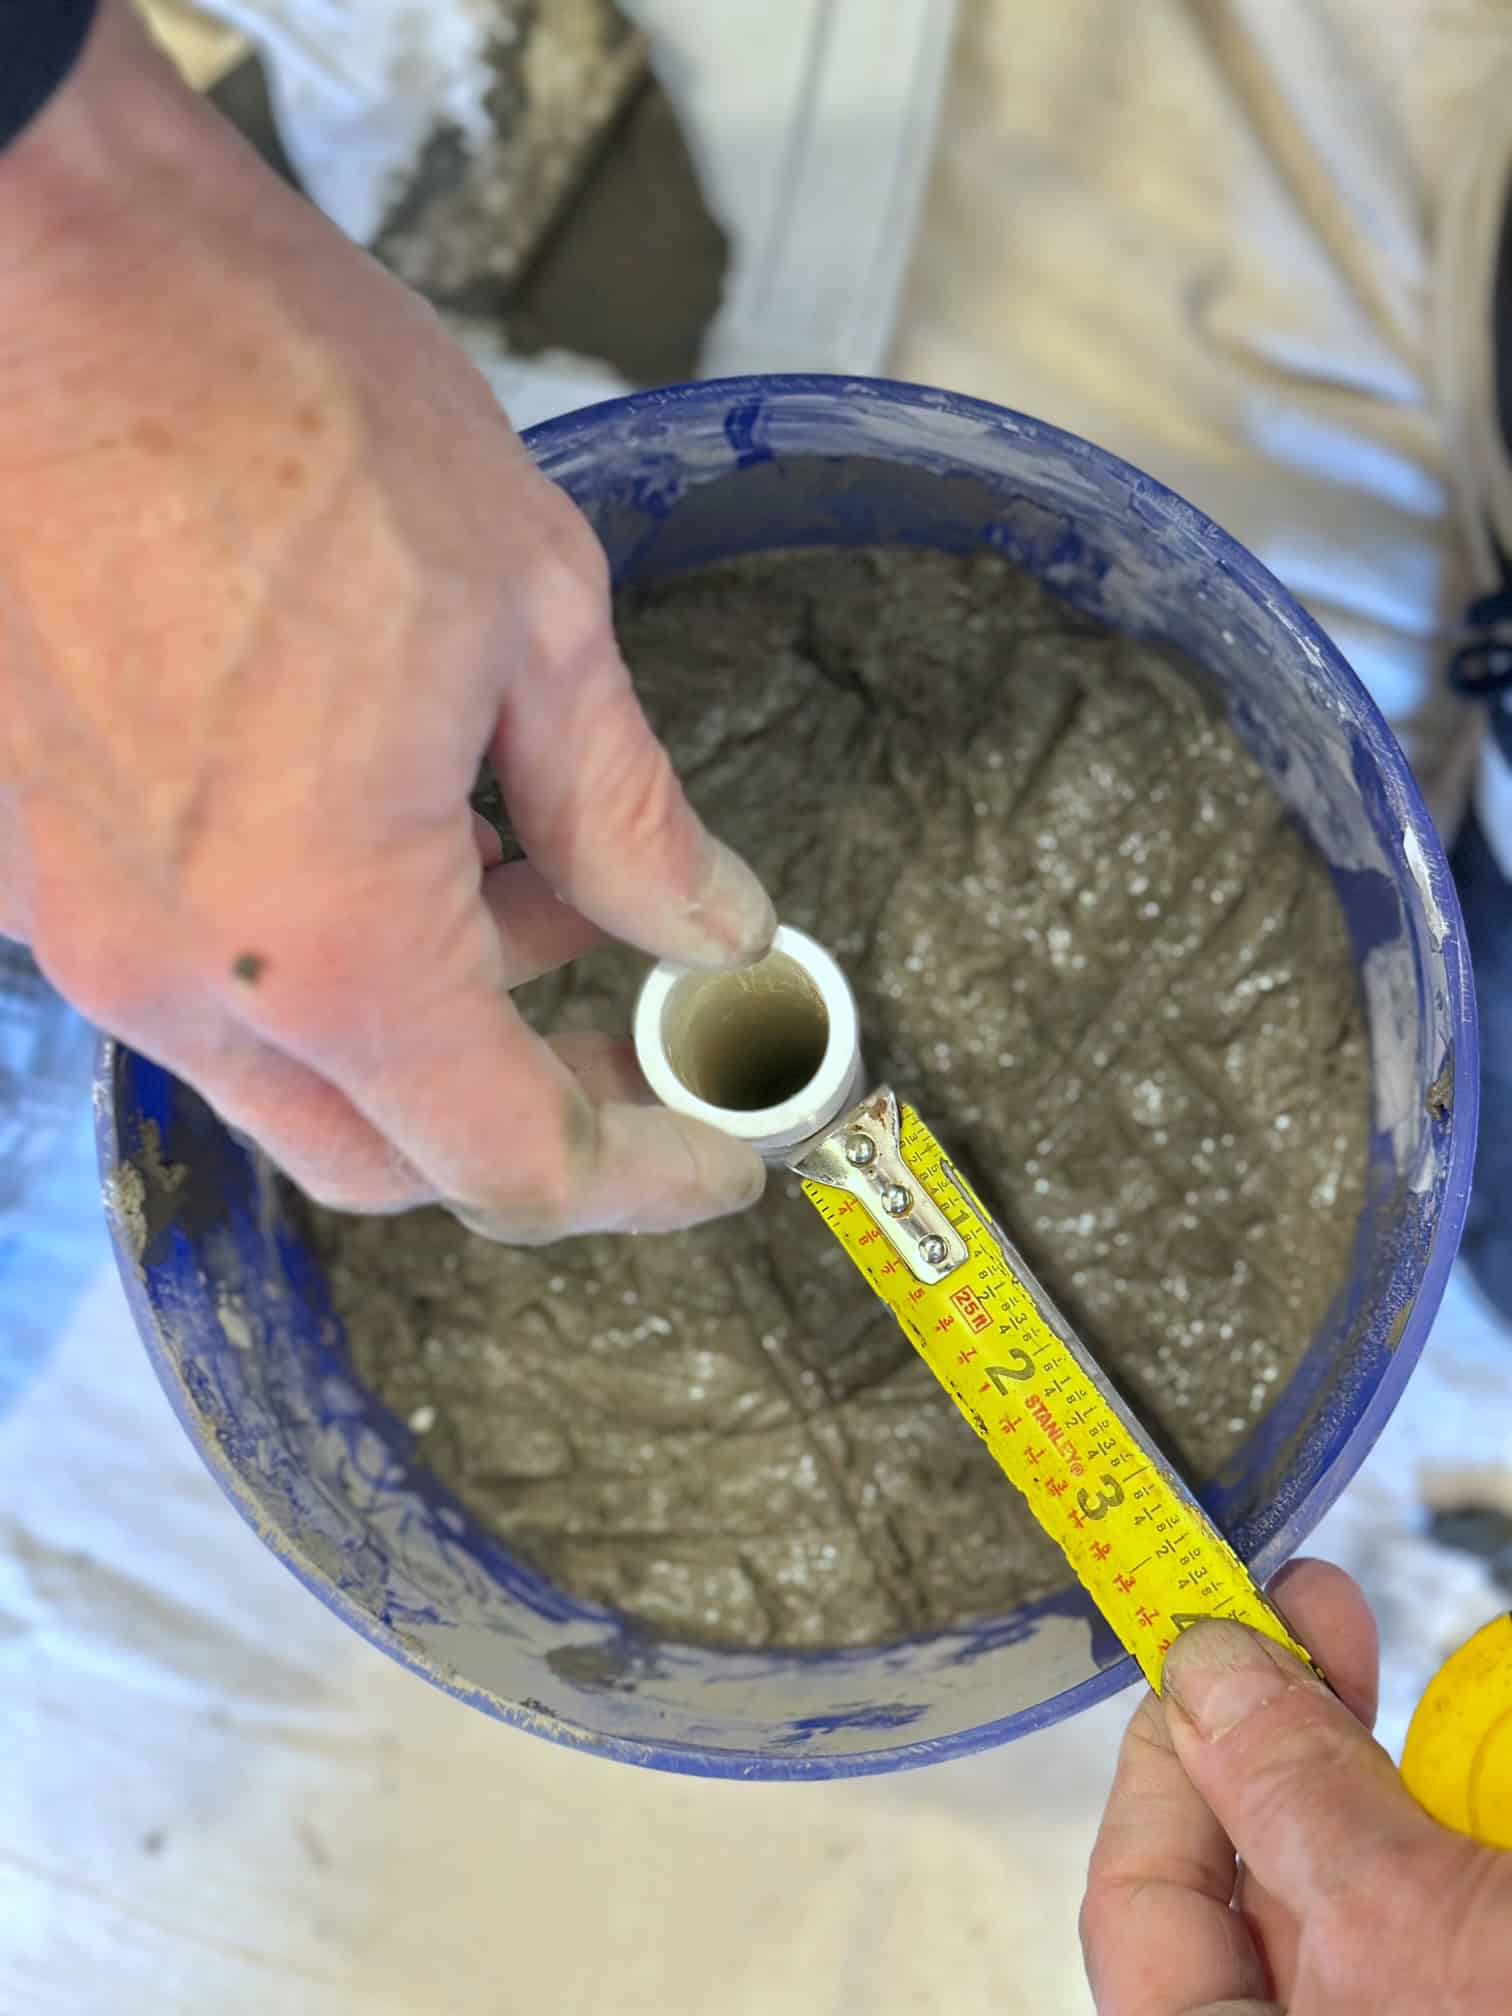
The beauty of this setup is how simple it is. Instead of a tree stand, I use a sturdy bucket that holds the tree in place. Ours is filled with quick-set cement, which sounds complicated but is not. It mixes up in minutes and sets fast. Once it was set, the heavy bucket became our new base, and now it will last for years and gets put away with the rest of our Christmas storage.
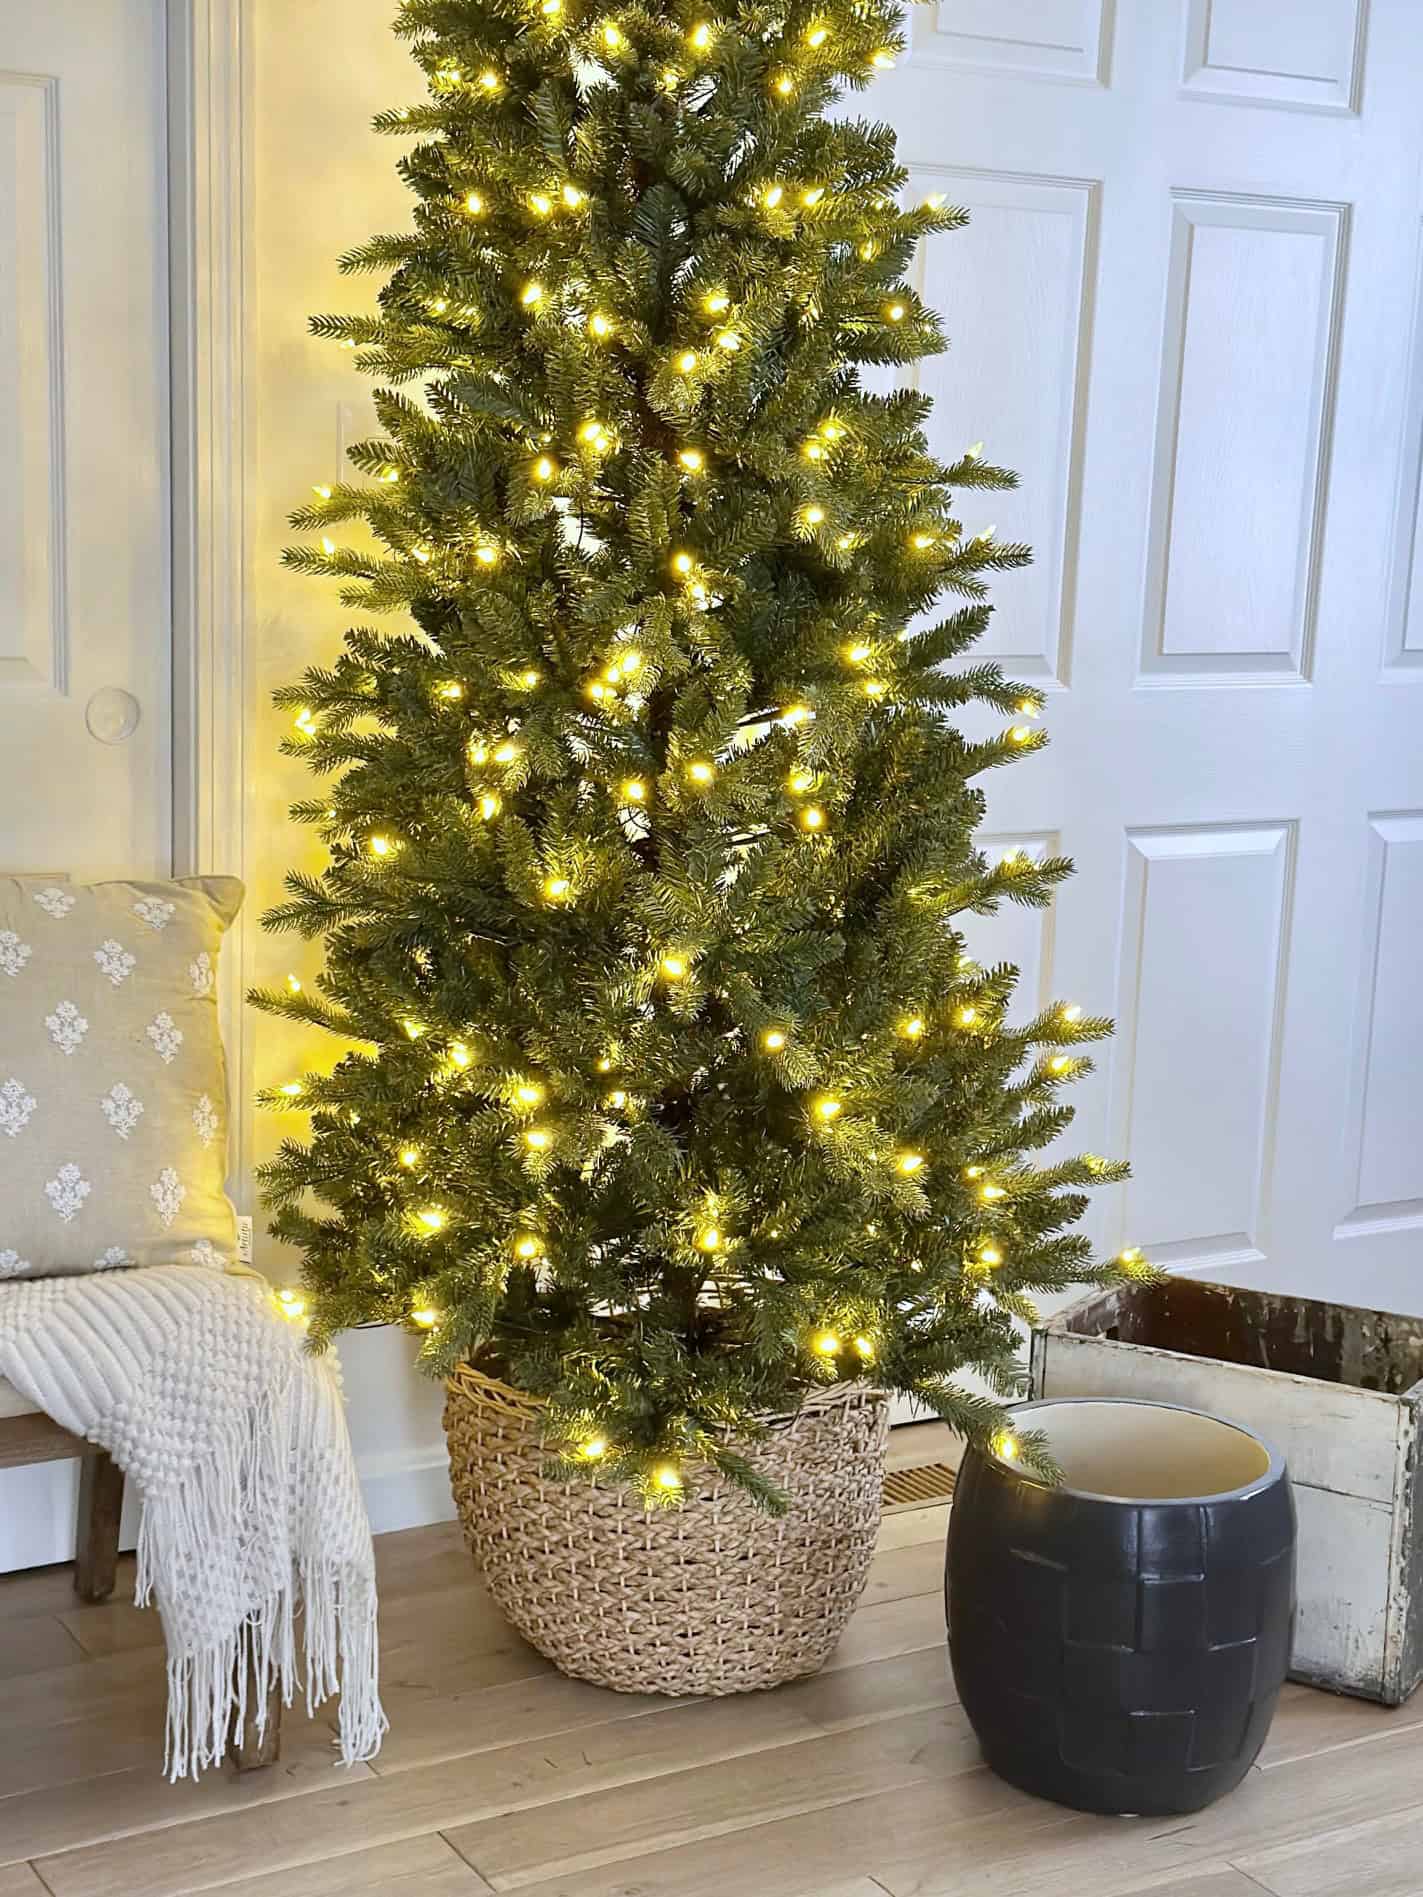
From there, the bucket can drop into any container you like. A ceramic planter, a woven basket, a crate, even an old metal tub all work beautifully. The only rule is that the bucket has to fit inside the container, and once it does, the look is completely up to you. That flexibility is what makes this so fun. Each year I can try something new or reuse a favorite planter that fits our decor.
You can see the full step-by-step process and all the materials I used in my Christmas Tree Planter tutorial, but the concept is as easy as it sounds. A sturdy base for support, a beautiful container for style, and a tree that looks completely intentional from top to bottom.
Style ideas for decorative tree bases
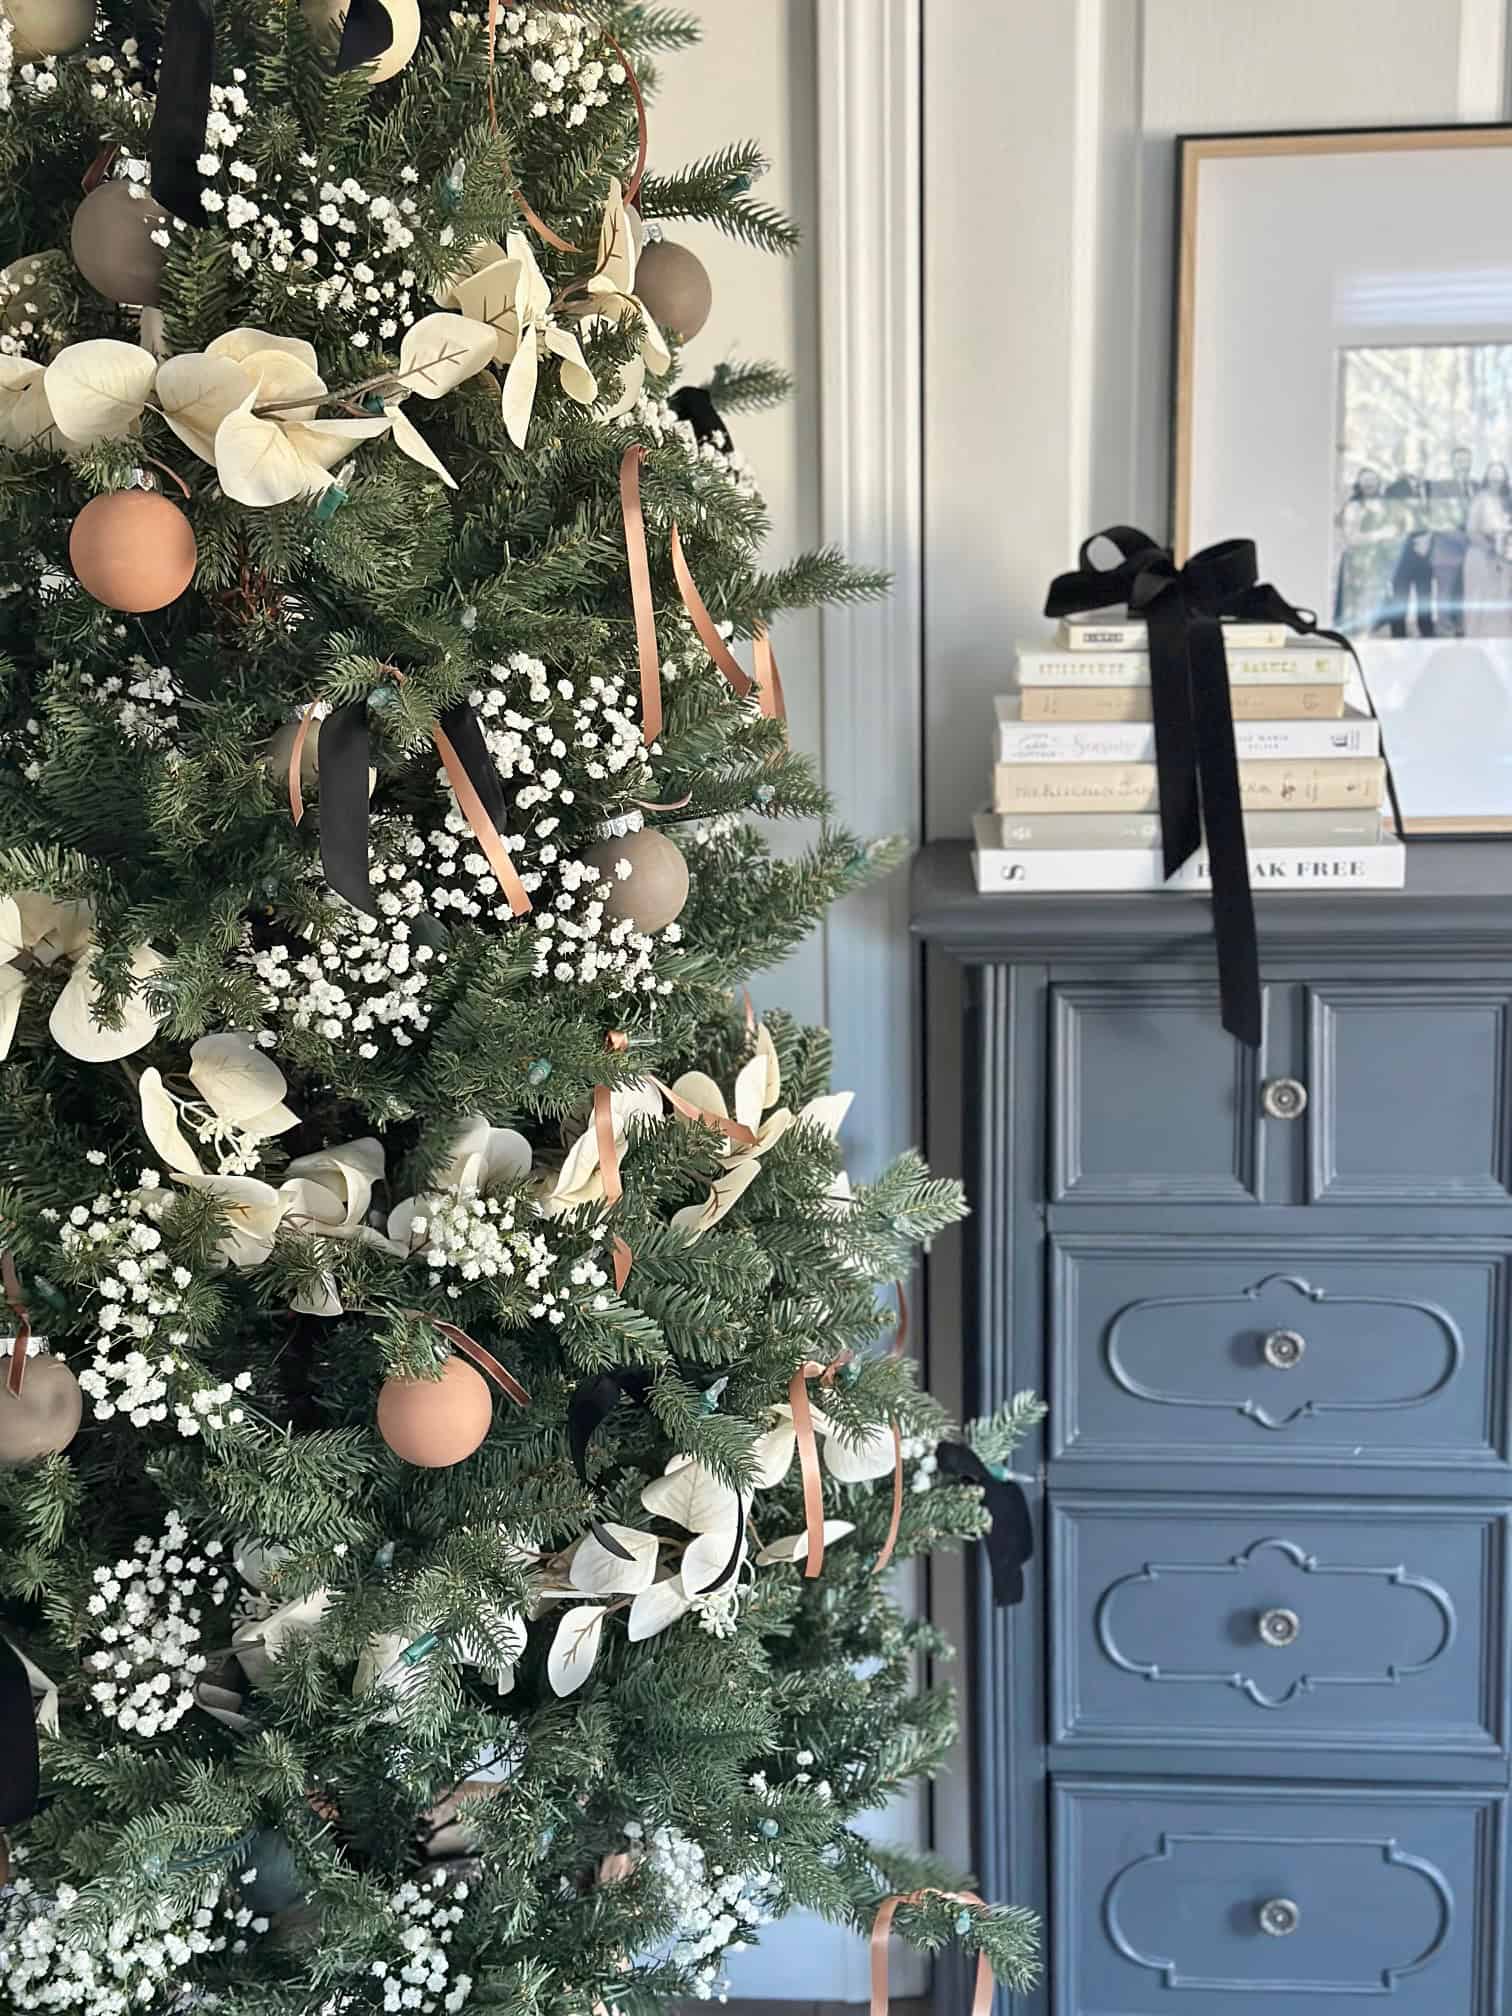
The container you choose completely changes the look of your tree. It is one of those details that makes a room feel pulled together, and it is where you can really have fun.
For a clean and classic look, try a ceramic pot. It feels polished and timeless and works beautifully in modern spaces. A woven basket adds warmth and texture and gives the tree a more casual, collected feel. If you love a little character, a chippy wooden crate brings a vintage touch that looks right at home with cozy holiday decor.
The best part is that you do not need to buy anything new. Shop your home and see what you already have. A planter from another room, a storage basket, or even an old decorative bin can be repurposed for the season. The bucket base will fit into any container that works with your style.
Try and large basket, ceramic or clay planter or even a vintage milk crate.
Frequently asked questions
You can use a sturdy bucket that fits inside a decorative planter, basket, or crate. The bucket does the heavy lifting and keeps the tree secure, while the container adds the style. It's an easy way to make your tree look more finished without needing a fancy stand.
A weighted bucket works perfectly. I filled mine with quick-set cement to keep it stable, then slipped it into a planter. You could also use gravel, rocks, or sand for weight if you want something temporary.
You can hide the base with whatever fits your decor. Try a woven basket for warmth, a ceramic pot for a modern look, or even a wooden crate for something rustic. If your tree is already in a stand, drape a soft throw, wrap it with burlap, or tuck in some greenery to give it a cleaner finish.
Grab a container you already own and make it work for the season. Slip your tree into a weighted bucket, then set that bucket inside a planter or basket. Add a bit of moss, fabric, or pinecones around the top to hide any gaps, and you have a simple, DIY decorative tree base that looks high-end.


It's funny how such a small change can make such a big difference. Swapping out the standard tree stand for a decorative base instantly gives your tree that designer look without much effort. It feels more finished, more intentional, and more like part of your home.
If you try this idea, I would love to see how it turns out. Use a planter, basket, or crate that fits your style and make it your own. And if you are looking for more simple ways to elevate your holiday decor, you might enjoy my posts on How to Make a Christmas Tree Look Fuller and How to Make a Christmas Tree Basket Base.
Happy decorating, friends.