
How I Got My Herb Garden Ready for Winter in Just 30 Minutes
Want to get your herb garden ready for winter? In this post, I share the four simple steps I took to prep mine in just 30 minutes. From harvesting and tidying to mulching and labeling, this quick end-of-season reset will help your herbs settle in for the colder months and come back strong in the spring.

Content may contain affiliate links. When you shop the links, we receive a small commission at no cost to you. Thanks for supporting my small business.
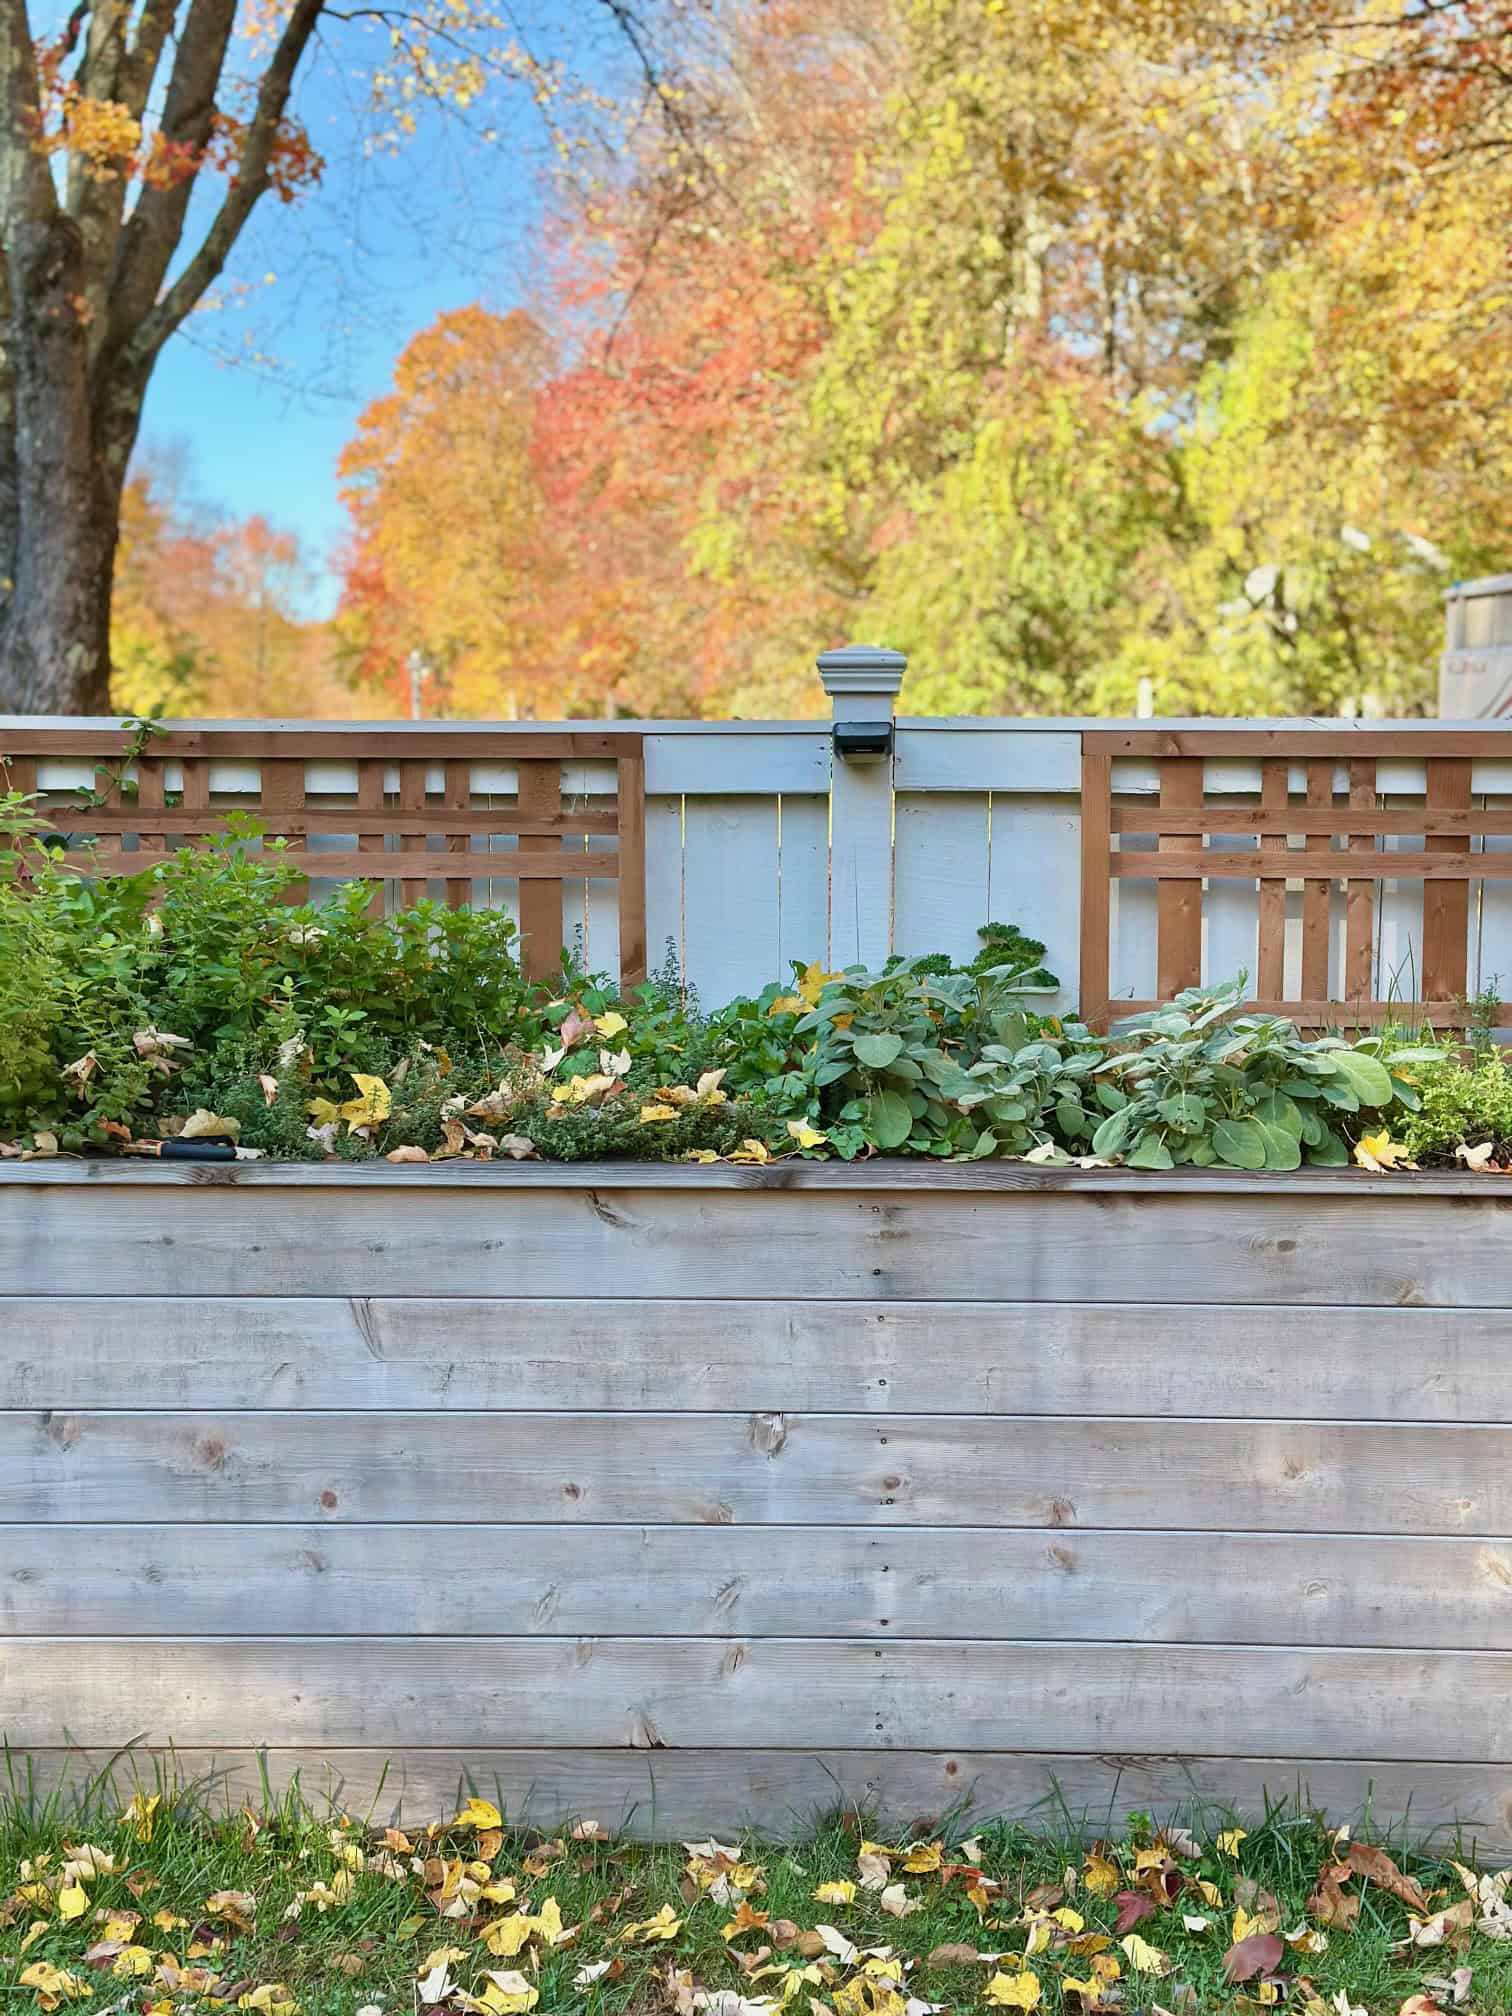
I kept walking past it, thinking I would get to it tomorrow. The raised herb bed had gotten wild over the last few weeks, and honestly, I did not want to deal with it. It is always a bit of a cat and mouse game this time of year, trying to sneak in one last good cleanup before the first frost shows up here in Massachusetts.
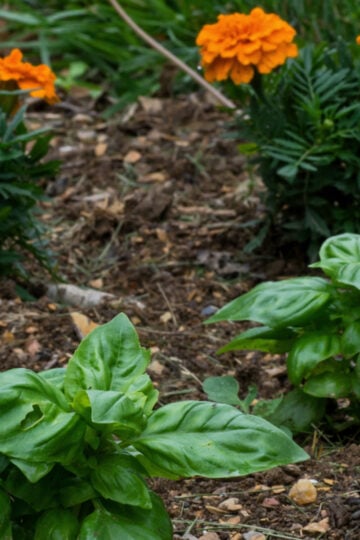
The basil was long gone. The cilantro had bolted weeks ago. Even the thyme was starting to look rough. And every time I glanced out the kitchen window, it looked a little more neglected.
So I finally grabbed my clippers, gave myself 30 minutes, and got to work. It turns out, that is really all it took. A quick cleanup, a little trim, and some mulch to tuck everything in for the season. My herb garden will thank me in the spring, and honestly, I am glad I stopped putting it off.
Jump to:
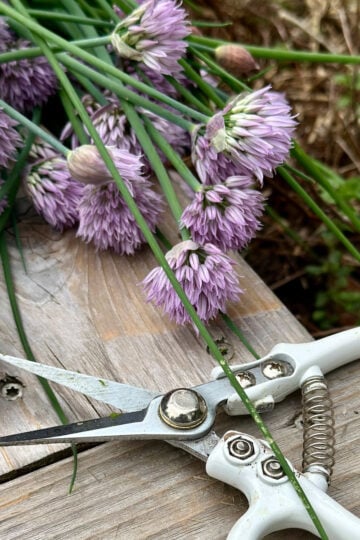
Step 1: Harvest First
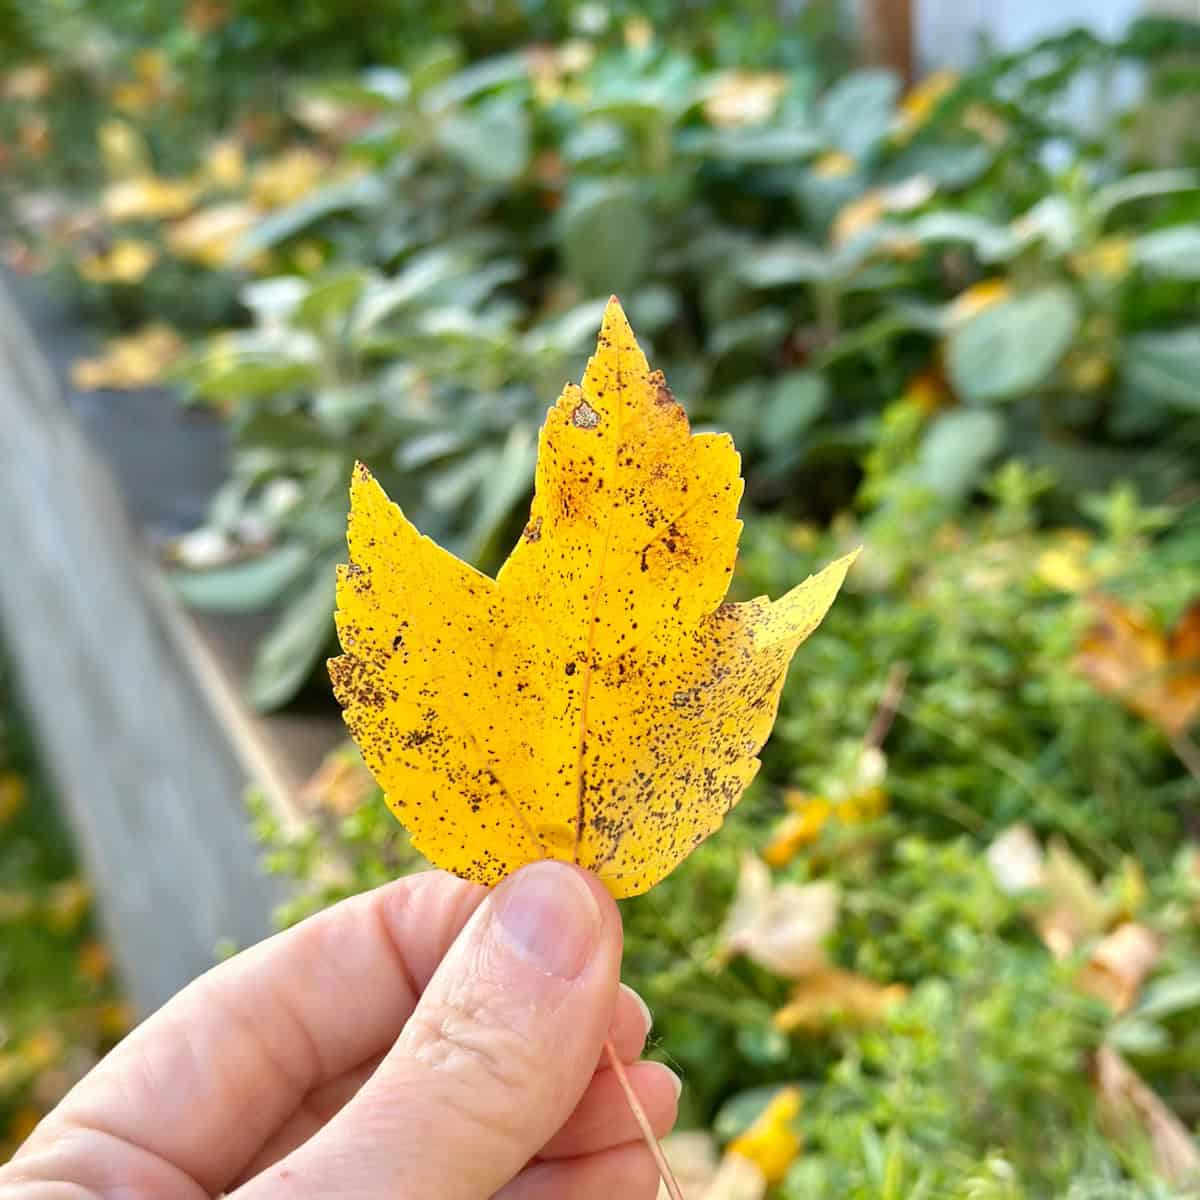
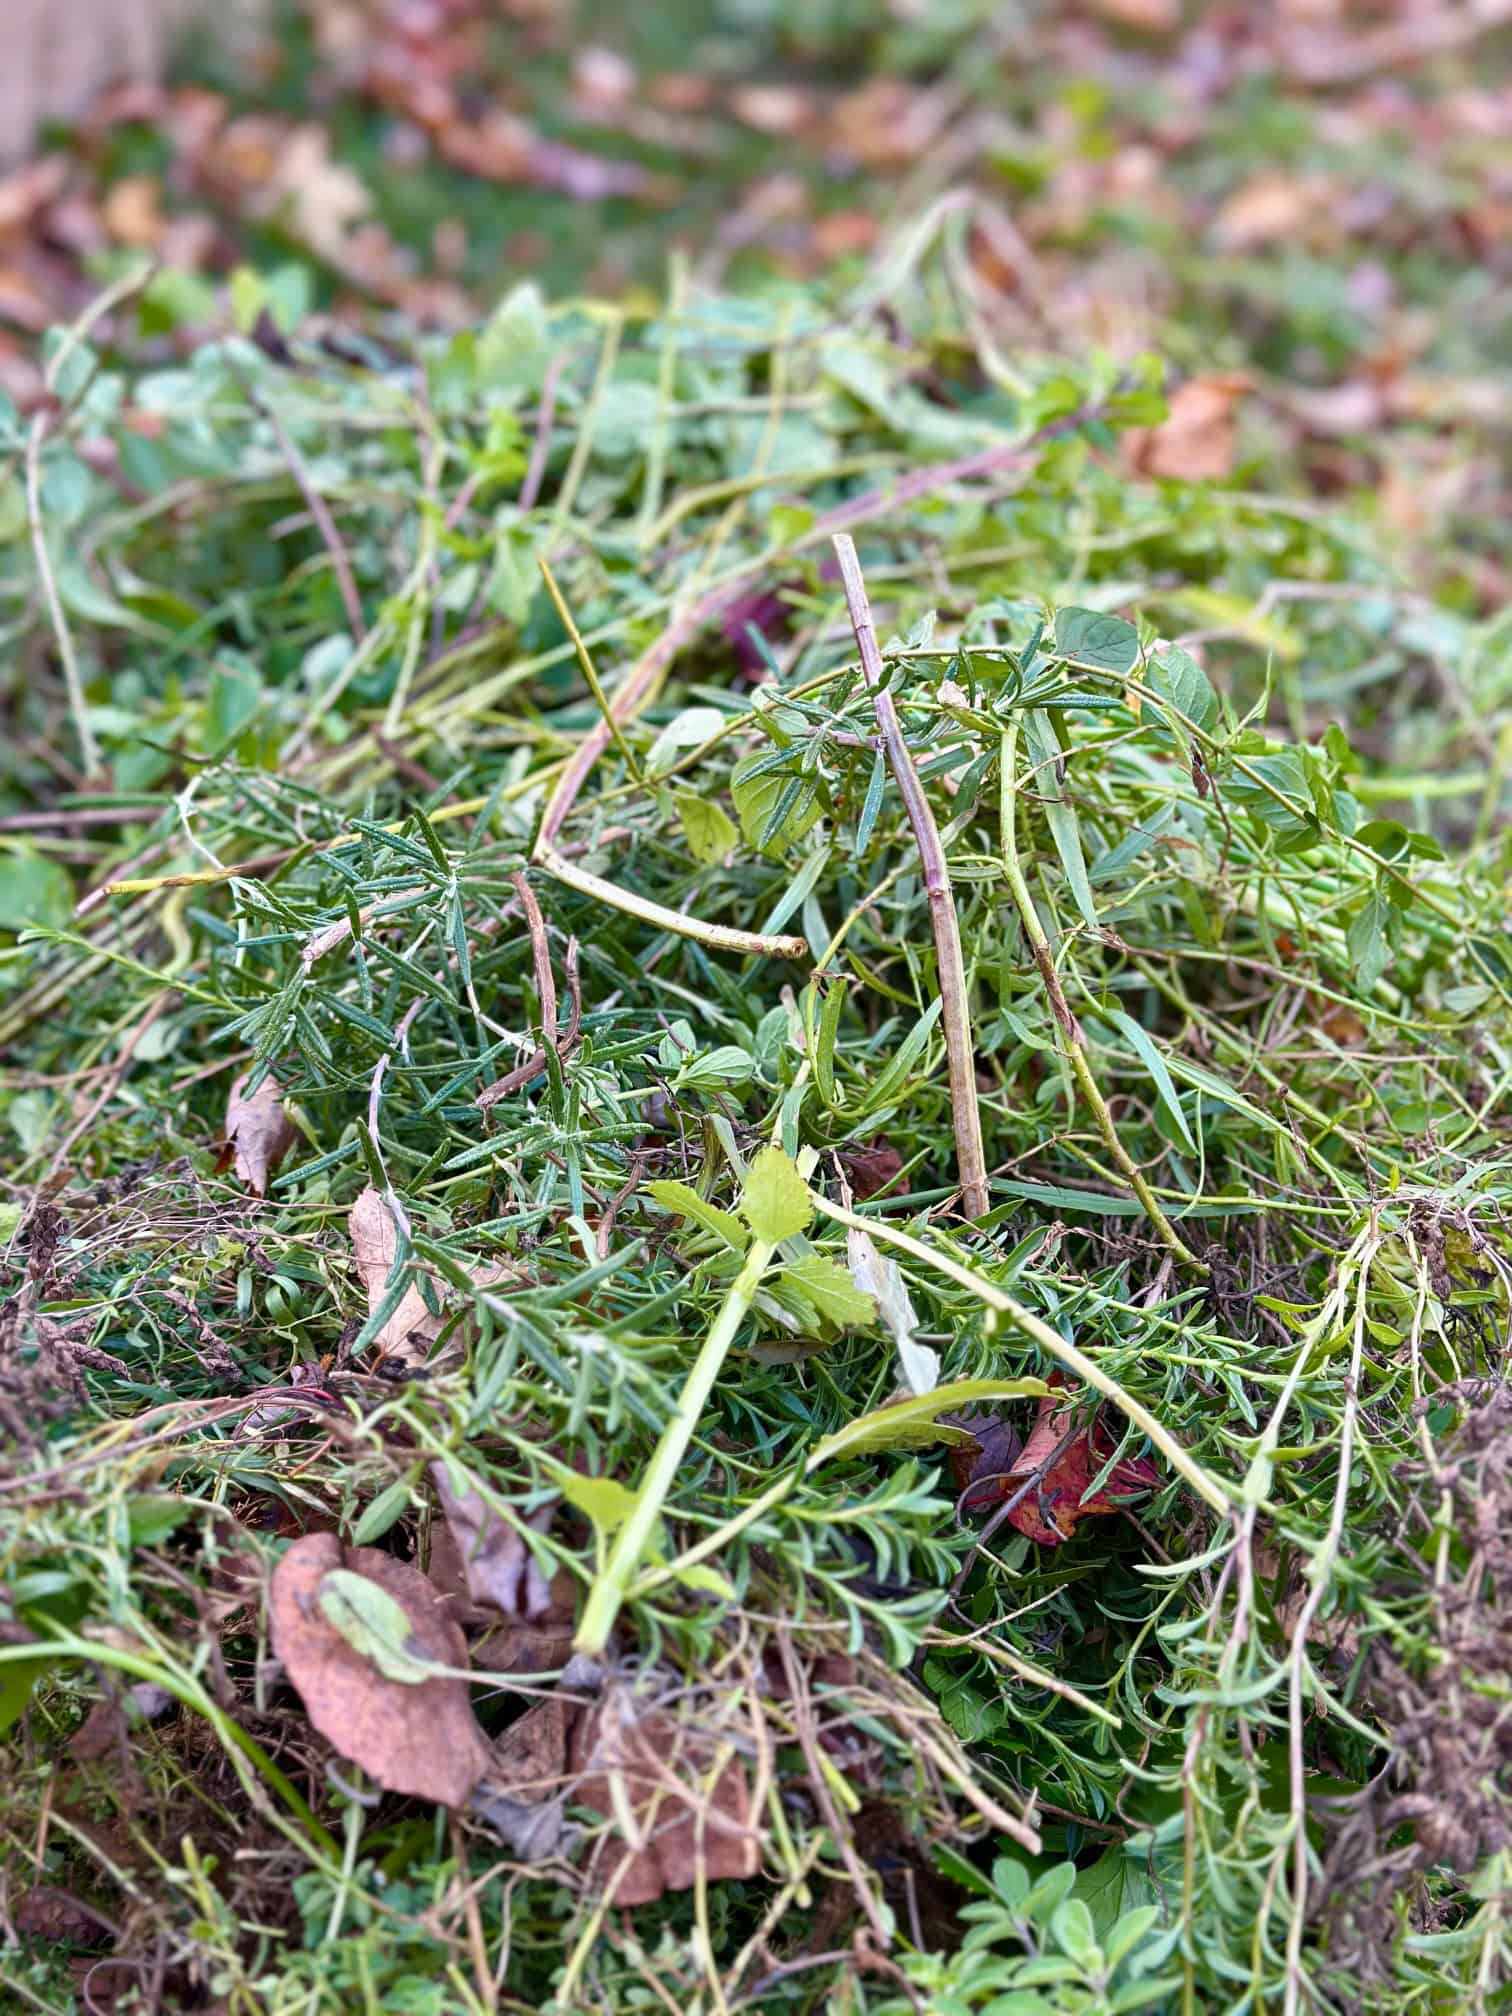
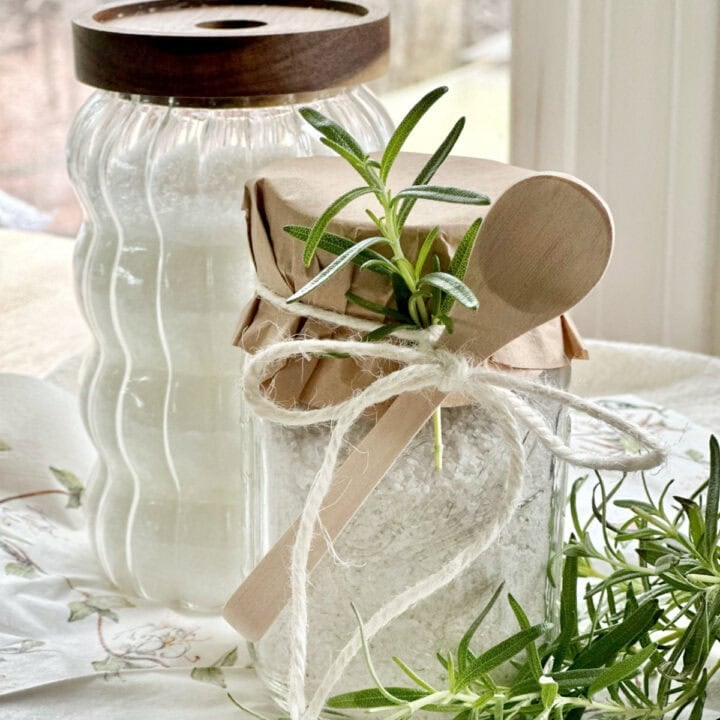
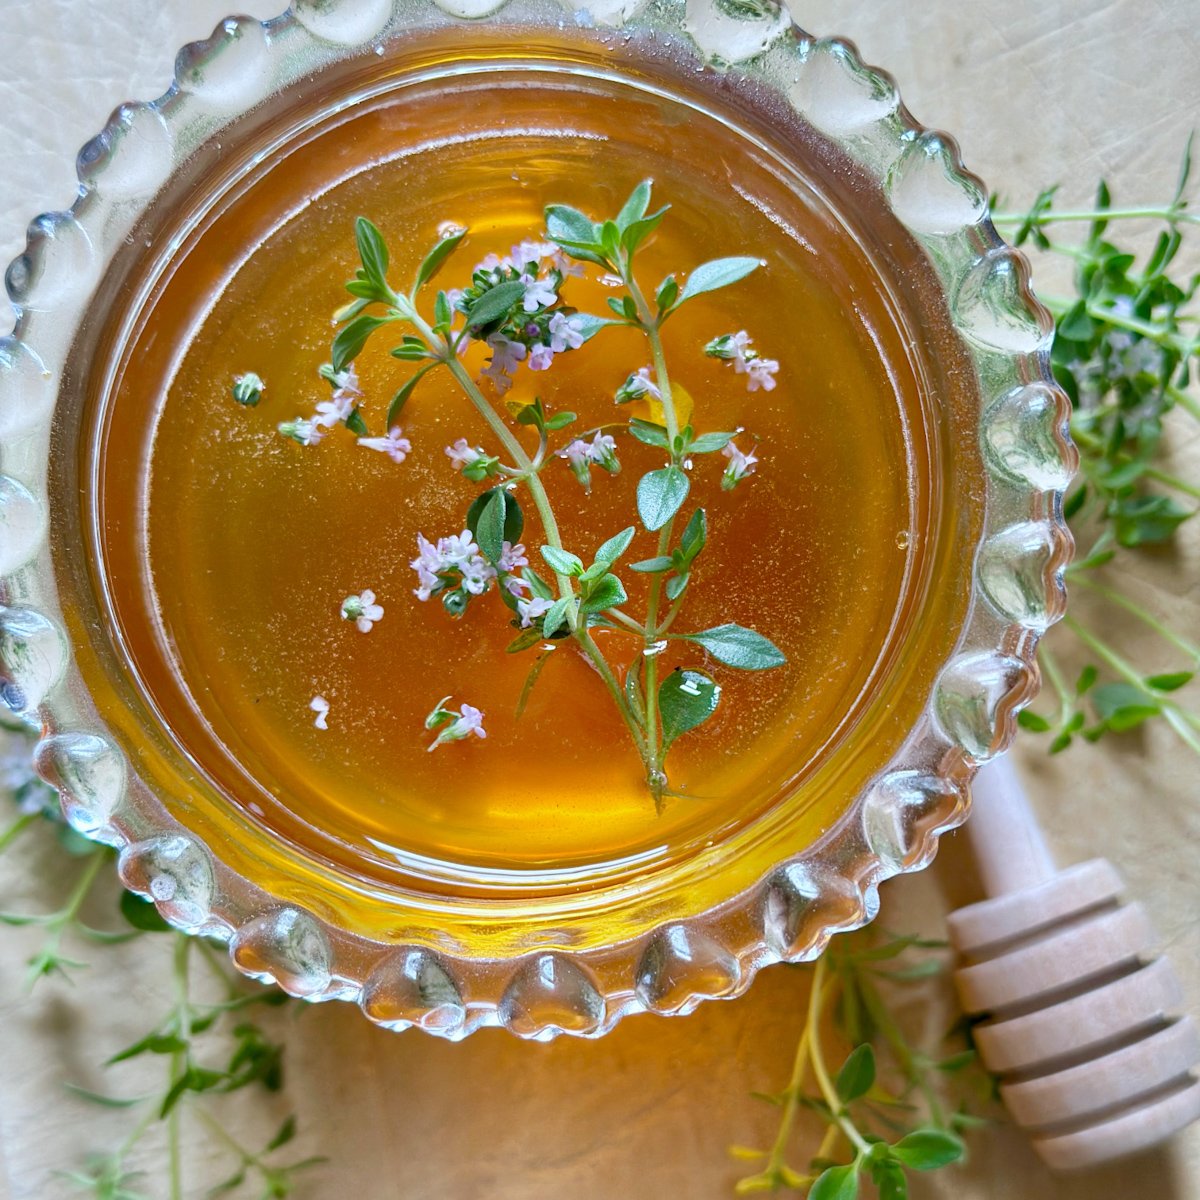
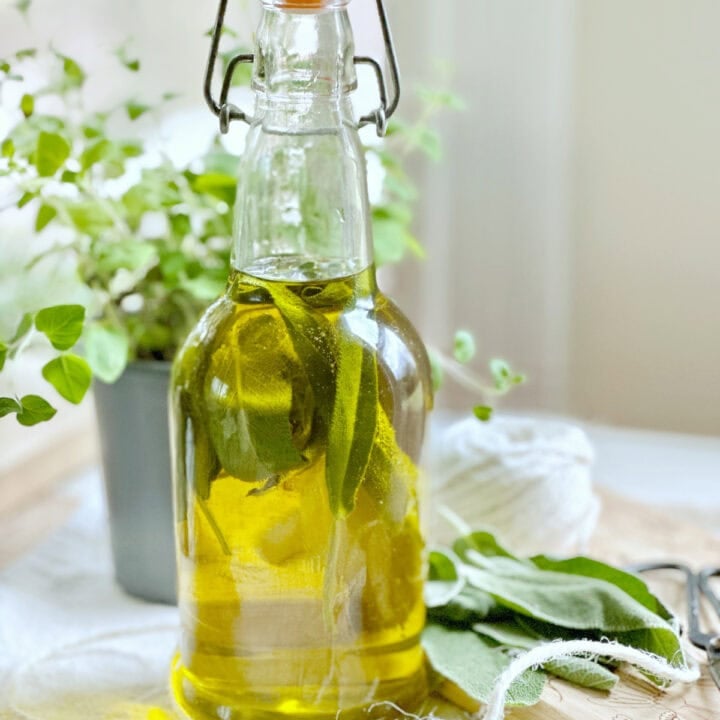
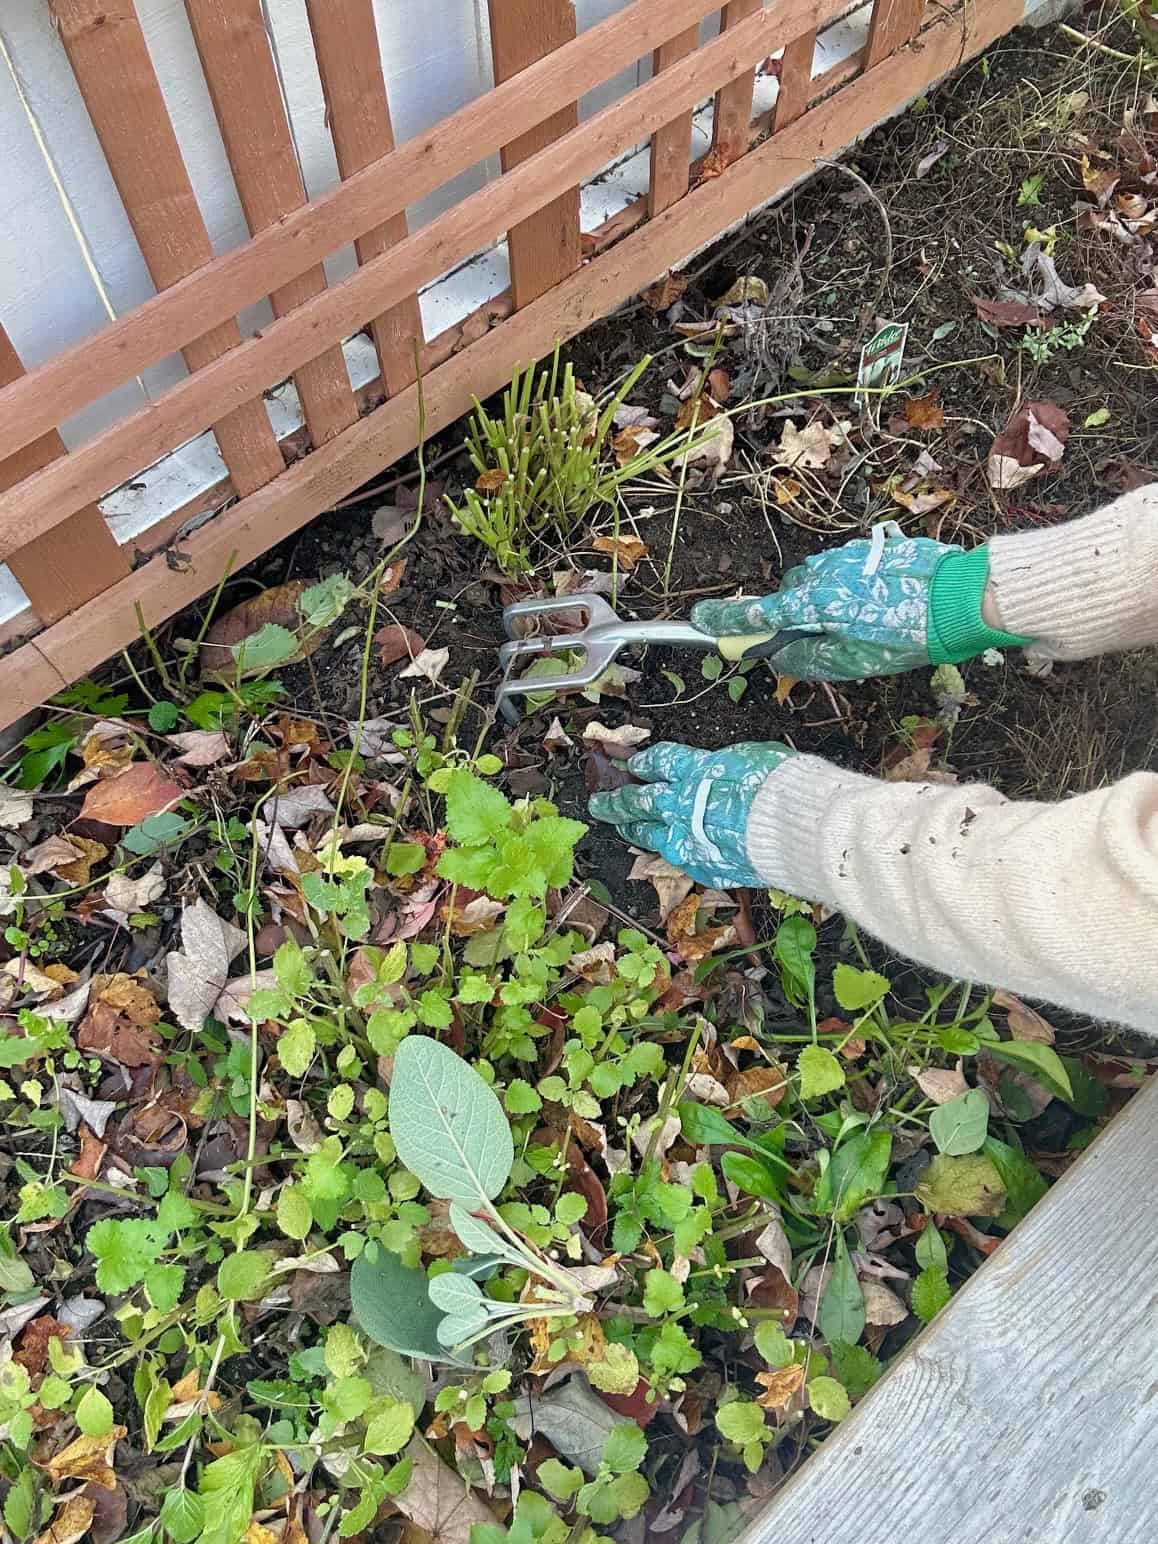
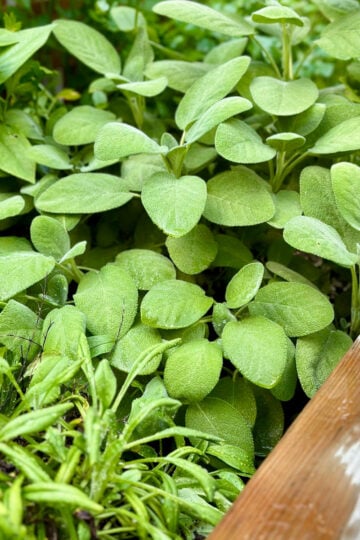
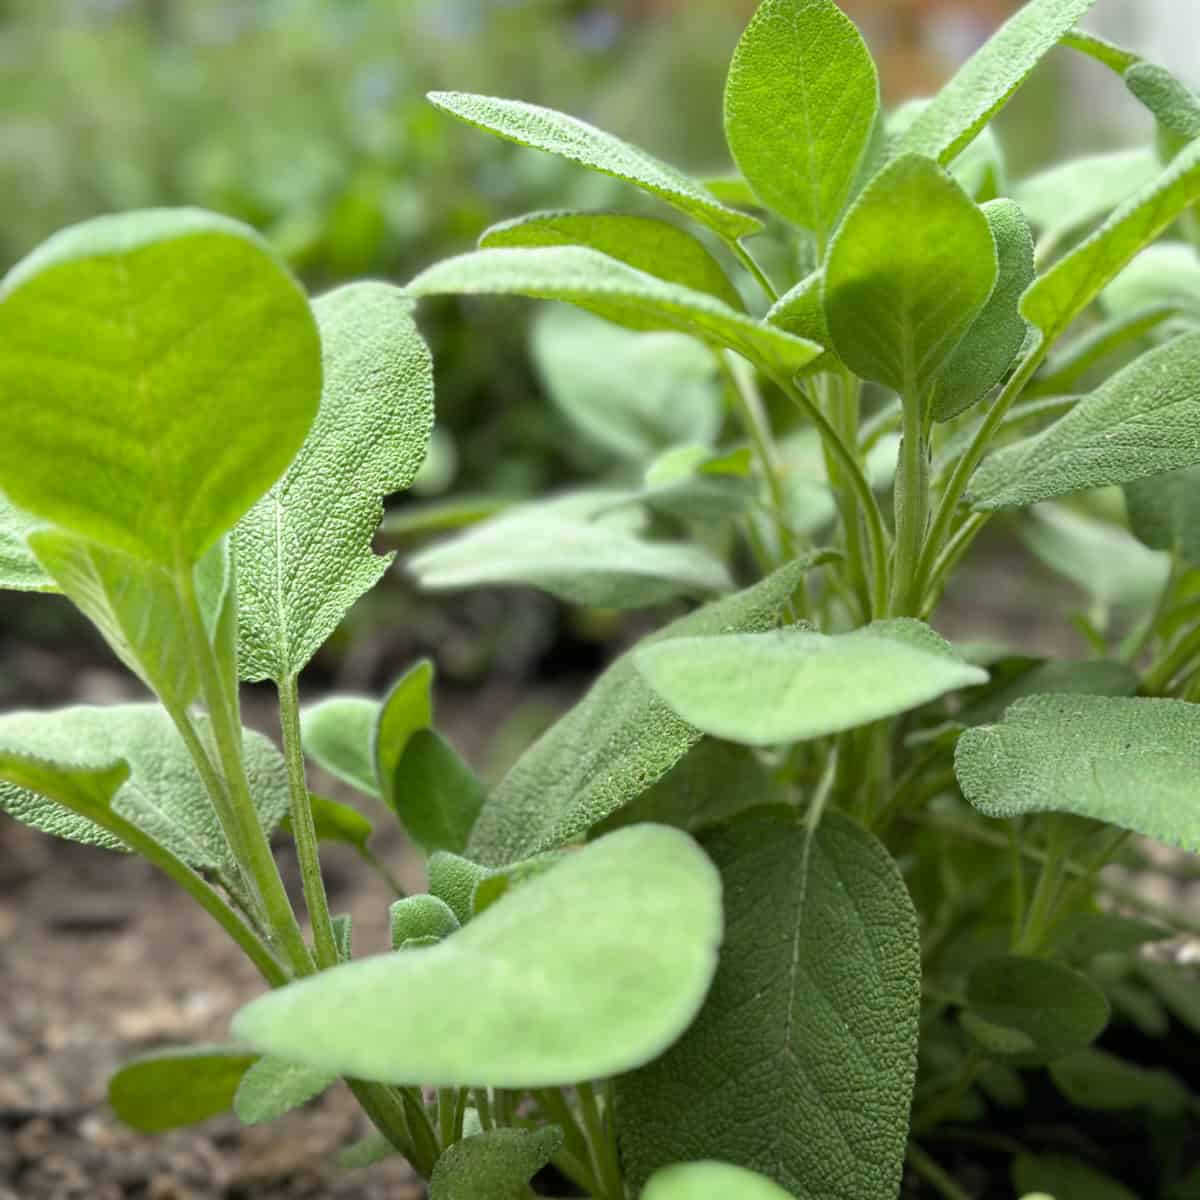
The first thing I did was head out with a pair of clippers and see what was still worth saving. I wasn't trying to be overly precise, just gathering what looked good and could be used or dried. Right now, I still have a decent amount of thyme, chives, sage, oregano, lemon balm, lavender, and mint hanging on. Some of it's looking a little tired, but there's enough to snip and enjoy before the cold really sets in.
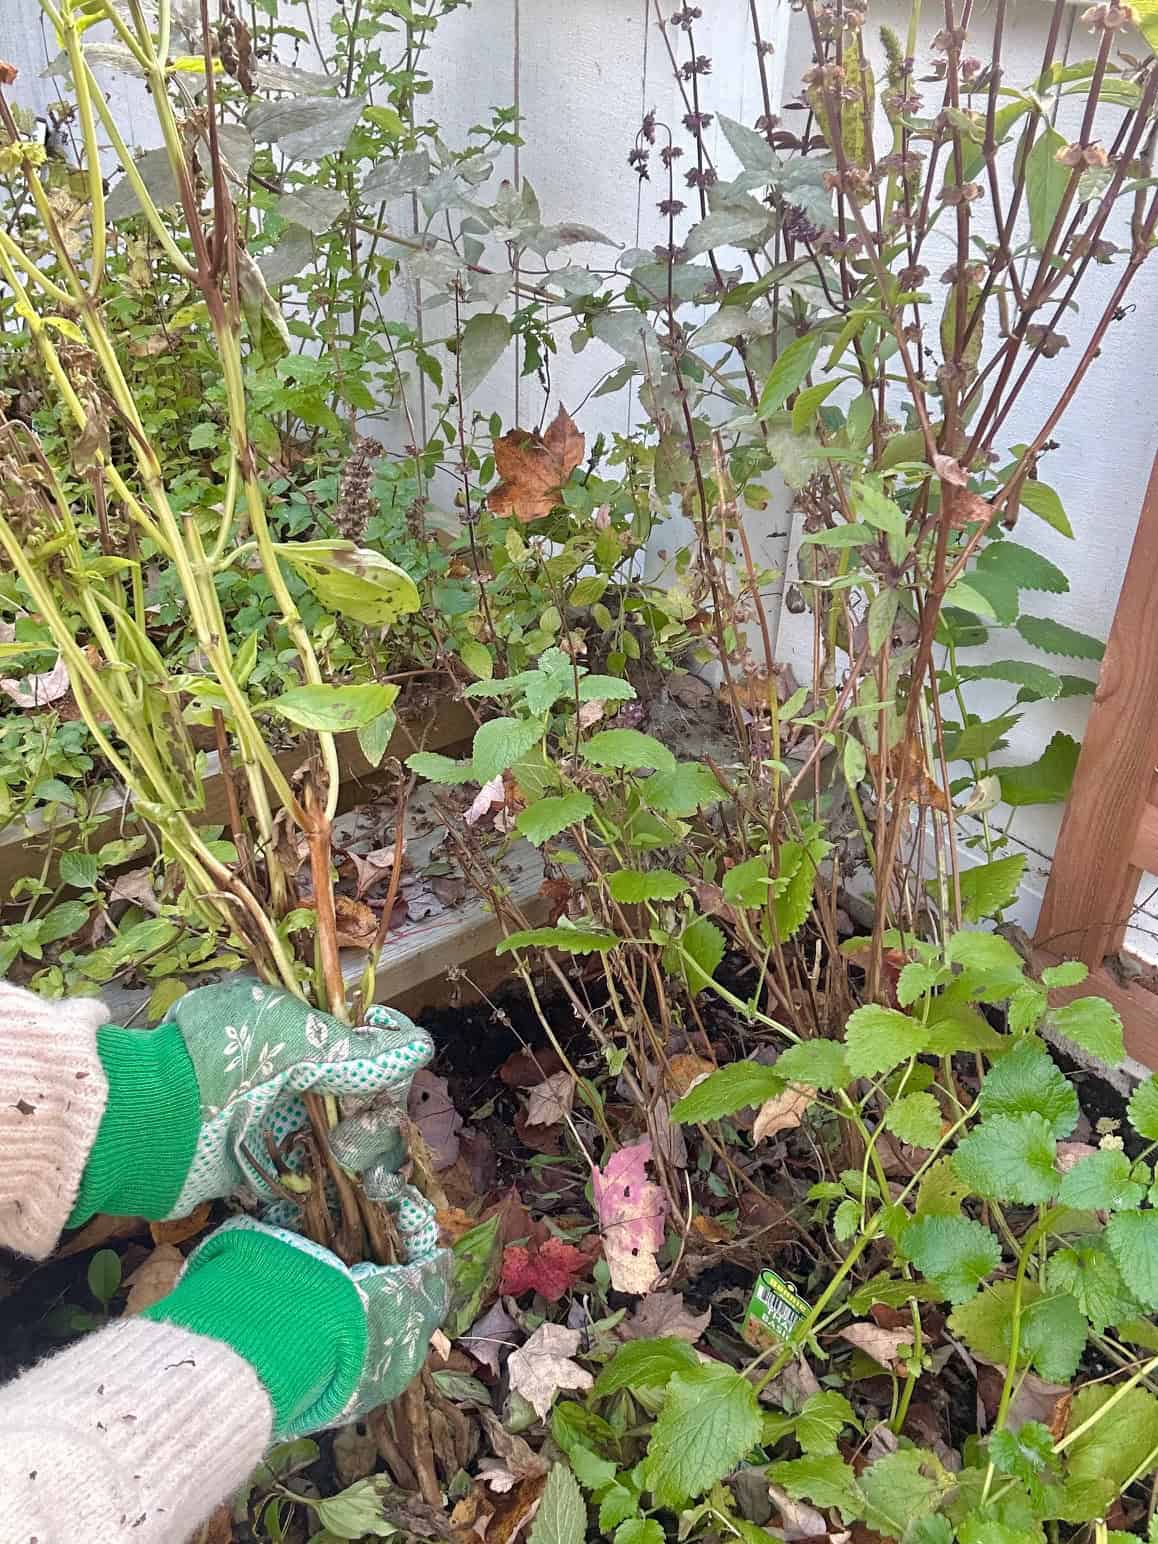
While I was clipping, I also took a minute to tidy up these perennials. Nothing drastic, just a few quick trims to remove any dead stems or overgrowth. I try not to cut them back too far since leaving a little growth helps protect the base of the plant over winter. It was a quick and simple cleanup, just enough to help things settle in.


Step 2: Clear What's Done
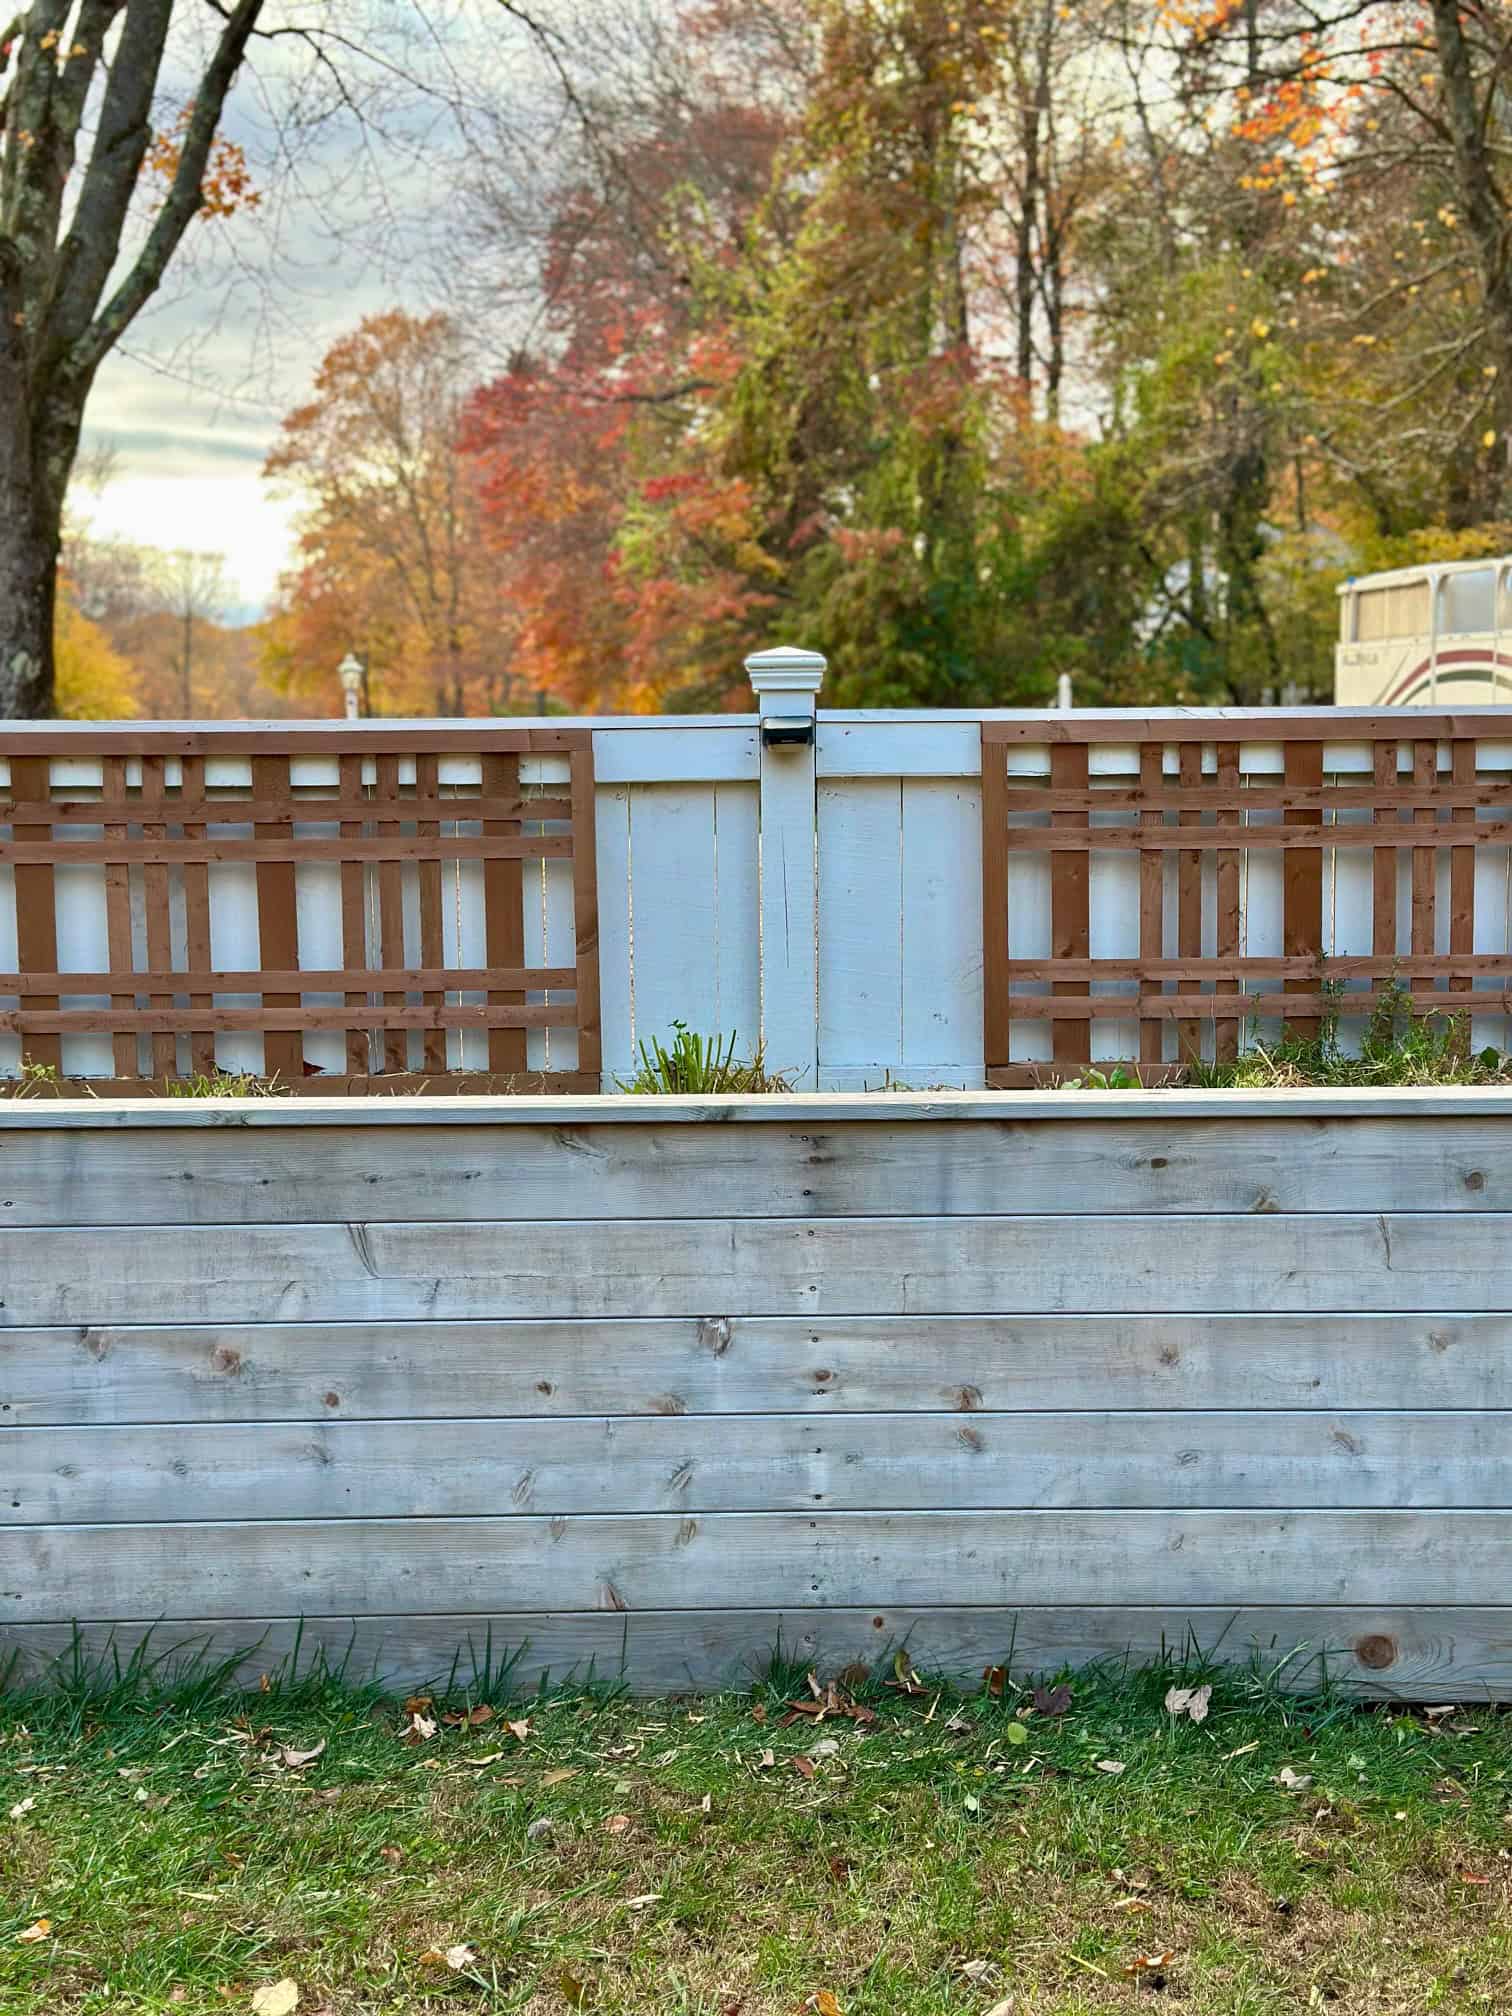
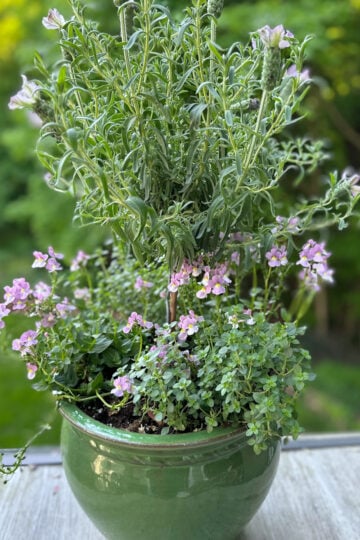
Once the harvesting was done, I moved on to clearing out what won't be coming back. I pulled out any finished annuals, including herbs like basil that didn't survive the first cool nights. I also tend to tuck flowers in and around my herbs, and those came out too. They had a good run this season, but I won't expect to see them return.
This step always makes the bed look a little bare, but it also makes things feel ready - like the garden can take a breath and rest for a while. I left all the perennials in place, of course. Everything looked cleared and ready for the next step.
Step 3: Tidy the Bed
Before mulching, I took a few minutes to clear out anything sitting on the surface of the soil. There were plenty of dried leaves, dropped stems, and other bits of garden debris that had collected over the past few weeks. I gently raked around the base of the plants and pulled out anything that looked like it might hold moisture or attract pests over the winter.
I also added a few fresh plant tags while I was out there. In the spring, everything tends to look like mystery stubs, so a little labeling now goes a long way.
Tip: If you want to take it a step further, this is also a good time to jot down a few notes about your herb garden. I usually bring my gardening journal and sketch out a quick diagram of what's where. I'll add little reminders about what did well, what didn't, and what needs to be moved next season. It takes more than 30 minutes, but it always helps when planting time rolls around again.
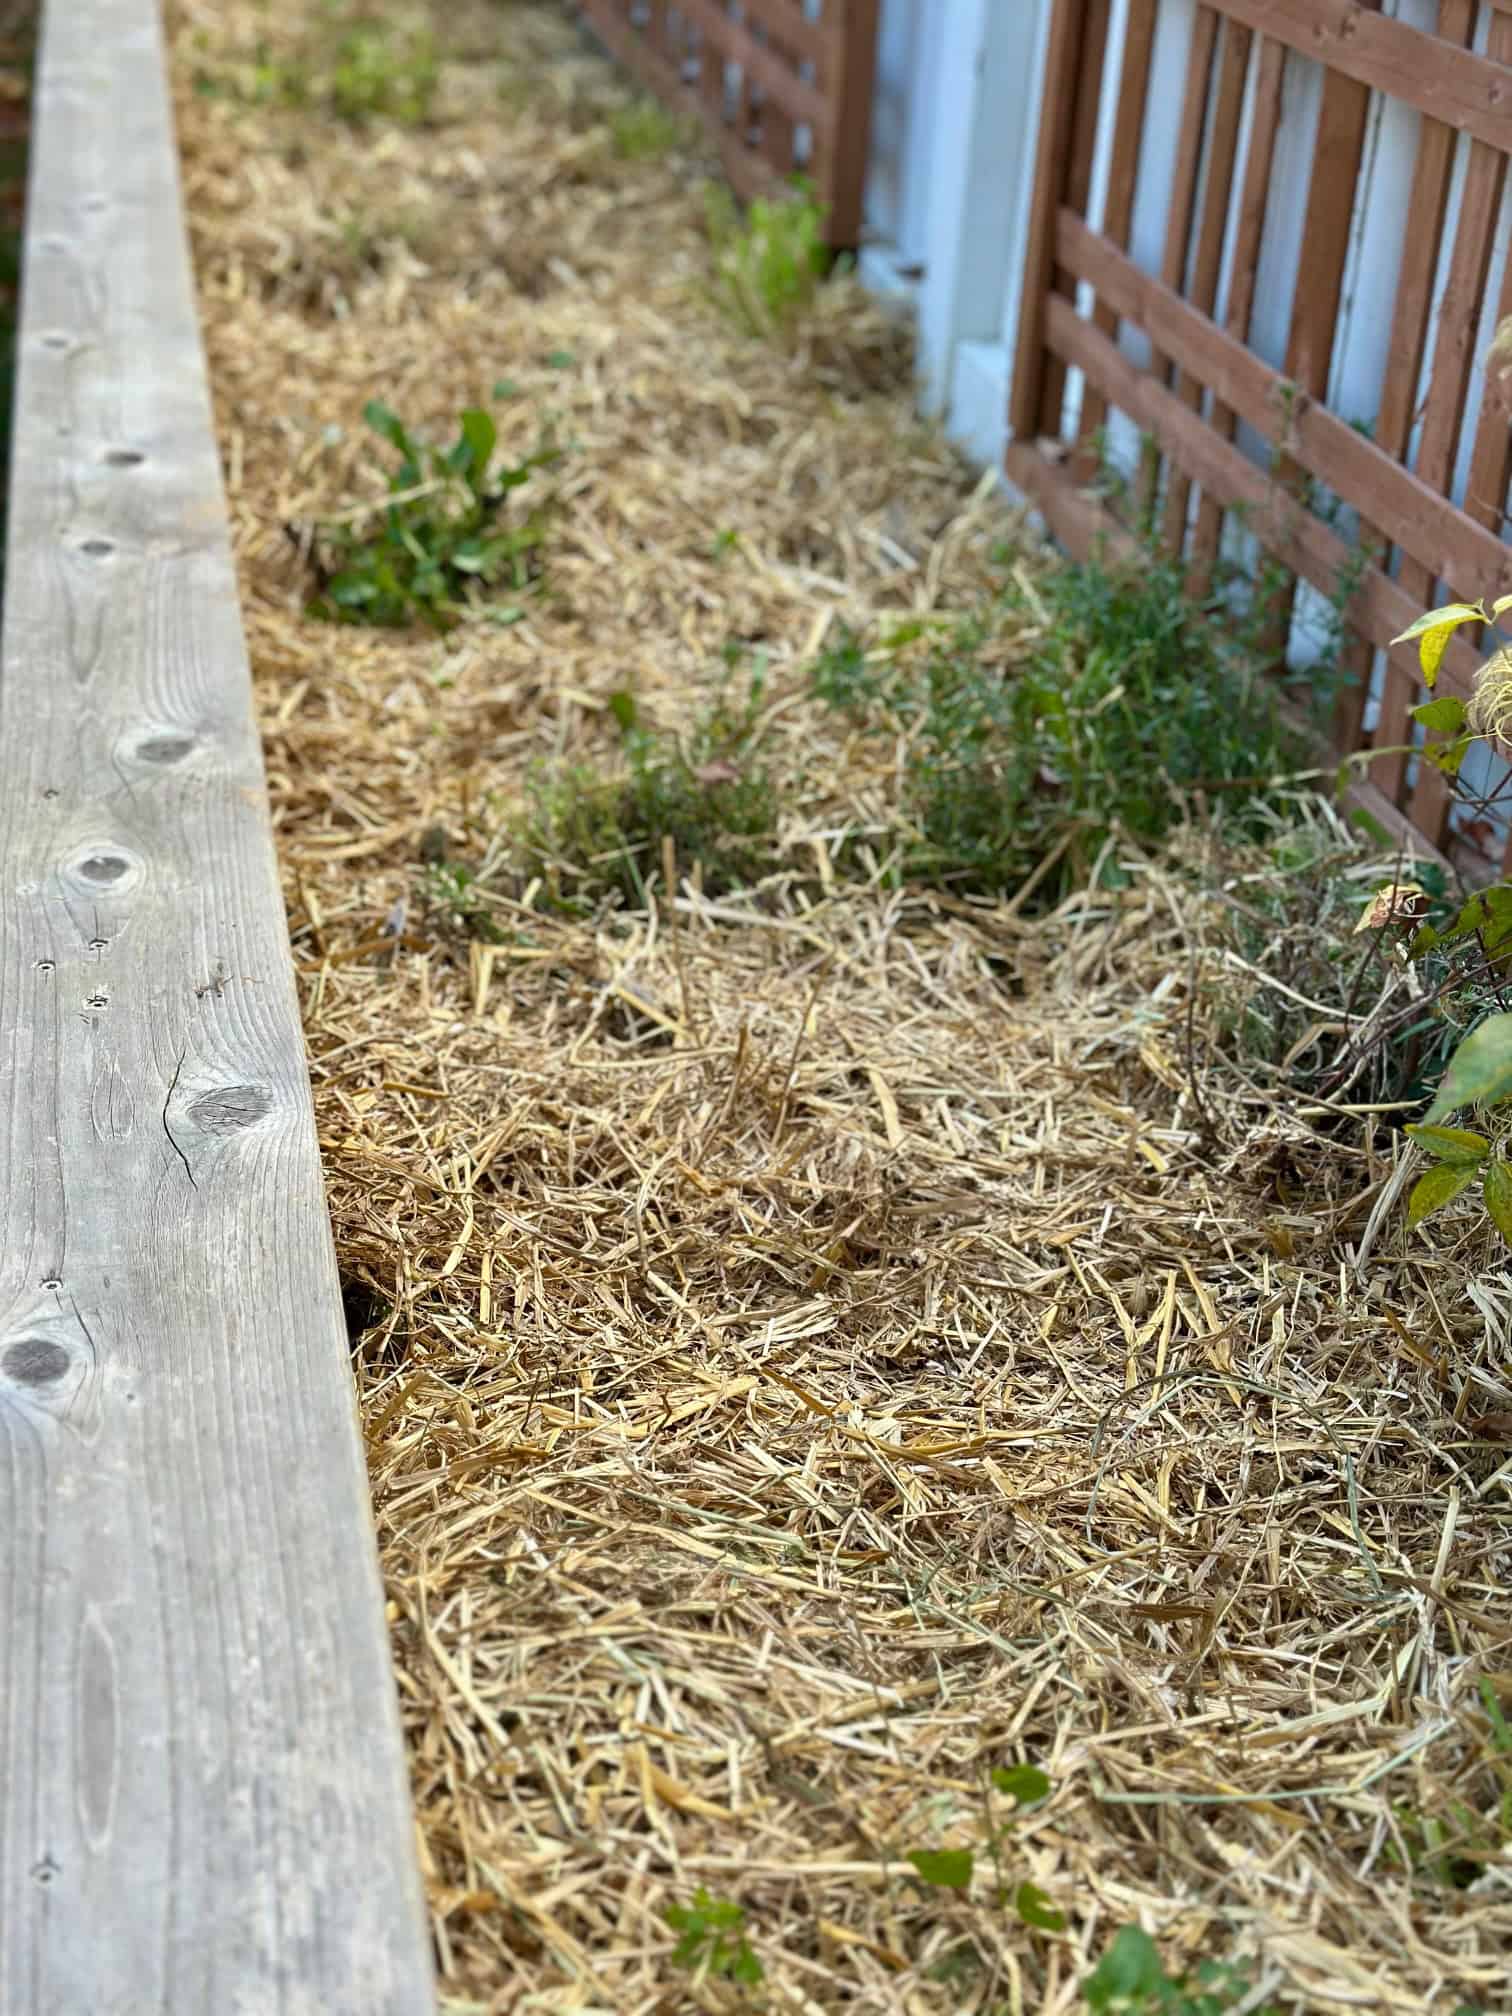
Step 4: Mulch Around the Base
With the bed cleaned up and cleared, I added a layer of mulch around the base of each perennial. I like to use straw because it's lightweight, easy to work with, and doesn't trap moisture the way leaves can. Wet leaves tend to freeze and keep the soil damp, but most herbs prefer drier conditions over the winter. About two to three inches is plenty. The goal is to insulate the roots and help keep the soil more stable through the freeze and thaw cycles of late fall and early spring.
This year, I sprinkled a light layer of compost over the soil before mulching. If I have some on hand, I will use it, but I do not go out of my way to get it. Most years I save that step for spring when I am doing a full refresh.
You do not need anything fancy here. Just something to help the herbs settle in and stay protected until it is time to wake things up again in a few months.
Note: I like to think of mulching with straw not as tucking the herbs in with a blanket, but more like creating little nests around the base of each plant. Just enough to cradle and protect the roots without smothering them - a cozy spot to rest until spring.


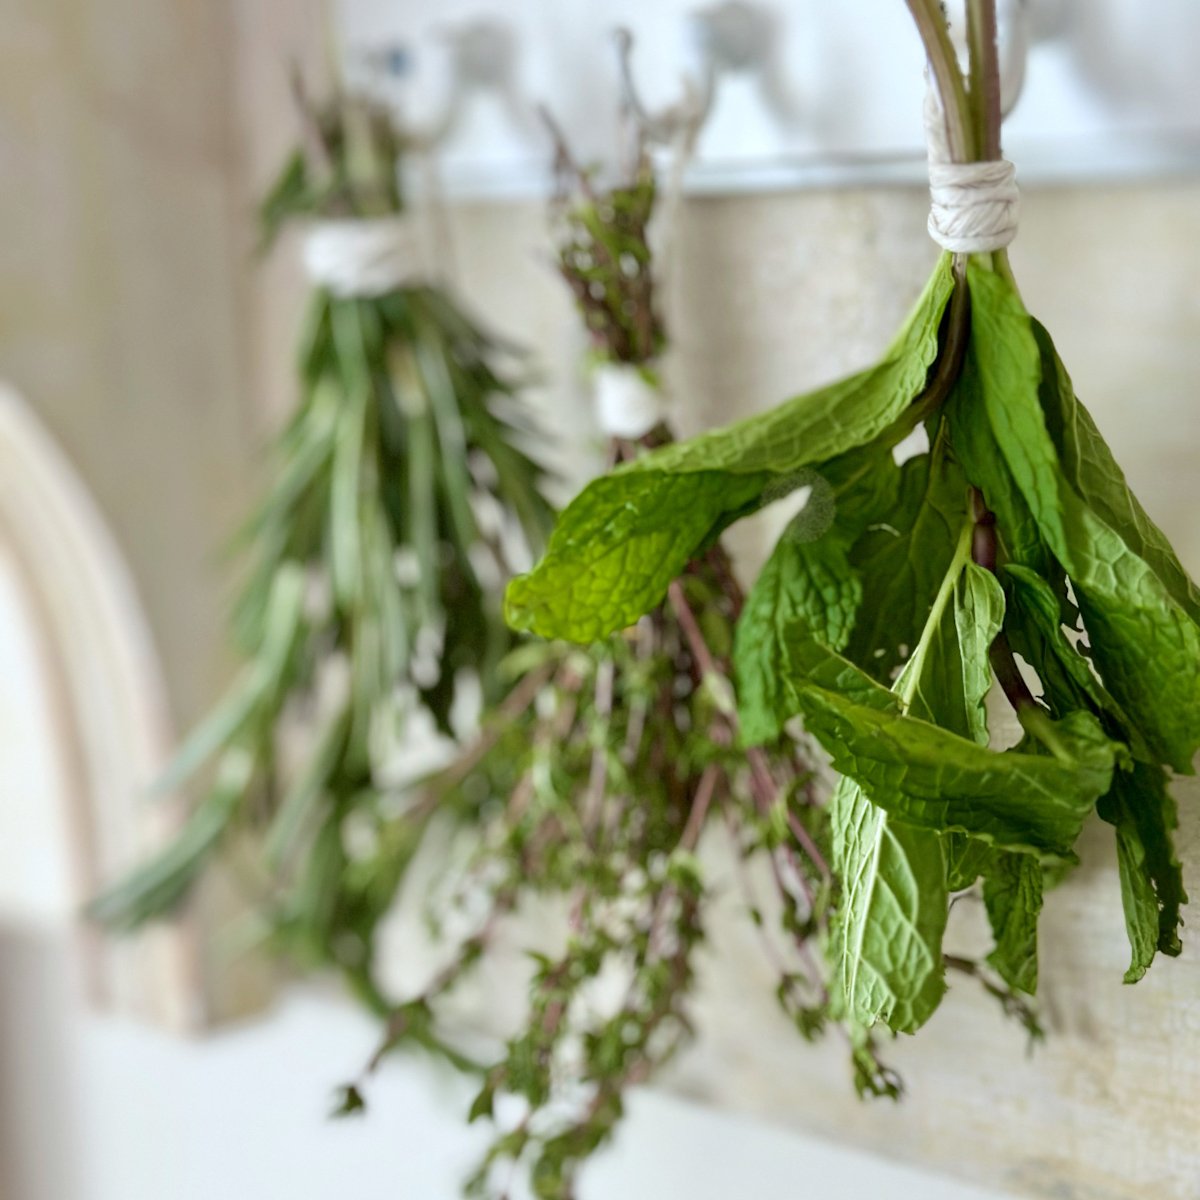

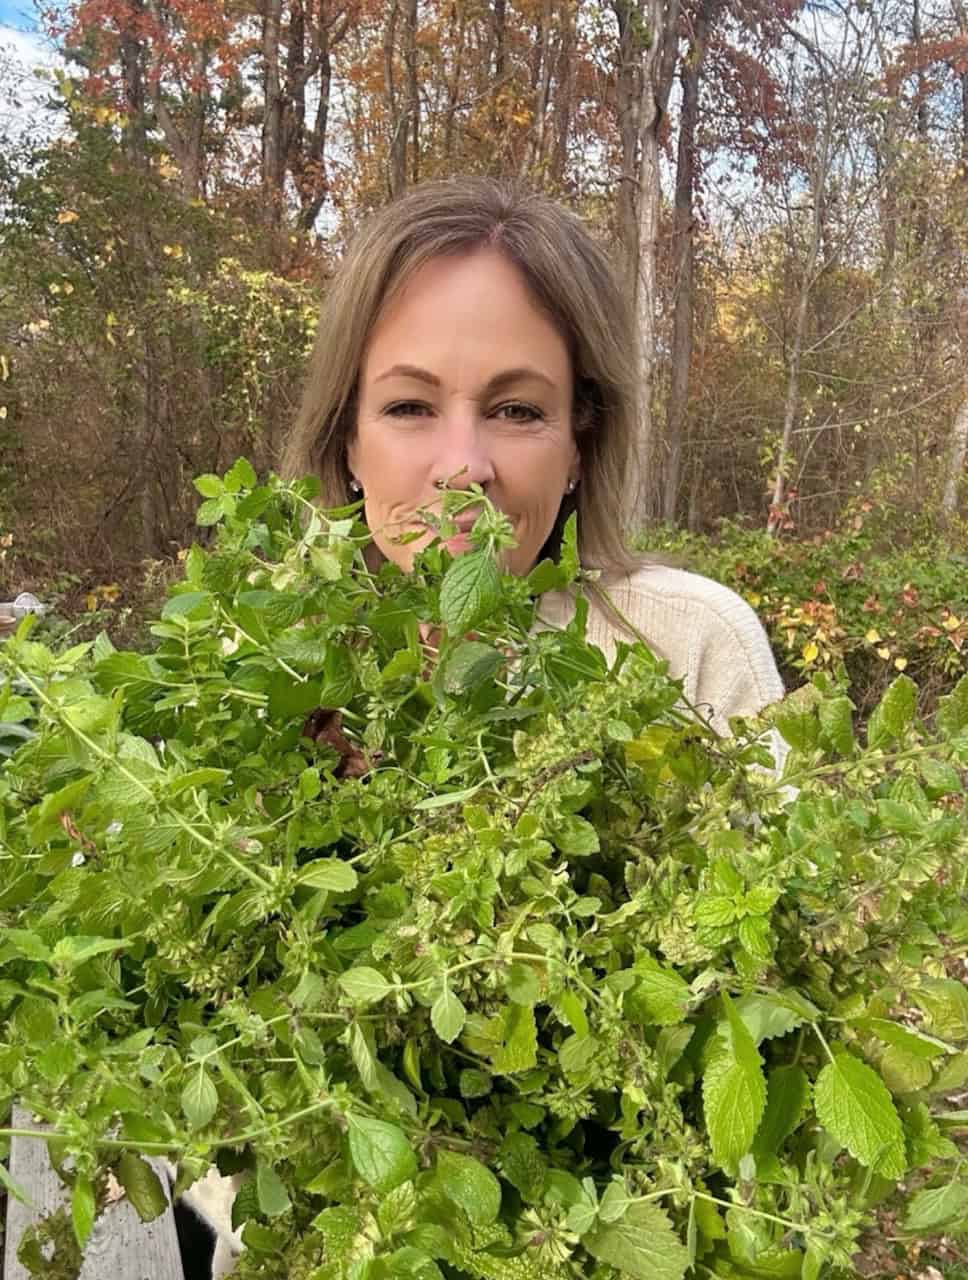
All in all, it took me about 30 minutes to get everything done in my raised herb garden bed. It was one of those small tasks I had been putting off, but once I got started, it felt good to check it off the list. The bed is cleared, the herbs are tucked in, and I have a few bundles drying inside for later.
If you have been avoiding your own garden cleanup, this is your sign to get out there and do a quick sweep. It does not have to be perfect, and it does not have to take all afternoon. Just a little time now goes a long way come spring when you can wake your garden back up for a new season!
See you in the garden, friends!


Love these ideas Stephanie!
Thanks Ann!