

How to Use Floral Foam for Fresh Flower Arrangements
Floral foam is used to hold and hydrate fresh flowers in arrangements. To use it properly, allow the foam to absorb water naturally until fully saturated, then cut it to fit snugly in the container and secure it in place. Inserting stems correctly helps flowers stay hydrated and keeps arrangements looking fresh longer.

If flower arranging has ever felt like a balance between making something beautiful and keeping it upright, floral foams are often the missing piece. Used correctly, they provide structure, stability, and consistent hydration for fresh flower arrangements, making the entire process easier and far less frustrating.
Floral foam is sometimes overlooked or used incorrectly, which is why it gets a bad reputation. When prepared and handled the right way, it helps flowers stay in place, last longer, and look intentional rather than improvised. Whether you are arranging flowers for a gathering or refreshing a simple grocery store bouquet, understanding how floral foams work can make a noticeable difference in the final result.
Jump to:
What is floral foam
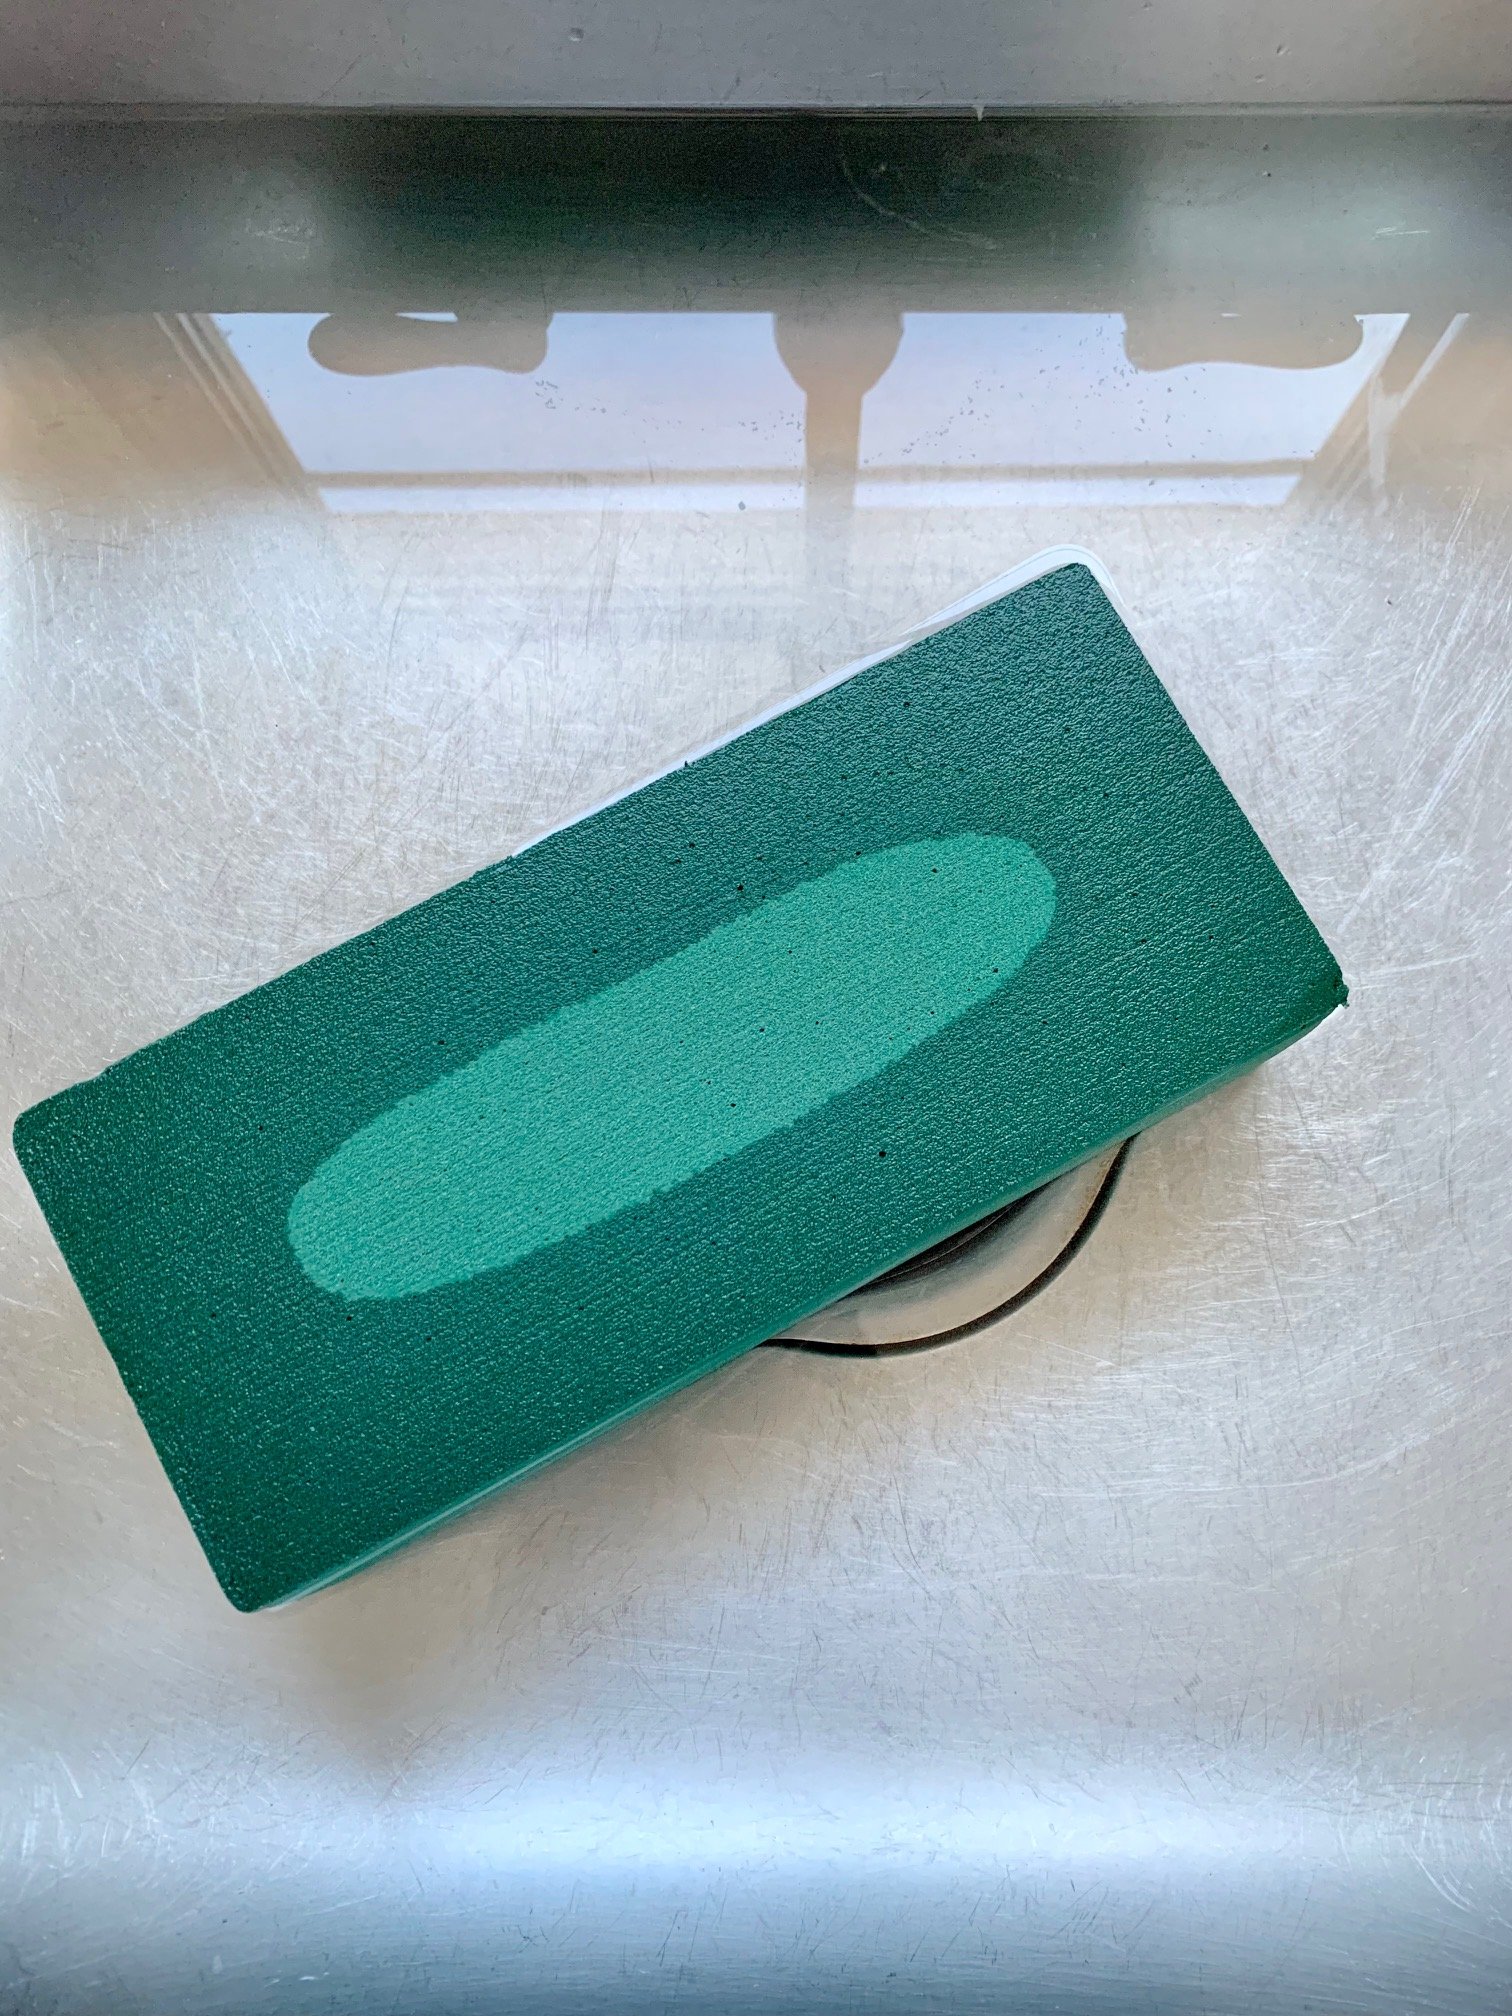
Floral foam is a material designed to support fresh flower stems while keeping them hydrated in an arrangement. It was developed in the 1950s to solve a simple problem. How to hold flowers securely in place while still delivering water to the stems. Today, it remains a staple for florists and home arrangers alike.
The most commonly used floral foam for fresh flowers is the standard green foam found at most craft stores. When prepared correctly, it absorbs and holds a large amount of water, allowing cut stems to drink continuously while staying upright and evenly spaced. This makes it especially useful for centerpieces, bouquets, and arrangements that need both structure and longevity.
Floral foam sometimes gets a bad reputation, but that usually comes down to improper use. When it is soaked correctly and handled with care, it creates clean, stable arrangements and helps flowers last longer than they would in water alone.
There are different types of floral foams designed for different purposes. For fresh flower arranging, the focus stays on wet floral foam and how to prepare it properly. Other types of floral foam are discussed later, once the basics of fresh arrangements are covered.

Why use floral foam in your next arrangement?
Floral foam takes a lot of the guesswork out of flower arranging, especially when working with fresh flowers. It provides both support and hydration, which makes it easier to create arrangements that look intentional and hold their shape. I make sure to always have some on hand!
It makes arranging easier
When floral foam is properly soaked, it holds both water and stems in place. Once a flower is inserted, it stays where you put it. There is no shifting, tipping, or constant adjusting. This makes designing faster and far less frustrating, even for beginners.
It is widely available and affordable
Floral foam can be found online and at most craft stores. It is an accessible tool that does not require professional training or specialty supplies, which makes it easy to keep on hand for everyday arranging.
It helps arrangements stay stable
Floral foam adds structure to an arrangement, making it easier to move, transport, or place on a table without flowers sliding out of position. This is especially helpful for centerpieces or arrangements that need to hold their shape for several hours or longer.
Different types of floral foams are designed for different uses. Once you understand why floral foam works so well for fresh flowers, it becomes easier to choose the right type and use it correctly.

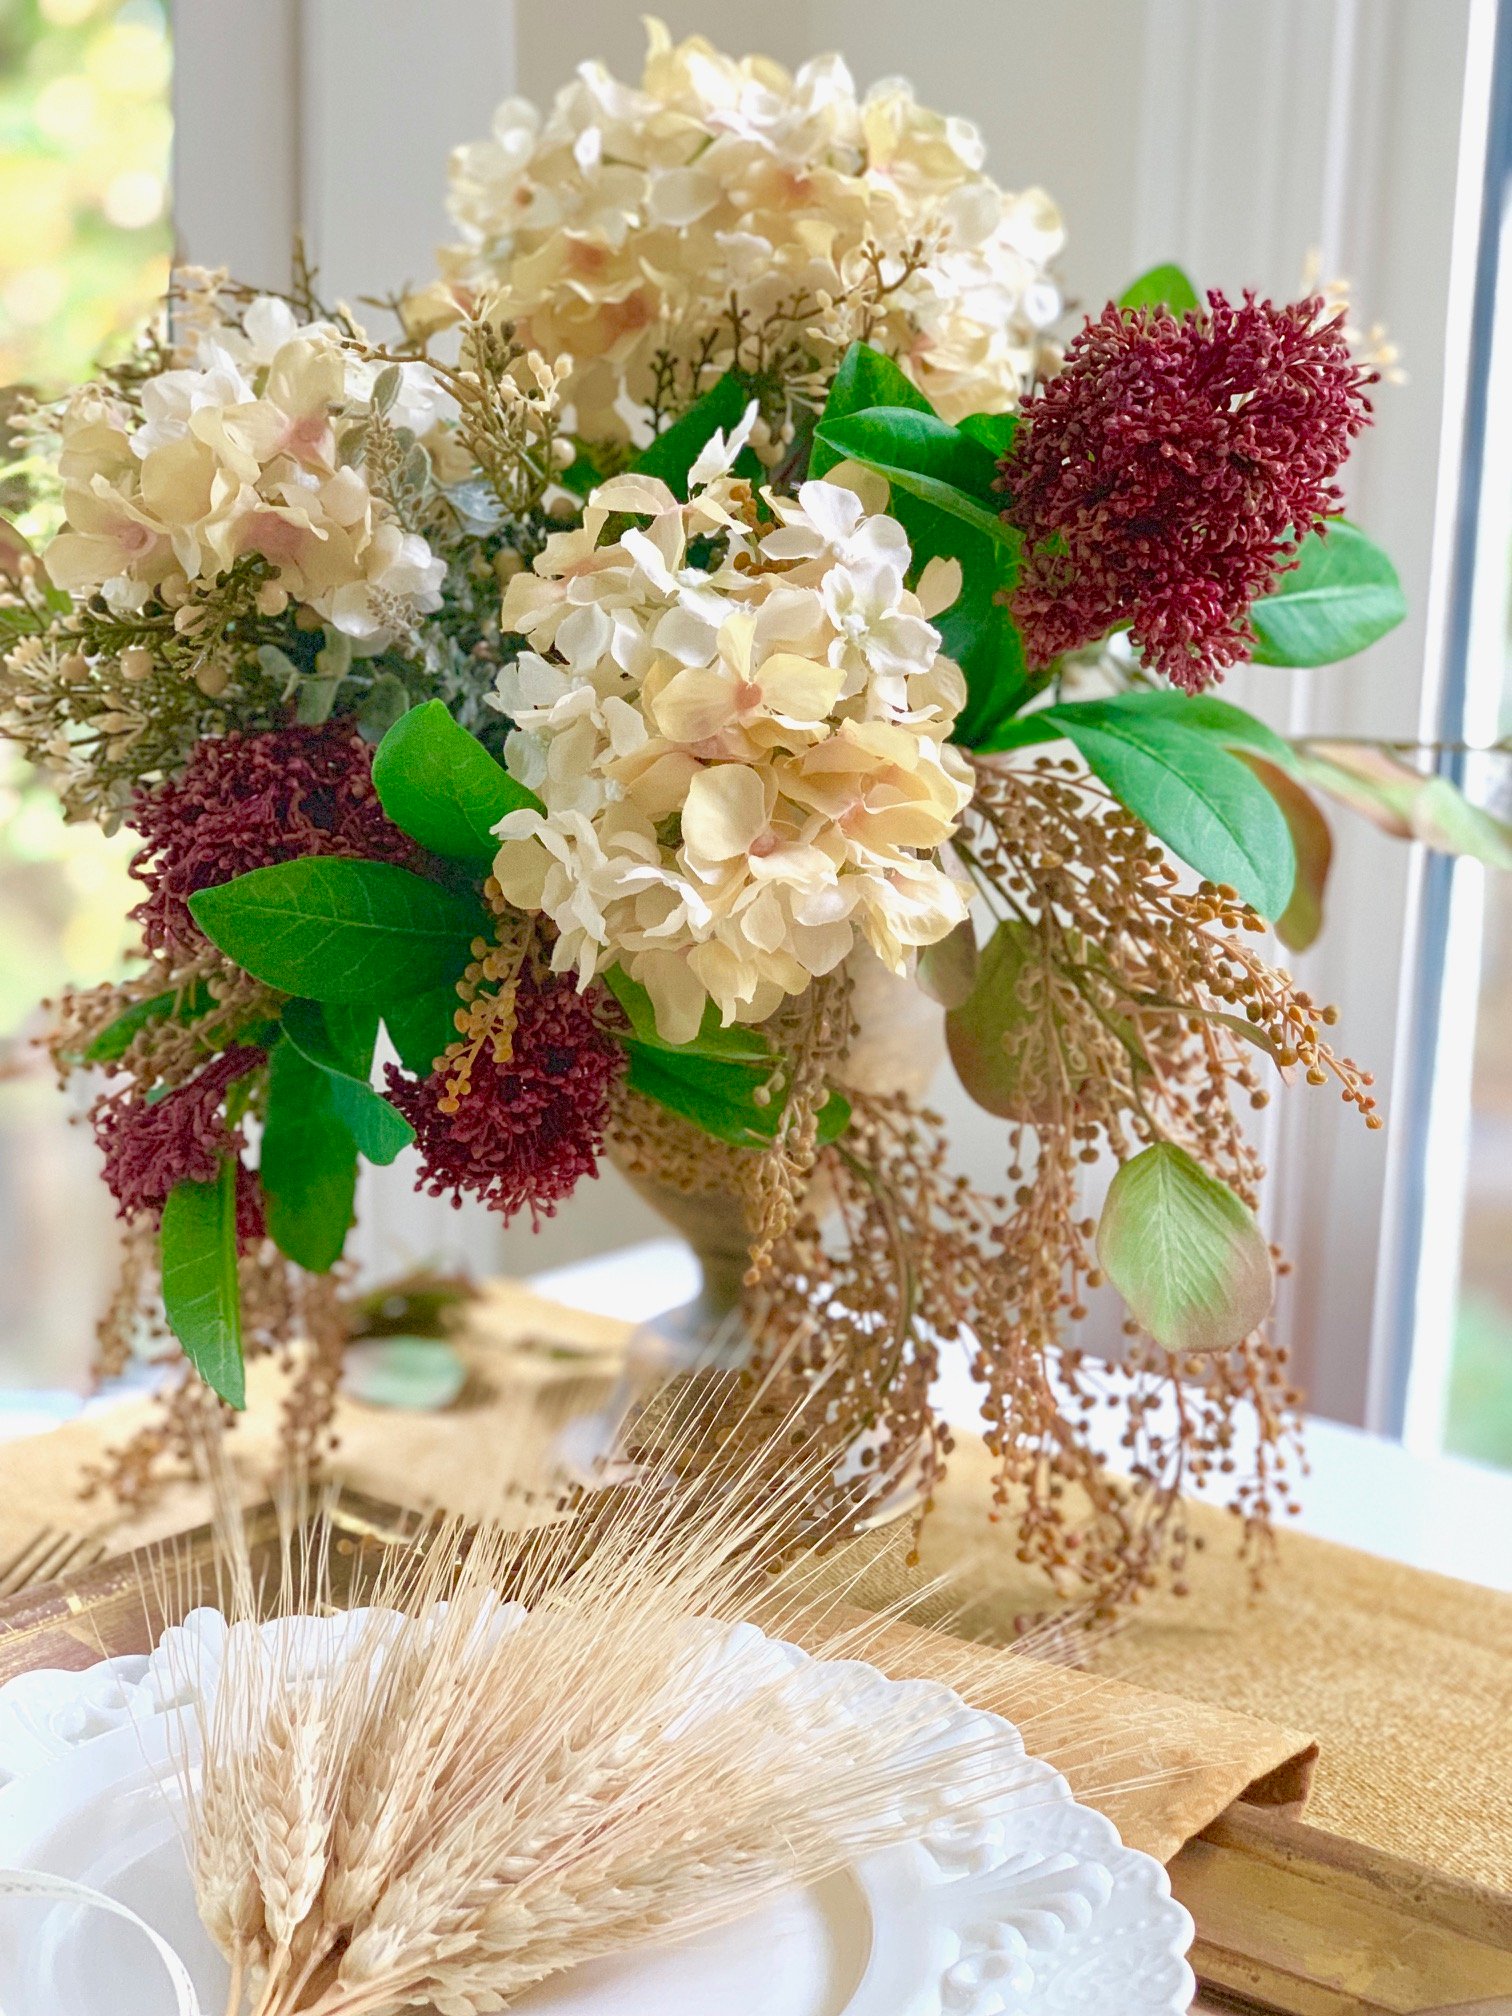
Using Wet Floral Foam for Fresh Flowers
Wet floral foam is my go to choice when an arrangement needs both hydration and structure. It gives you control over stem placement while keeping flowers evenly supported and watered. This makes it especially useful for centerpieces, larger arrangements, and anything that needs to hold its shape while being moved.
How to soak wet floral foam
There are two common ways to soak floral foam, and both can work well when done properly.
Float and soak method
Many florists prefer to place the dry foam on the surface of a bucket of water and let it absorb moisture on its own. The foam will slowly sink as it becomes fully saturated. This method helps prevent air pockets from forming inside the foam.
In container method
At home, it is also common to place the foam directly into the container and slowly pour water over the top. While not the traditional method, it is effective as long as the foam is allowed to absorb water completely.
Pro tip
Never push or dunk floral foam under water. Forcing it down can trap air inside and leave dry spots in the center of the foam.
How to fit wet floral foam in a vase
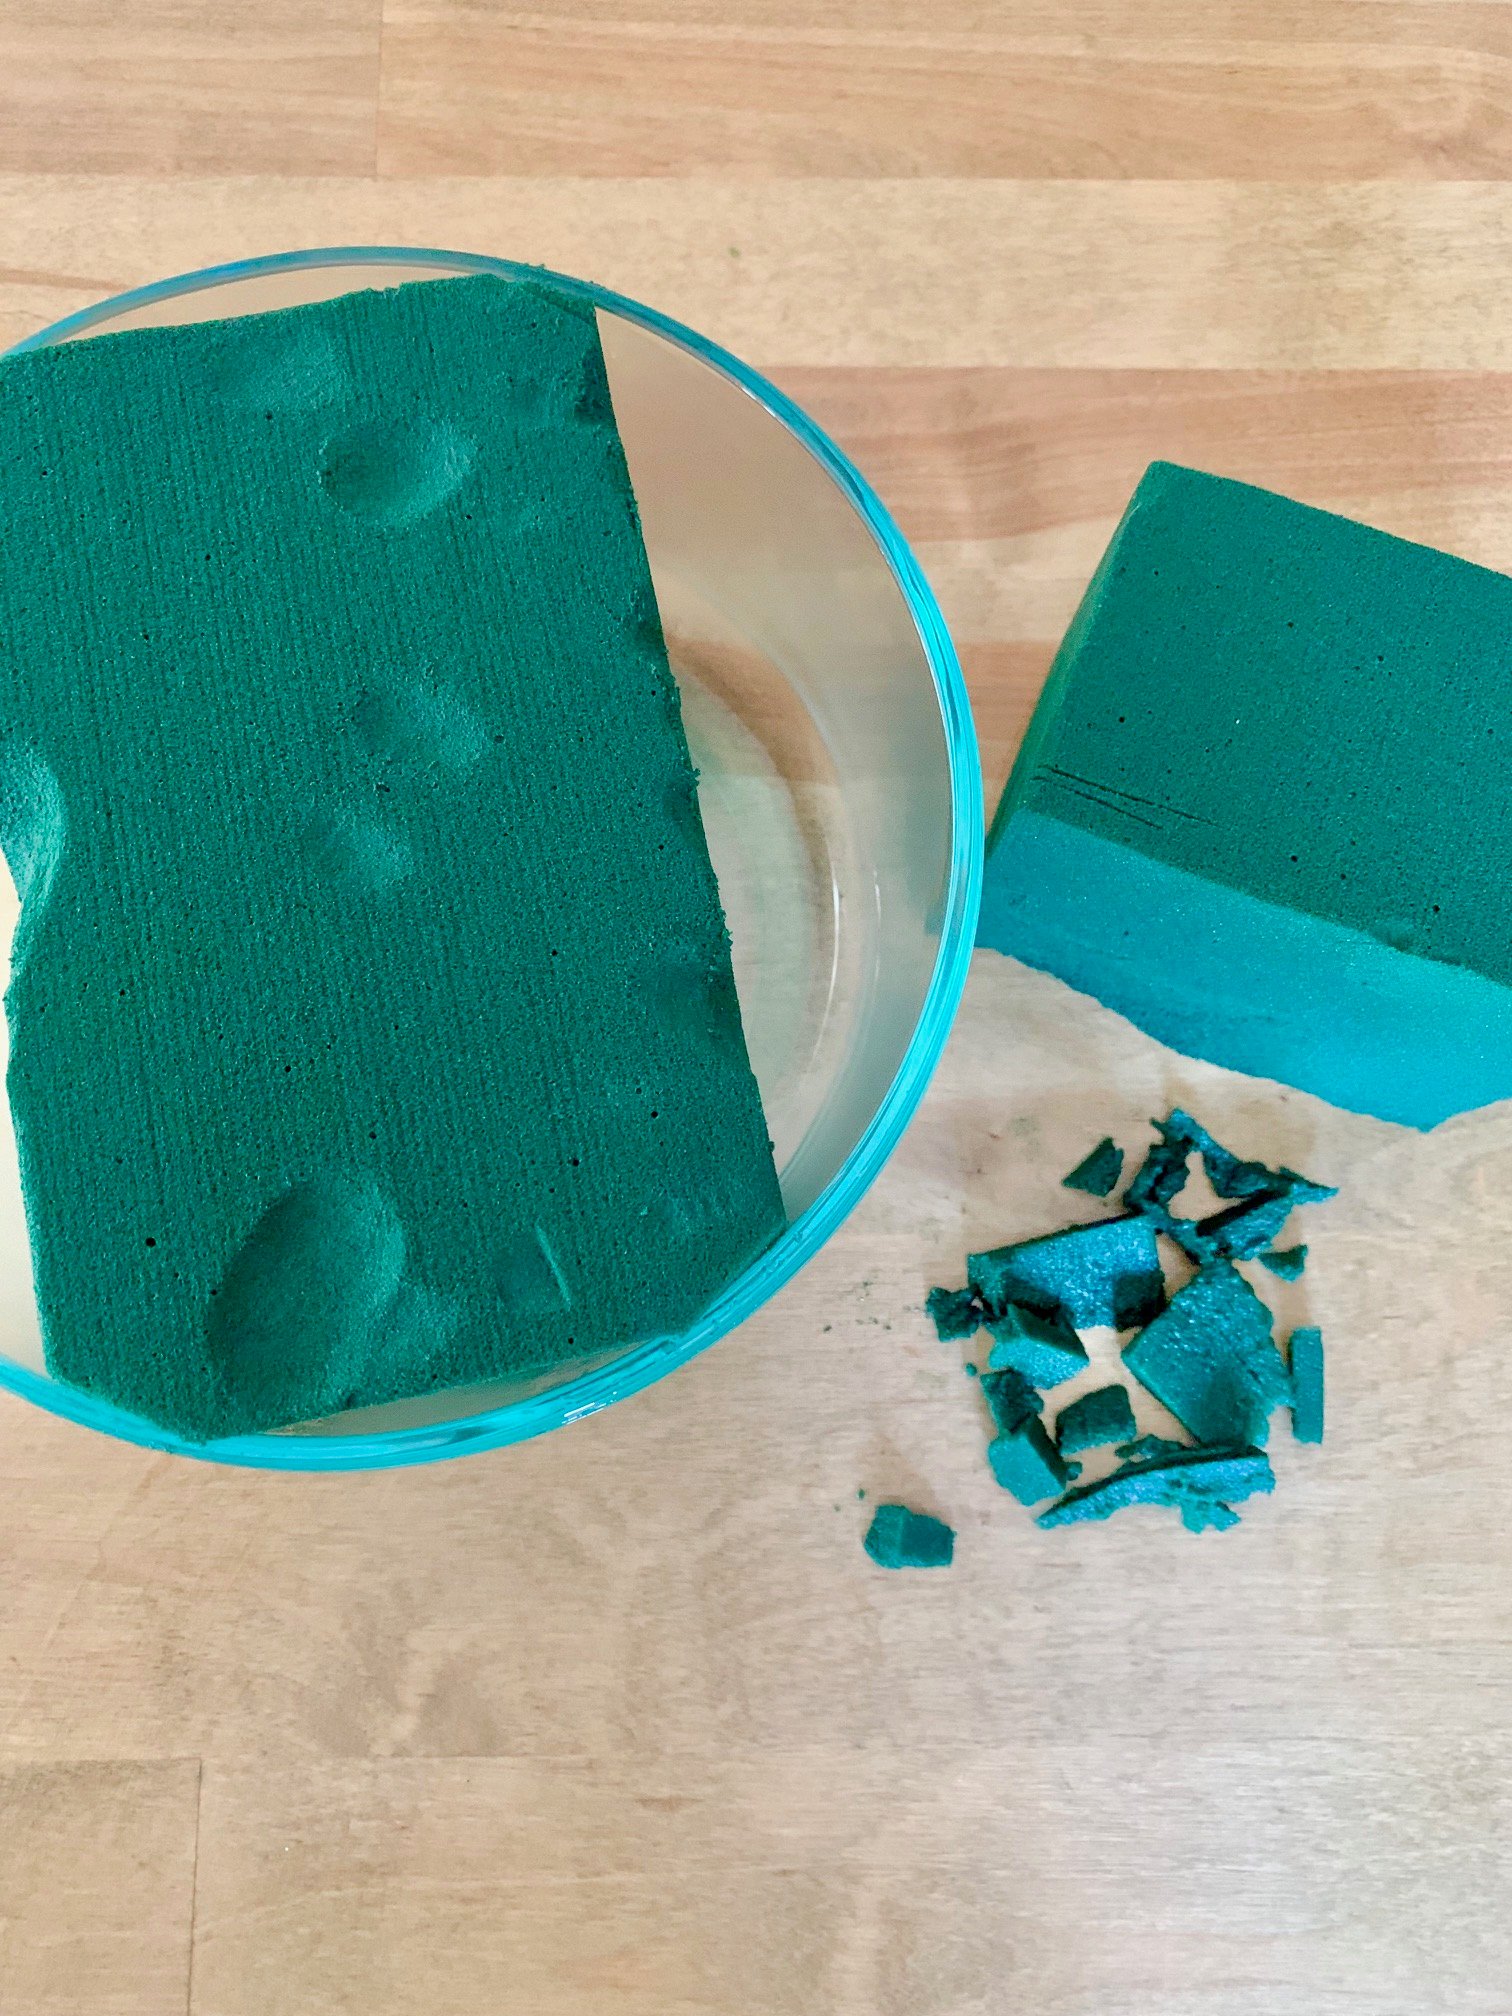
Floral foam should fit snugly inside the container. If the foam is too loose, it will not provide enough support. If it is too tight, it may crack.
Use a floral knife to trim the foam so it fits neatly into the vase or dish. Keep small scraps nearby to wedge into any gaps if needed.
For shallow bowls or trays, floral tape can be used to secure the foam in place. Make sure the container surface is clean and dry before applying the tape.
How to cover floral foam for a finished look
Although green floral foam blends in fairly well, it should still be covered for a professional appearance.
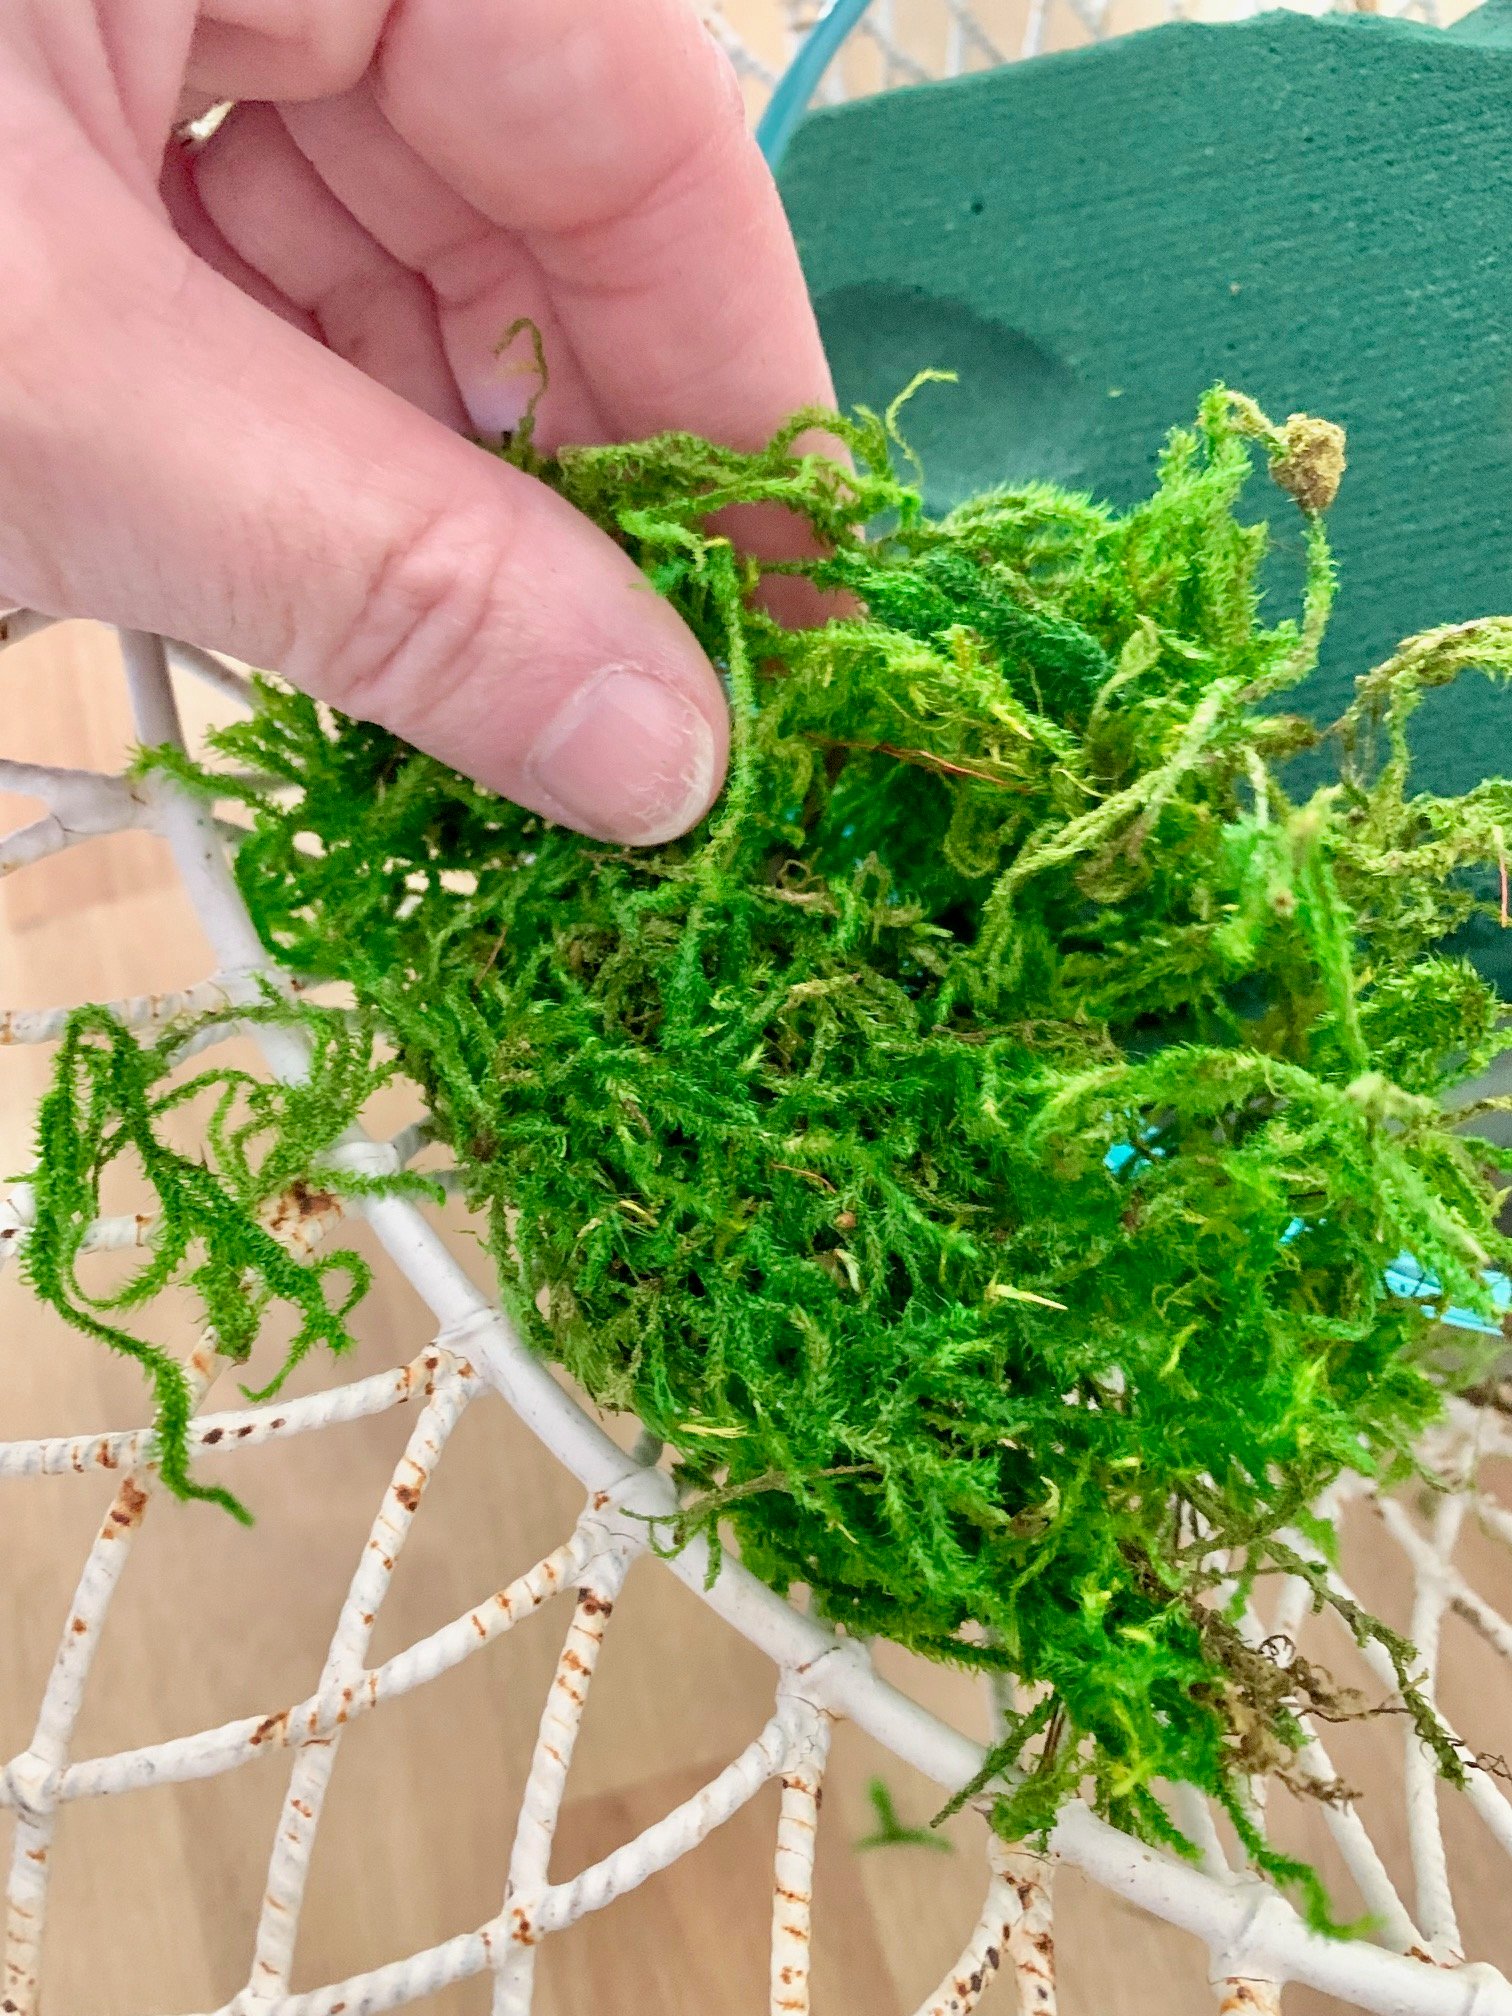
Sheet moss works well as a base layer. Fresh greenery such as pittosporum, ruscus, or eucalyptus can also be tucked in around the foam. Decorative branches like curly willow can be used when the style of the arrangement calls for it.
How to design in wet floral foam
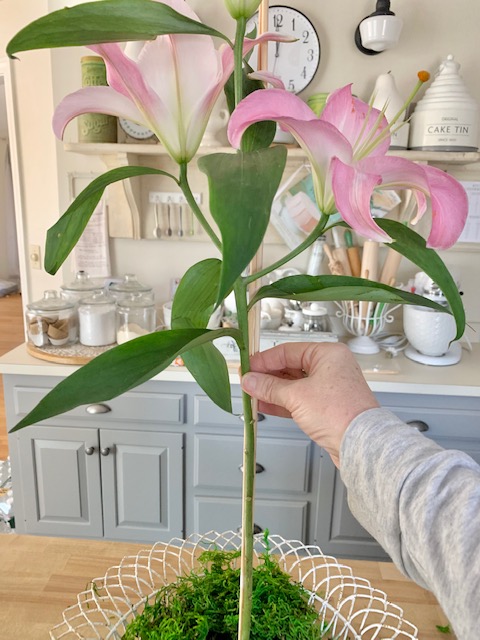
Before inserting any stems, cut them at a sharp angle. This helps the stem slide into the foam and improves water uptake. Always give stems a fresh cut just before placing them.
Wet floral foam allows complete flexibility with stem placement. Flowers can be angled in any direction without shifting or falling over.
Start by placing line flowers to establish the overall shape. Add focal flowers next, then finish with filler flowers. Once a stem is placed, it will stay where you put it, which makes arranging and transporting much easier.
Pro tip
If you need to move a stem, do not reinsert it into the same hole. Insert it into a new spot to avoid creating air gaps that can interfere with hydration.
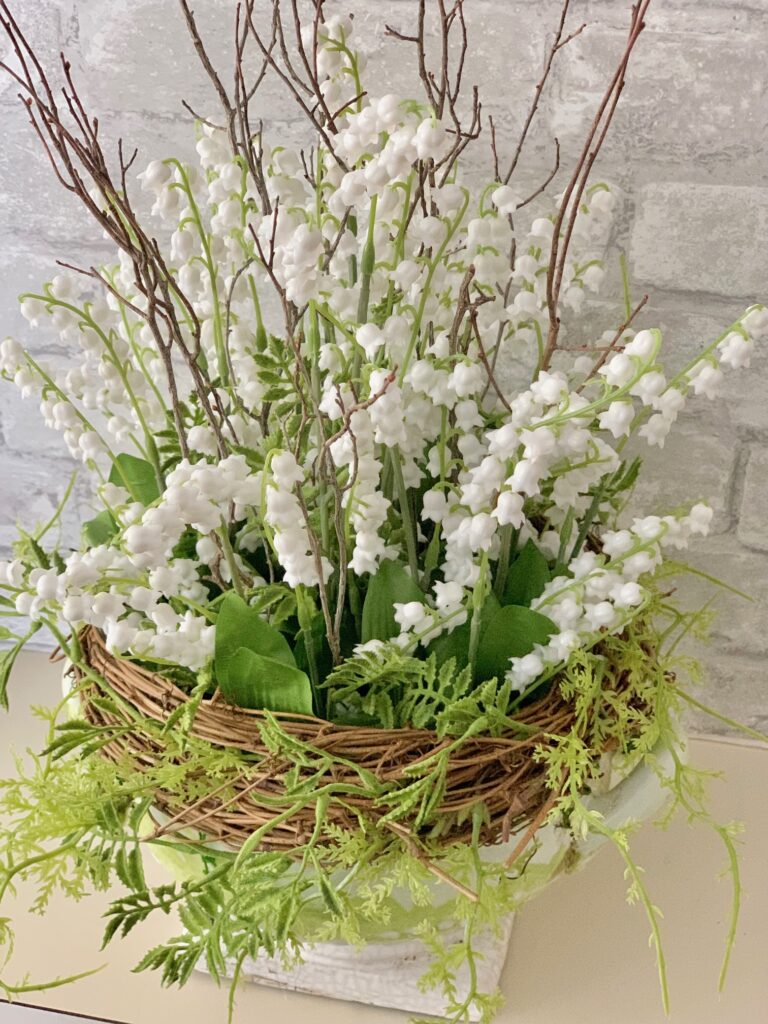
Dry floral foam for faux or dried flowers
Dry floral foam is best used for arrangements that do not require water. This includes faux flowers, dried stems, artificial greenery, and seasonal displays in baskets or decorative containers. It is dense, lightweight, and easy to shape, which makes it a reliable option for arrangements meant to last.
This type of foam is especially useful for projects that need to be assembled ahead of time or moved frequently. Keeping a few blocks on hand can be helpful for last minute decorating or quick seasonal updates.
How to fit dry foam in a vase or container
Dry foam should fit snugly inside the container so it does not shift while arranging. Use a floral knife or serrated knife to trim the foam to size. Start with one larger piece in the center, then fill in gaps with smaller sections as needed.
For containers with unusual shapes, such as baskets or footed bowls, a small amount of hot glue can help secure the foam in place. Only a few dabs are needed, but keep in mind that the foam will be permanently attached.

How to cover dry floral foam
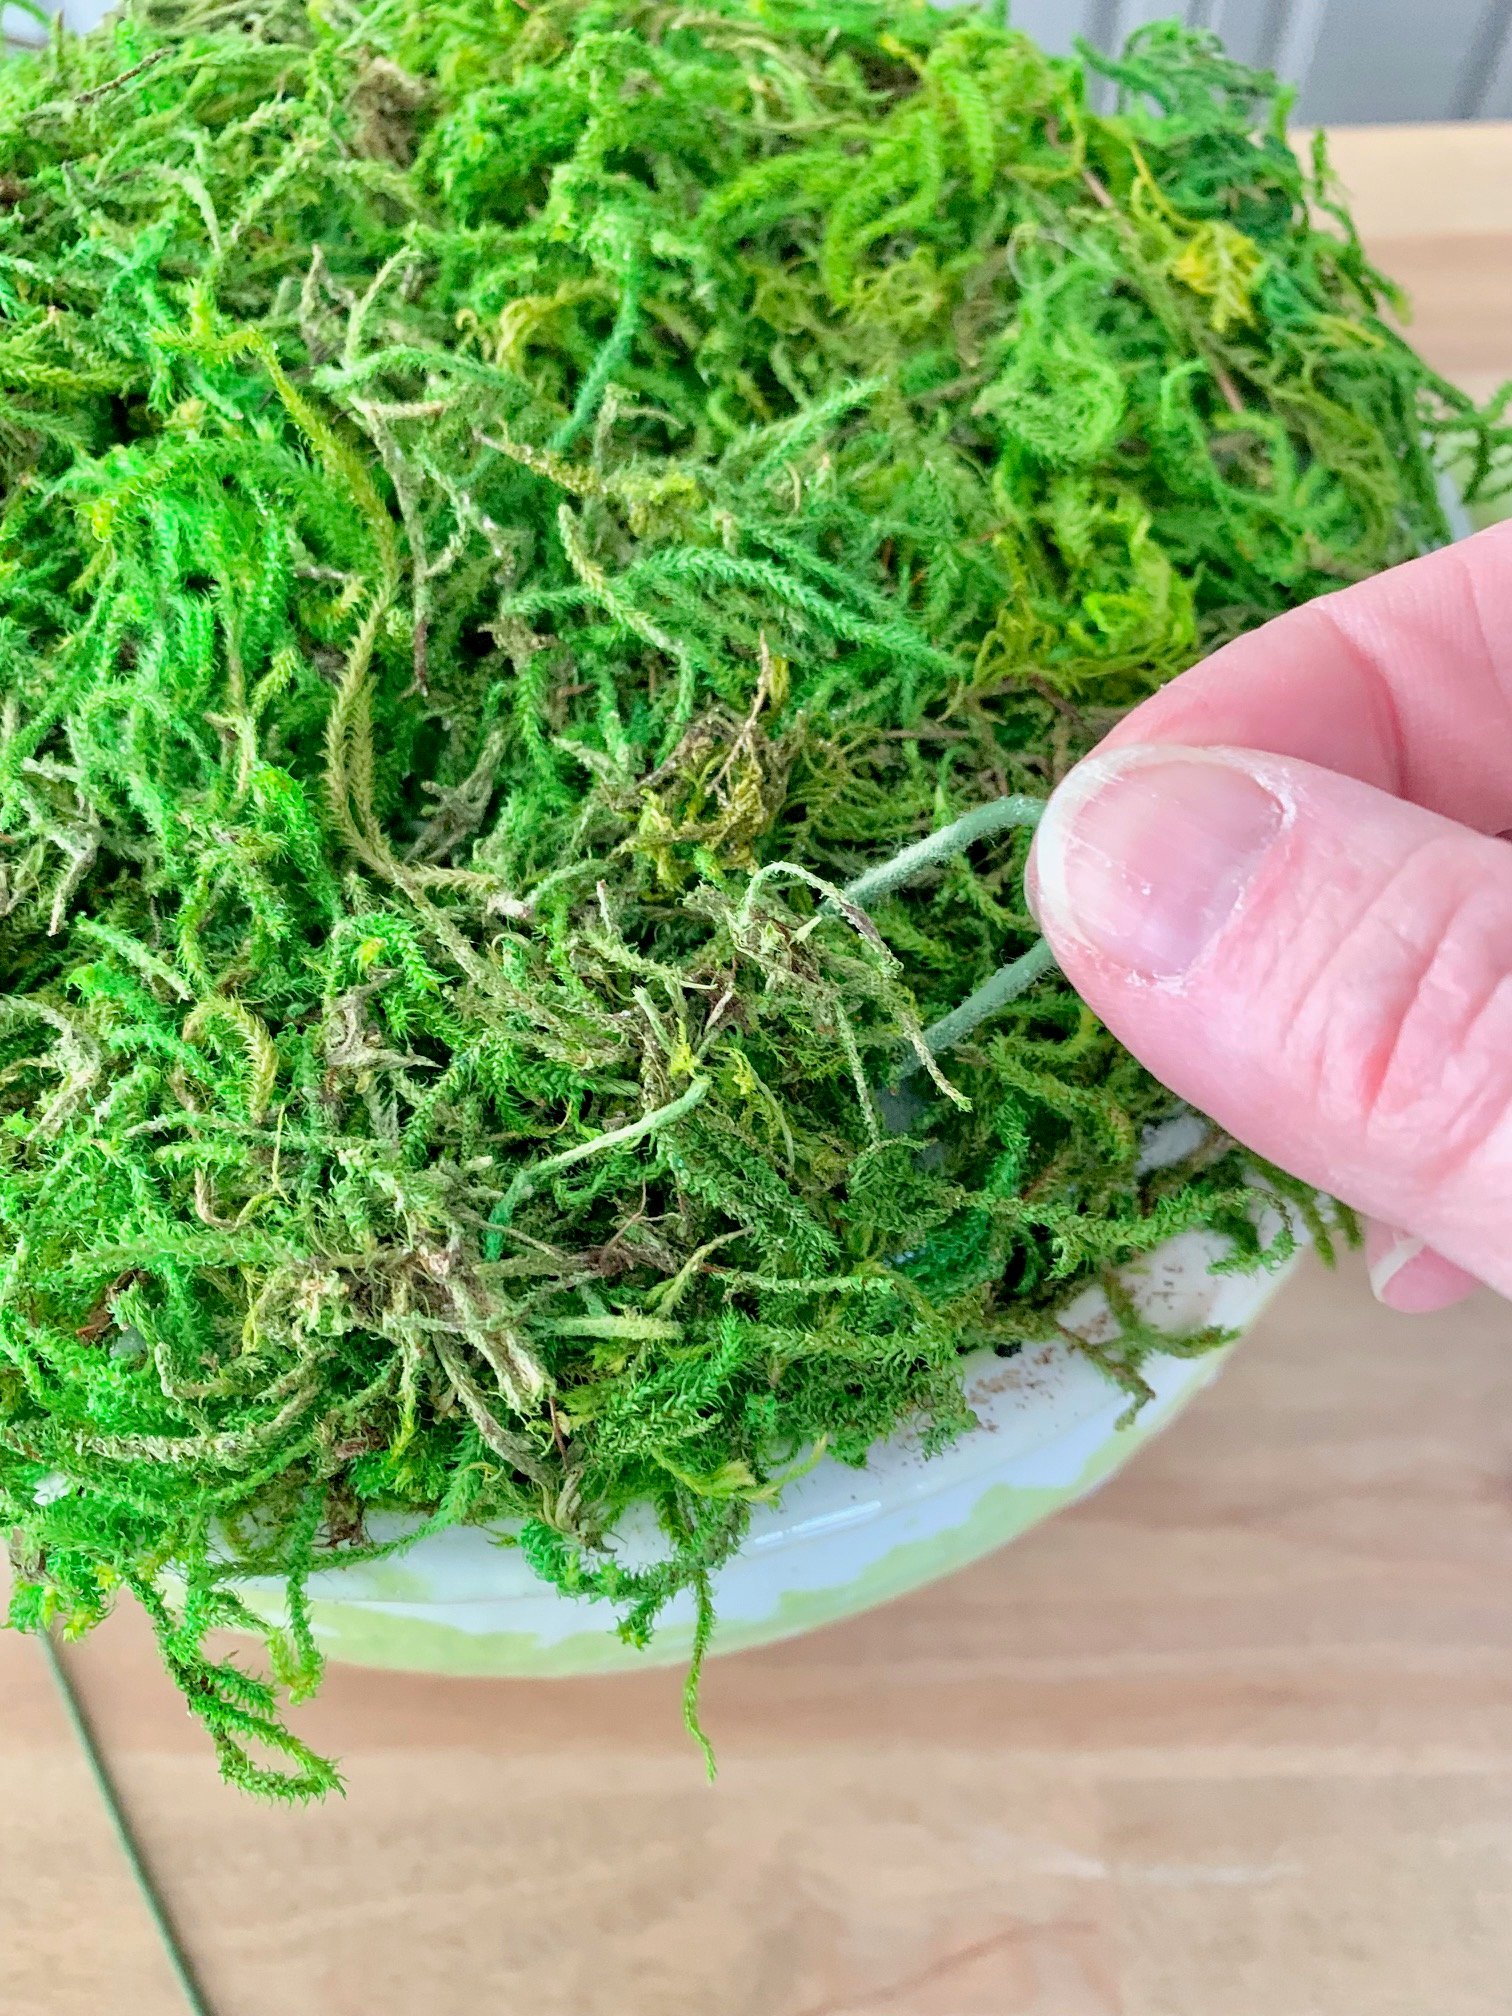
Dry floral foam should always be covered before arranging. Preserved moss, faux greenery, or leftover floral elements work well for disguising the foam and creating a finished look.
Spanish moss adds texture and is especially useful for rustic or seasonal arrangements. It also helps hide uneven foam edges or exposed stems.
Pro tip
Short pieces of floral wire bent into a U shape work well for pinning moss or greenery securely into the foam.
How to arrange in dry floral foam
Dry foam is firm, so inserting stems requires a bit of pressure. Most faux flowers have wired stems, which makes them easier to bend and position. Use wire cutters rather than scissors to avoid damaging tools.
Dry foam allows a lot of flexibility in design. Stems can be angled, layered, or extended outward without shifting. Once placed, they stay in position, making dry foam ideal for arrangements that need to hold their shape during transport or long term display.
Floral foam tips from a pro
Whether you are working on a single centerpiece or prepping several arrangements at once, these practical floral foam tips help keep the process smooth and the finished designs stable.
Floral Foam Do's and Don'ts
Do
- Pre cut foam bricks if you are making multiple arrangements
- Use a sharp floral knife or serrated blade for clean cuts
- Store unused floral foam in a dry, sealed bag until needed, including wet foam
- Give stems a fresh angled cut before inserting them into the foam
Don't
- Force stems in or twist them once inserted, as this creates air pockets
- Soak floral foam by pushing it under water. Always let it absorb water naturally
- Reuse floral foam that has already been heavily punctured, since it loses structure quickly
- Leave foam exposed. Covering it helps hide gaps and creates a more finished look
Favorite floral foam tips
Choose the right container
Floral foam works well in many types of containers, including trays, bowls, baskets, and decorative tins. The most important factor is a snug fit. If the foam shifts, secure it with floral tape or wire for added stability.
Use foam forms when needed
Floral foam is available in more than just bricks. Wreath forms, rings, cages, and bouquet holders make certain designs much easier to execute. Foam forms are especially helpful for seasonal decor and circular arrangements.
Stick with one type of foam per design
Using both wet and dry foam in the same arrangement often creates stability issues. Choose the foam that matches your flowers and commit to it for the entire design.
More designer tips and tutorials
If you're ready for the next level, check out my Floral Design Index where I keep all my best tutorials and floral hacks in one place.
You can also browse my top must-have flower arranging supplies for the tools I actually use at home, or try your hand at a design lilies like a pro post to see foam in action with everyday blooms.
Frequently asked questions
Yes. Floral foam should always be fully saturated with water before inserting fresh flowers. Dry foam will not hydrate stems properly and can damage them. Letting the foam absorb water on its own ensures even moisture throughout the block.
Floral foam is used to hold flower stems in place while supplying them with water. Once saturated, the foam is cut to fit a container, secured if needed, and then flowers are inserted directly into the foam. This provides structure, stability, and hydration for the arrangement.
Floral foam typically takes about 60 to 100 seconds to fully absorb water. When placed on the surface of water, it will slowly sink as it becomes saturated. Once it sinks completely, it is ready to use.
Floral foam should be soaked in room temperature or cool water. Hot or warm water can damage the foam structure and reduce its ability to hold water evenly. Using clean, cool water helps ensure proper saturation and hydration for fresh flowers.
Most do, but some more delicate stems prefer loose water. If you're working with thirsty blooms like hydrangea, tulips or daffodils, test one out first or opt for a vase arrangement.

More floral design inspiration!


See floral foam in action
Want to see how I actually use floral foam in real arrangements? Here are a few favorites you can try at home:
- Create a stunning Easter centerpiece with fresh flowers arranged in a DIY twig vase, this one's perfect for spring tables.
- Make a floral Advent wreath arrangement that blends tradition with natural elements (foam makes it sturdy and long-lasting).
- Design a fresh flower arrangement in a pumpkin for fall - a gorgeous way to elevate your seasonal decor.
Each of these tutorials walks you through the steps with helpful photos and tips. No gatekeeping here.

Floral foam can feel intimidating at first, but once you understand how it works, it becomes one of the most reliable tools for creating stable, long lasting flower arrangements. When prepared correctly, it provides both structure and hydration, making it easier to design with confidence.
Whether you are refreshing a simple grocery store bouquet or building a centerpiece for a special occasion, floral foam allows you to focus on placement and design rather than fighting gravity or loose stems. With the right preparation and a few practical techniques, arranging flowers becomes more enjoyable and far less stressful.
The more you work with floral foam, the more intuitive it becomes. Like any floral tool, a little practice goes a long way.
Happy arranging, friends!


Thank you so much for this article! So much good information!
Oh Im glad! Thank you!