How to Build a Charcuterie Board Step-by-Step (Easy Beginner Guide)
A charcuterie board is a simple mix of cheese, meat, crackers, and a few extras arranged to look full and inviting. In this beginner-friendly guide, you'll learn exactly how to build a charcuterie board step by step, using an easy formula that takes you from a blank board to a beautiful, abundant spread without overcomplicating it.
Content may contain affiliate links. When you shop the links, we receive a small commission at no cost to you. Thanks for supporting my small business.
If you've ever looked at a charcuterie board and thought, that looks beautiful… but I could never make that, this is for you.
Somewhere along the way, charcuterie boards started to feel complicated. Salami roses, intricate fruit cutting, perfectly styled everything. It's easy to think you need special skills or fancy ingredients to make one look good.
You don't.
A charcuterie board that feels beautiful, abundant, and impressive is absolutely achievable, even if you're starting from scratch. You don't need complicated techniques. You just need a simple system.
In this guide, I'm going to walk you through exactly how to build a charcuterie board step by step, just like I would if we were standing in your kitchen together. From a completely empty board to a finished one, you'll see what to place first, what comes next, and how it all comes together in a way that looks full, balanced, and easy to recreate.
If you're looking for ideas beyond the basics, like spreads, dips, what to put in those small bowls, or simple extras to include, I'll share those throughout so you can build a board that works for you.
At a Glance: How to Build a Charcuterie Board
_______________________
- Place the bowls: Start with small bowls (like jam or honey) to create structure on the board.
- Add the cheeses: Space different cheeses around the bowls to anchor the layout.
- Add the meats: Fold or layer meats near the cheeses to add texture and begin filling space.
- Add crackers or bread: Group crackers and breadsticks in sections for an abundant look.
- Fill in with fruit and extras: Use fruit, nuts, or other small items to fill gaps and add color.
- Finish with garnish: Add herbs or simple touches to give the board a fresh, finished feel.
Summarize and Save this content on:
Jump to:
- At a Glance: How to Build a Charcuterie Board
- Step-by-step how to build a charcuterie board
- What you need to build a charcuterie board
- Charcuterie board size and quantity guide
- How many people are you serving?
- Simple charcuterie board shopping list (beginner-friendly)
- The charcuterie board formula (how to choose ingredients)
- What to prep before you start
- How to build a charcuterie board step by step
- How a charcuterie board comes together
- Simple pairing ideas
- Styling tips that make a board look full and beautiful
- Common mistakes to avoid
- Make ahead and storage tips
- Easy ways to elevate your charcuterie board
- Frequently asked questions
- More entertaining recipes and ideas to explore
- How to Build a Charcuterie Board Step-by-Step (Easy Beginner Guide)
Step-by-step how to build a charcuterie board
Here's a quick look at how it all comes together:

Now let's break down exactly what you'll need to build your own board.
What you need to build a charcuterie board
Before you start adding food, it helps to gather a few simple things. Nothing fancy is required, just a few basics that make everything easier to build and serve.
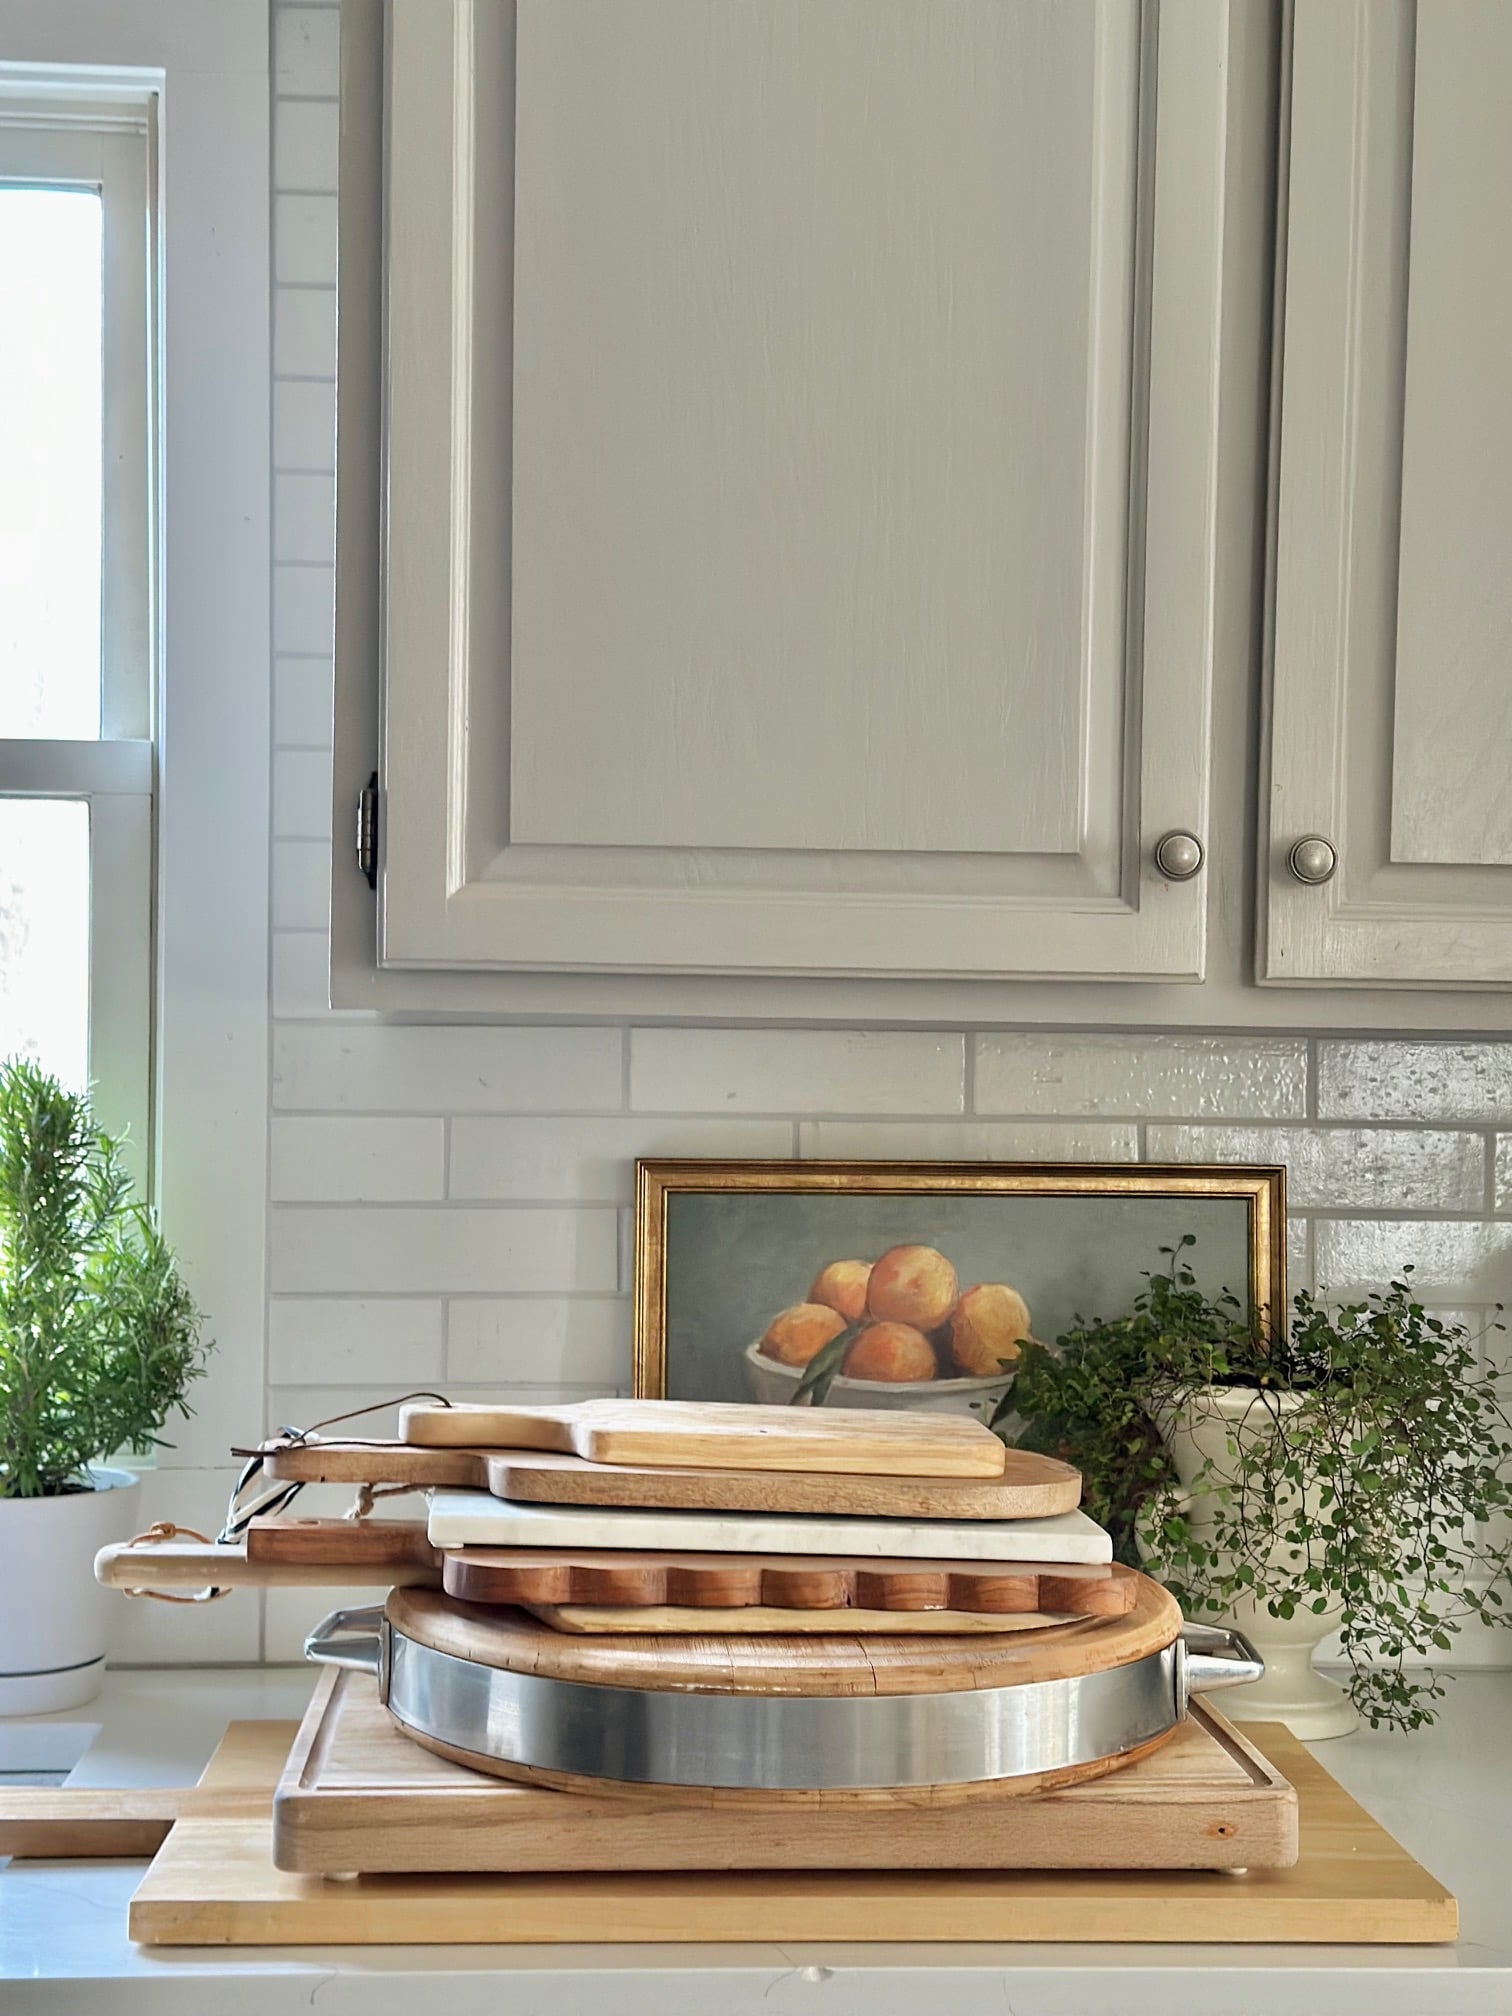
- A board or serving surface: This can be a wooden charcuterie board, a tray, or even a large plate. The board I used here has about 14 x 10 inches of usable space, which is a great size for a small group.
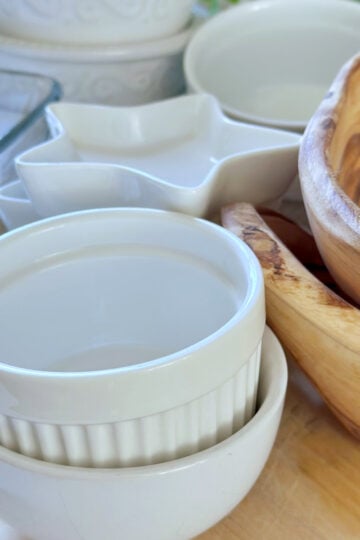
- Small bowls: These are one of the most helpful pieces. Use small bowls for things like jam, honey, dips, olives, or nuts to keep everything contained and easy to serve.
- Small knives and spoons: Include a few simple utensils so guests can help themselves. A small cheese knife, spoon, or honey wand makes a big difference.
You don't need anything fancy, just a few basics that make everything easier to build and serve.
Charcuterie board size and quantity guide
If you're not sure how much to use or what size board you need, this simple guide makes it easy to plan. Use it as a starting point, then adjust based on what you have and how you like to serve.
| People | Board Size (usable space) | Cheese | Meat | Bowls |
|---|---|---|---|---|
| 2-4 | 10 x 8 inches | 2-3 types | 1-2 types | 1-2 |
| 4-6 | 14 x 10 inches | 3-4 types | 2 types | 2-3 |
| 6-8 | 16 x 12 inches | 4-5 types | 2-3 types | 3-4 |
| 8-10 | 18+ inches or 2 boards | 5+ types | 3 types | 3-5 |
I find that once you have a few cheeses, meats, and extras in place, the board fills out quickly, so you don't need as much as you might think.

How many people are you serving?
Before you start building your charcuterie board, it helps to have a rough idea of how many people you're serving. You don't need exact measurements, just a simple guideline to keep things easy and stress-free.
As a general rule:
- Plan for about 2-3 ounces of cheese per person
- About 2 ounces of meat per person
- A small handful of extras like crackers, fruit, or nuts
This doesn't have to be exact. Charcuterie boards are very forgiving, and a little goes a long way once everything is arranged together.
Simple charcuterie board shopping list (beginner-friendly)
If you're not sure where to start, this simple list will give you everything you need to build a beautiful, balanced board without overthinking it.
- 3 cheeses (one soft, one firm, one with flavor or texture)
- 1-2 meats
- 1 cracker or bread option
- 1 fruit
- 1 dip or spread (like jam or honey)
- 1 small extra (like nuts or olives)
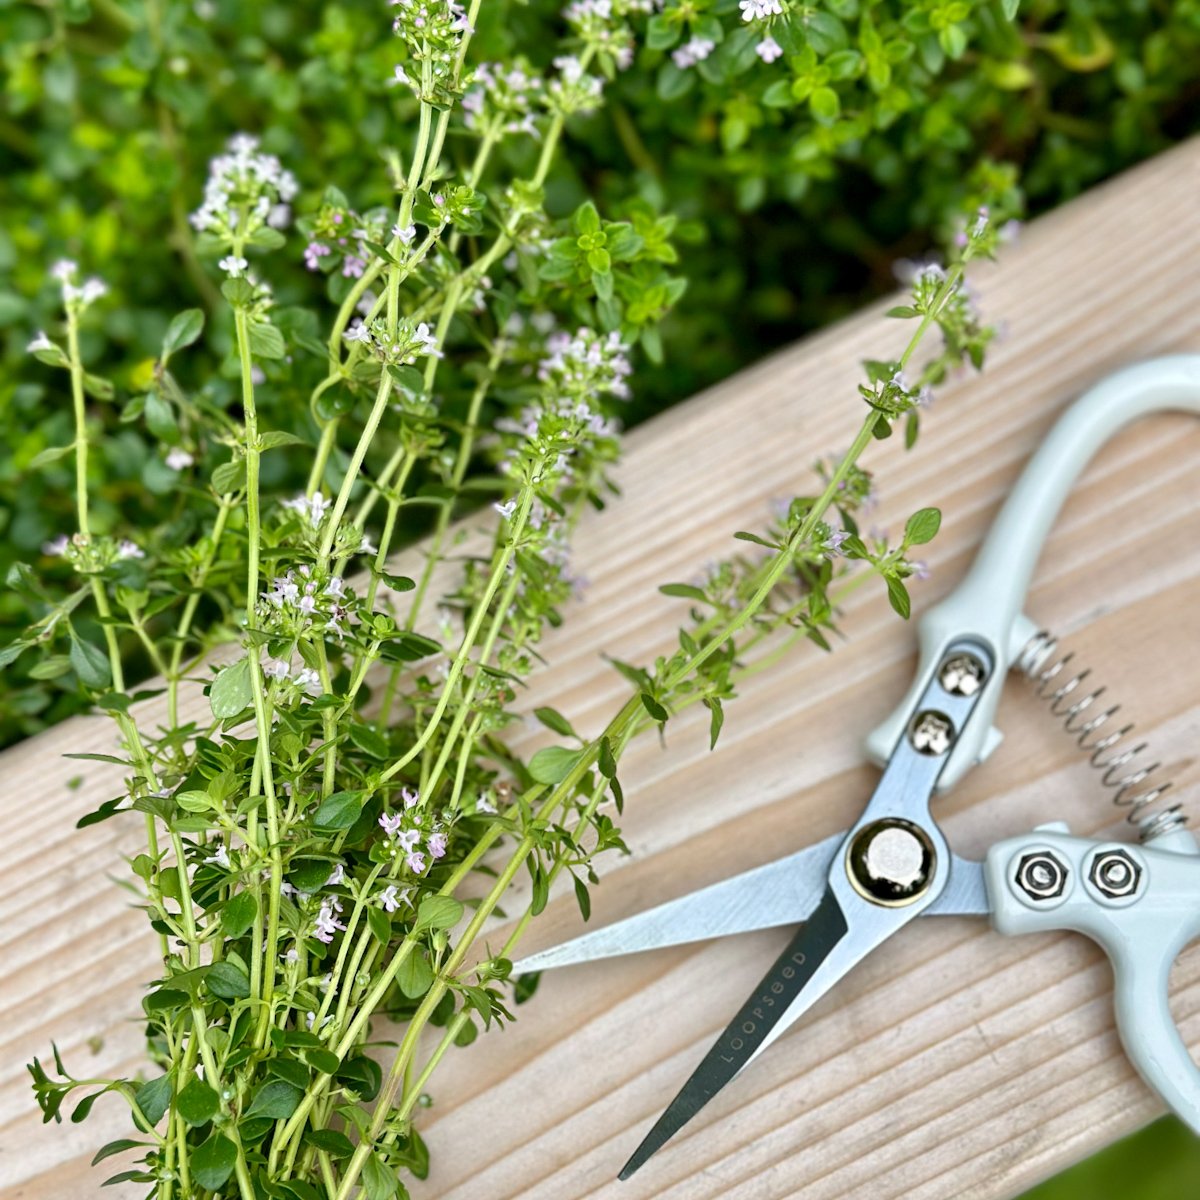
- 1 simple garnish (like rosemary, thyme, or another fresh herb)
I find this is enough to create a charcuterie board that looks full, inviting, and thoughtfully put together.

The charcuterie board formula (how to choose ingredients)
If you want a little more flexibility, this simple formula will help you choose ingredients that work well together so you can build a board with confidence every time.
Cheese (3-4 types)
- 1 soft cheese (like brie or goat cheese)
- 1 firm or hard cheese (like cheddar or Swiss)
- 1 with flavor or visual interest (something coated, flavored, or visually different)
- Optional: a fourth cheese for variety
Meat (1-2 types)
- 1 easy-to-fold meat (like salami or pepperoni)
- Optional: a second meat for variety
Extras (choose 3-5)
Pick a few that work well together. You do not need every category.
- Something sweet (jam or honey, or both)
- Something crunchy (crackers or nuts)
- Something fresh (fruit)
- Something briny (olives or pickles, optional)
Garnish (optional, but beautiful)
- Fresh herbs like rosemary or thyme
- Optional: a simple food-safe floral touch, if appropriate
You do not need to include every category. A beautiful board comes from choosing a few ingredients that balance each other and arranging them well.
What to prep before you start
Before you begin assembling your board, take a few minutes to prep everything. This makes the process feel easy and keeps you from stopping halfway through.
- Slice or portion cheeses
- Fold or separate meats
- Fill bowls (jam, honey, nuts, or olives)
- Wash and dry fruit
- Wash and prepare garnish (like rosemary, thyme, or other herbs so they're fresh and ready to use)
- Gather small spoons or knives for serving
Having everything ready makes building the board quick, easy, and much more enjoyable, and most of it can be prepped ahead so you're not doing everything at once.
How to build a charcuterie board step by step
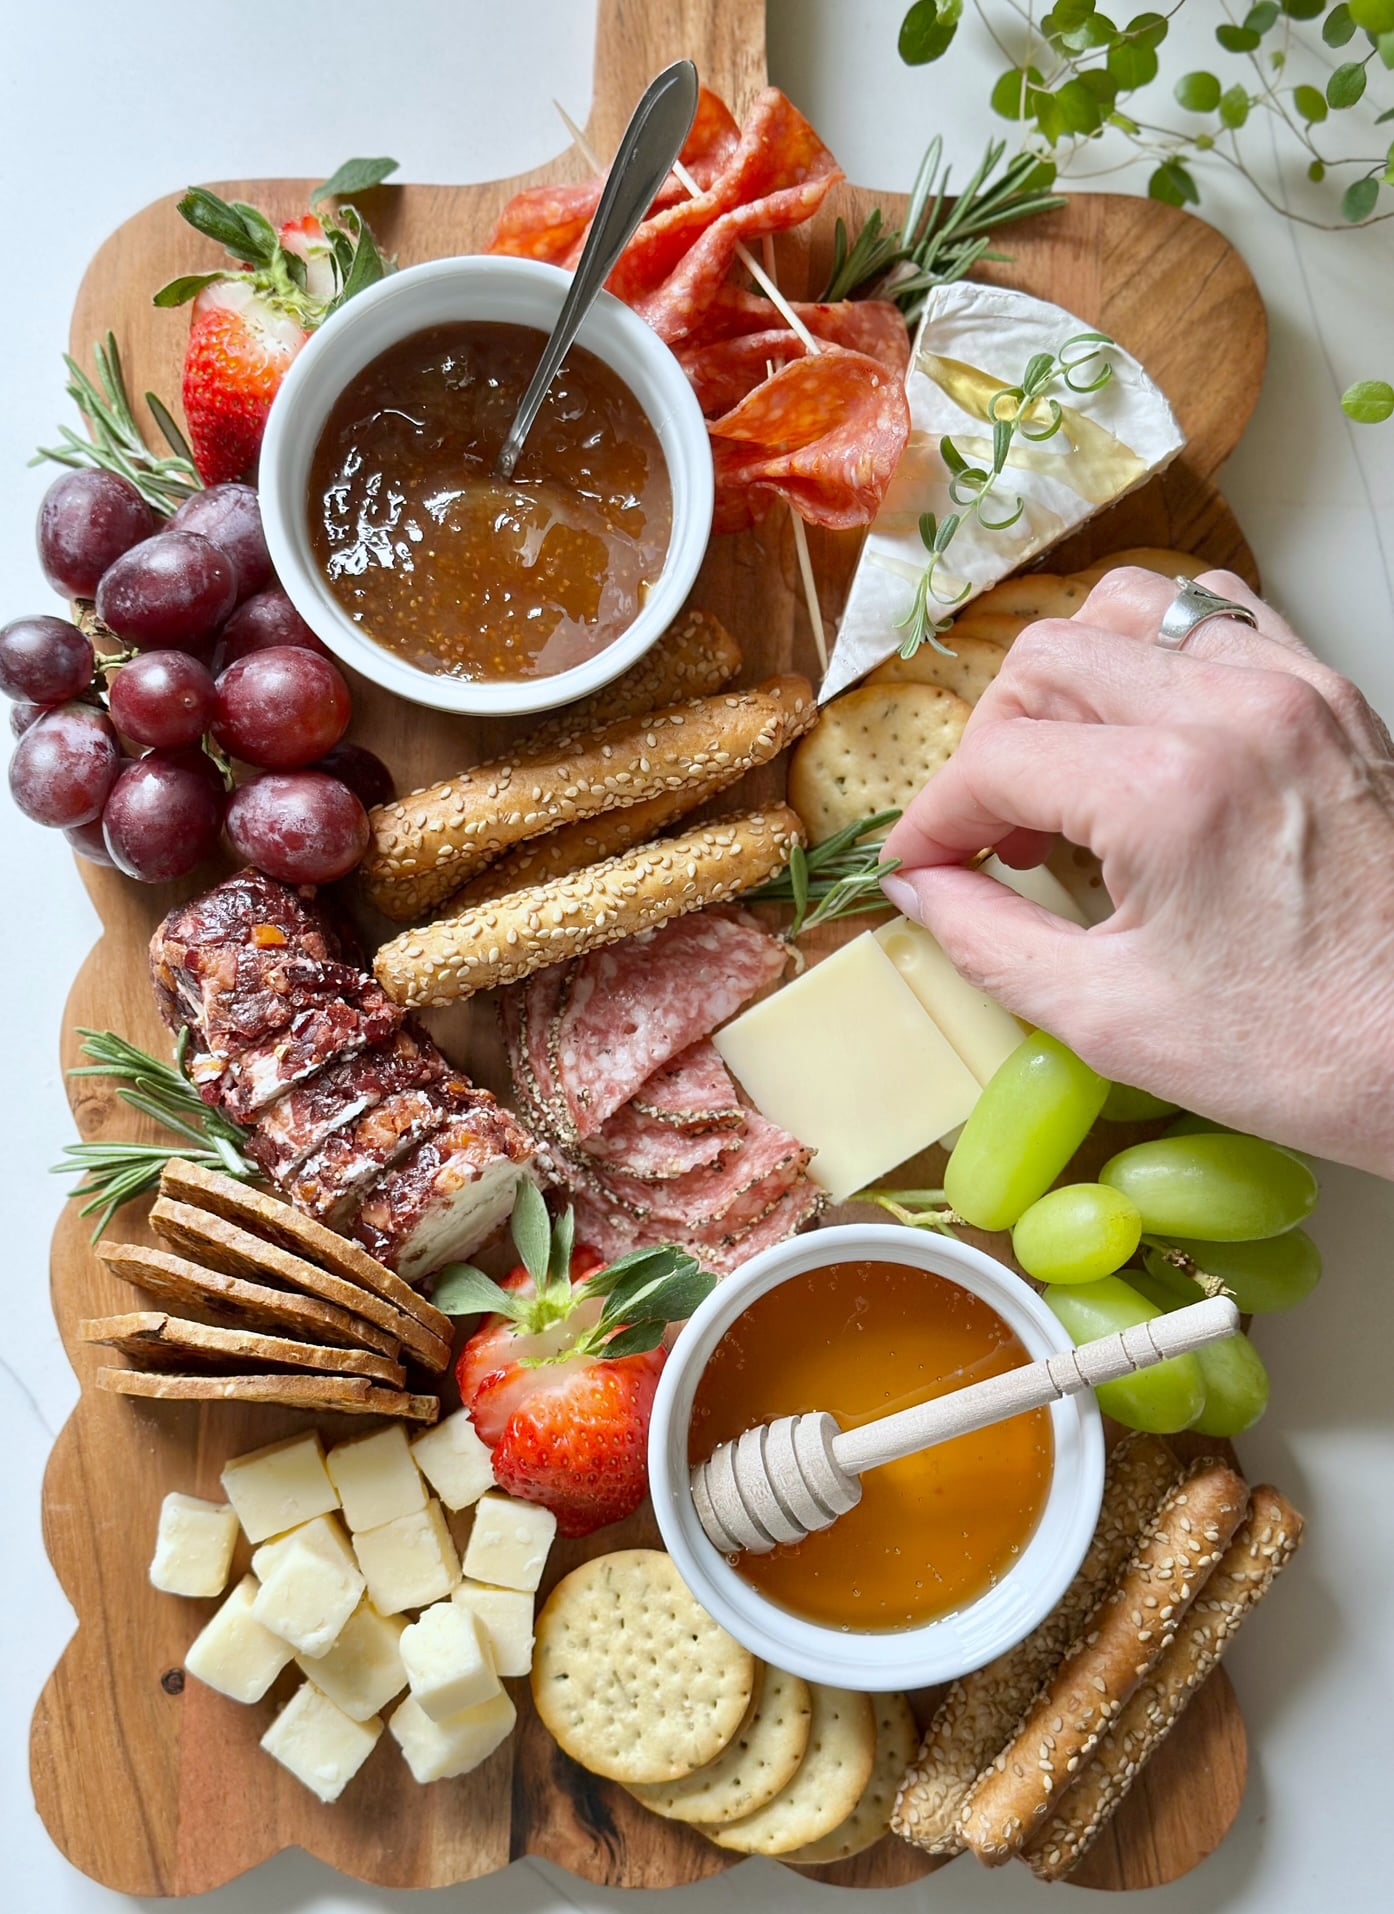
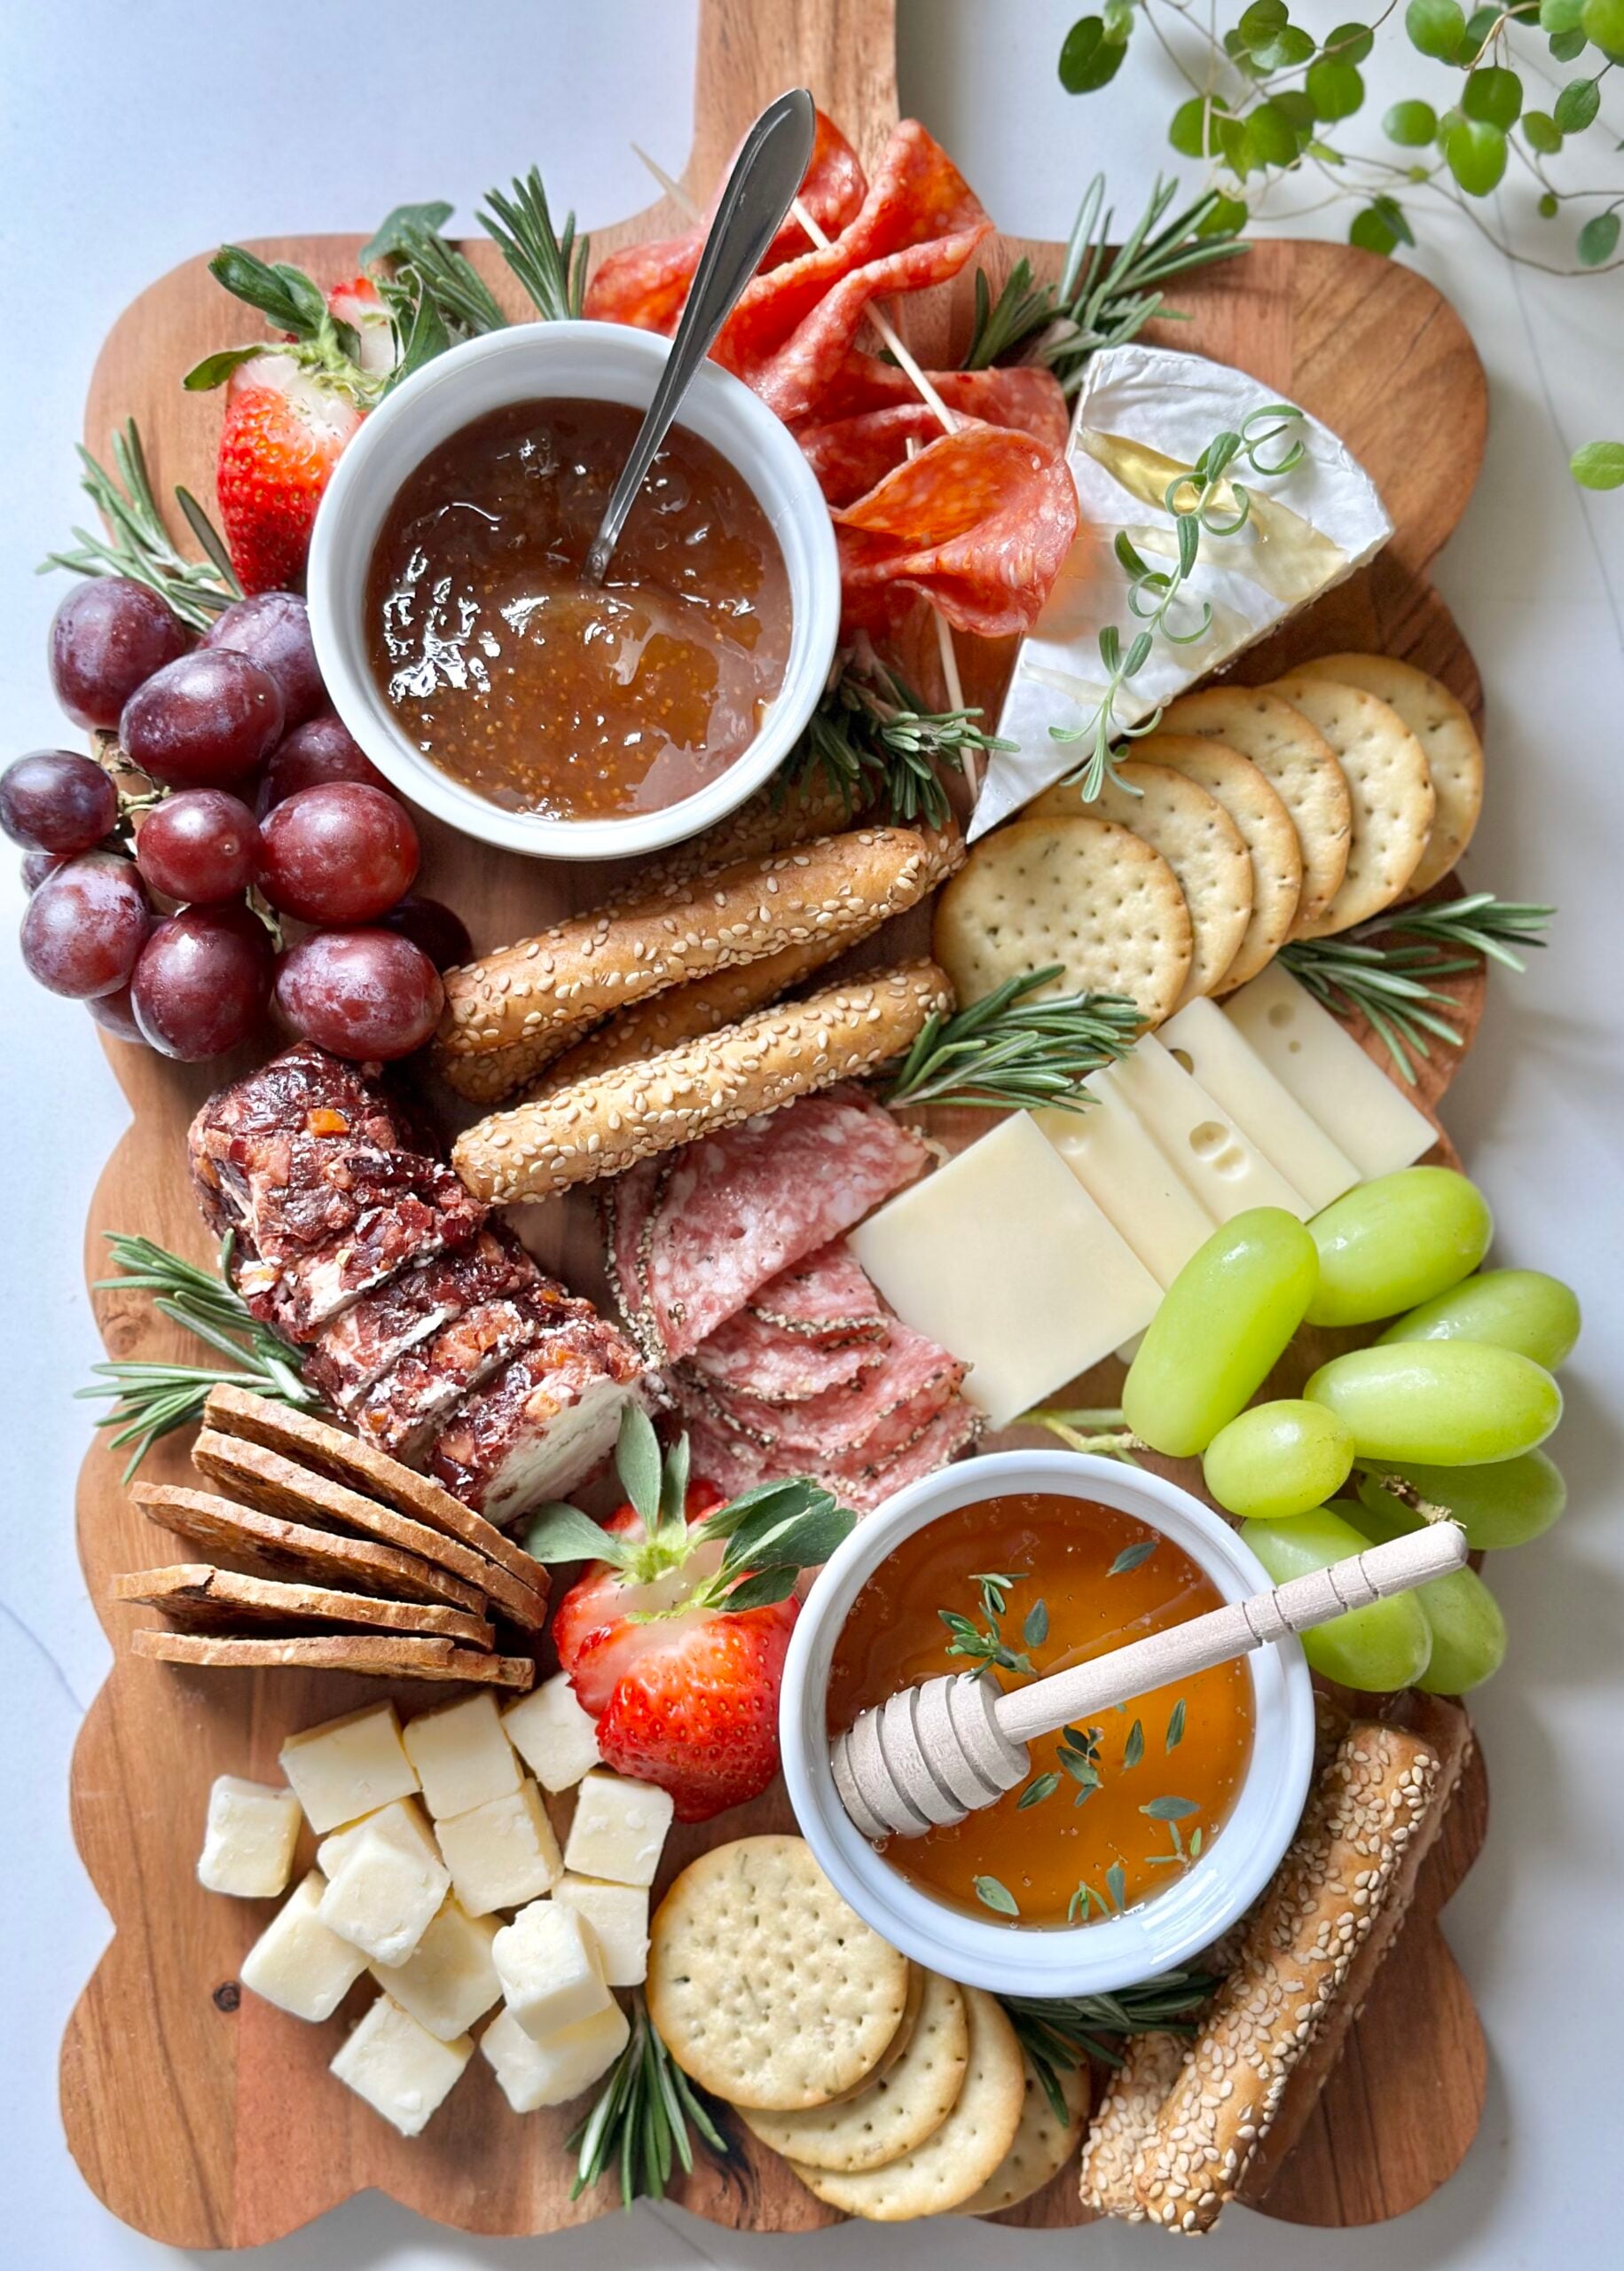
For this board, I used one with about 14 x 10 inches of usable space, which is a great size for a small group. This step-by-step method is the exact order I followed to build the board you see here, starting with a blank board and finishing with simple garnish.
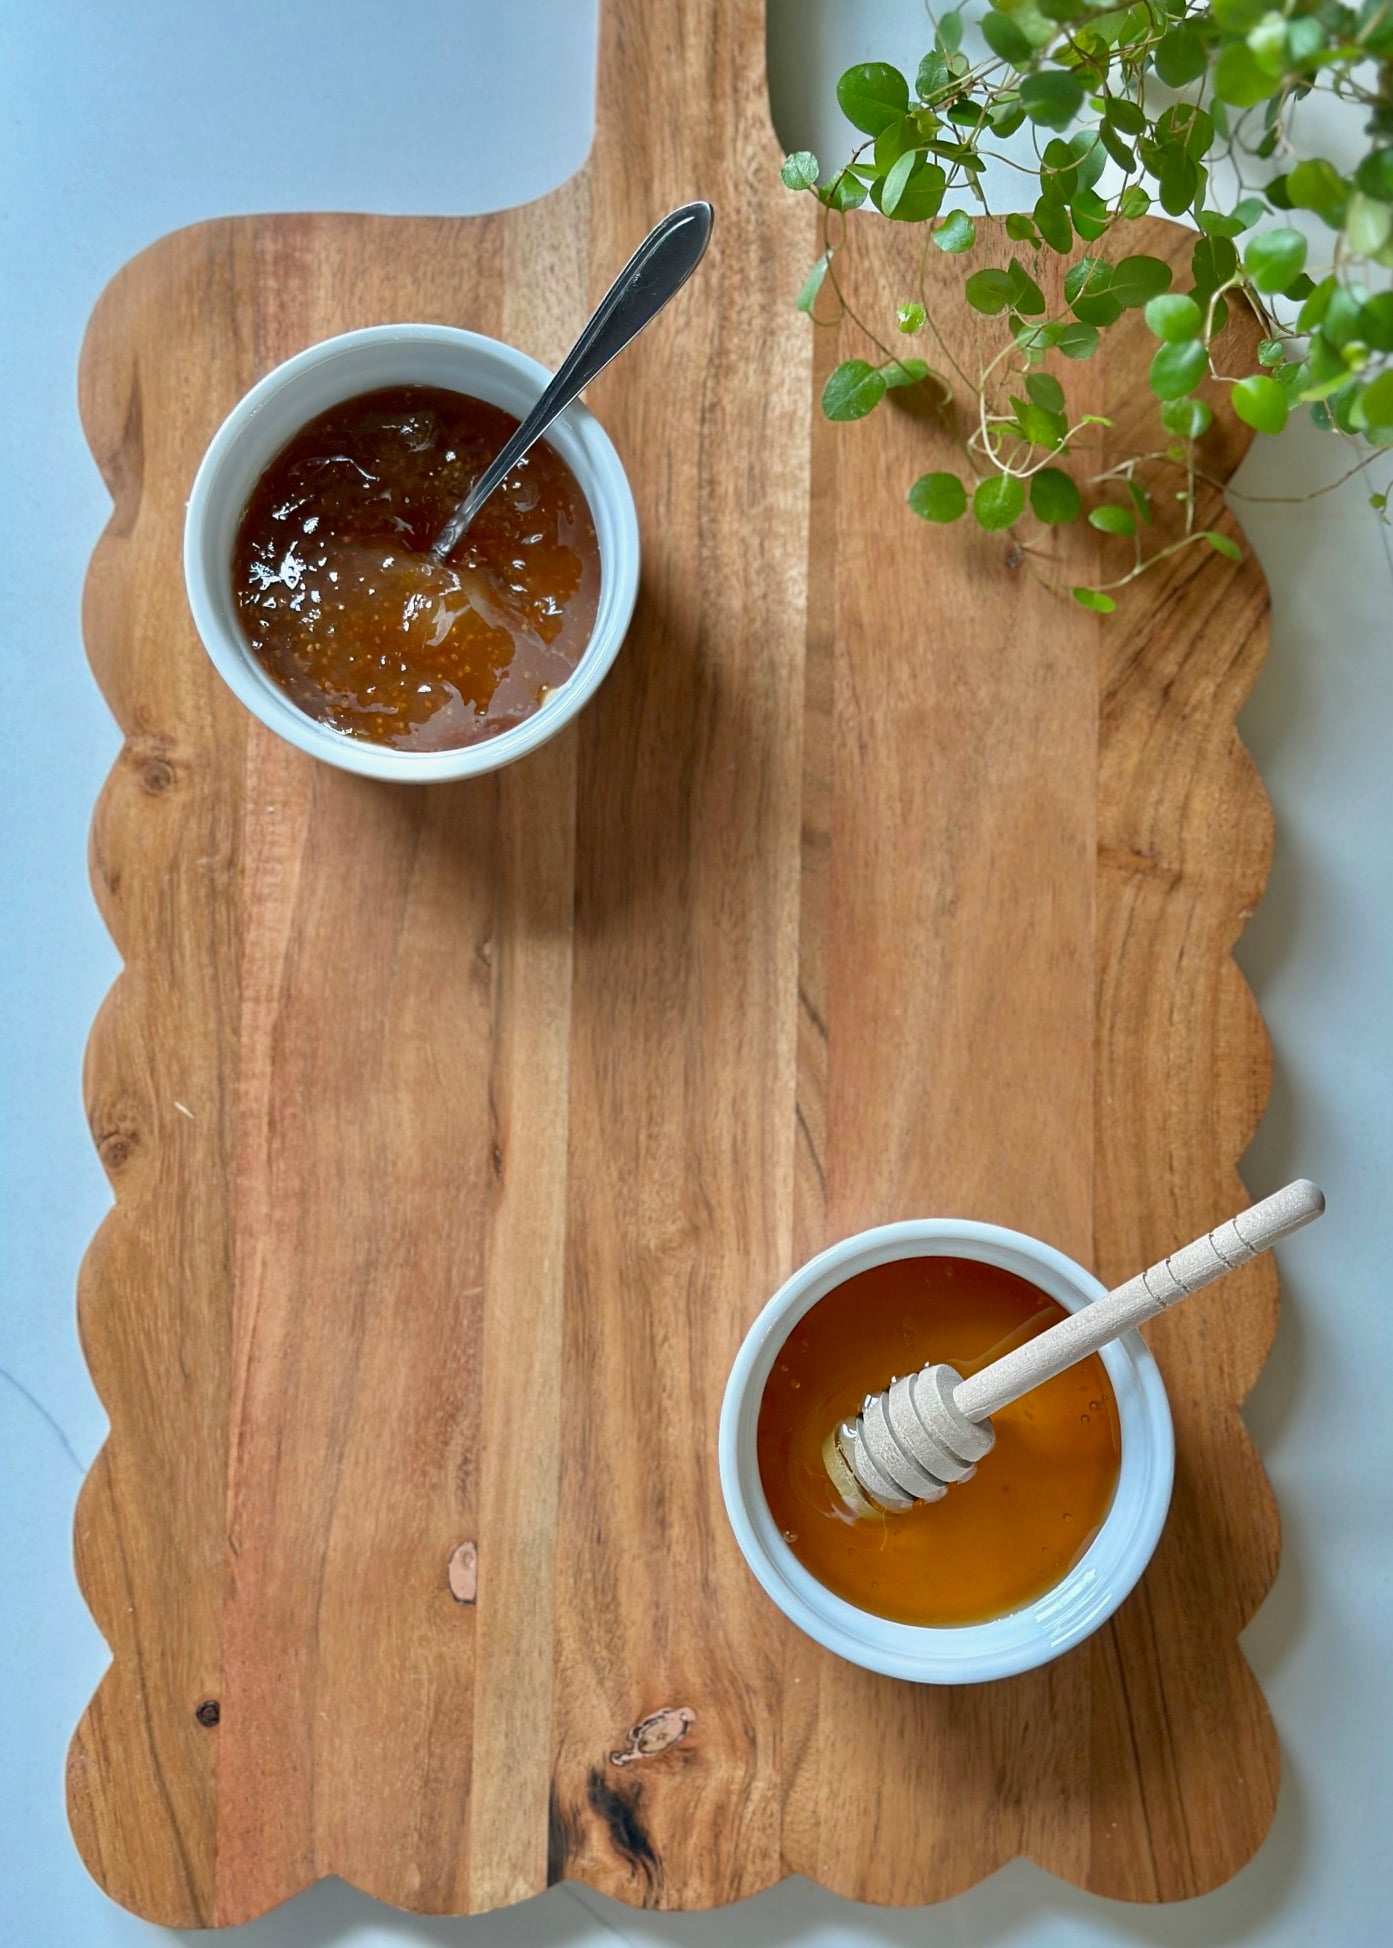
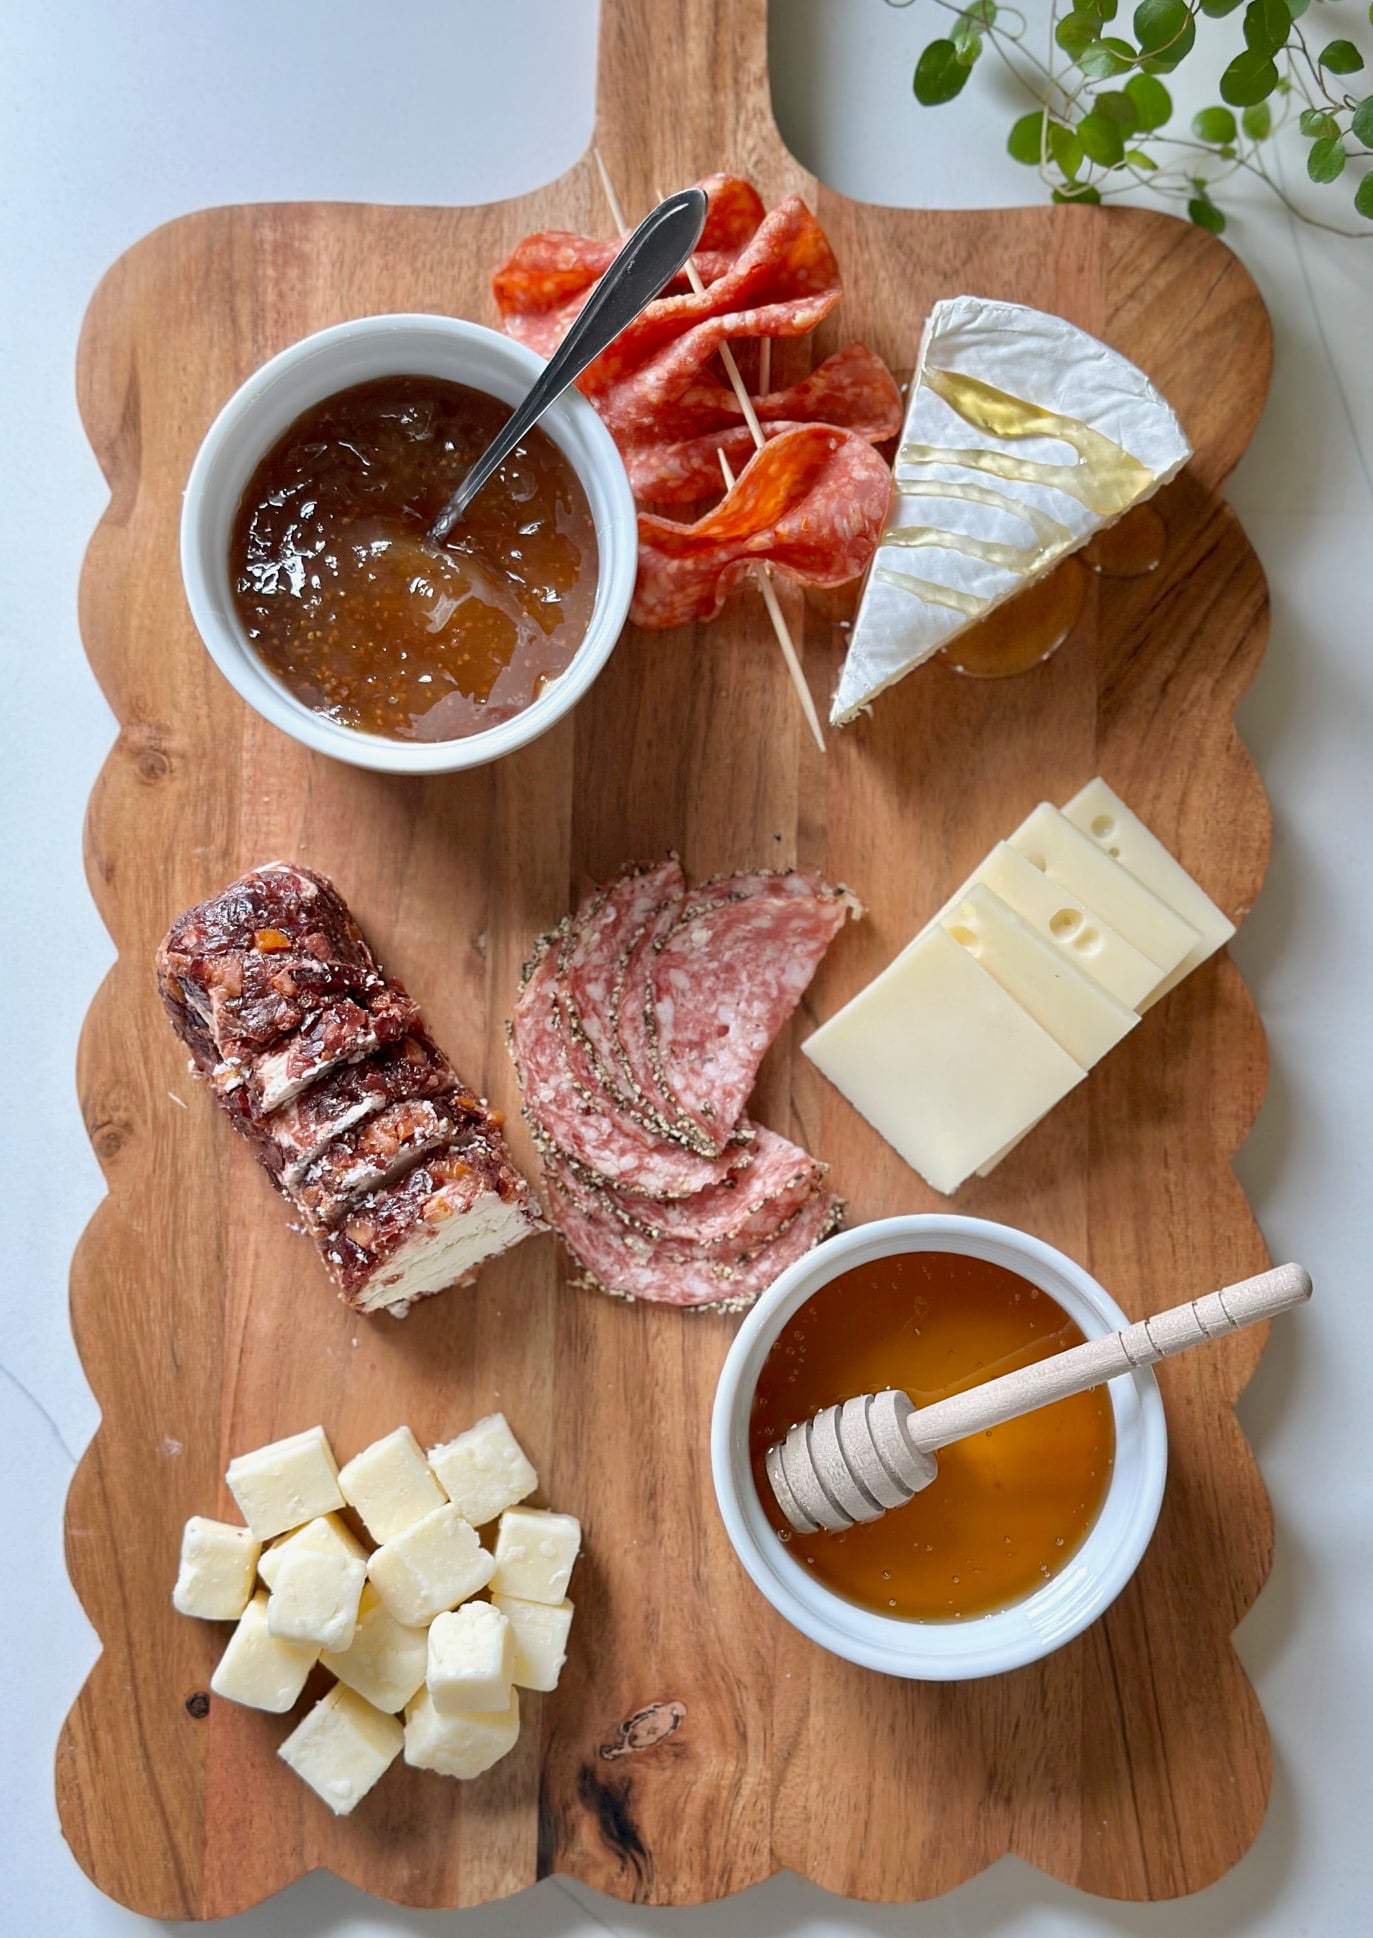
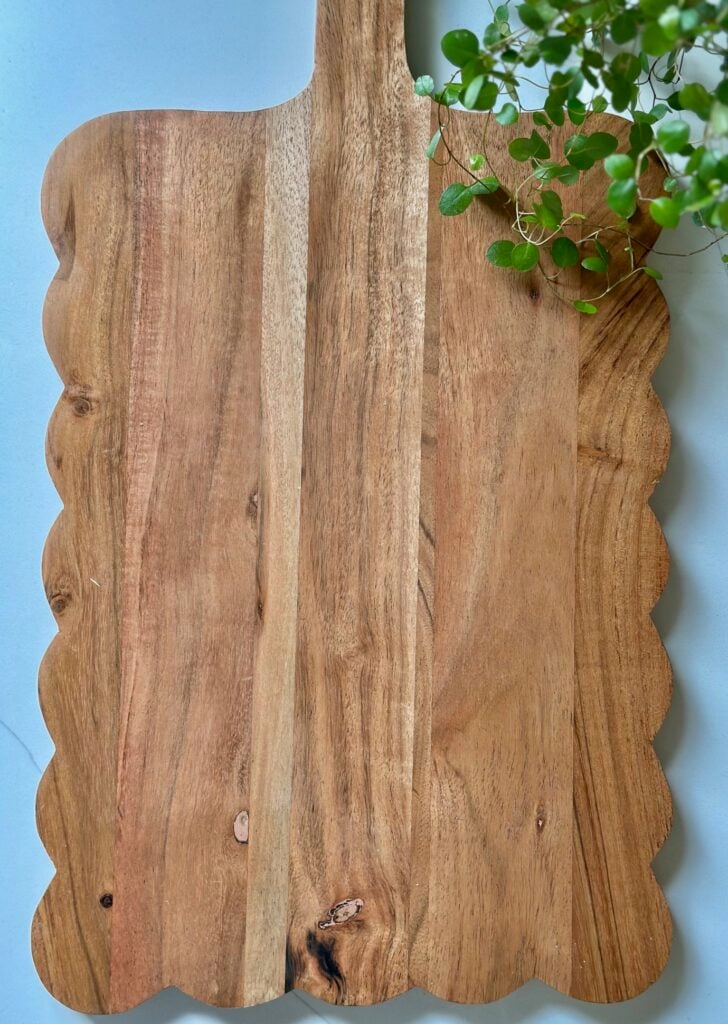
Step 1: Place the bowls
Start by placing two small bowls on the board to create structure. I like to put them in opposite corners so they help guide the layout and make the board feel balanced right from the beginning.
This also takes away the pressure of staring at an empty board and wondering where everything should go first.
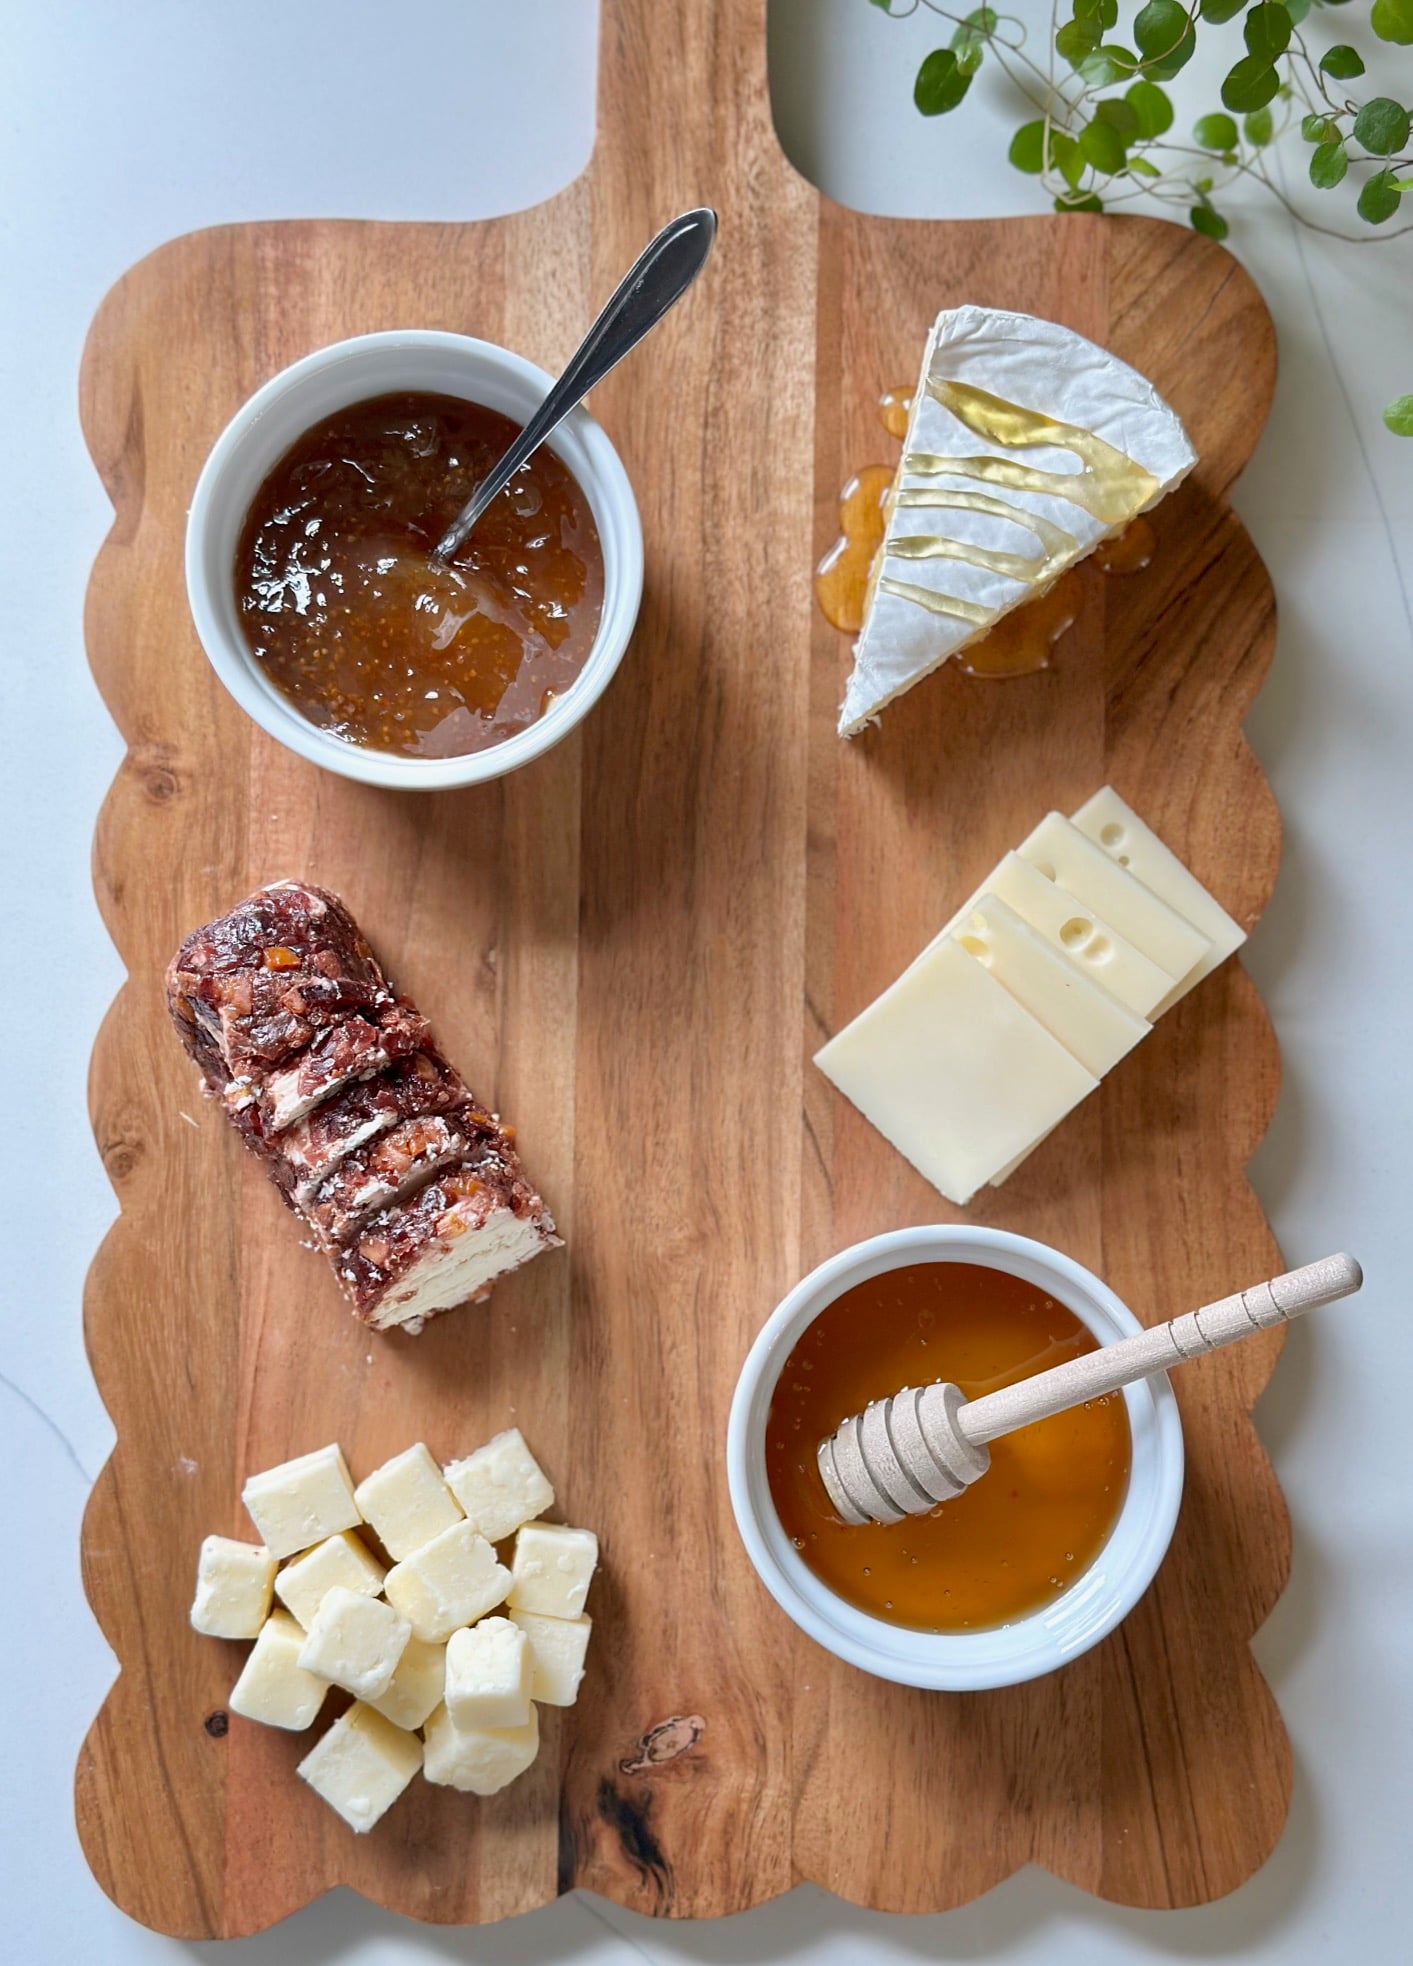
Step 2: Add the cheeses
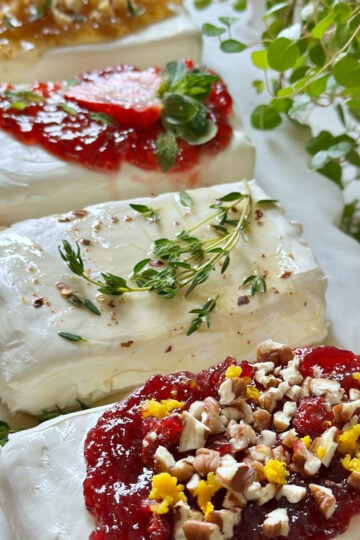
Next, place your cheeses around the bowls. For this board, I used brie, Swiss, a cranberry-coated goat cheese, and cubed cheese to create variety in shape, texture, and color.
Try to spread the cheeses around the board so they act as anchors for everything else you'll add next.
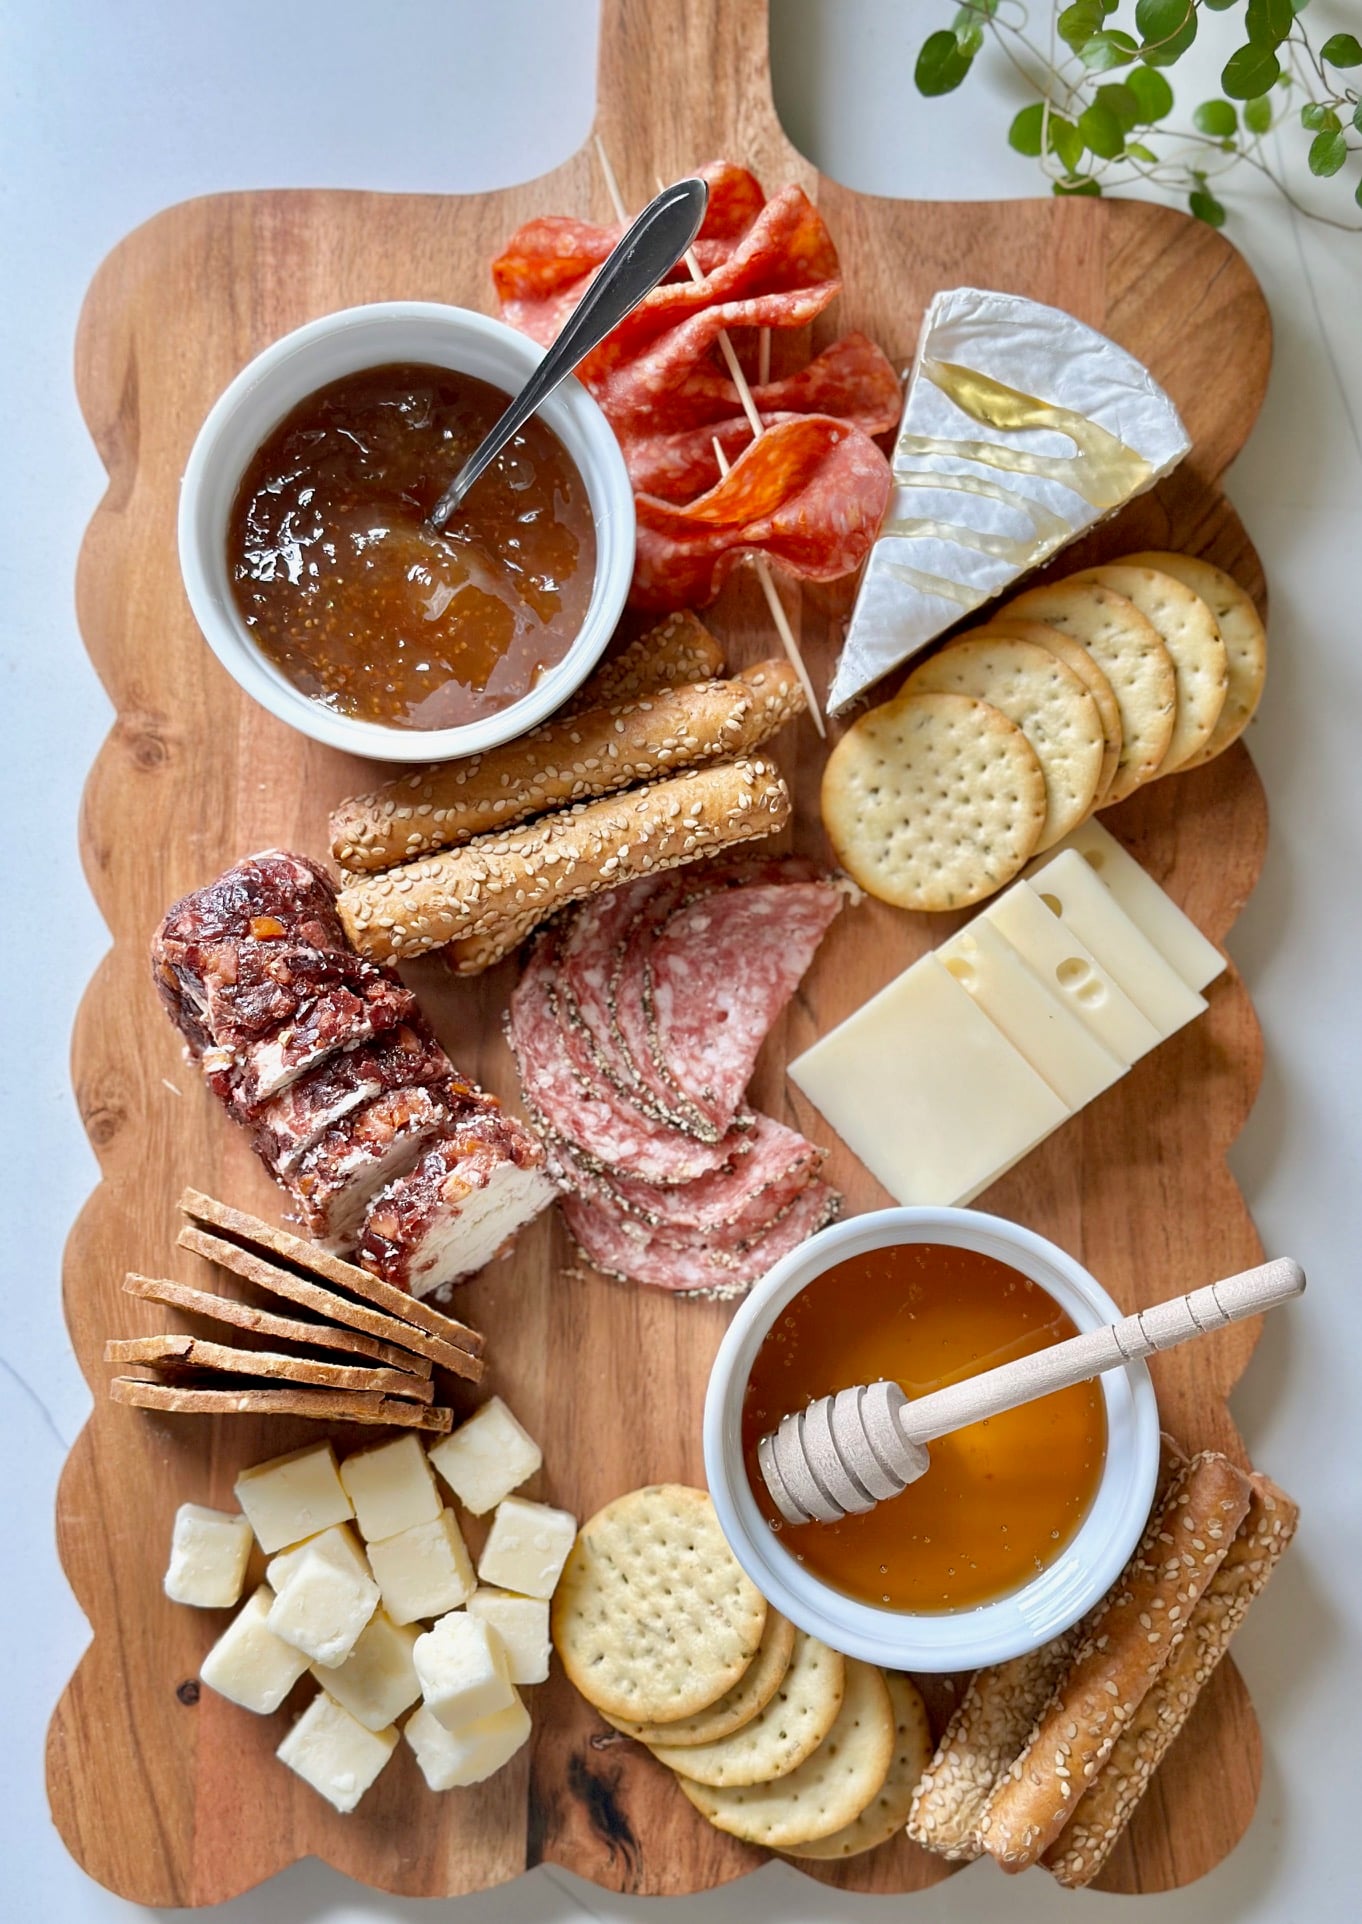
Step 3: Add the meats
Now tuck the meats in near the cheeses. I used one meat folded into simple ribbon shapes and another folded and fanned out to add texture and make the board feel fuller.
This is a great example of how a little folding goes a long way. You do not need complicated meat styling to make a board look beautiful.
Step 4: Add the crackers
Once the cheeses and meats are in place, add your crackers and breadsticks. I grouped mine in sections instead of scattering them across the board.
This helps the board look fuller and makes it easier for guests to see what goes together.
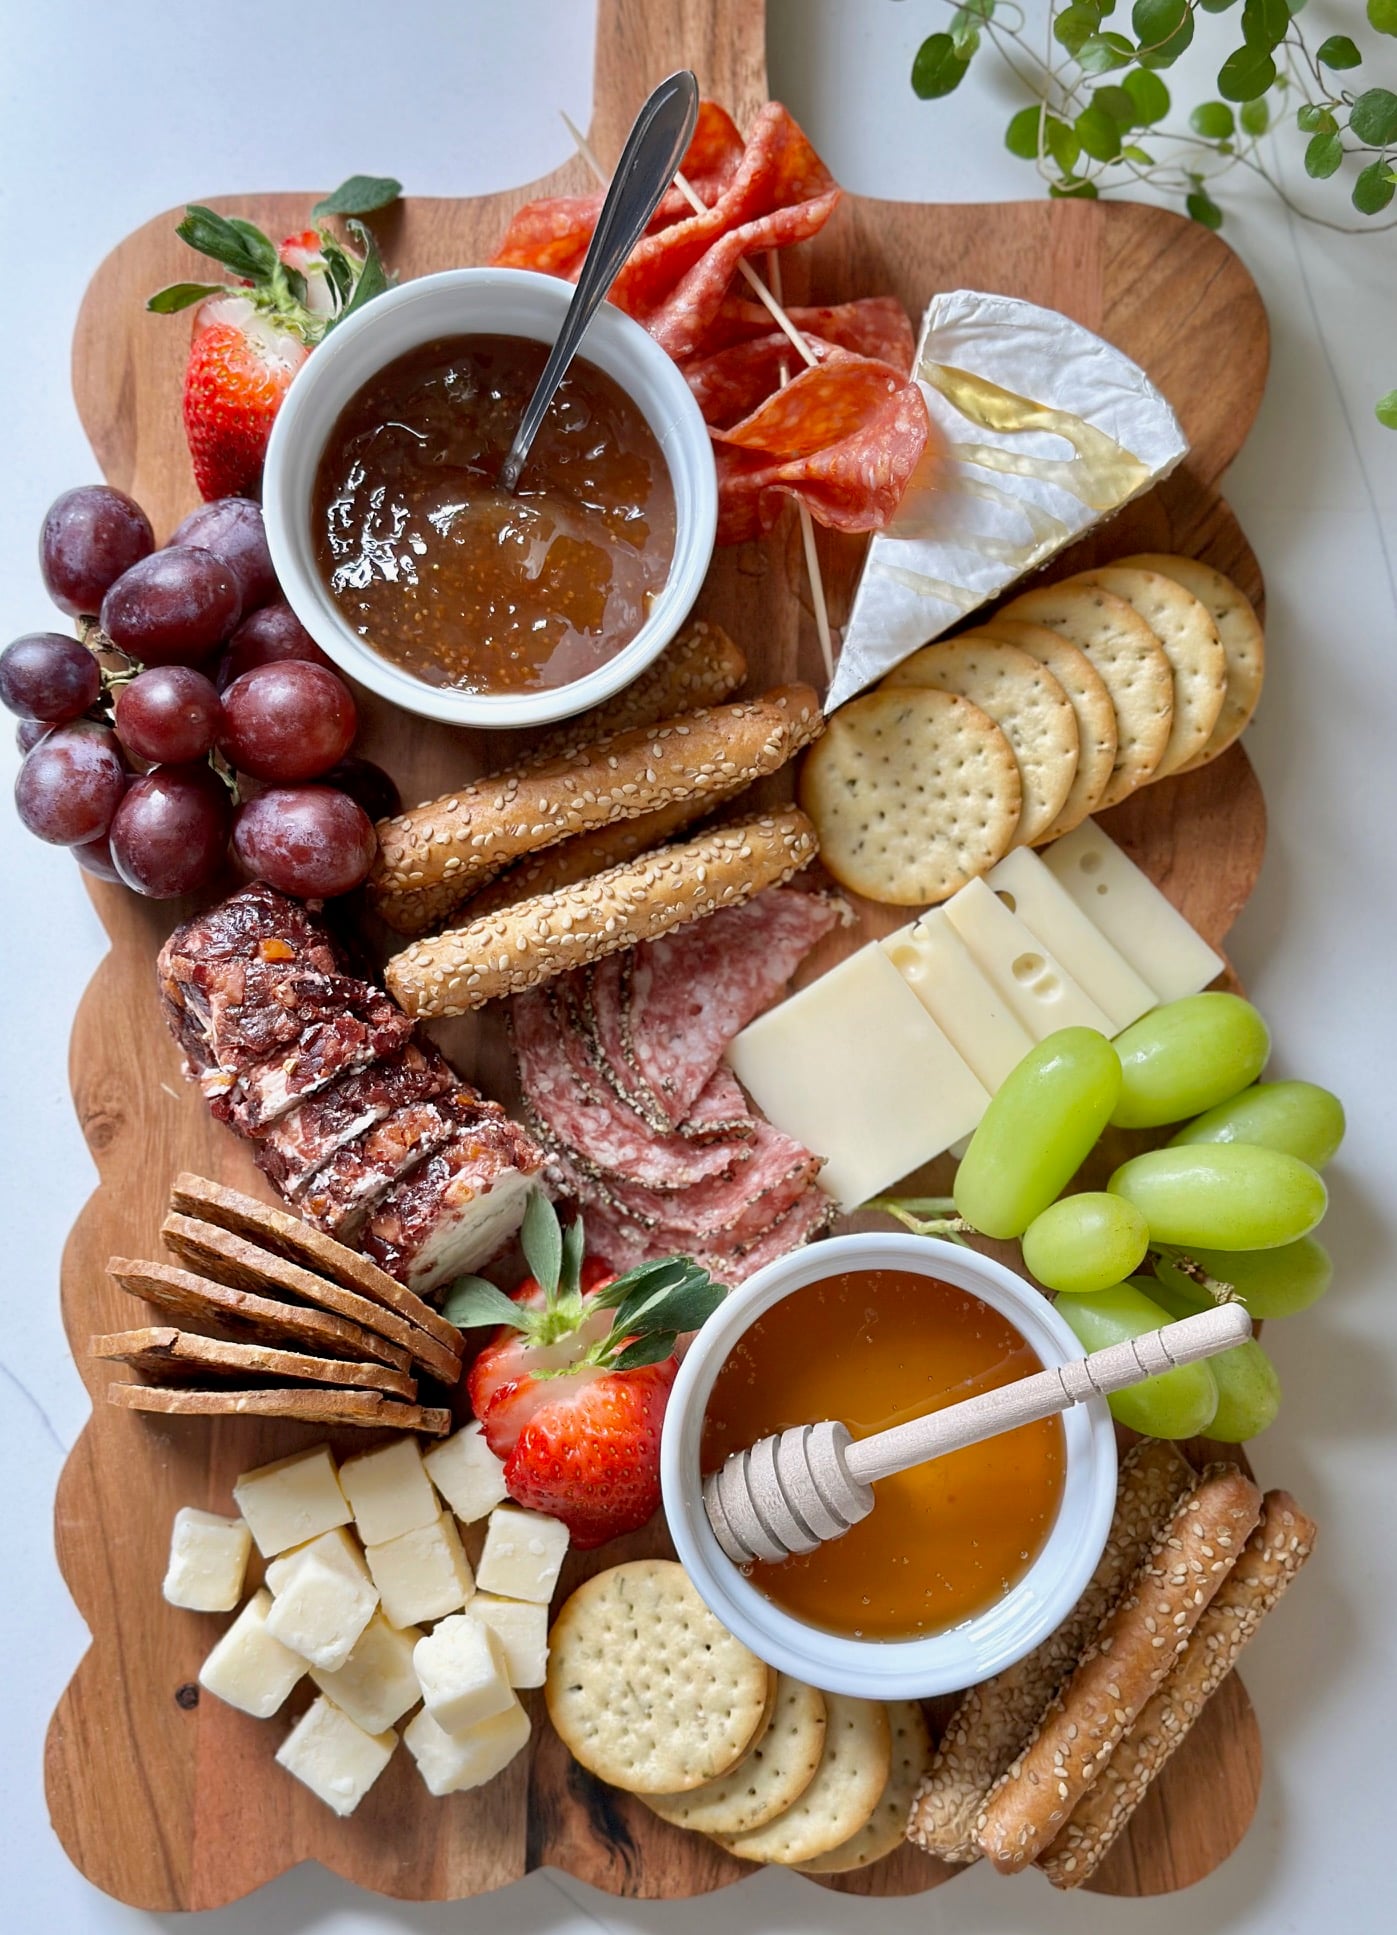
Step 5: Add the fruit
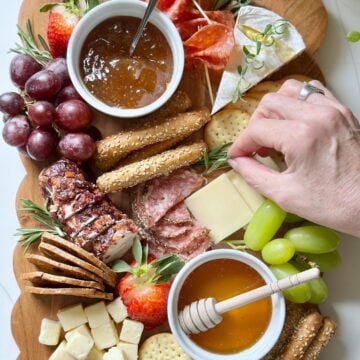
Next, fill in open spaces with fruit. I used sliced strawberries and clusters of red and green seedless grapes for color, freshness, and a little sweetness.
Fruit softens the look of the board and helps fill gaps in a natural way.
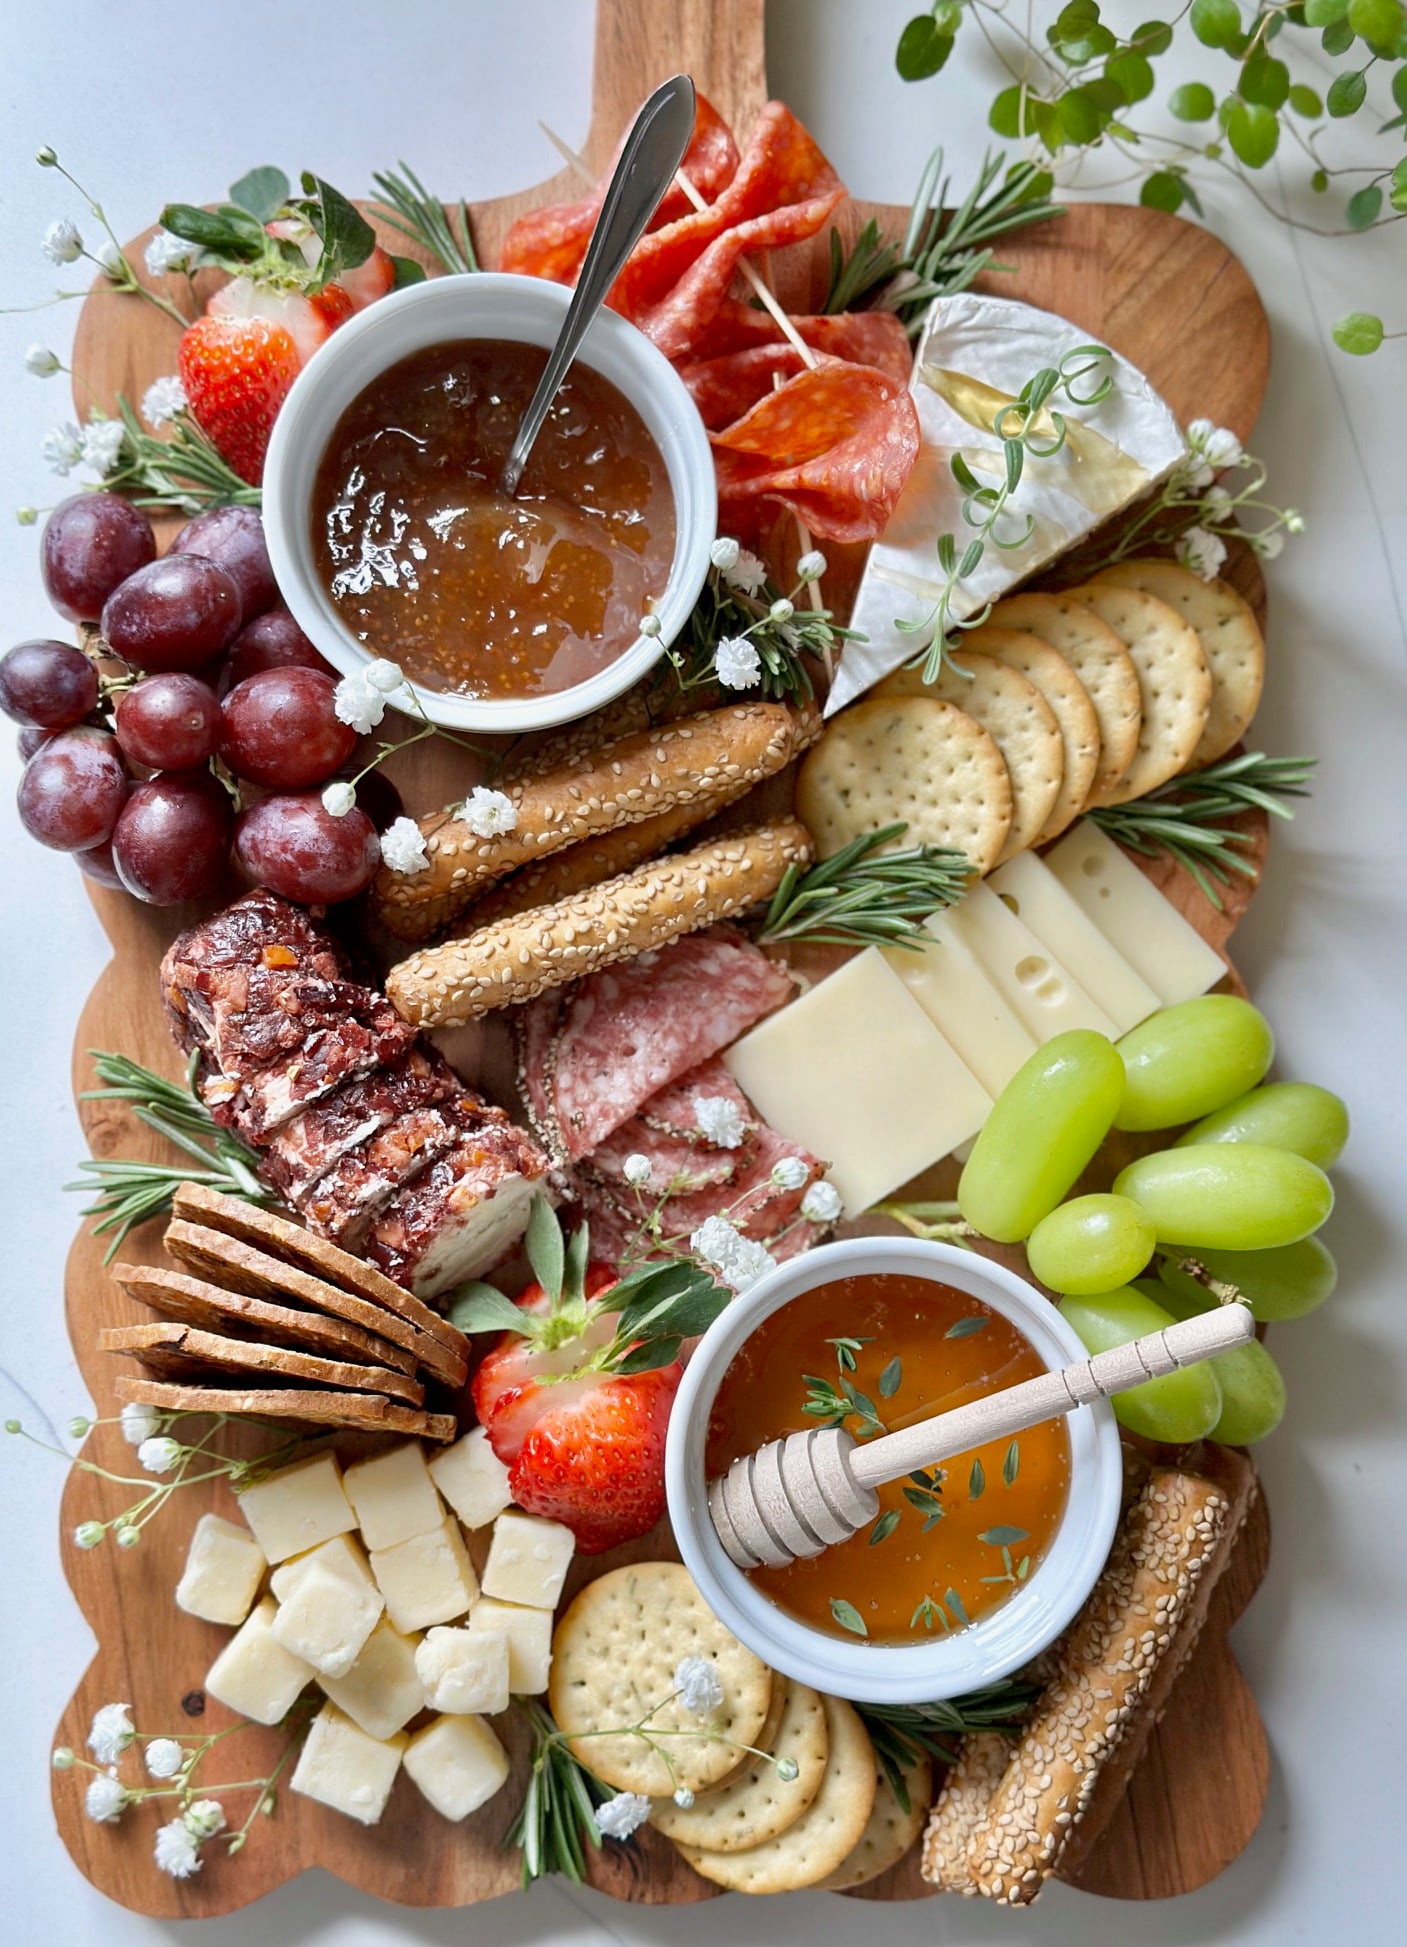
Step 6: Tuck in the herbs
Once the main ingredients are on the board, finish it with fresh herbs. I tucked in rosemary, added a few thyme leaves to the honey, and placed a piece of lavender greenery on the brie.
This step adds freshness and gives the board that finished, styled look without much effort.
Step 7: Add optional finishing touches
If you want to make the board feel a little more special, you can add a few simple finishing touches at the end.
For this board, I added a few tiny clusters of baby's breath as an extra detail. This part is completely optional and not necessary for a beautiful board.
Baby's breath is not edible, so if you use it, keep it separate from the food or place it on the outer edges of the board.
Step 8: Step back and make small adjustments
Once everything is in place, take a quick look at the board and adjust anything that feels too crowded or too empty. You can tuck in a little more fruit, shift a cracker section, or add one more sprig of rosemary if needed.
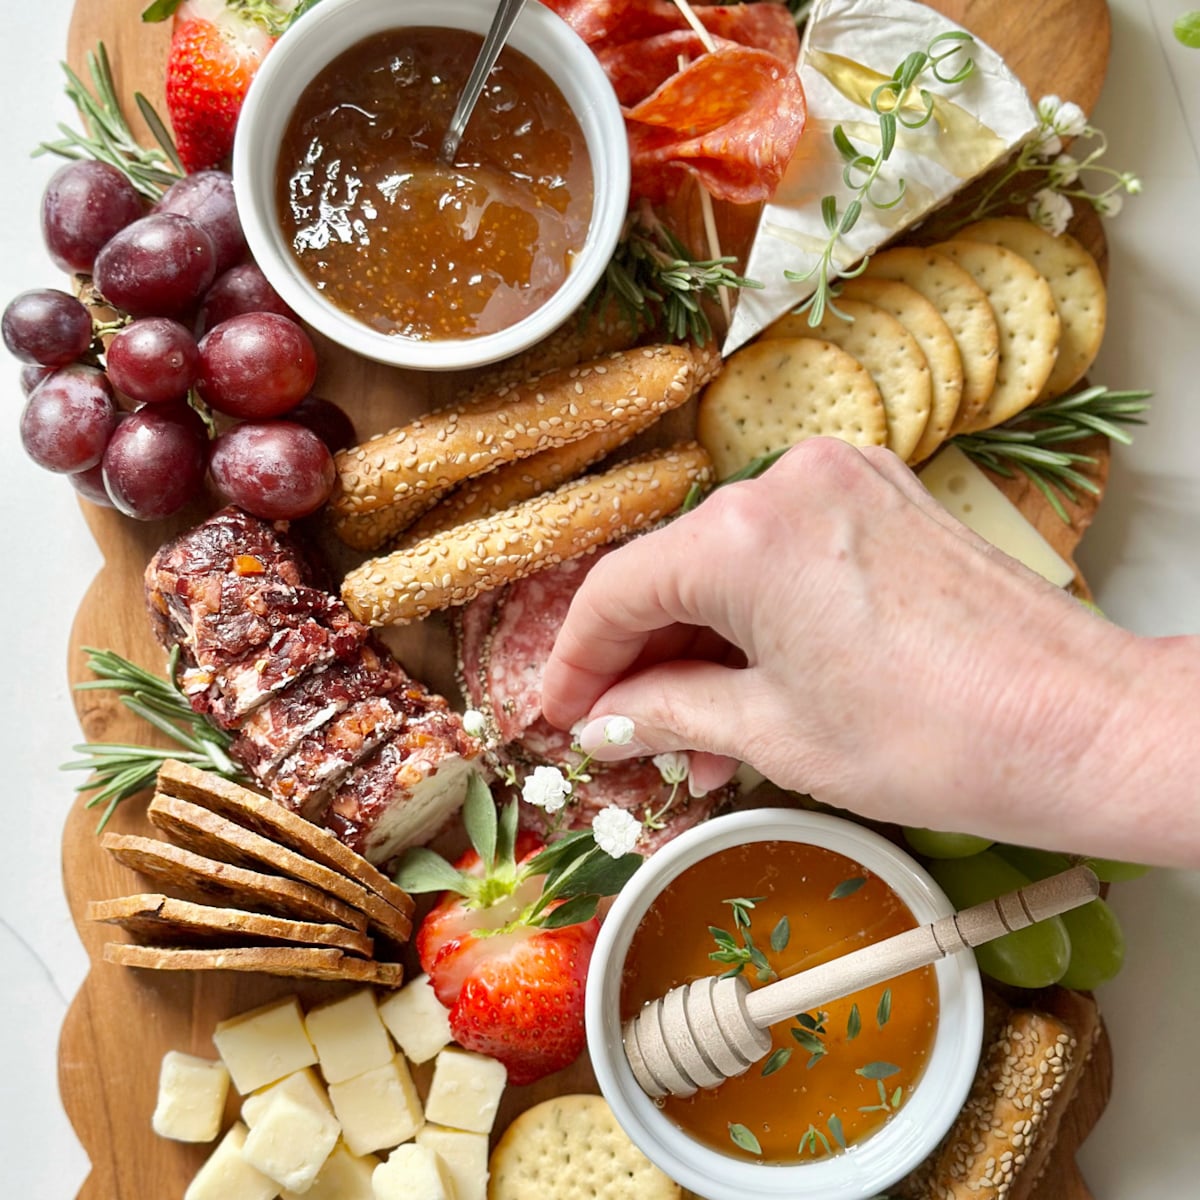
If you haven't already, this is also a good time to add any serving pieces like small spoons, knives, or a honey wand so everything is easy to use.
Sometimes the last little adjustments are what make the whole board feel finished.
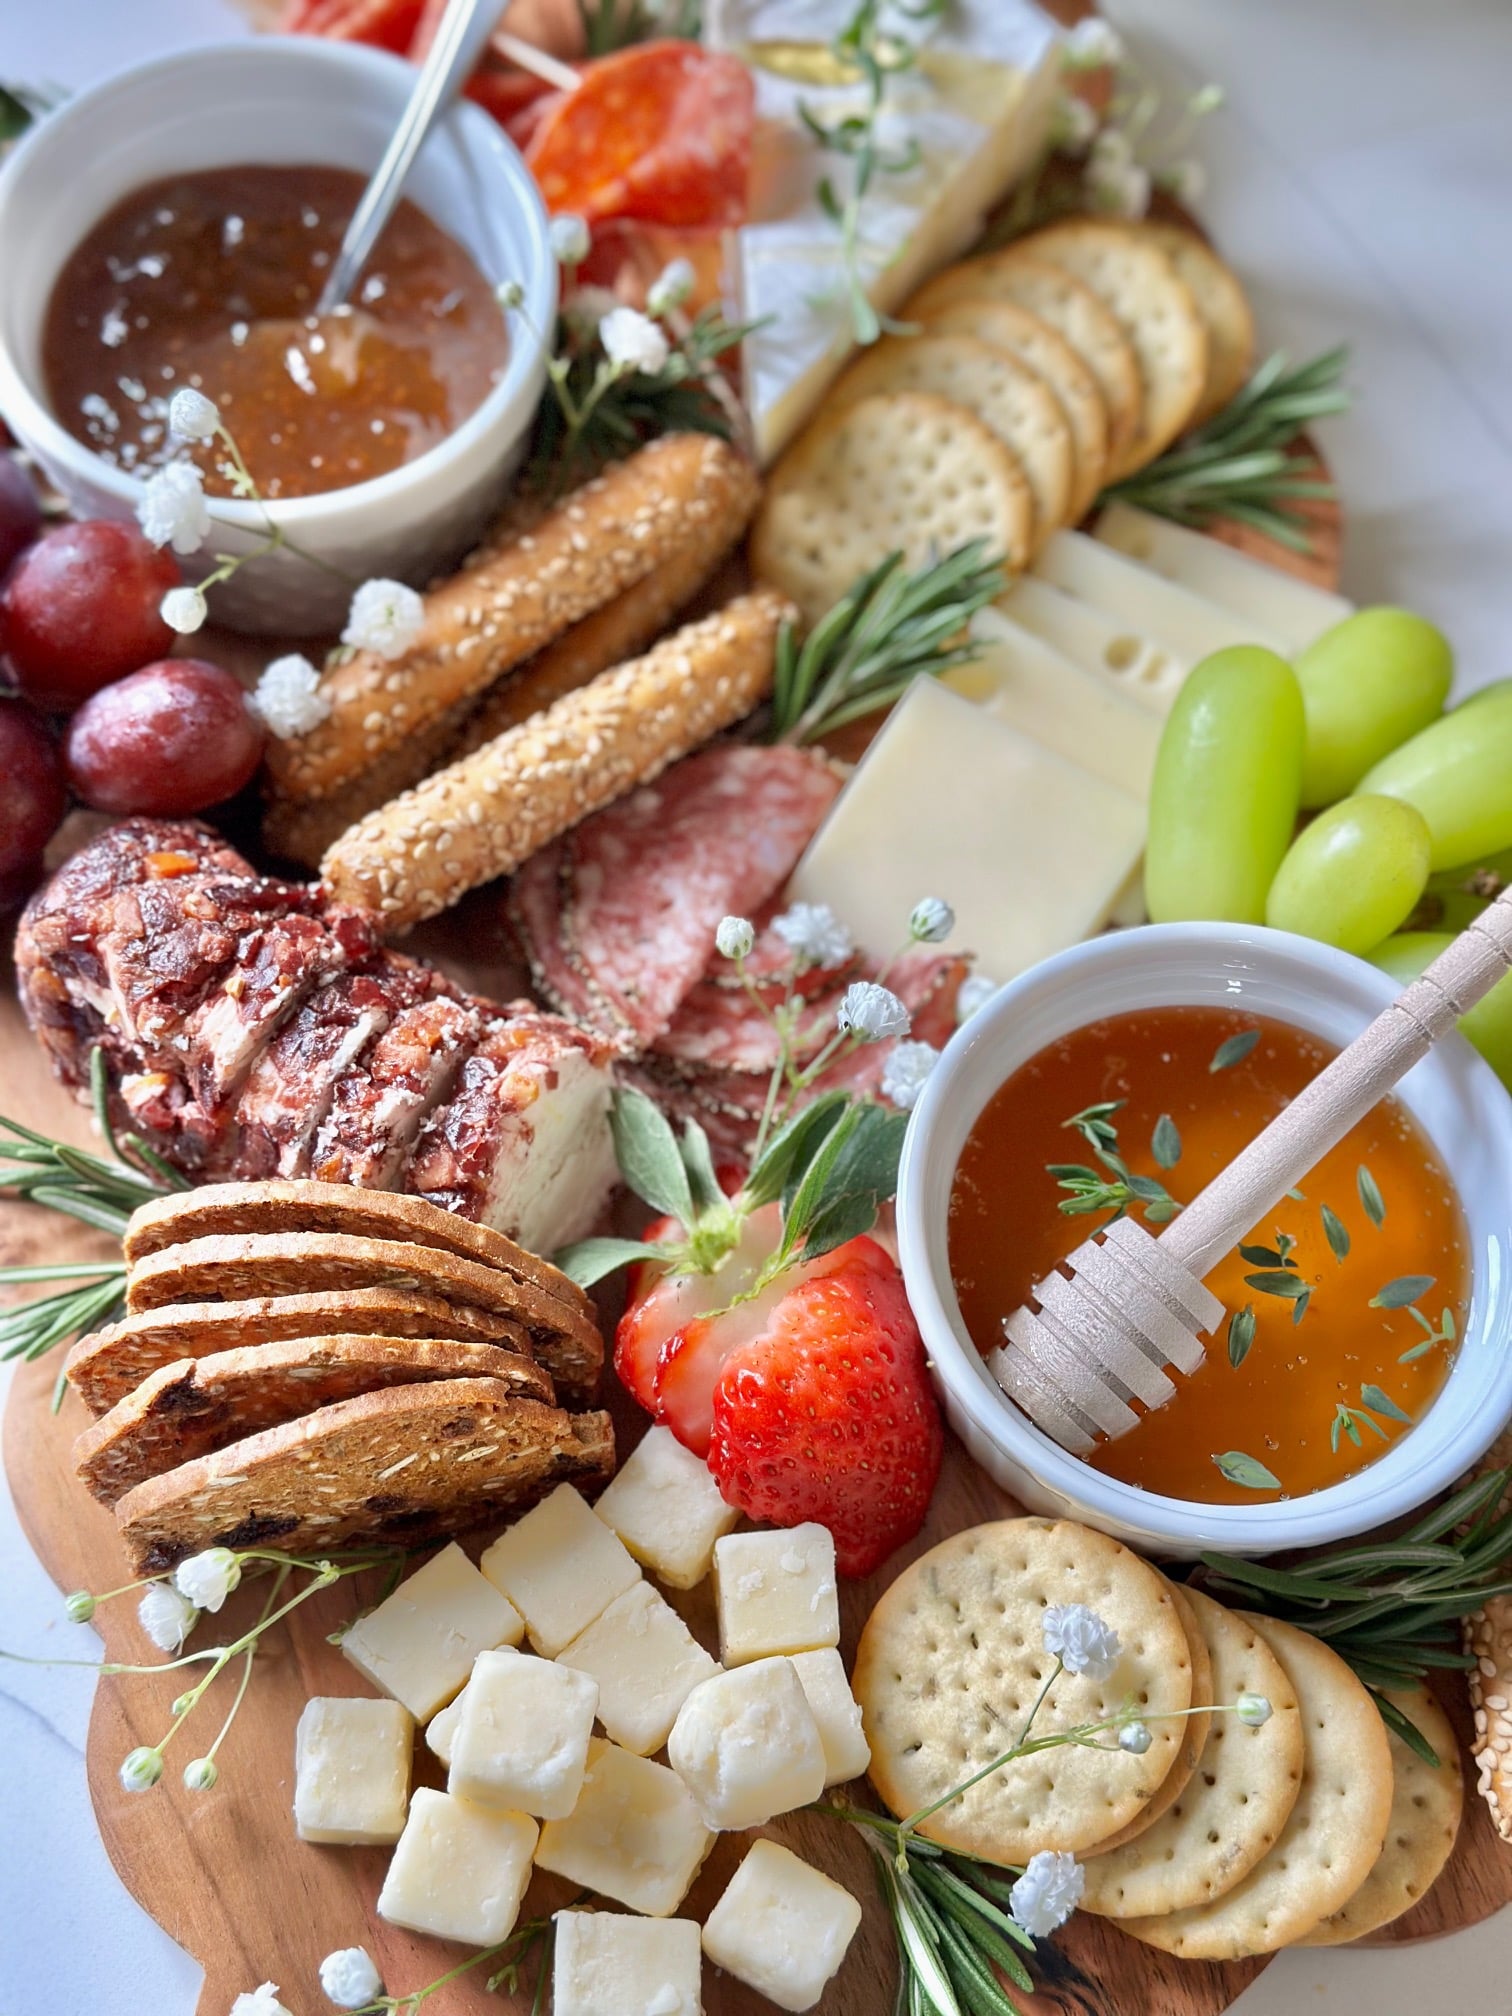
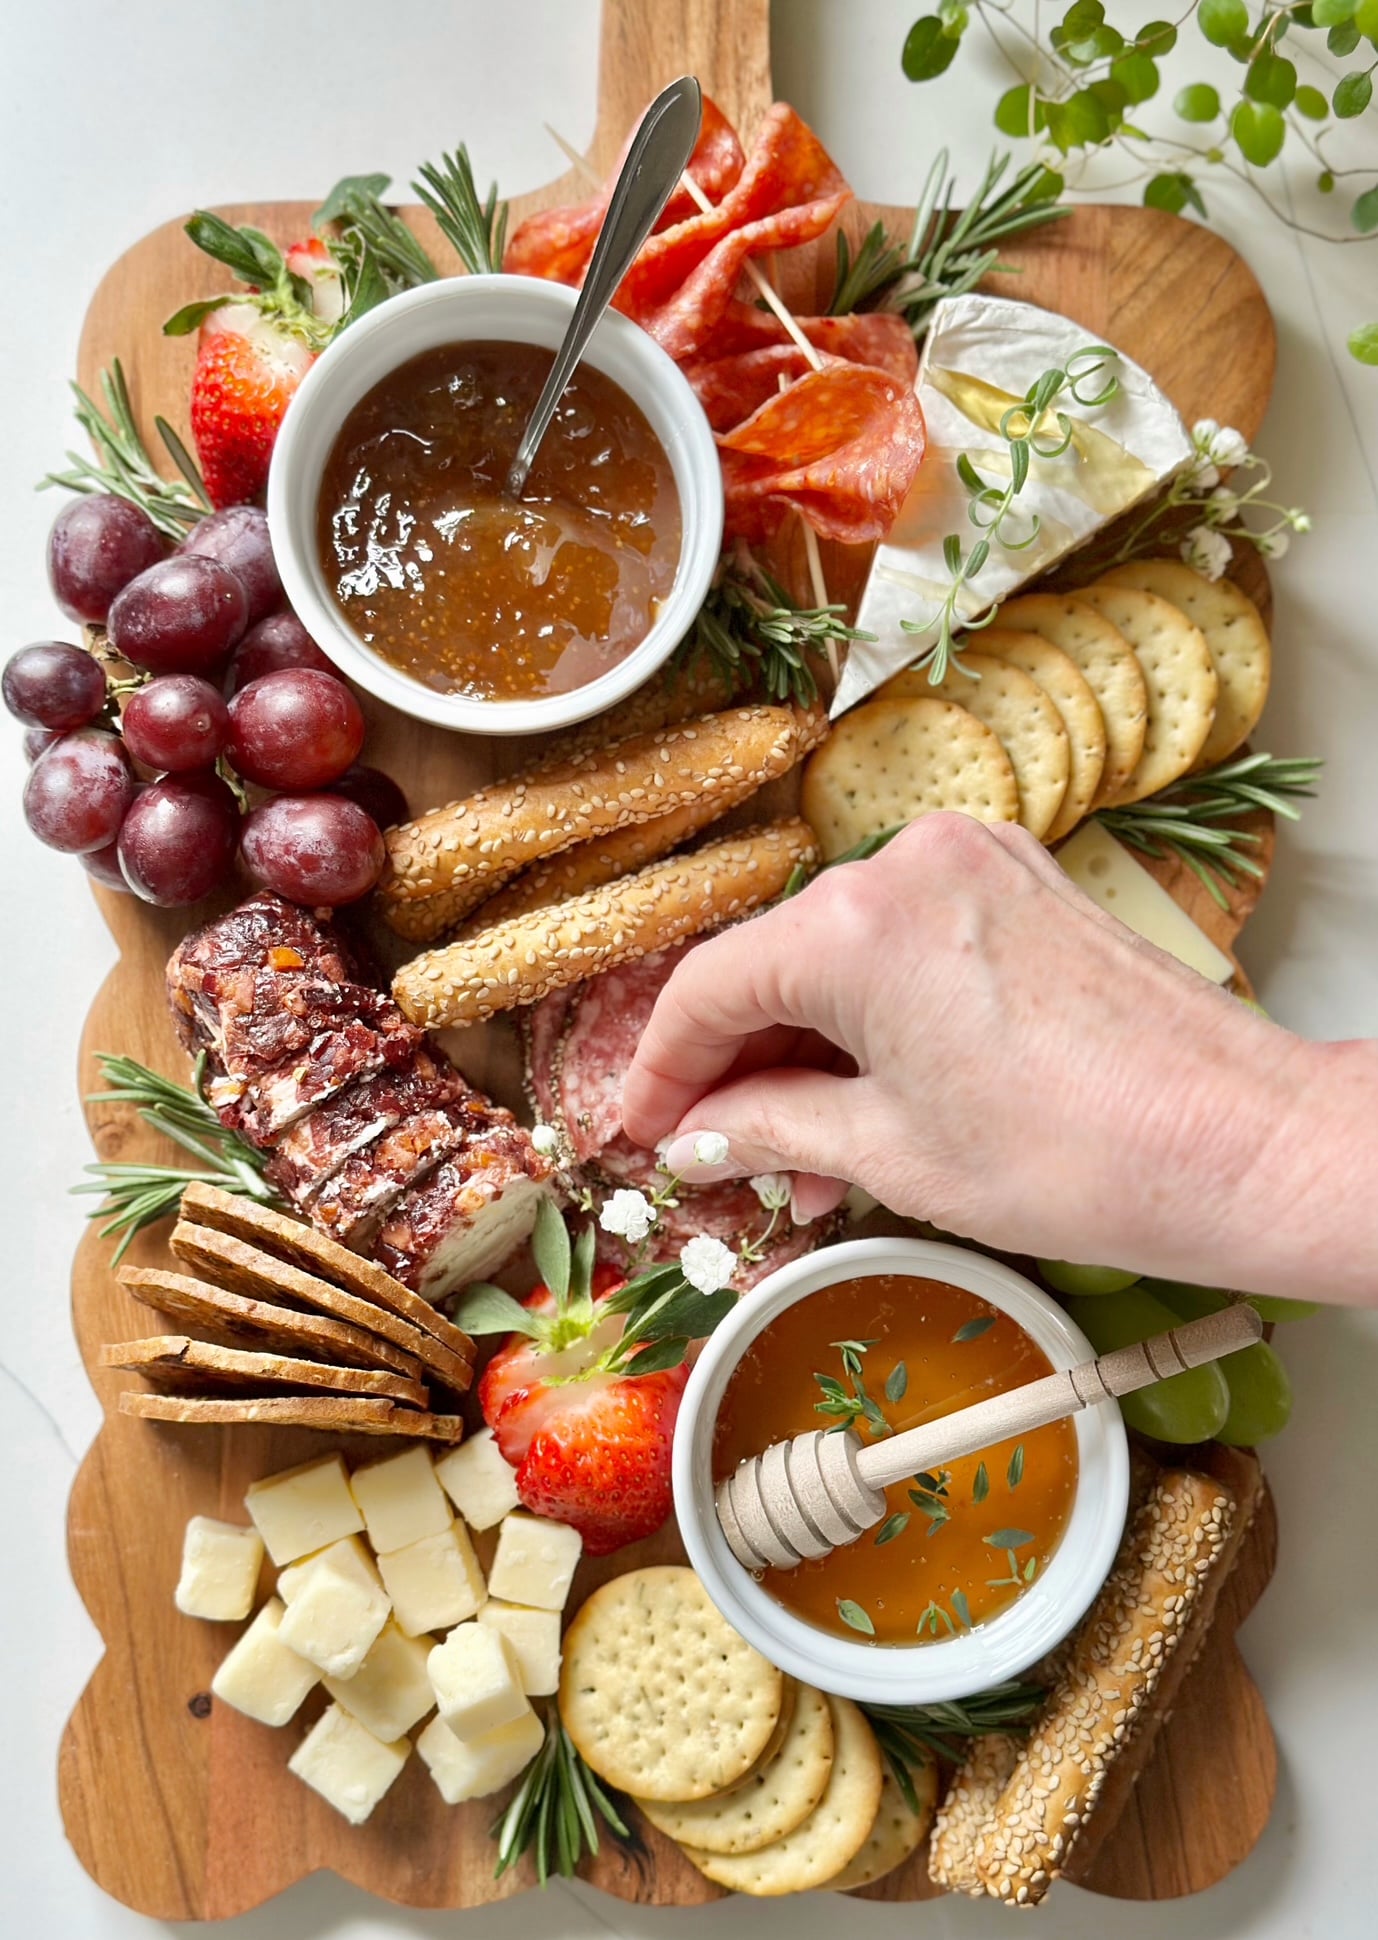
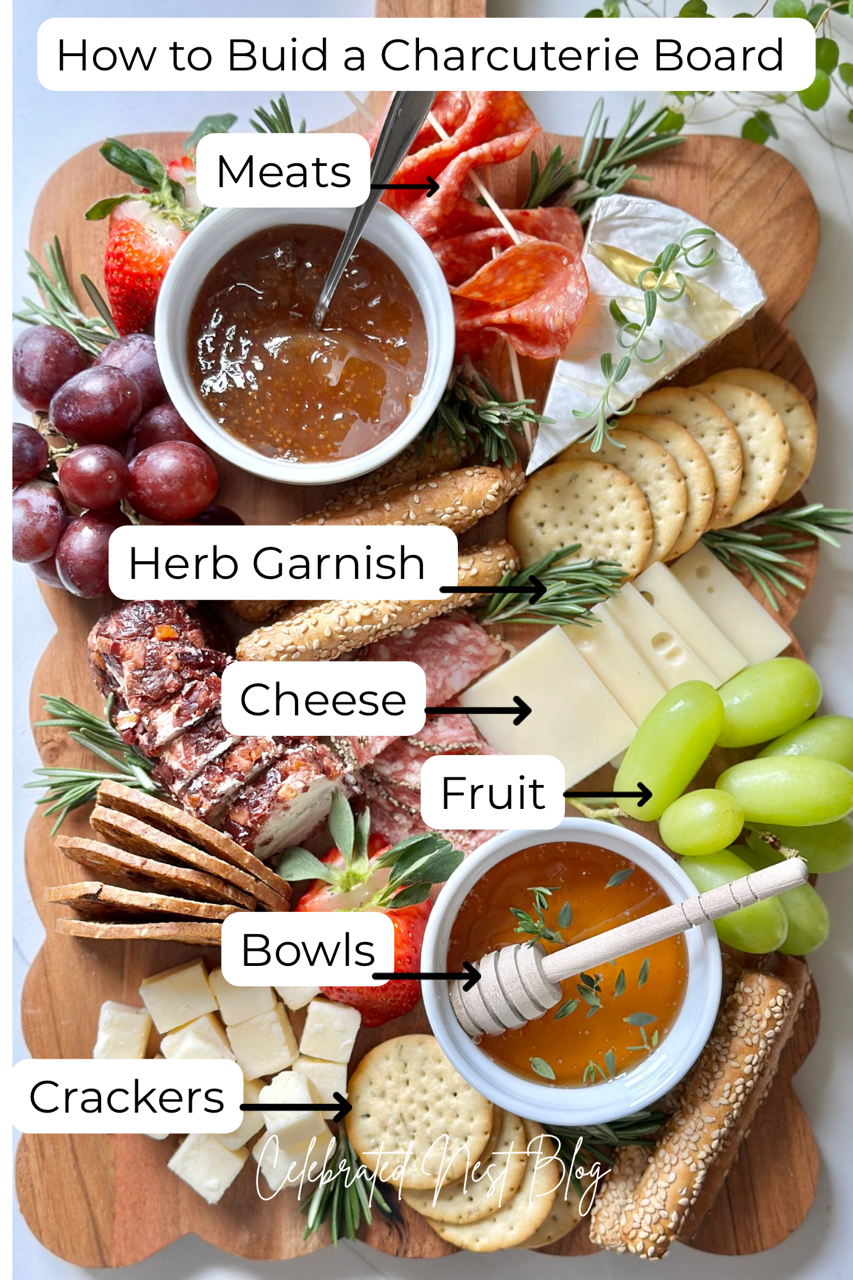
How a charcuterie board comes together
If you're more of a visual person, this is where everything starts to click.
This labeled board shows how all the pieces fit together, from the cheese and meats to the bowls, crackers, and extras. Once you see it laid out this way, it becomes much easier to recreate the same full, balanced look on your own.
Simple pairing ideas
You don't need to overthink pairing ingredients on a charcuterie board. Most combinations work beautifully when you mix a few basic flavors and textures.
Here are a couple of easy pairings to keep in mind:
- Creamy cheese + salty meat + something sweet
- Sharp cheese + fresh fruit + a cracker or bread
These simple combinations make it easy to build bites that feel balanced and delicious without much effort.
I find that once you have a mix of creamy, salty, sweet, and crunchy on the board, everything tends to pair well together naturally.
Styling tips that make a board look full and beautiful
A beautiful charcuterie board isn't about using more ingredients, it's about how you arrange them. These simple styling tips make everything look full, balanced, and easy to enjoy.
Create a sense of abundance
Instead of spreading everything out, keep ingredients close together. Grouping items makes the board feel full and inviting, even if you're using a small amount of food.
Add layers and texture
Layering adds visual interest and makes the board feel more dynamic. Slightly overlap crackers, fold meats, and tuck items together instead of laying everything flat.
Fill the gaps
Look for empty spaces and fill them with small items like fruit, nuts, or extras. This is what gives a charcuterie board that abundant, finished look.
Keep it easy to eat
A beautiful board should also be practical. Slice cheeses, use bite-sized pieces, and include serving utensils so guests can easily help themselves.
I find that if the board starts to feel crowded, moving crackers or bread to a separate bowl or basket nearby makes everything look cleaner and easier to serve.
Common mistakes to avoid
A few small missteps can make a charcuterie board feel harder to build or less inviting. These are easy to fix once you know what to look for.
- Spreading everything evenly: This makes the board feel sparse instead of full. Group items together instead.
- Using too many ingredients: More isn't better. A smaller number of well-chosen items will always look more intentional.
- Not starting with structure: Placing bowls and cheeses first helps guide the layout and takes away the guesswork.
- Placing everything flat: Folding meats, overlapping crackers, and layering ingredients adds texture and interest.
- Making items hard to grab: Keep everything bite-sized and easy to serve so guests don't have to work for it.
- Not using bowls for messy items: Sticky or oily ingredients like honey, jam, or olives should go in small bowls to keep the board clean and easy to serve.
- Forgetting serving utensils: Include small knives, spoons, or a honey wand so guests can easily help themselves.
Make ahead and storage tips
If you want to get ahead, a charcuterie board is easy to prep in advance with just a few simple adjustments.
- Assemble 1-2 hours ahead
- Refrigerate covered until ready to serve
- Add crackers and delicate items just before serving so they stay fresh
- Store leftovers separately to keep everything at its best
I find that prepping ingredients ahead of time makes everything feel much easier. If you're using fresh herbs, you can learn how to prepare and store them properly in my garnish for charcuterie boards guide.
Easy ways to elevate your charcuterie board
Once you've built your board, there are a few simple additions that can make it feel a little more special without adding much extra work.
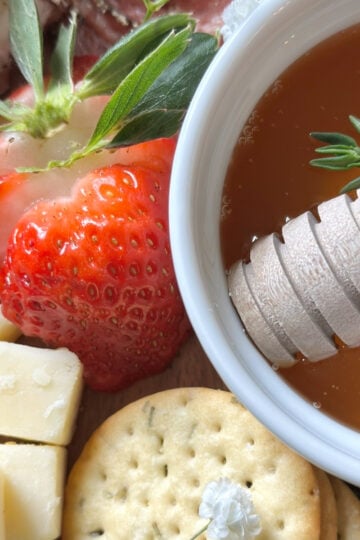
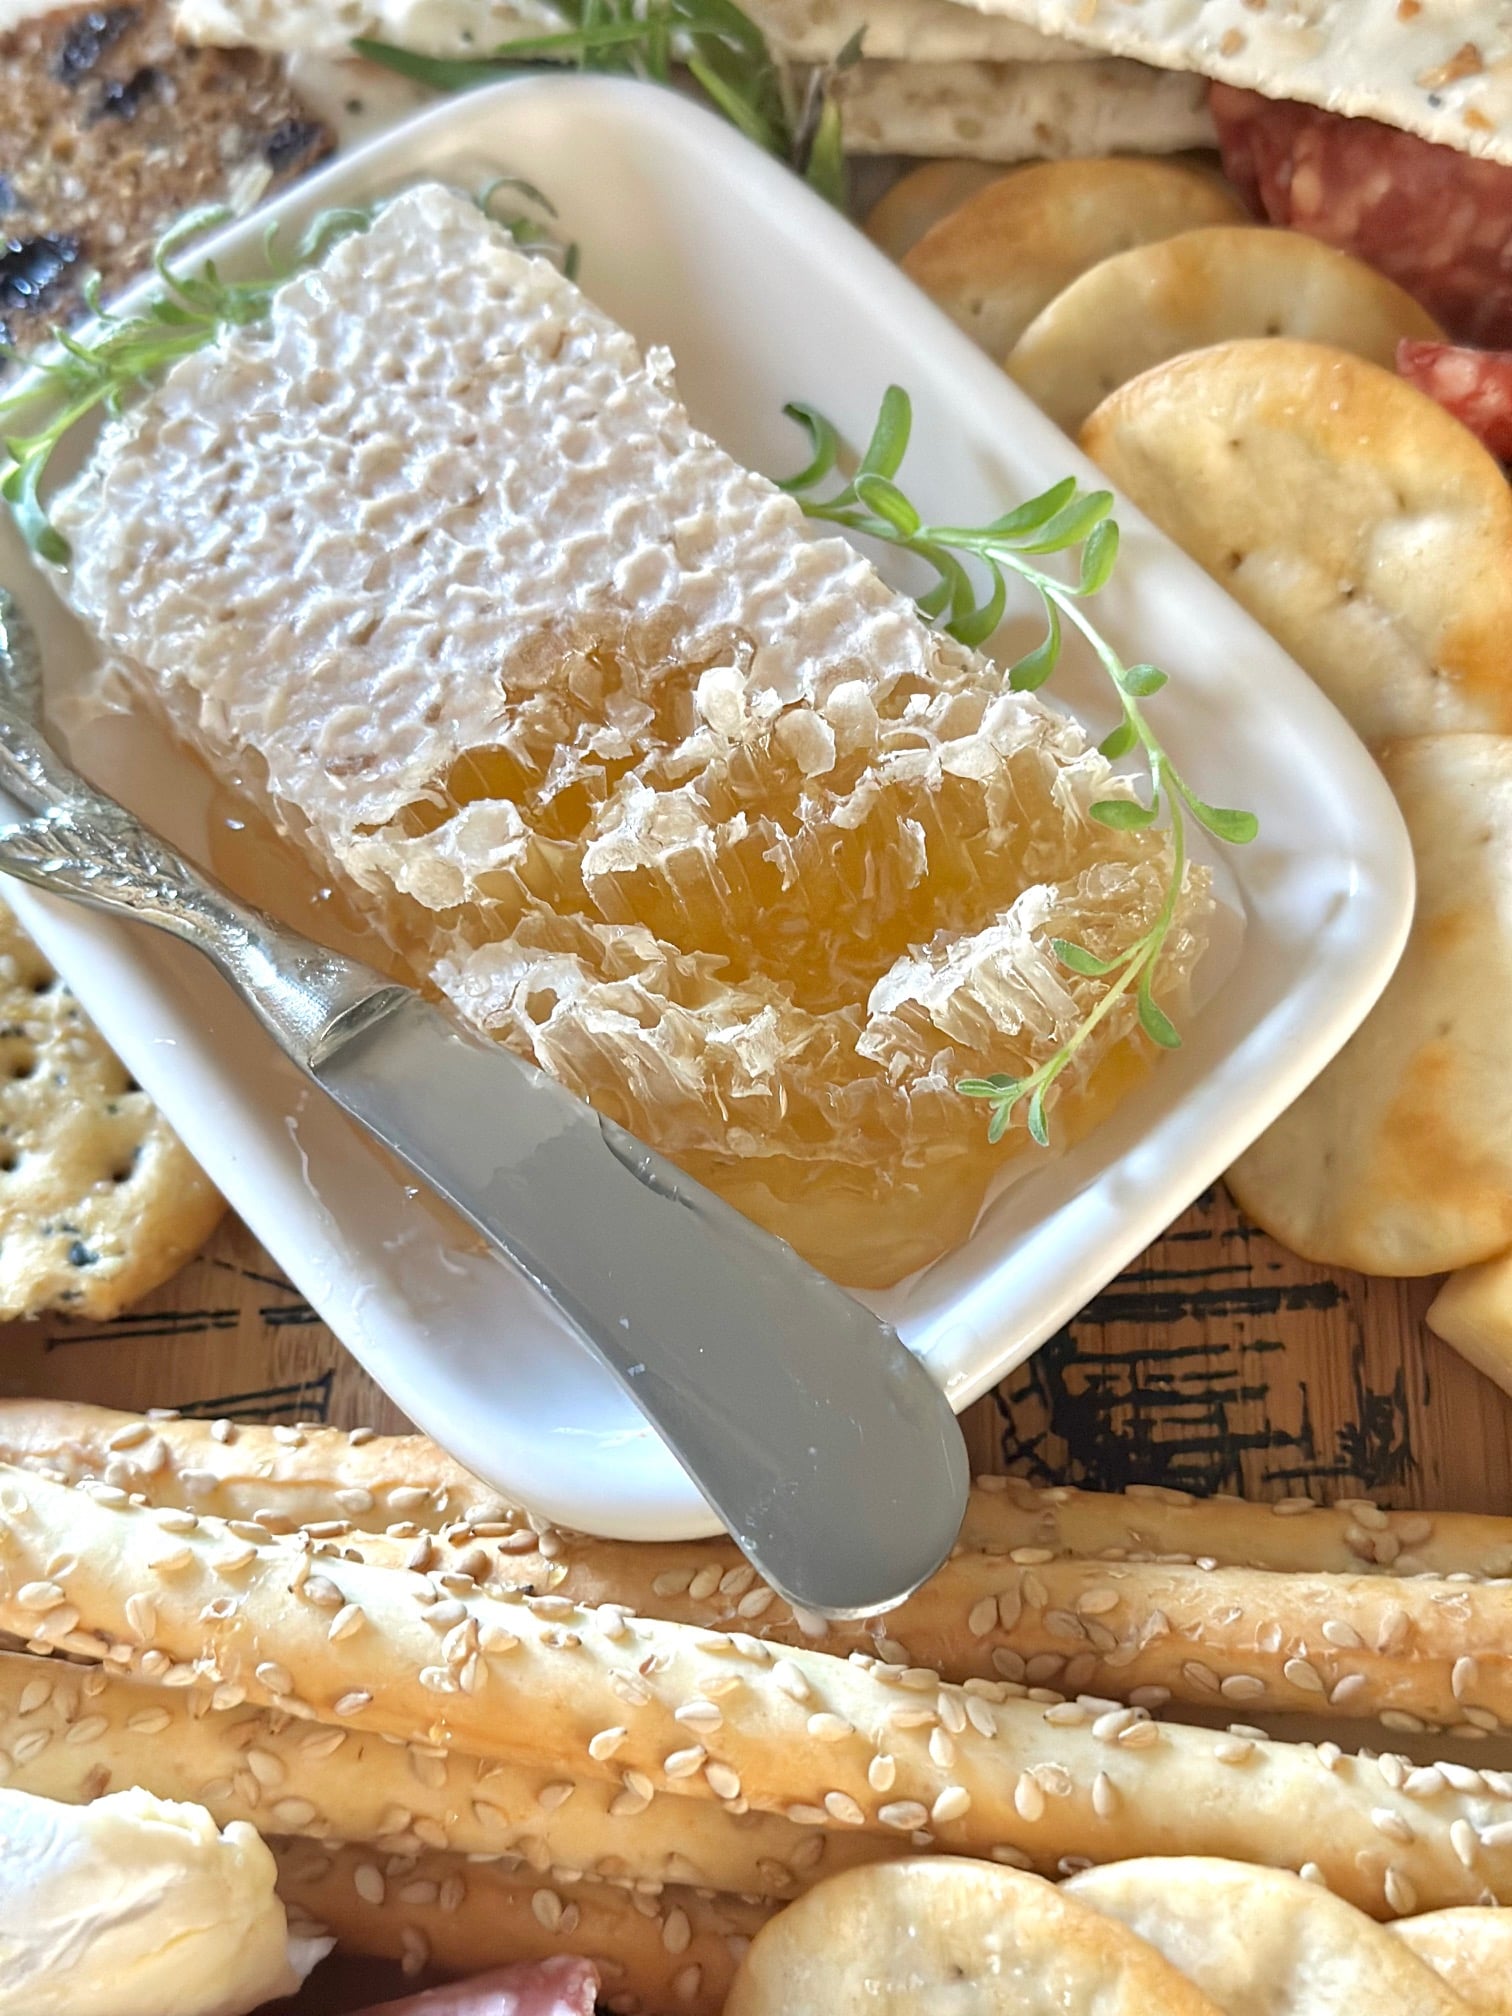
- Add honeycomb or infused honey for a natural focal point and a touch of sweetness
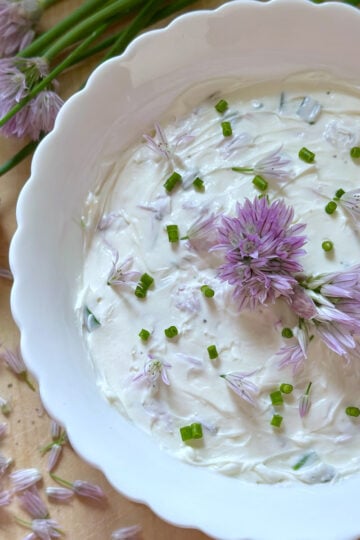
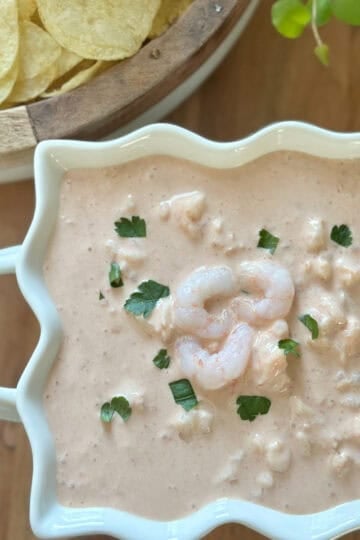
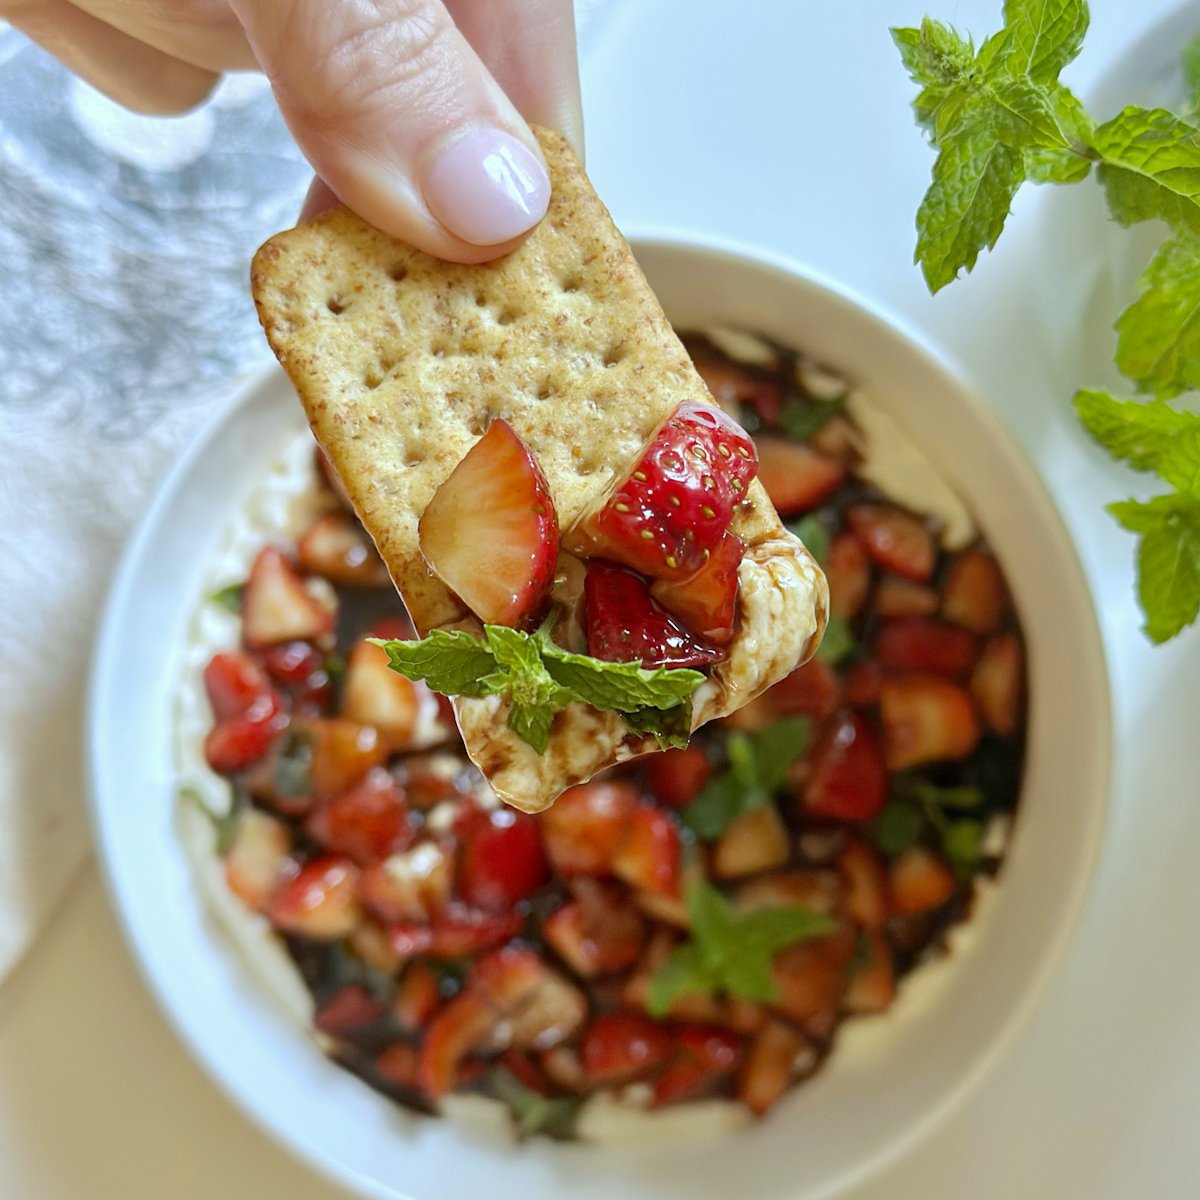
- Include a cream cheese spread with toppings for an easy, crowd-friendly addition
- Use candied nuts or flavored nuts for extra texture and flavor
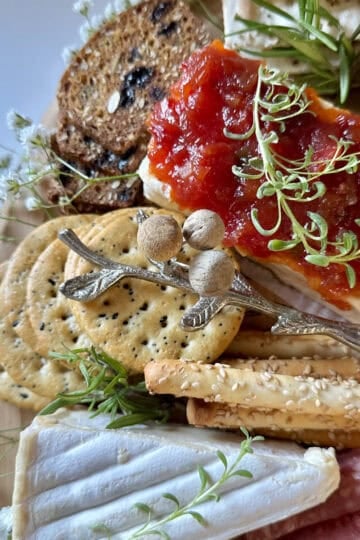
- Add one standout element, like baked brie or stuffed dates, to make the board feel more complete
You don't need to do all of these. Even one small upgrade can take a simple board and make it feel a little more elevated.
Frequently asked questions
I like to start with small bowls. Placing them first helps create structure and makes it much easier to build the rest of the board around them.
From there, add cheeses, meats, crackers, and then fill in with fruit and extras.
You can assemble your board about 1 to 2 hours ahead of time and keep it covered in the refrigerator.
For best results, add crackers and any delicate items just before serving so they stay fresh.
A simple guideline is about 2 to 3 ounces of cheese and about 2 ounces of meat per person, plus a small handful of extras.
You don't need a large amount of food to create a board that looks full and inviting.
Not at all. You don't need salami roses or complicated styling to make a beautiful charcuterie board.
Simple folds, layering, and thoughtful placement go a long way.

How to Build a Charcuterie Board Step-by-Step (Easy Beginner Guide)
Ingredients
- 1 wedge brie cheese
- 1 pkg Swiss cheese slices
- 1 log cranberry goat cheese
- 1 cup cubed cheddar cheese
- 1 pkg salami slices
- 1 pkg pepperoni or sliced cured meat
- 1 small bowl fig jam
- 1 small bowl honey
- 1 pkg round crackers
- 1 pkg breadsticks
- 1 pkg cranberry or seeded crackers
- 1 cup strawberries, sliced
- 1 cup red seedless grapes
- 1 cup green seedless grapes
- 2 sprigs fresh rosemary
- 1 teaspoon fresh thyme leaves
- 1 sprig lavender (optional)
- 1 small bundle baby's breath (optional, for decoration only)
Instructions
- Place the bowls: Place two small bowls on the board, positioning them in opposite areas to create structure and balance.
- Add the cheeses: Arrange the cheeses around the bowls, spacing them out so they act as anchors across the board.
- Add the meats: Fold or arrange the meats and place them near the cheeses to start filling in the board and adding texture.
- Add the crackers: Group crackers and breadsticks in sections instead of spreading them out to create a fuller look.
- Add the fruit: Fill in open spaces with fruit like sliced strawberries and grape clusters to add freshness and color.
- Add herbs and garnish: Tuck in fresh herbs like rosemary and thyme to give the board a finished look. Add optional garnish if desired.
- Add serving utensils and adjust: Add small knives, spoons, or a honey wand if needed, then make small adjustments by filling gaps or shifting items until the board feels balanced.
Notes
- This method is flexible, you can adjust ingredients and amounts based on what you have and how many people you're serving.
- Nutritional values are estimates and will vary depending on the specific ingredients, brands, and portion sizes used.
- You can prepare most of the ingredients ahead of time and assemble the board about 1 to 2 hours before serving.
- For best results, add crackers and delicate items just before serving.
- If you're using fresh herbs or flowers for garnish, be sure they are food-safe or keep them separate from the food.
Nutrition
If you've ever felt like charcuterie boards are complicated or hard to get right, I hope this showed you just how simple they can be.
You don't need fancy ingredients or complicated techniques. You don't need to know how to make salami roses or follow strict rules. You just need a few good ingredients and a simple way to put them together.
Start with the basics, follow the steps, and trust that it will come together. It always does.
And the more you make them, the easier it gets. You'll start to see what works, what you love, and how to make it your own.
Have fun with it!