Small Bowls for a Charcuterie Board (What to Put in Them + Styling Tips)
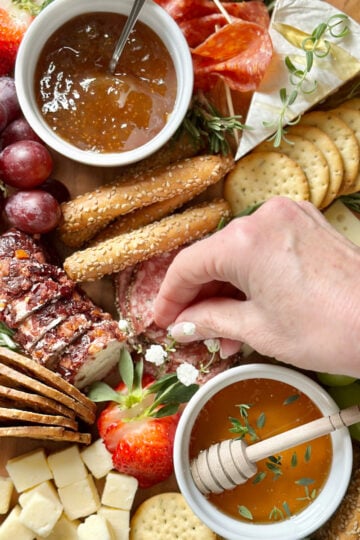
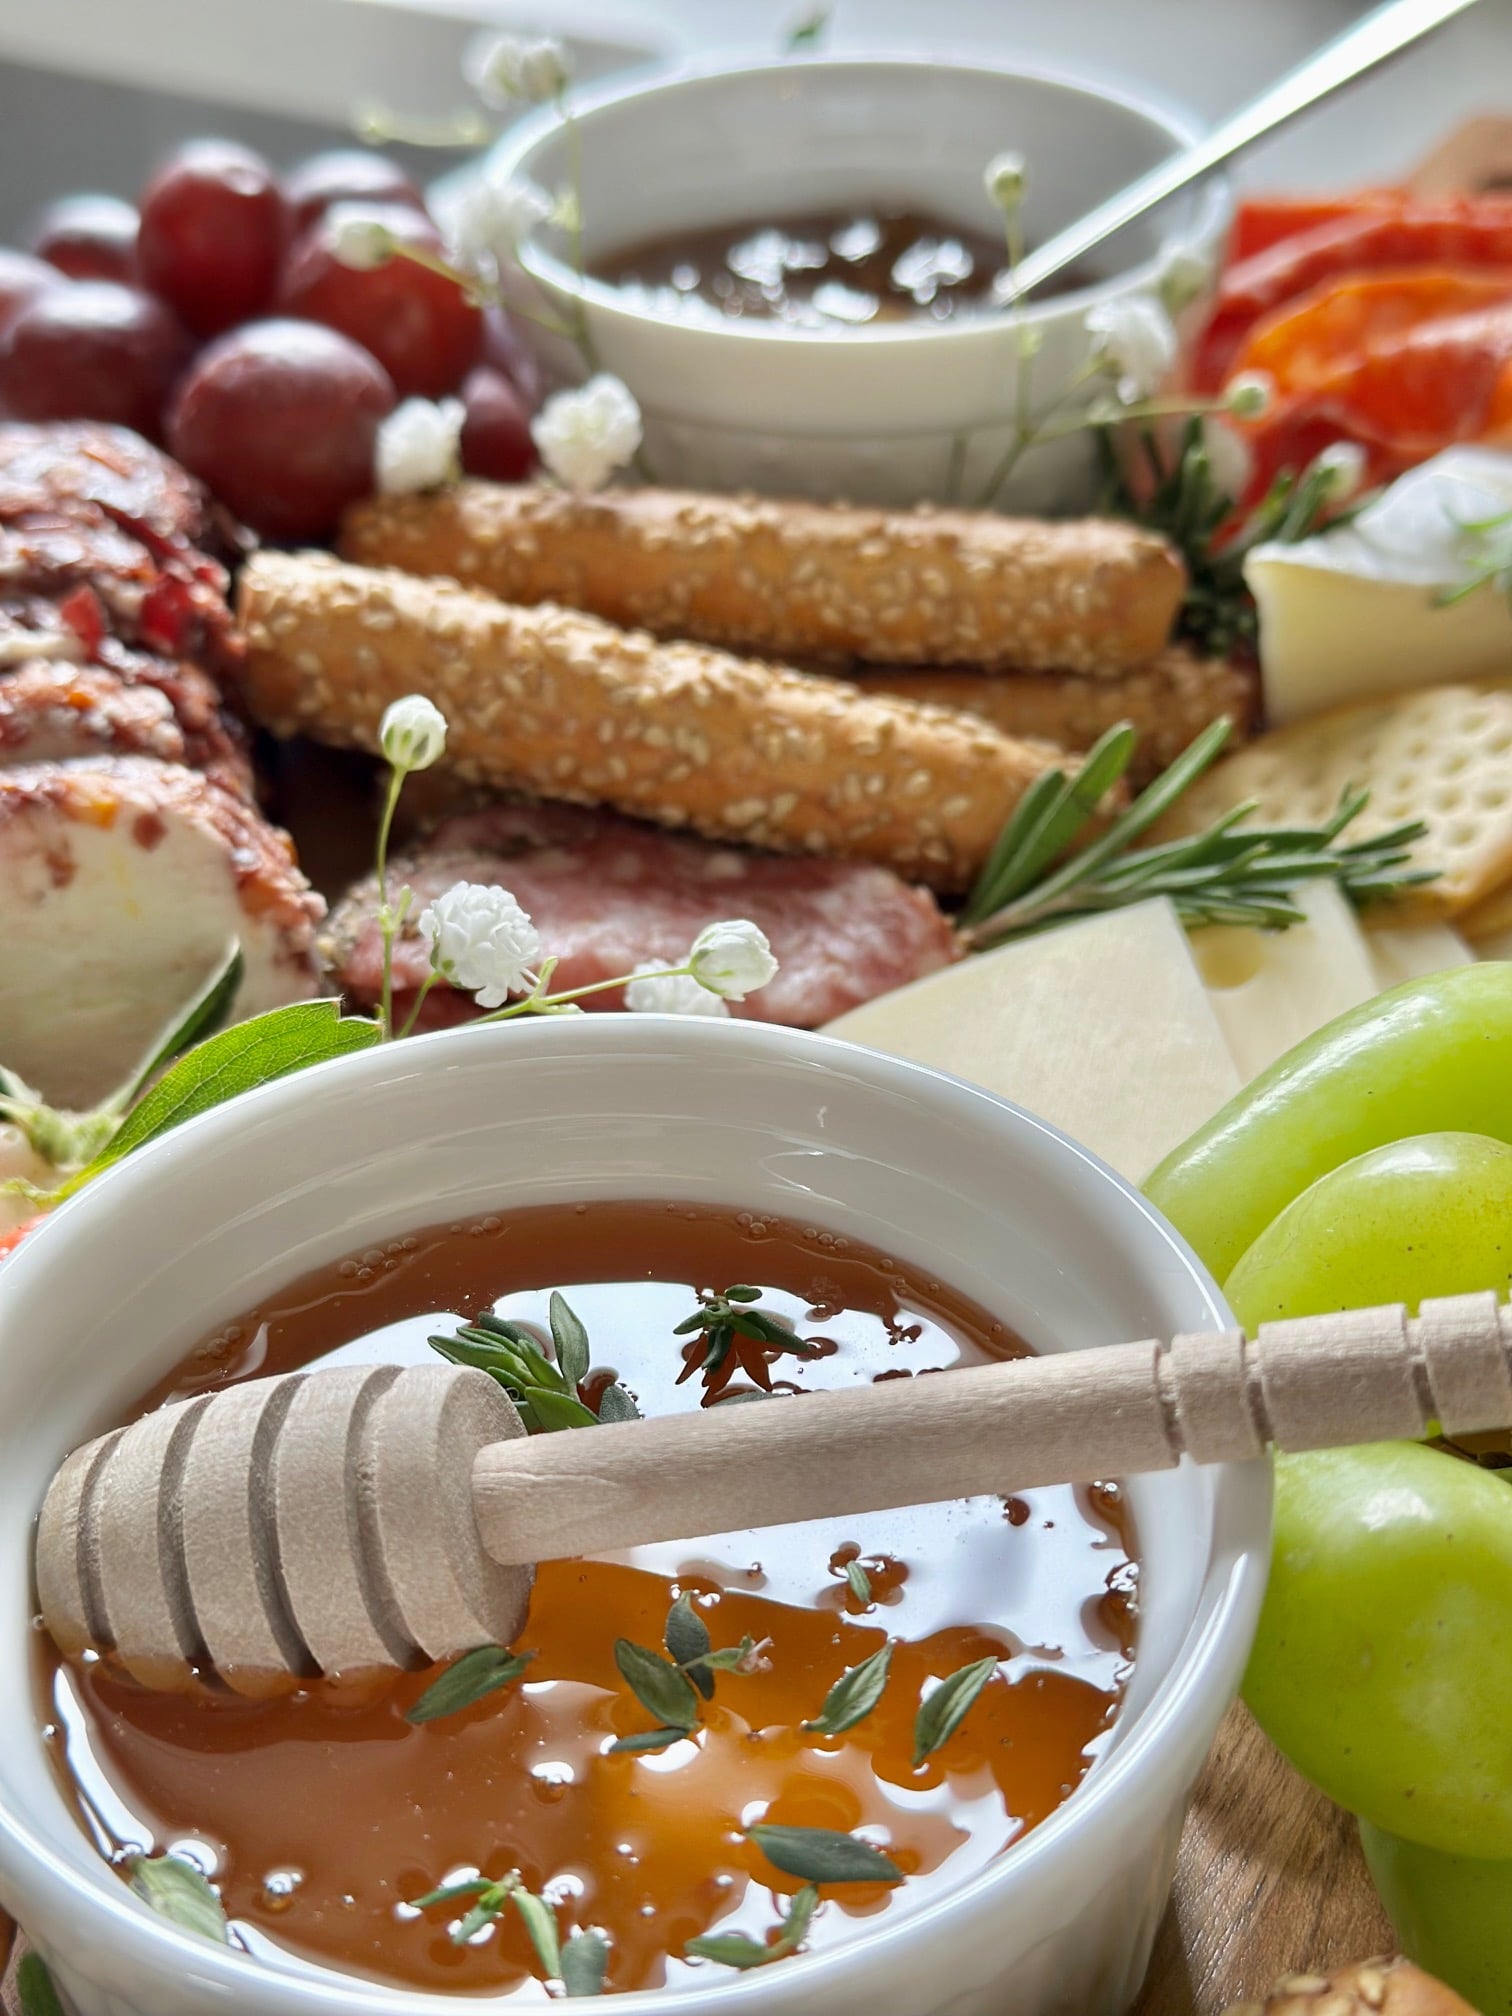
Small bowls are essential for a well-styled charcuterie board. They add height, keep dips and spreads contained, and make your board feel full and balanced. Fill them with a mix of sweet, savory, and briny options like jams, honey, olives, and dips, then use them to anchor your layout for an easy, elevated presentation.
Content may contain affiliate links. When you shop the links, we receive a small commission at no cost to you. Thanks for supporting my small business.
If your charcuterie boards feel a little flat or unfinished, it is usually not the cheese or the crackers. It is the bowls.
After putting together more charcuterie boards than I can count over the years, I've found that small bowls for a charcuterie board are what make everything come together. They give you a place for the messy, the sweet, and the briny, and they help the entire board feel balanced instead of scattered.
This is one of those small details that makes a big difference. You don't need more ingredients or anything complicated, just a better way of putting it all together. Once you start using bowls this way, building a charcuterie board becomes much simpler, and it finally looks the way you want it to.
At a Glance: Small Bowls for Charcuterie Board
_______________________
Small bowls are what give a charcuterie board structure and make it feel complete. If your board has ever looked a little scattered or unfinished, this is usually the missing piece.
Use small bowls to hold anything loose, messy, or spreadable. This keeps your board clean, adds variety, and makes everything easier to serve.
What to put in small bowls:
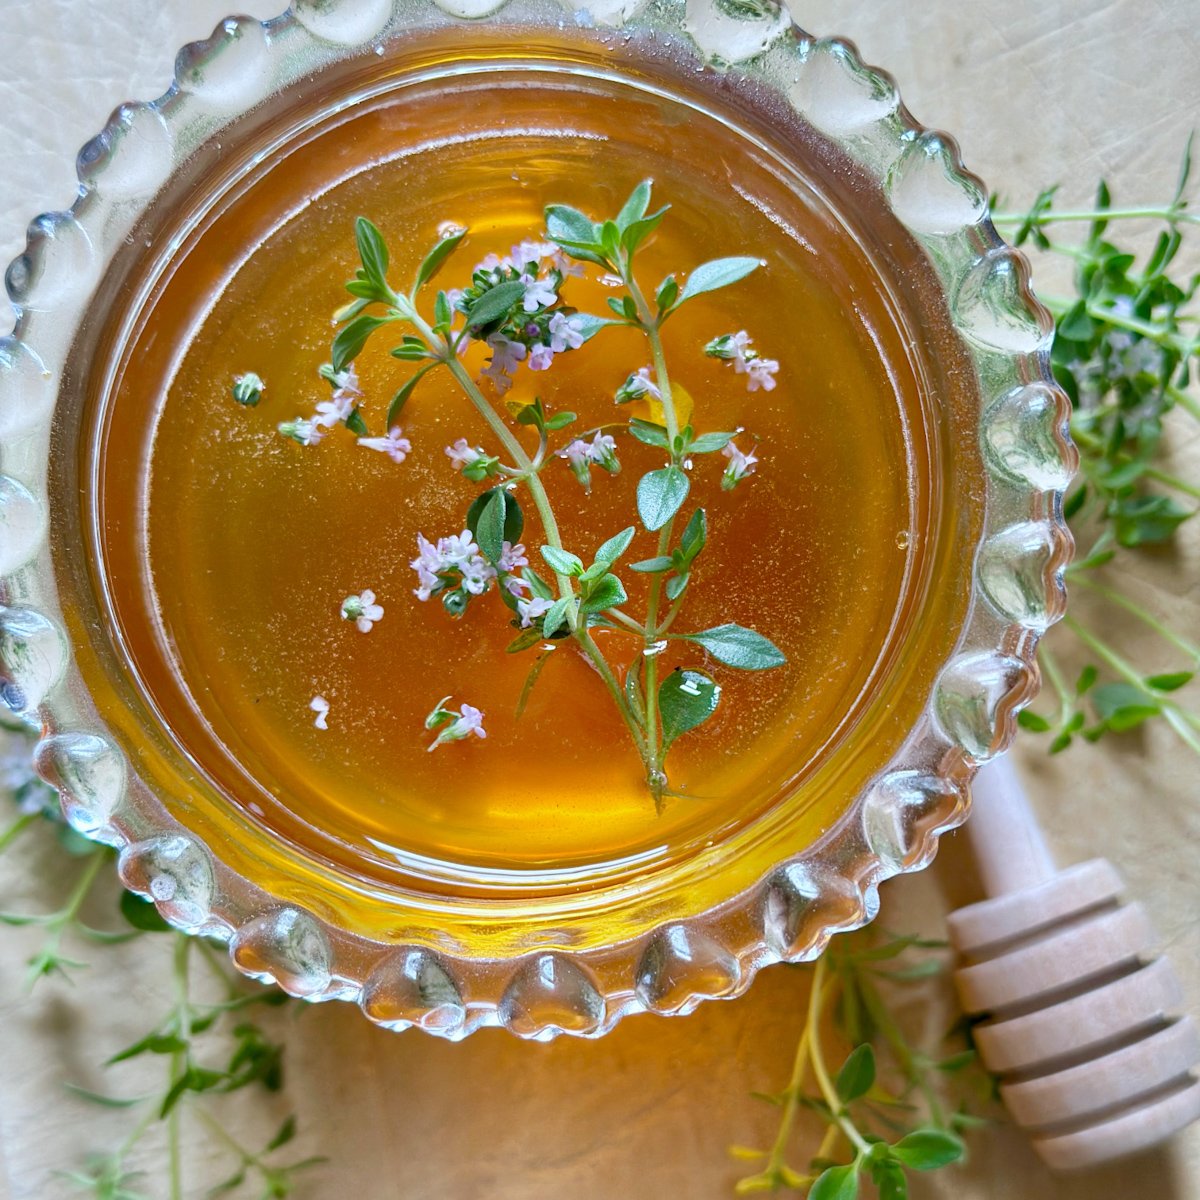
- Jams and honey for sweetness
- Olives and pickles for a salty, briny contrast
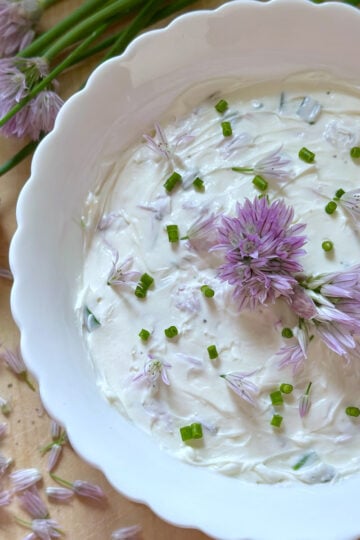
- Dips and soft spreads like cream cheese or whipped feta
- Nuts or small snacks to fill in gaps
How many bowls to use:
- 2 to 3 for a small board
- 3 to 4 for a larger board
What to look for:
- Small and shallow bowls
- Easy to dip into
- Neutral or simple styles that let the food stand out
Simple tip:
Start with the bowls first, then build the rest of your board around them. It is the easiest way to make everything look balanced without overthinking it.
Summarize and Save this content on:
Jump to:
- At a Glance: Small Bowls for Charcuterie Board
- Why small bowls make a charcuterie board better
- Shop small bowls:
- What to put in small bowls on a charcuterie board
- Best small bowls for a charcuterie board
- How to place small bowls on a charcuterie board
- How to finish and fill in your charcuterie board
- When to use bowls instead of placing food directly on the board
- Small serving tools that make your charcuterie board easier to use
- Frequently asked questions
- More charcuterie board inspiration to explore
Why small bowls make a charcuterie board better
If you've ever felt like your charcuterie board looks a little flat or unfinished, this is usually why. Small bowls are what bring everything together. They add structure, create balance, and take your board from scattered to styled without adding any extra work.
Adds height and dimension
Small bowls physically lift elements off the board, which creates variation and keeps everything from feeling flat. Even a simple board instantly looks more layered and interesting.
Keeps messy foods contained
Anything loose, juicy, or spreadable belongs in a bowl. It keeps your board clean, prevents flavors from running together, and makes everything easier for guests to serve themselves.
Adds variety without clutter
Bowls let you introduce more flavors without the board feeling crowded. You can add dips, jams, honey or olives in a controlled way instead of everything blending together.
Helps fill empty space
If your board ever feels like it is missing something, bowls are usually the answer. They act as anchors that help you fill in gaps and make the board feel full without adding more bulk.
Elevates the overall look
This is where the shift happens. Small bowls for a charcuterie board do not just elevate ingredients physically, they elevate the entire presentation. The board looks more styled, more intentional, and less like everything was simply placed down.
Makes your board look styled, not random
Once the bowls are in place, everything else has a purpose. The board starts to feel balanced and put together instead of scattered.
Shop small bowls:

What to put in small bowls on a charcuterie board
Now that you have your bowls in place, this is where you can really build flavor into your board. A few well-chosen additions can make everything feel more complete without adding more work.
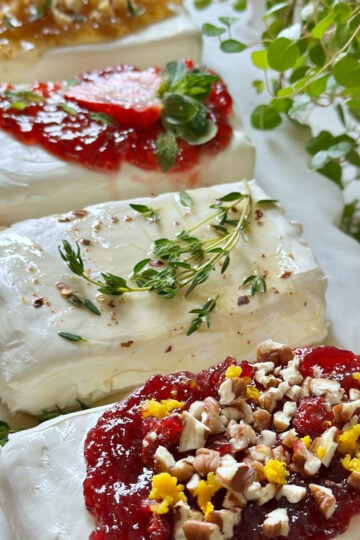
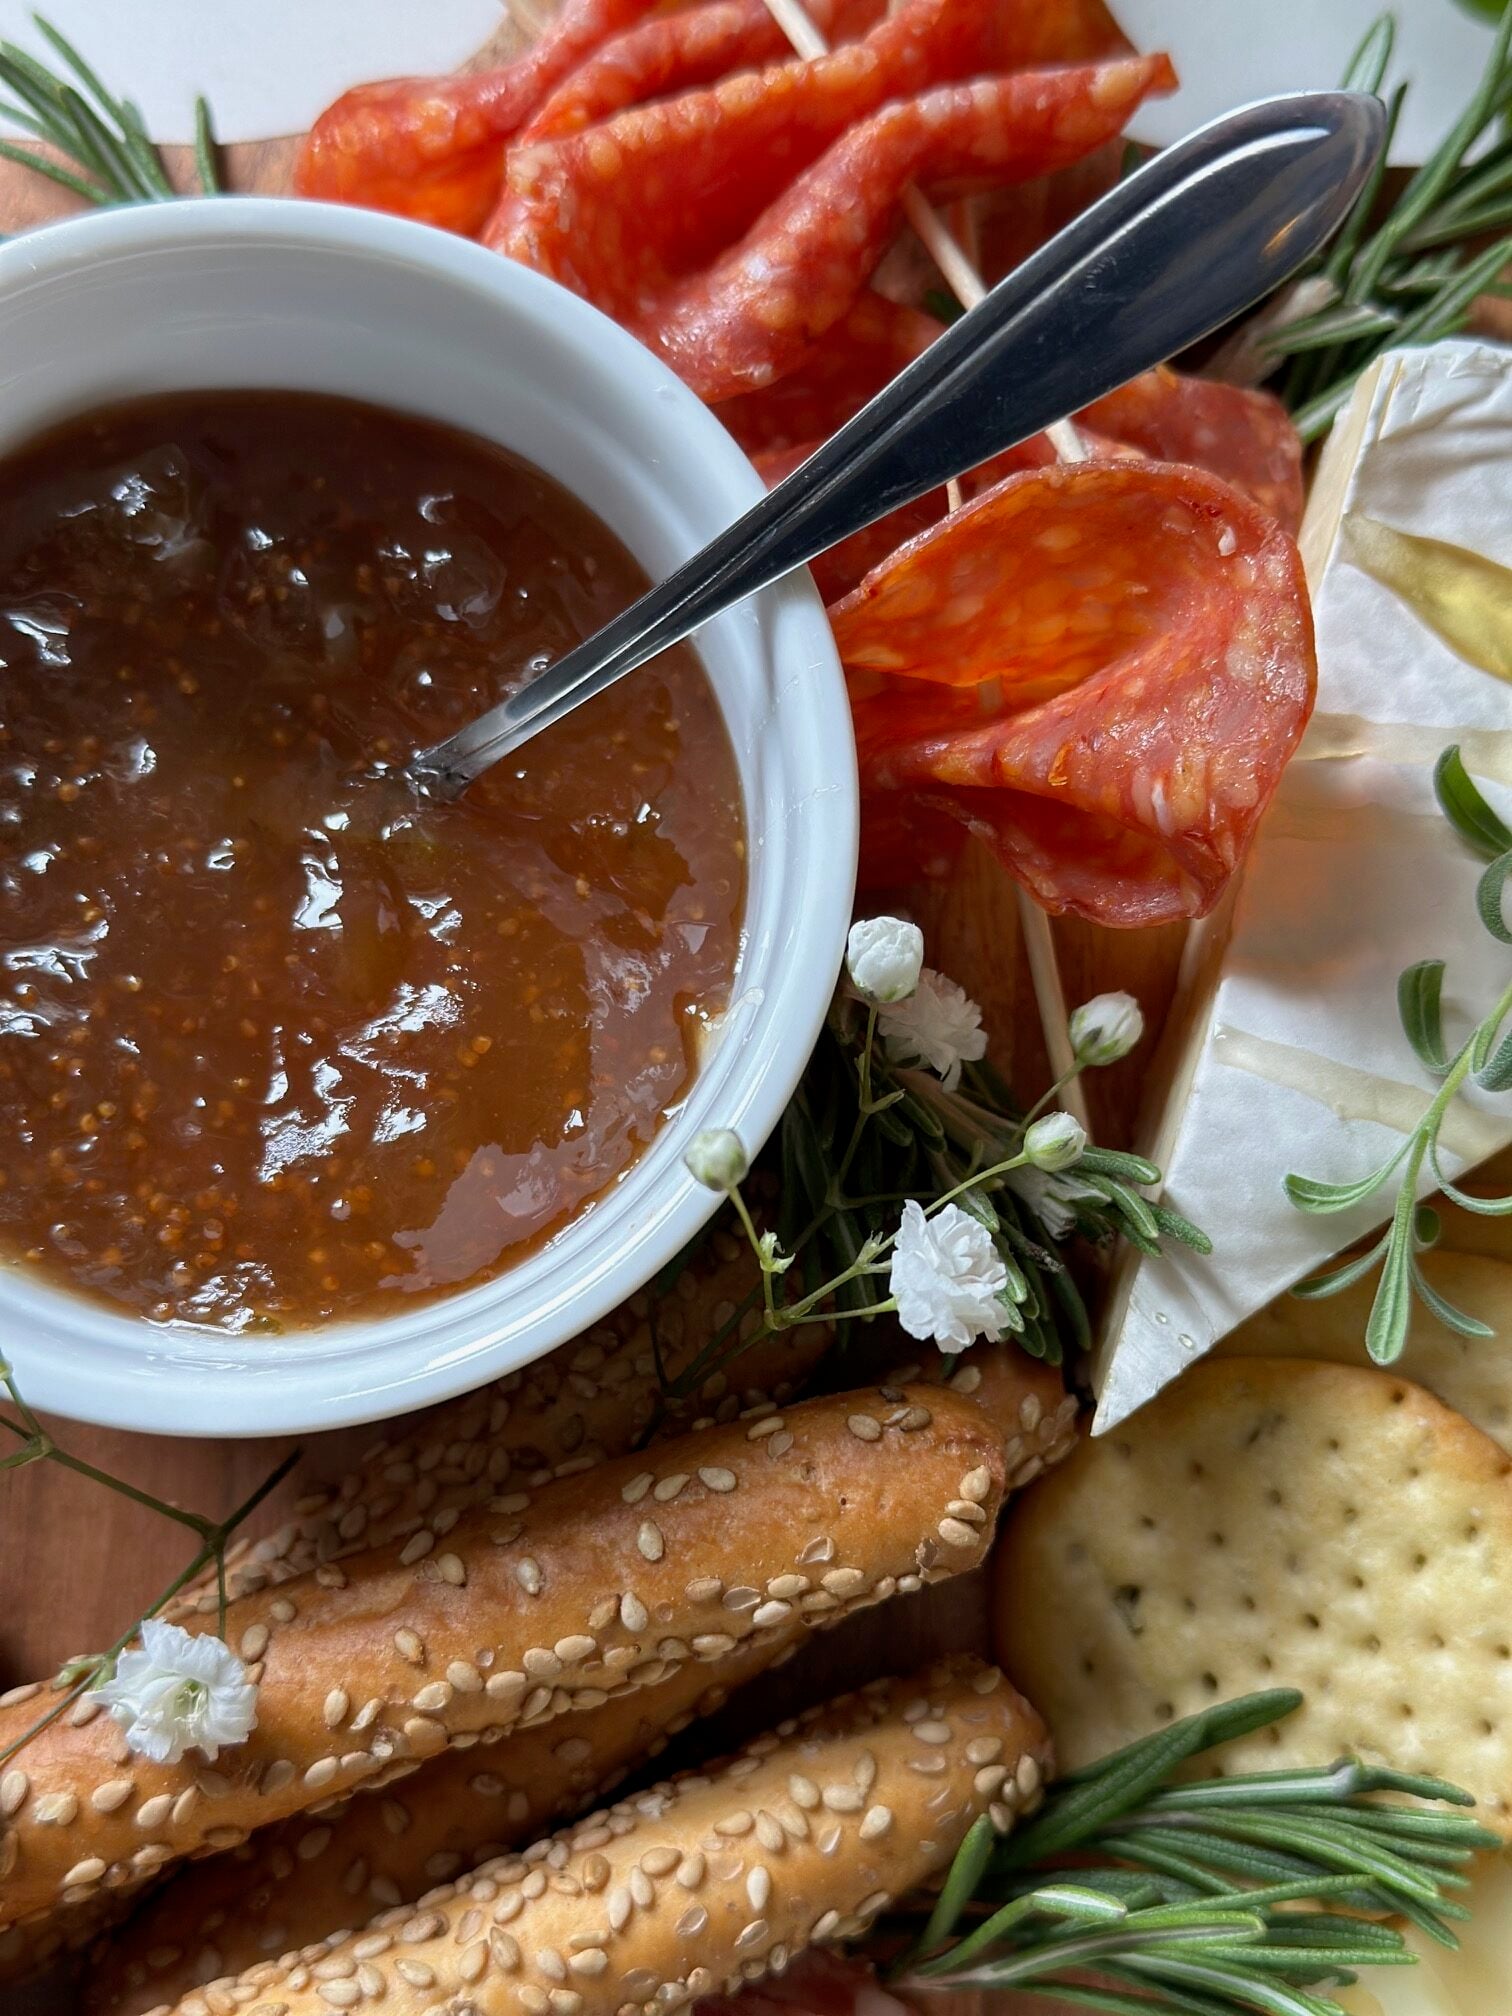
Sweet options
This is where you add contrast and a little softness to the board. A small bowl of something sweet pairs especially well with cheeses and helps round everything out.
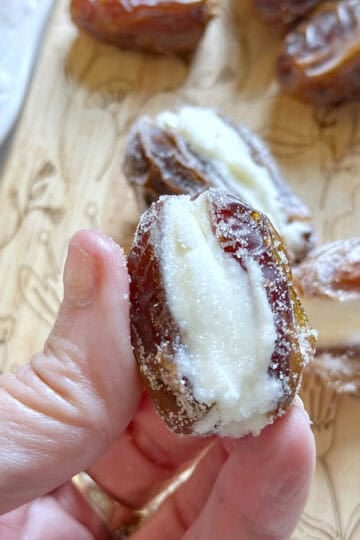
Savory spreads
Savory spreads give people something to build with. These are the items that turn a cracker and cheese into something a little more interesting.
- Whipped feta
- Cream cheese variations
- Whole grain mustard
- Garlic or herb spreads
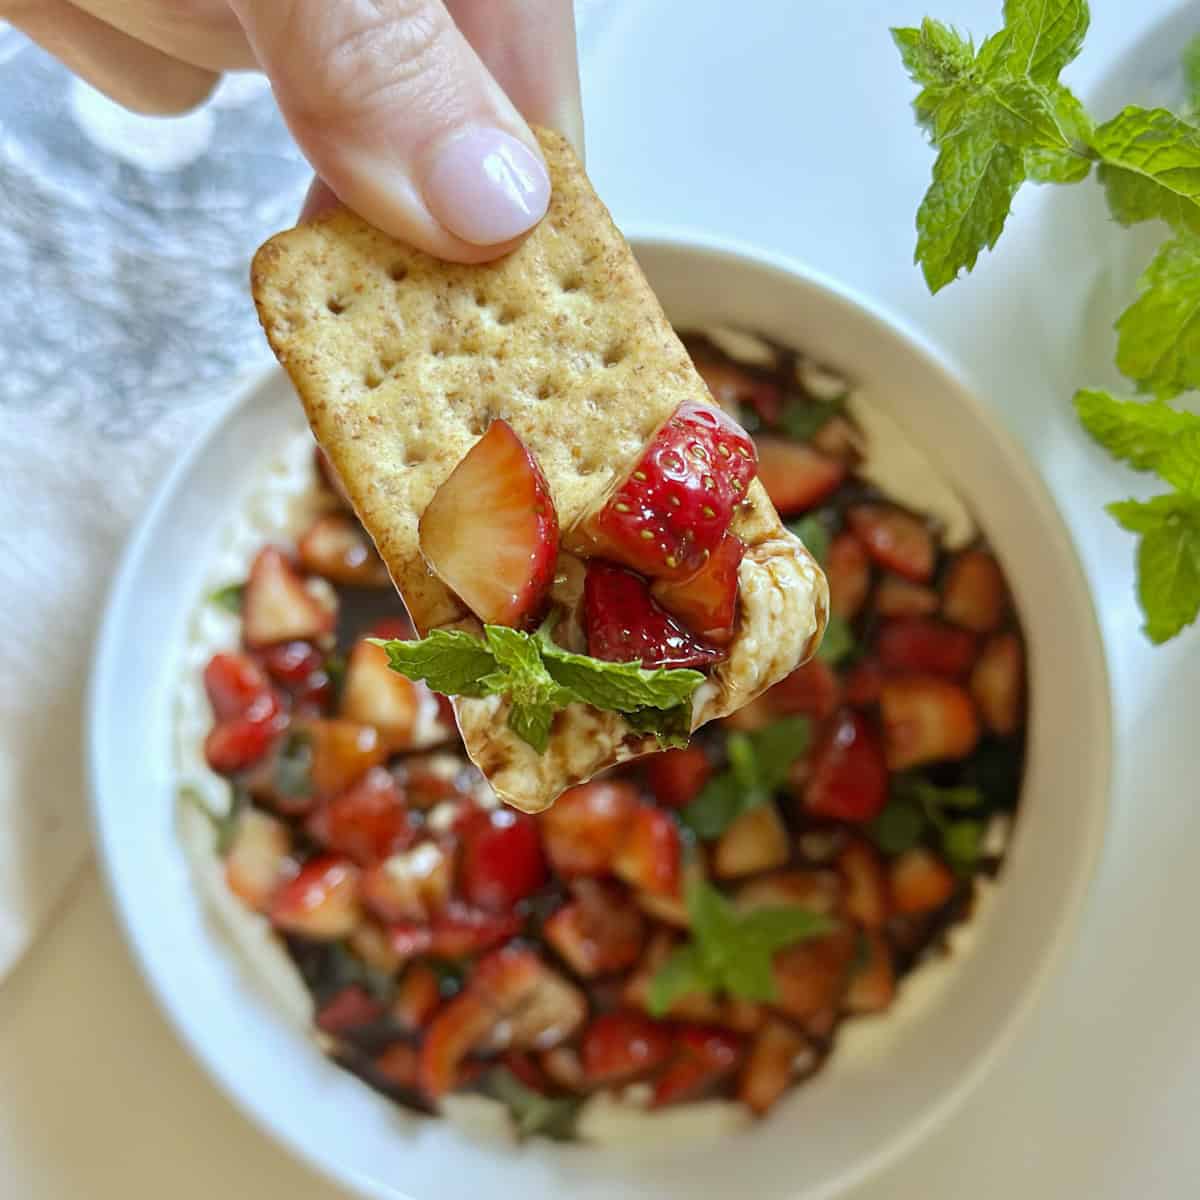
Dips
If you are including a dip, this is where a bowl really matters. It keeps everything contained and makes serving much easier.

Briny and salty additions
These bring balance to the board. A small bowl of olives or something pickled cuts through the richness of cheese and adds that needed contrast.
- Olives
- Pickles or cornichons
- Marinated vegetables

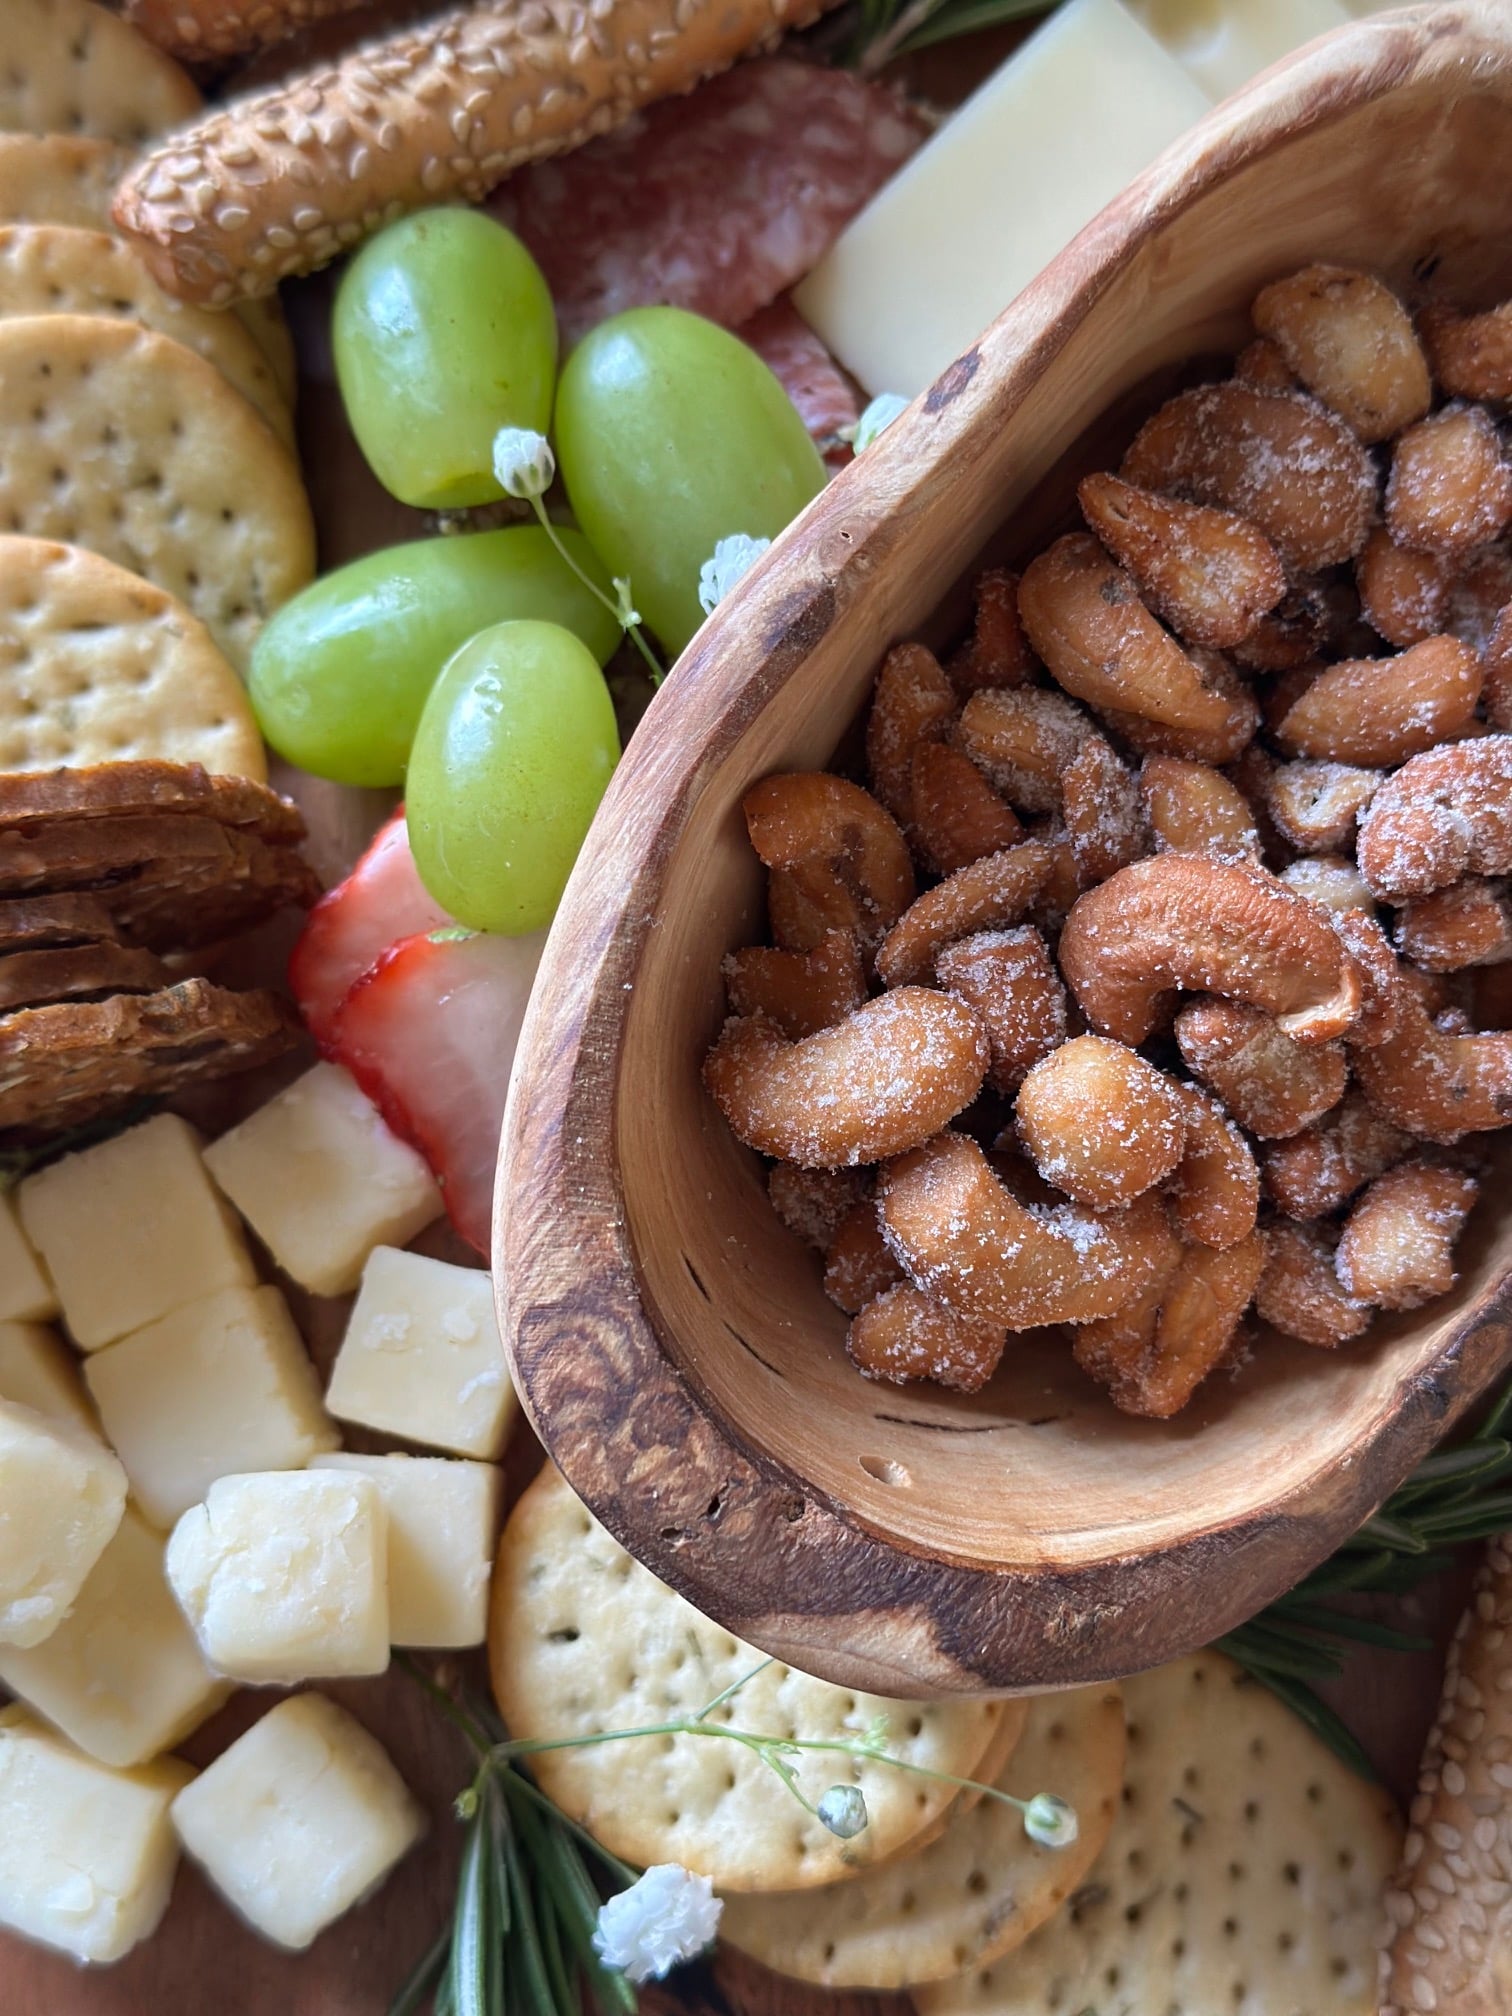
Crunchy extras
These are great for filling in space and adding texture. A small bowl keeps them contained and easy to grab without rolling all over the board.
- Mixed nuts
- Candied nuts
- Chocolate pieces
Best small bowls for a charcuterie board
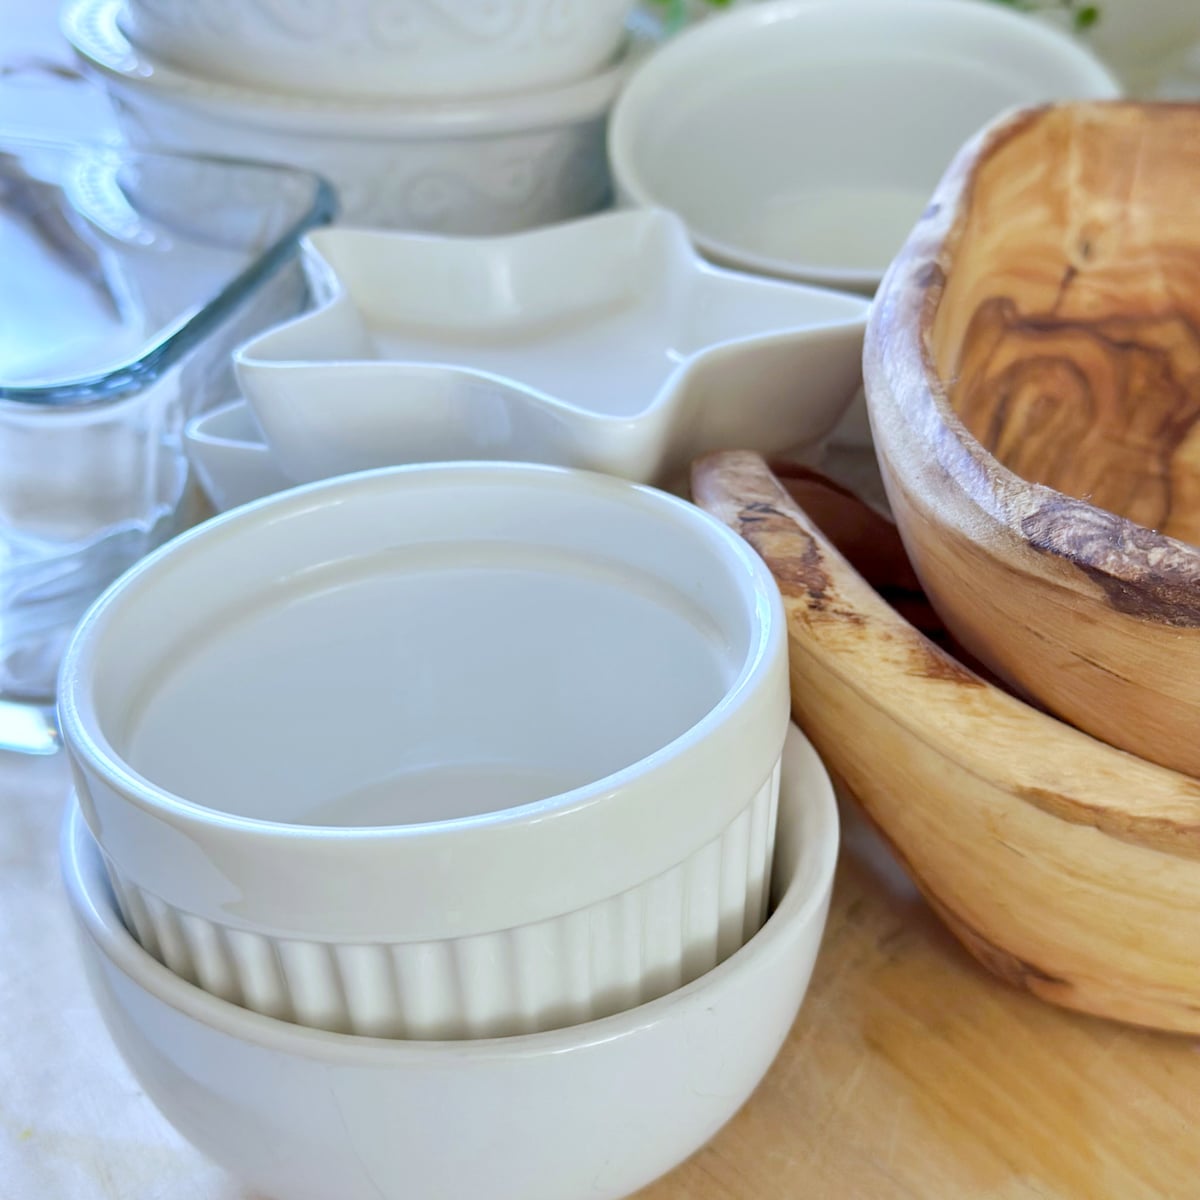
You do not need anything fancy here, but the right bowls make a noticeable difference. The goal is to choose pieces that are easy to use, fit well on your board, and quietly elevate the overall look without competing with the food.
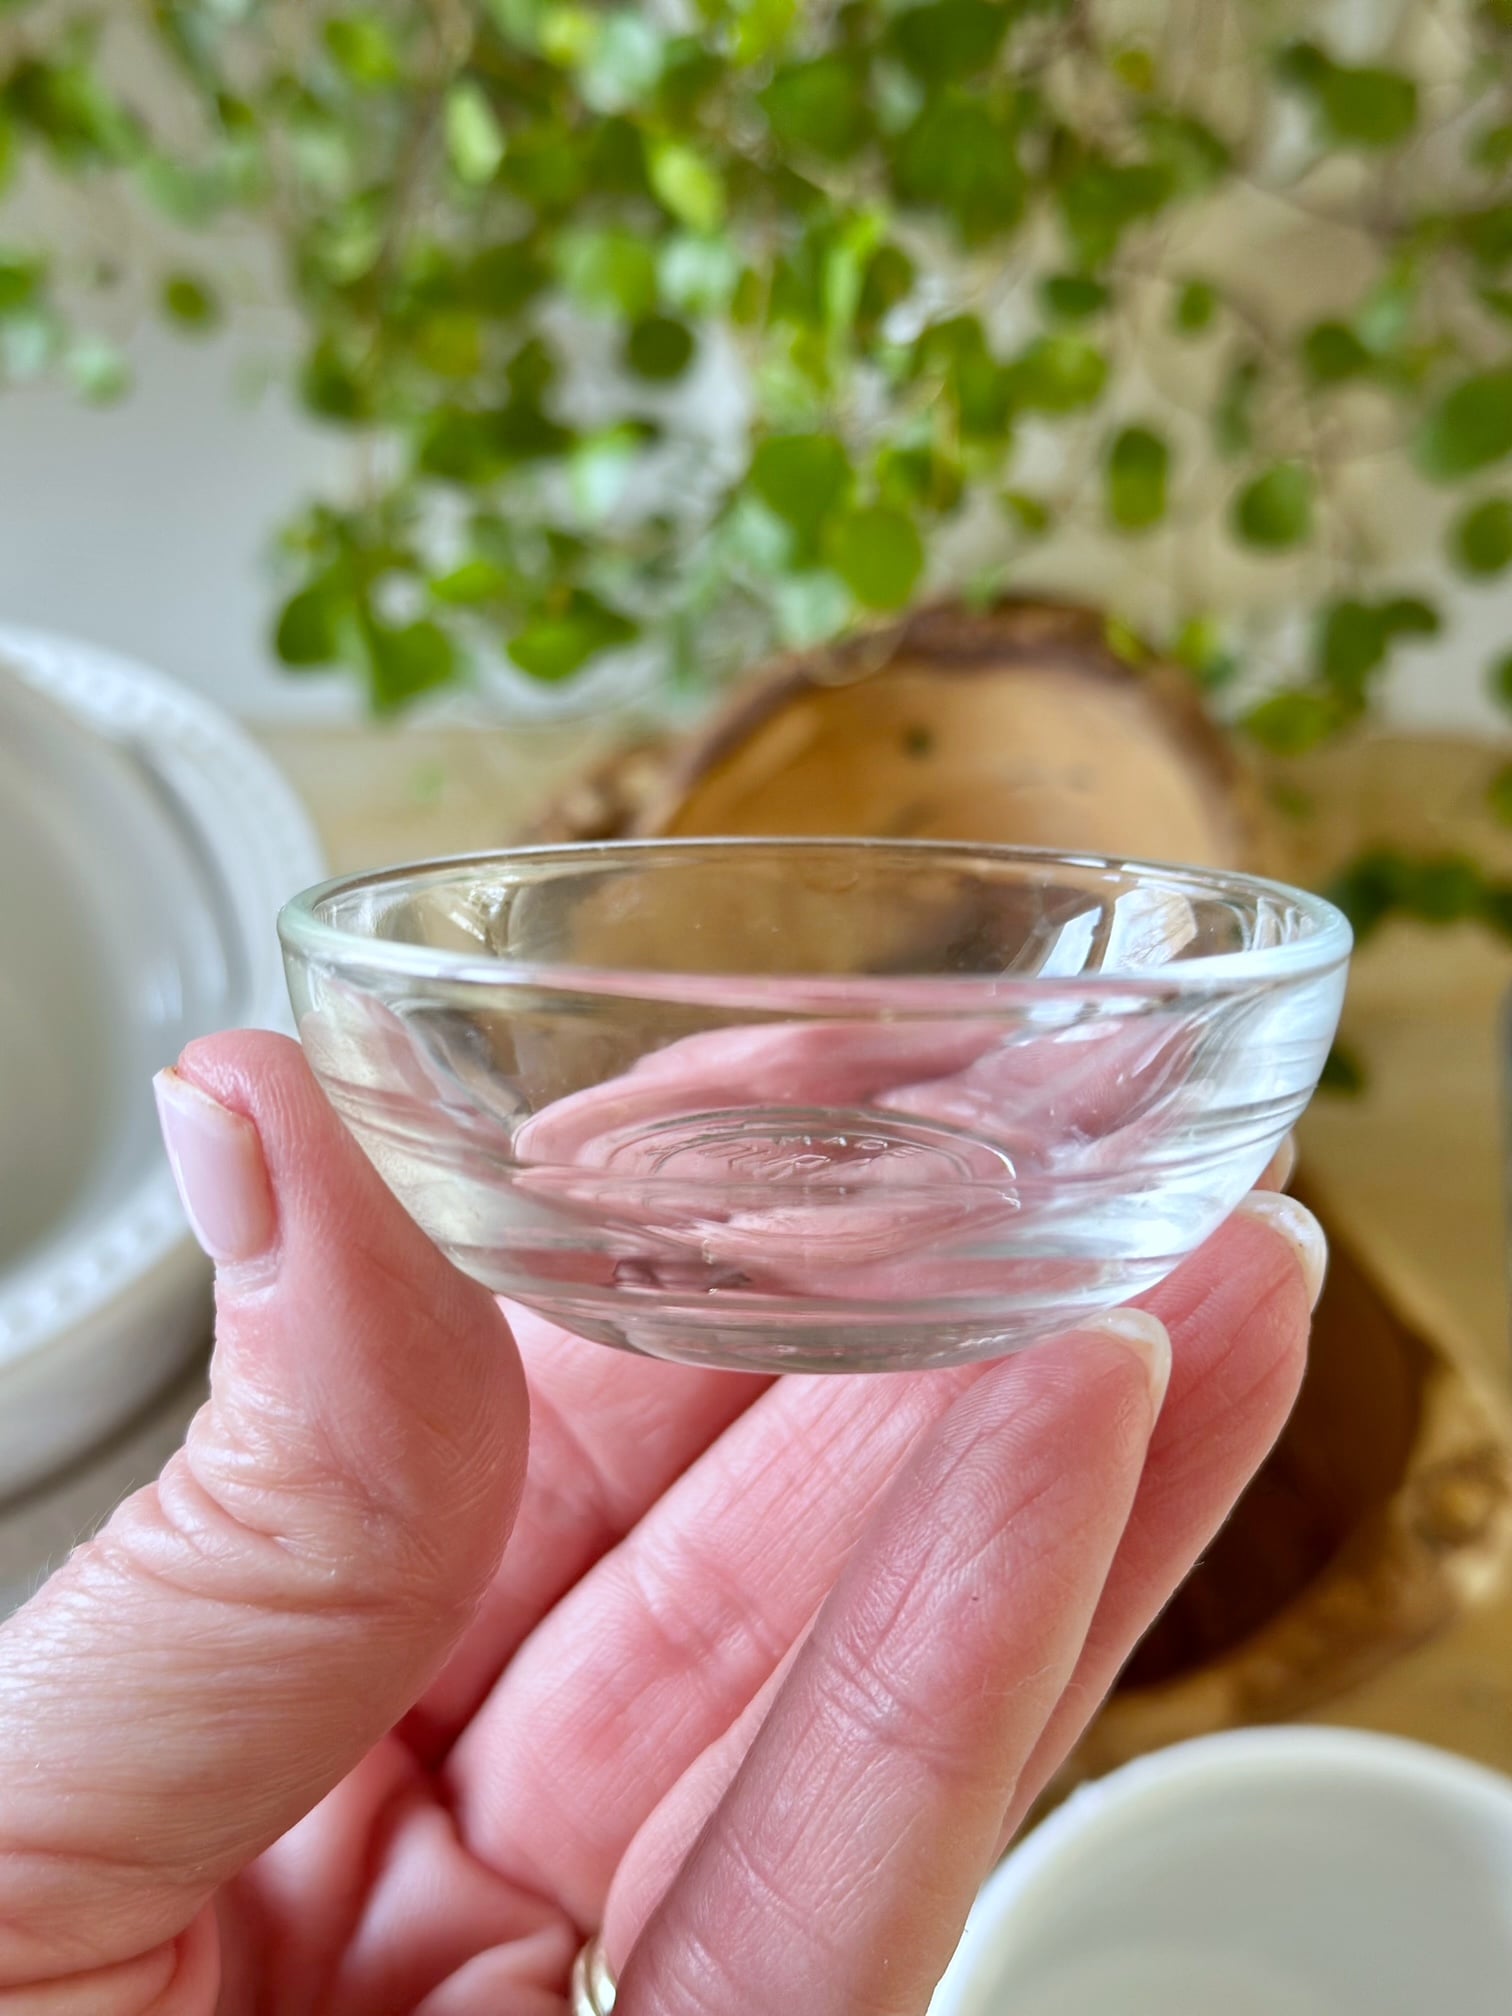
Most of the time, these are simply small ramekins or dipping bowls. You may already have them in your kitchen without thinking of them as "charcuterie bowls."
Keep them small and low
Bowls should sit comfortably on the board without taking over. If they are too tall or too wide, they crowd everything else and make arranging more difficult.
Choose shallow over deep
Shallow bowls are easier for dipping and serving, and they look better visually. Deep bowls tend to hide the contents and can feel bulky on a smaller board.
Look for simple, functional shapes
Clean, open shapes work best. You want guests to be able to easily scoop, dip, or grab without having to work around the bowl.
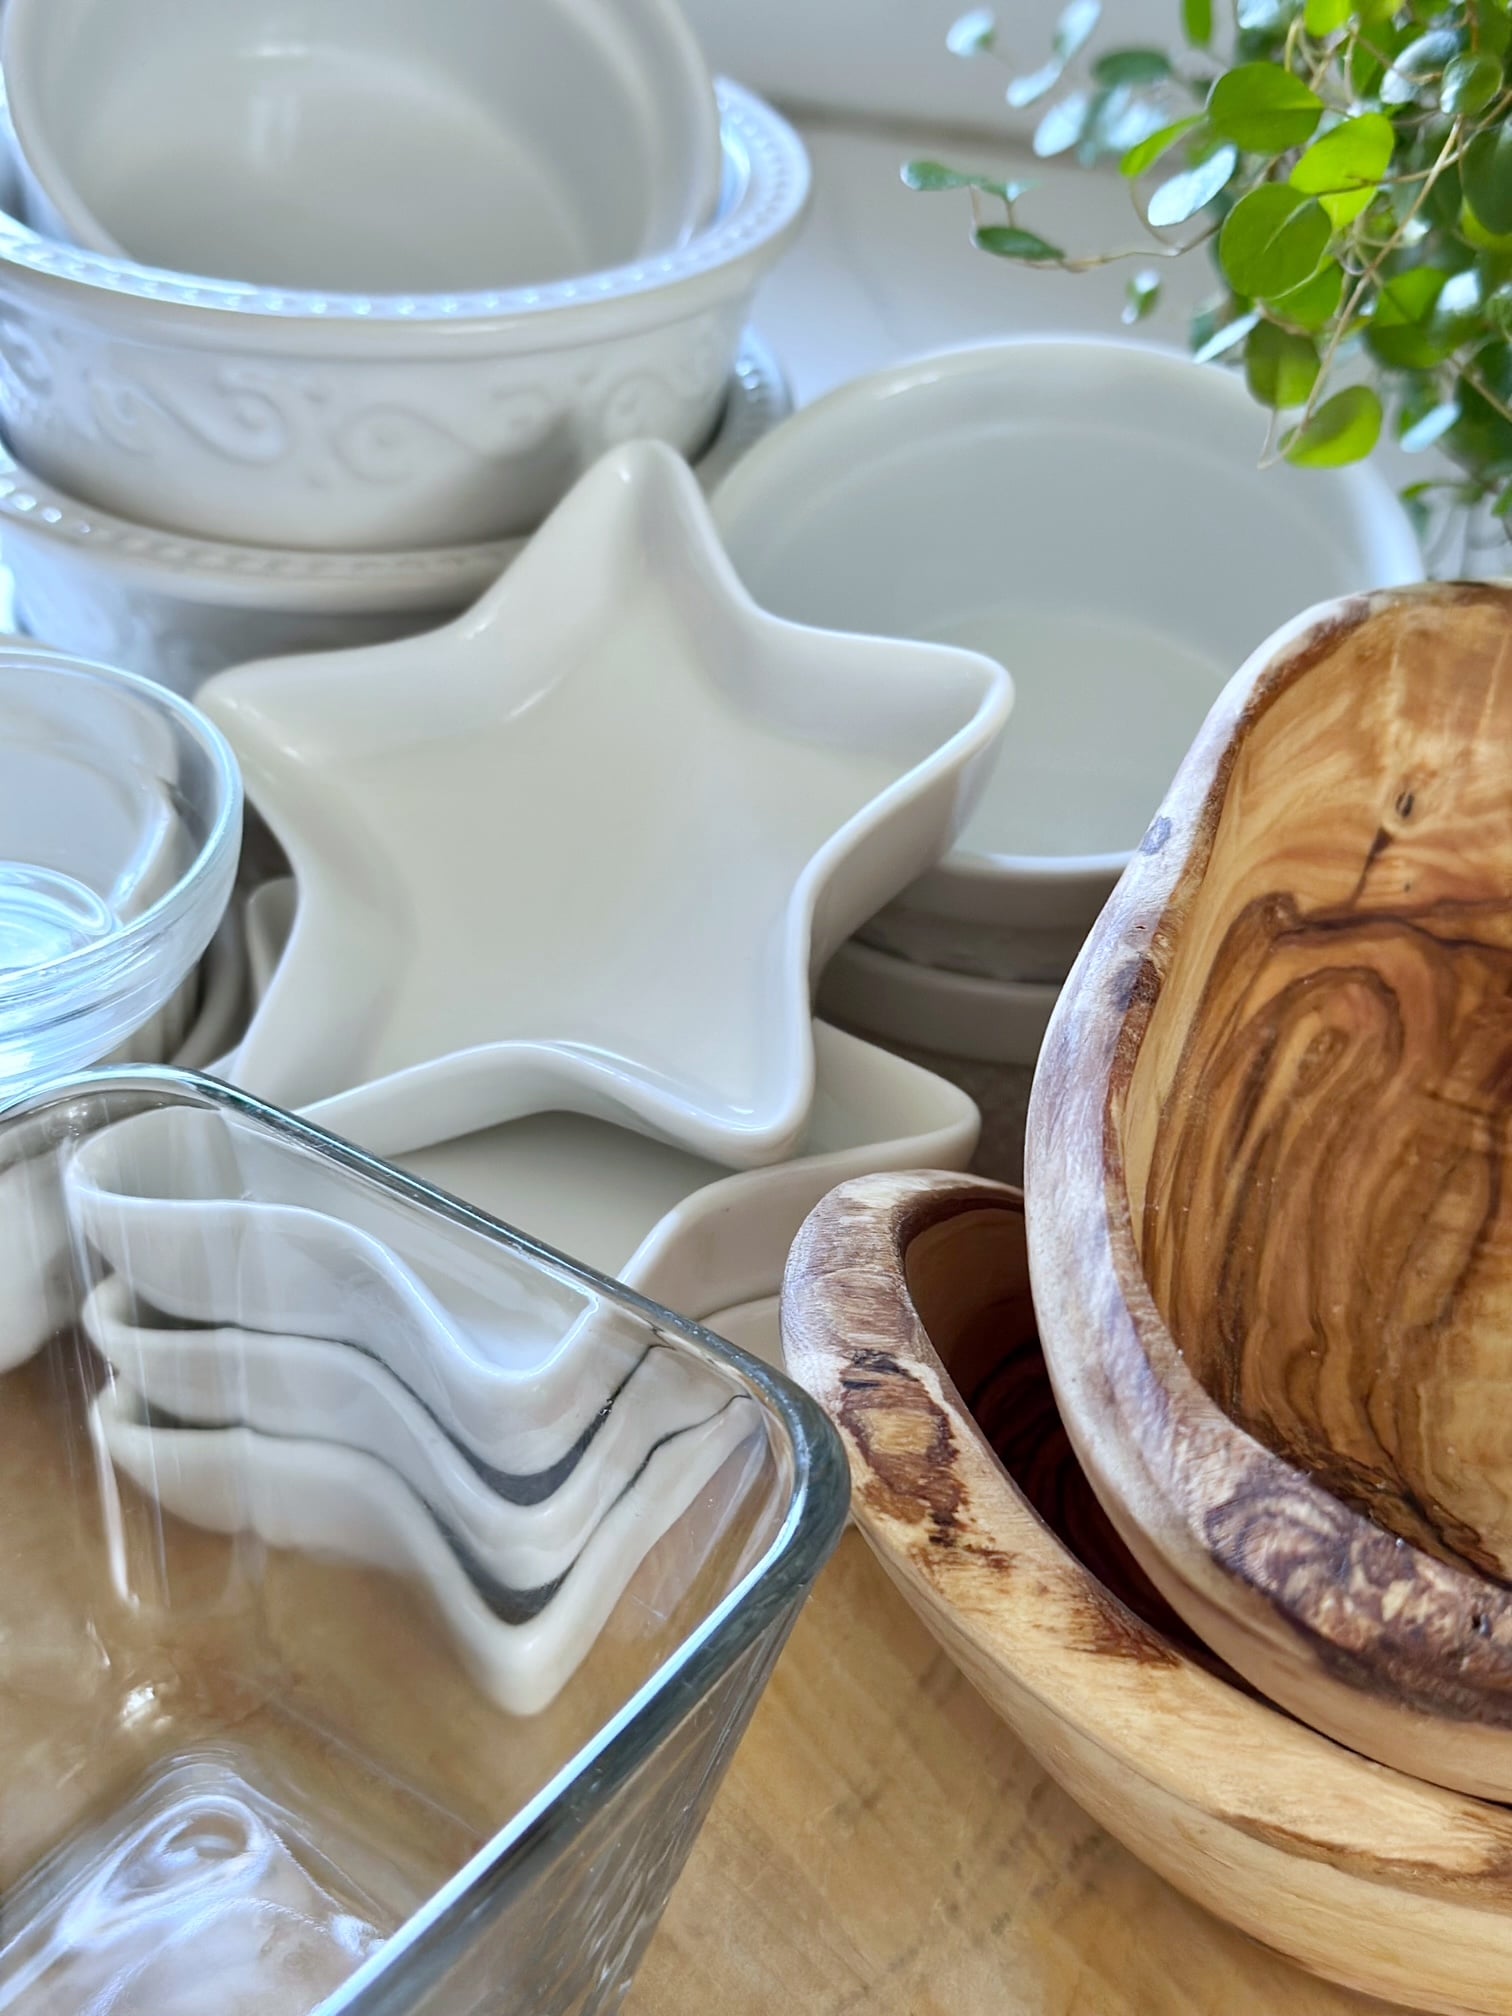
Mix materials for interest
A mix of ceramic, wood, or glass adds subtle texture and keeps the board from feeling flat. This does not have to be overdone, just a little variation goes a long way.
Stick with neutral tones
I like to use white, soft neutrals, or natural materials so the food stands out. This keeps the board feeling cohesive and prevents it from looking busy.
Choose pieces you will use again
These do not need to be charcuterie-only bowls. Small prep bowls, ramekins, pinch bowls, or dipping dishes you already use in your kitchen often work perfectly.
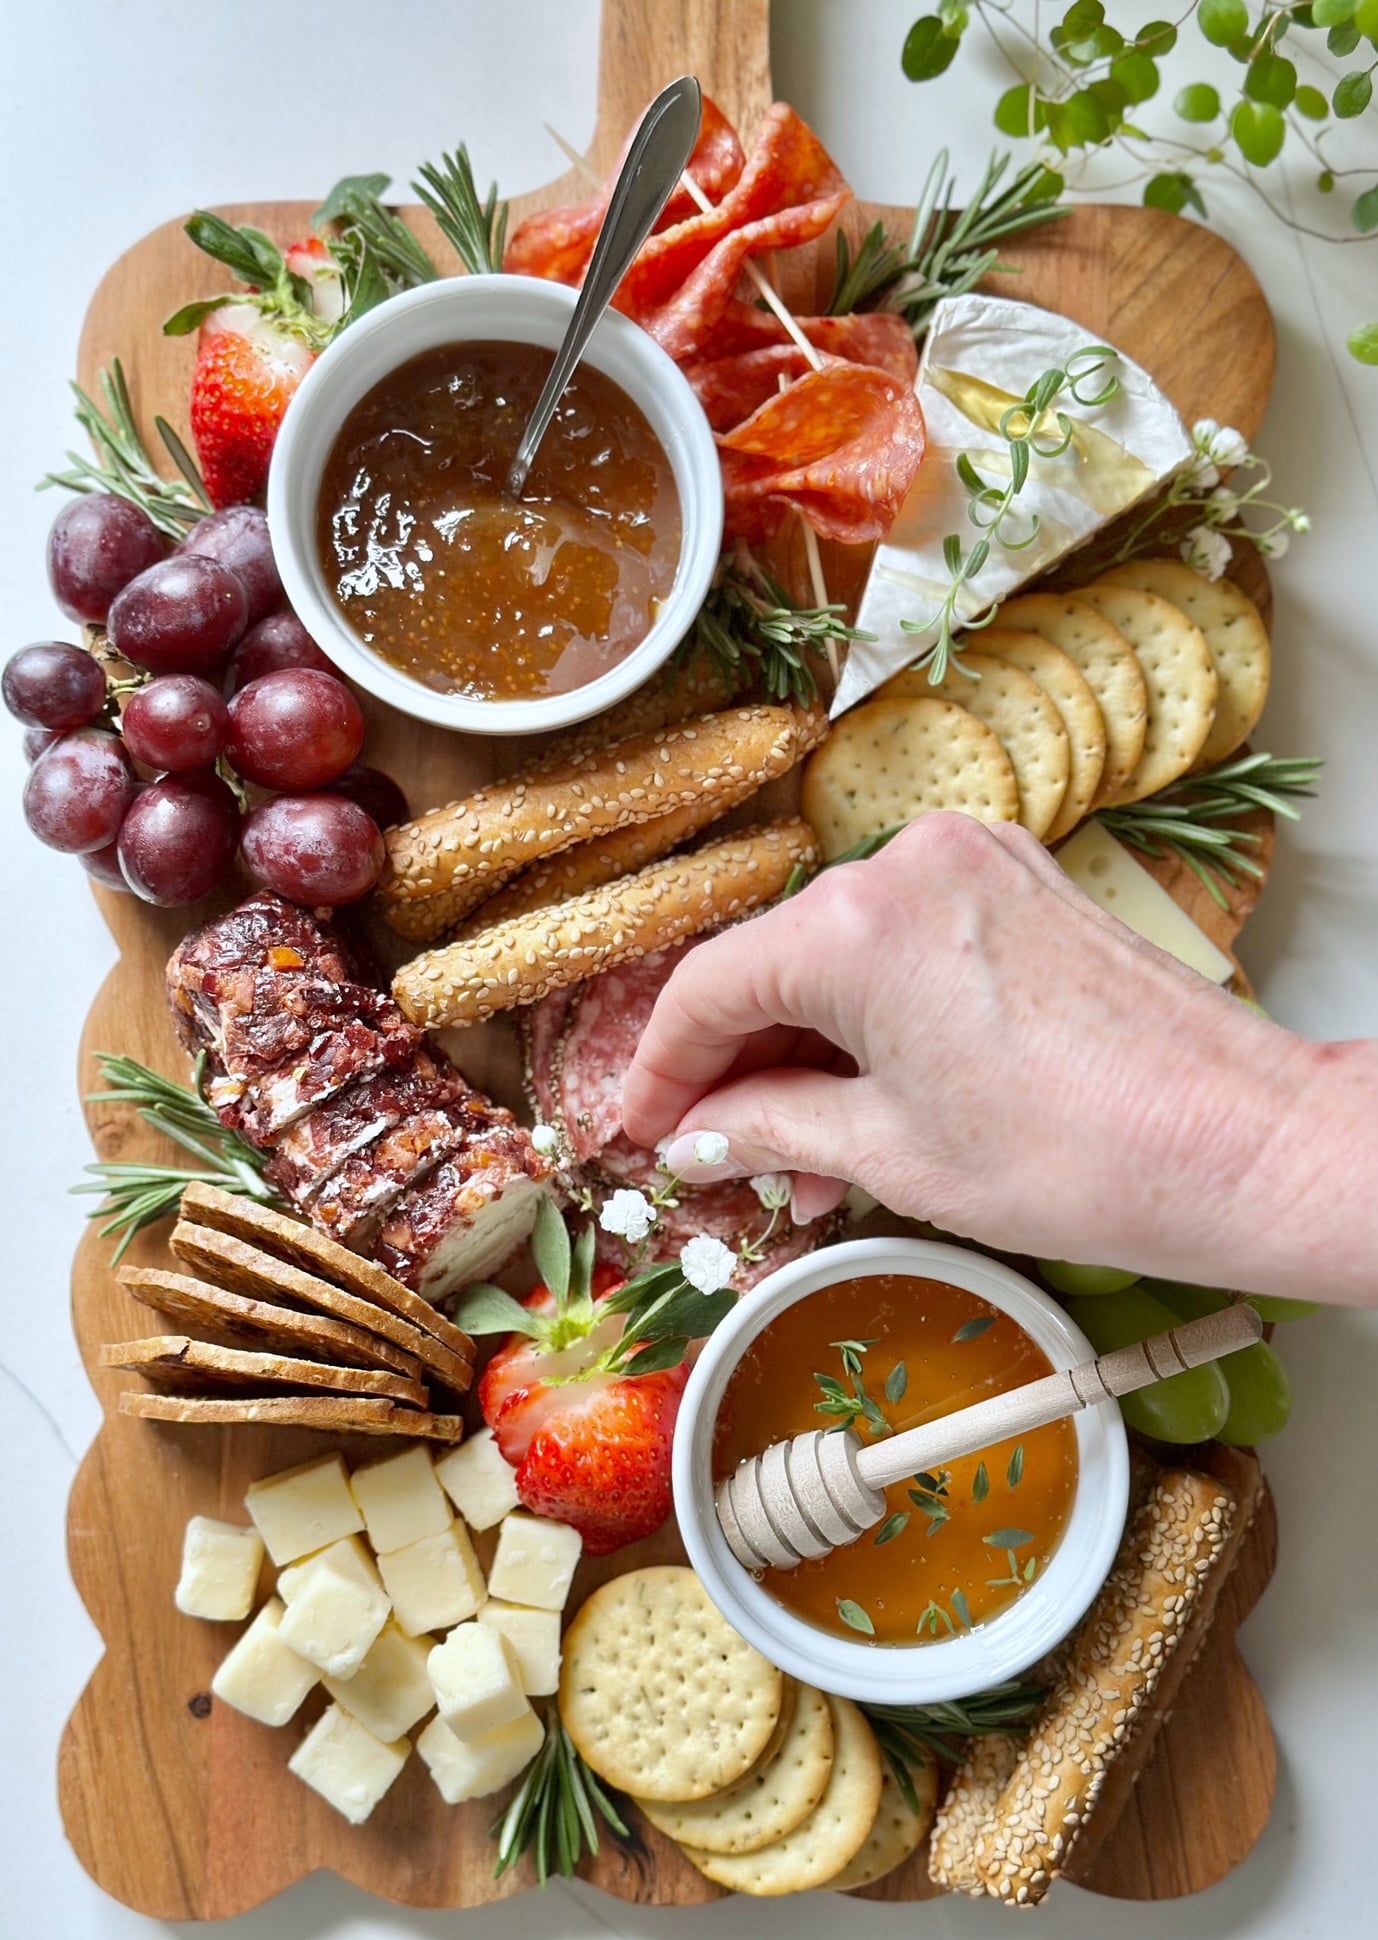
How to place small bowls on a charcuterie board
I like to start with the bowls first. It makes the entire board easier to build and takes the guesswork out of where everything should go. Once the bowls are in place, the rest of the board tends to come together much more naturally.
Start with the bowls first and use them as anchors
Placing the bowls first gives your board structure right away. Instead of trying to fit them in later, you are building around them from the beginning, which makes everything feel more intentional.
Use two to four bowls depending on the size of your board
Most boards only need a few bowls to feel complete. A smaller board might use one or two, while a larger board can handle three or four without feeling crowded.
Space them out evenly to create balance
Try to avoid placing bowls too close together. Spreading them out helps guide the layout and keeps the board from feeling heavy on one side.
Build the rest of the board around them
Once your bowls are set, start adding cheeses, meats, crackers, and extra small bites around them. The bowls act as your guide, helping you fill in gaps and create a board that feels full without being overdone.
How to finish and fill in your charcuterie board
Once your bowls and main elements are in place, the rest of the board comes together by filling in the gaps. This is where you stop thinking about structure and start focusing on balance and flow.
Place cheeses near bowls for easy pairing
Position cheeses close to sweet or savory bowls so they naturally work together. For example, a soft cheese next to jam or honey makes it easy for guests to build combinations without thinking about it.
Fill in with crackers and breads
Use crackers and sliced bread to bridge the space between larger items. They help connect different areas of the board and make everything feel more cohesive.
Tuck in fruits, nuts, and extras
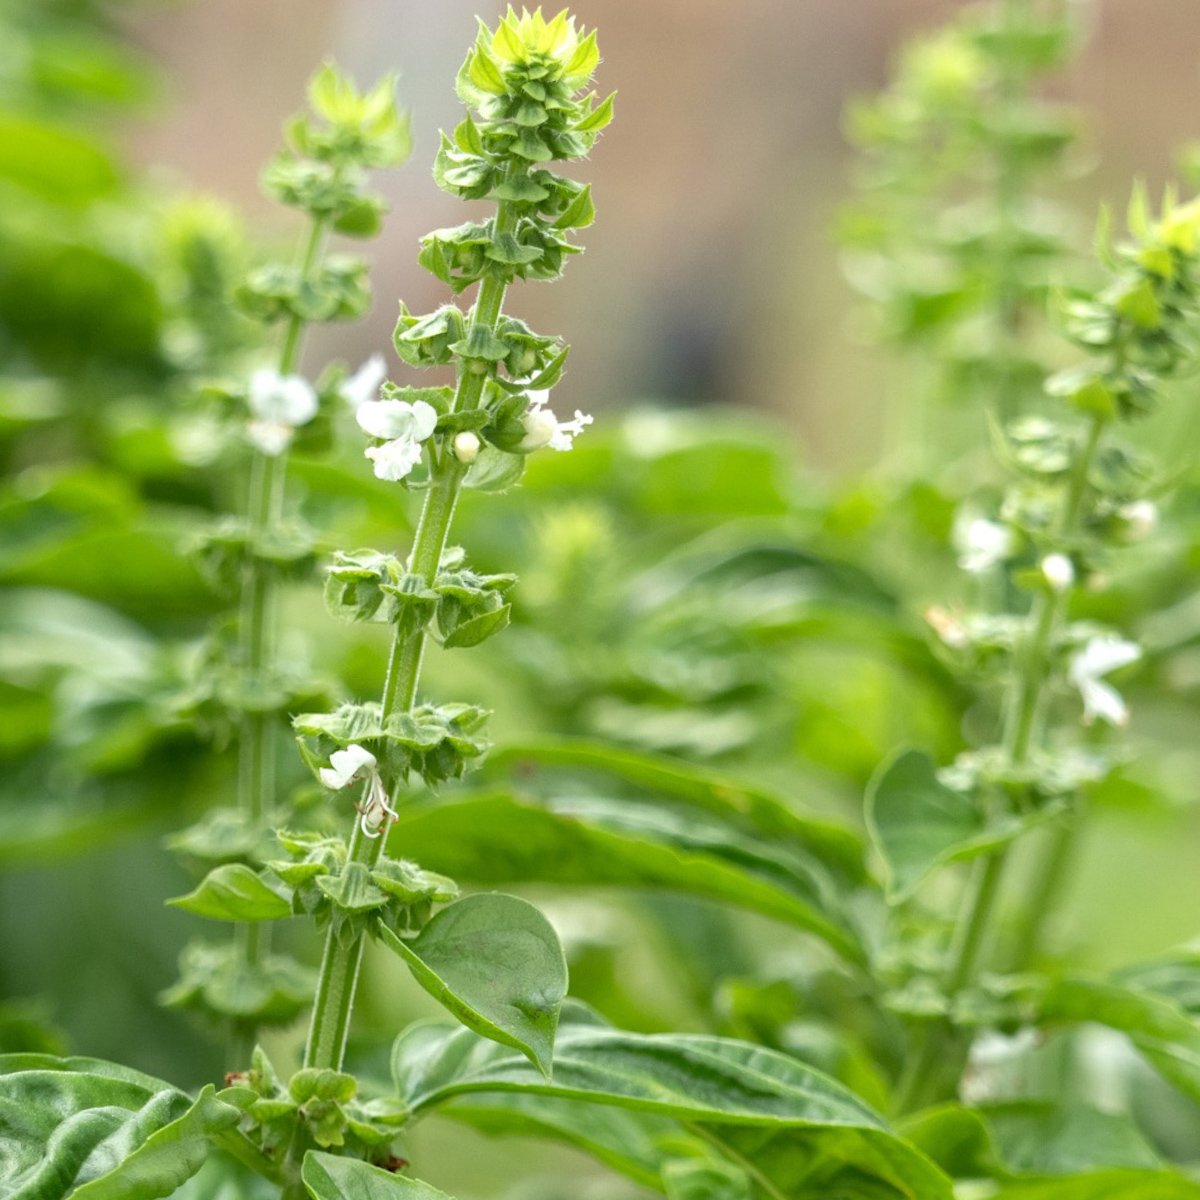
Smaller items like fruit, nuts, chocolate, and fresh herbs for garnish are perfect for filling in open spaces. Tuck them into gaps rather than placing them in large sections so the board feels full without looking crowded.
Step back and adjust
Once everything is in place, take a quick look at your board. If one area feels heavy, move a few pieces or add something small to balance it out. This final step is what makes the board feel finished.
When to use bowls instead of placing food directly on the board
Not everything belongs directly on the board, and knowing when to use a bowl is what keeps everything looking clean and easy to serve. This is where small bowls for a charcuterie board really do the work.
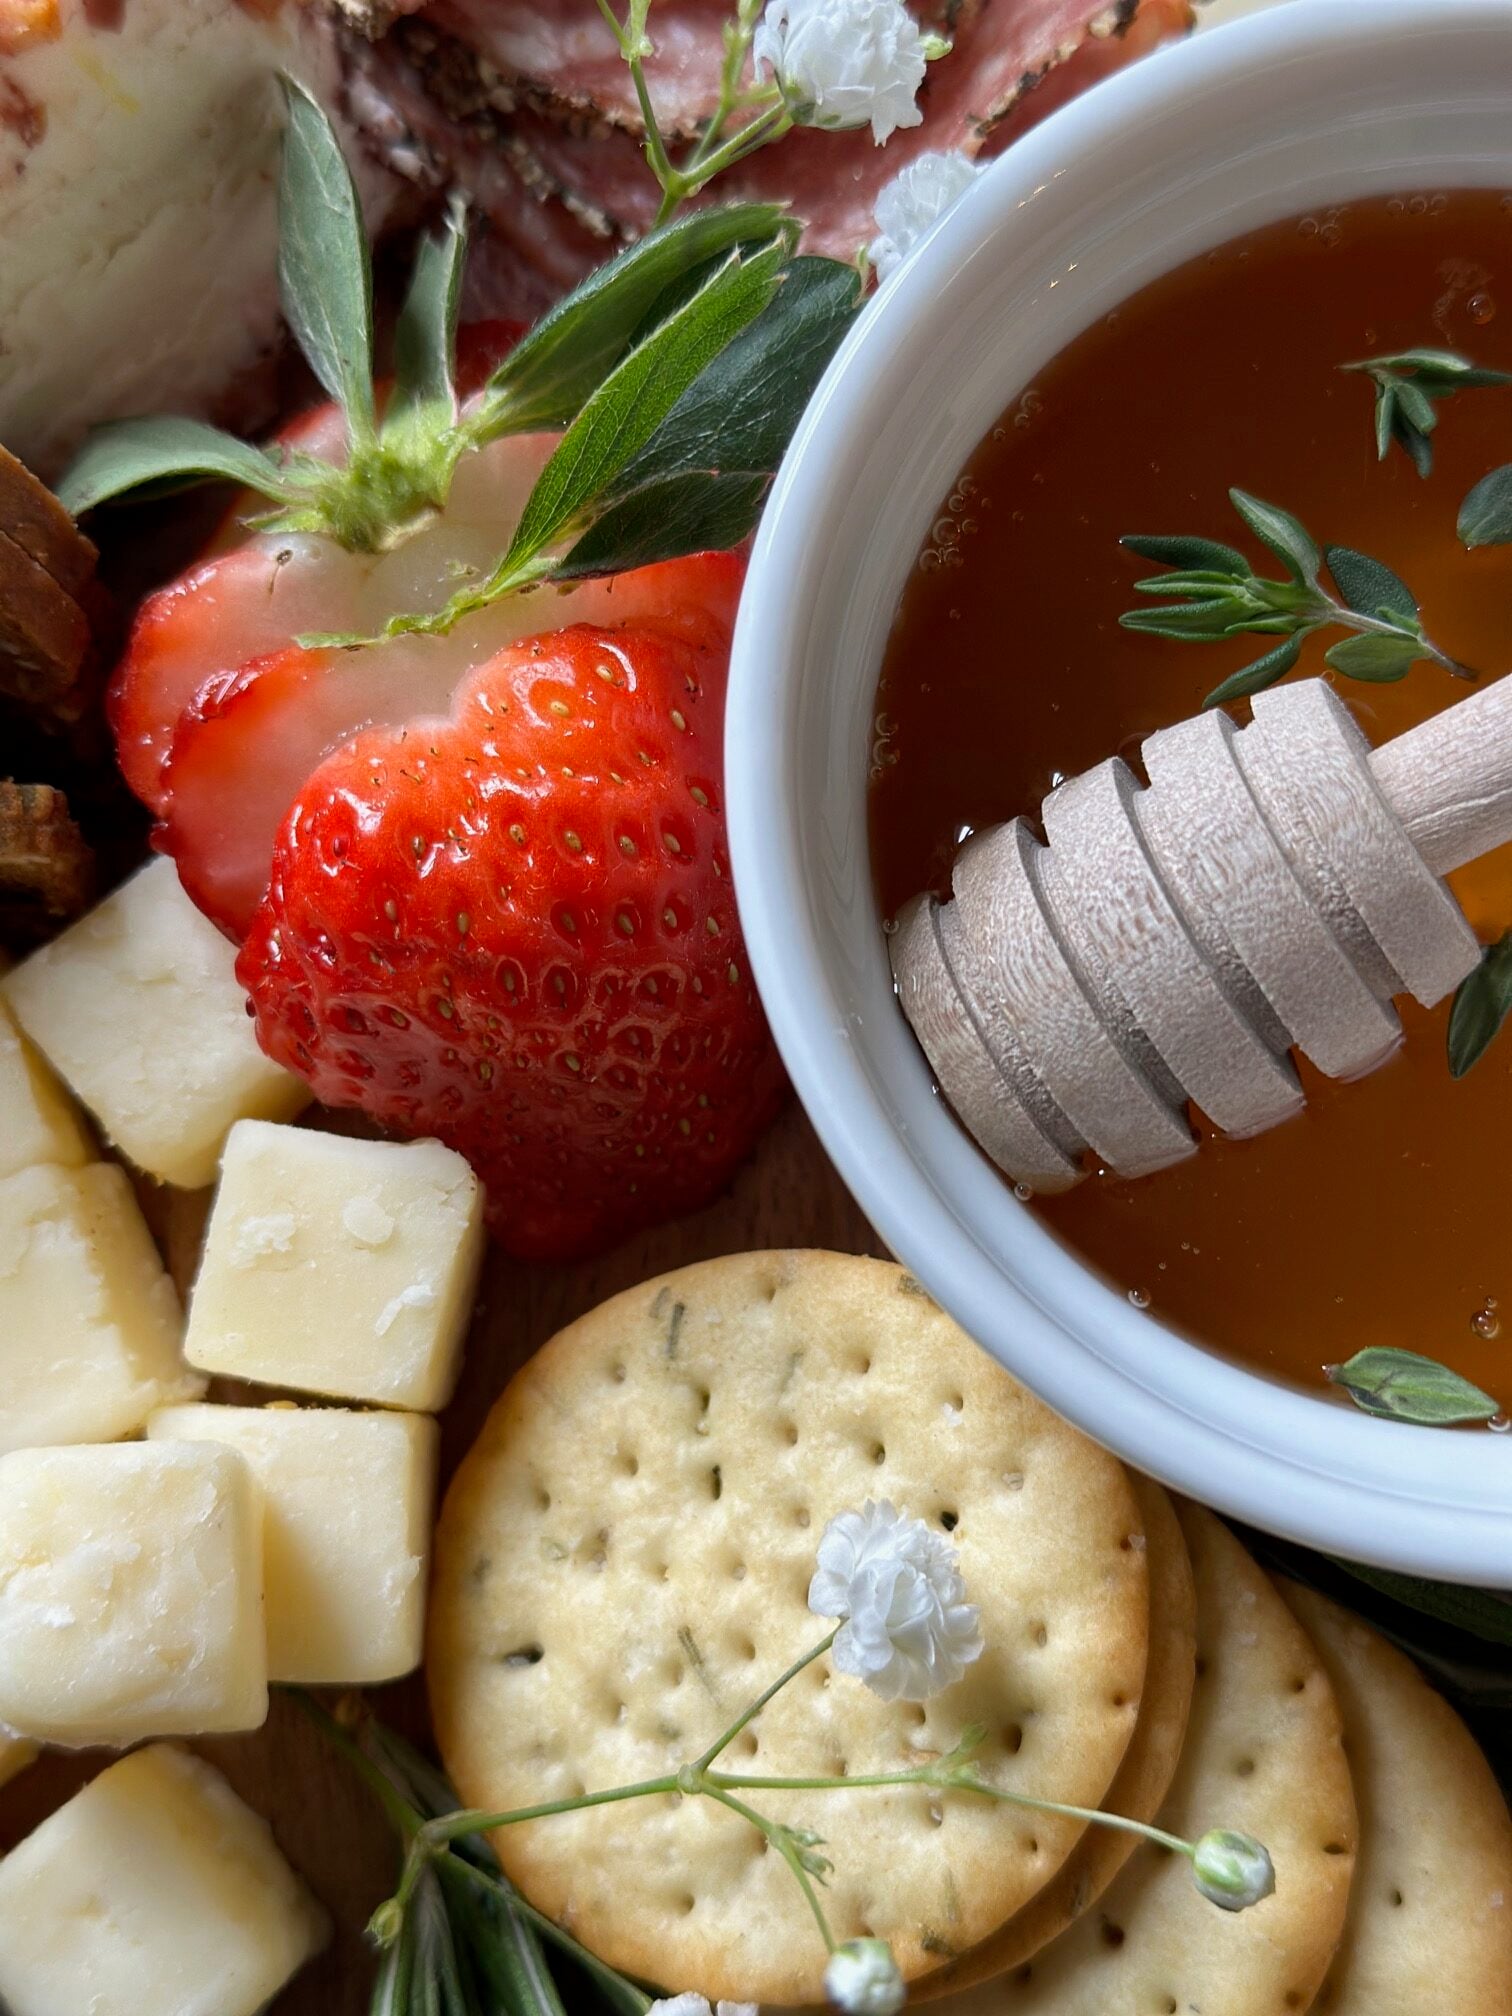
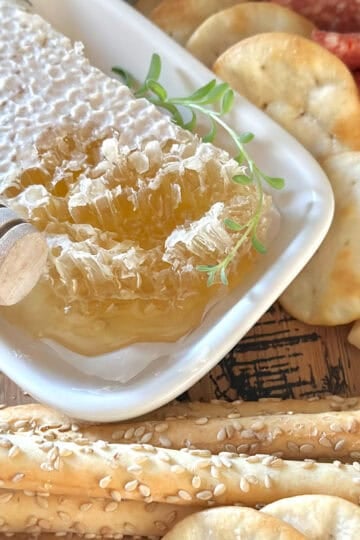
Use bowls for anything loose or messy
Dips, olives, honey, jams, and soft spreads should always go into a bowl. It keeps flavors from running together and makes serving much easier for guests.
Keep structured items directly on the board
Cheeses, crackers, and cured meats can go straight onto the board. They hold their shape well and help fill in space without creating mess.
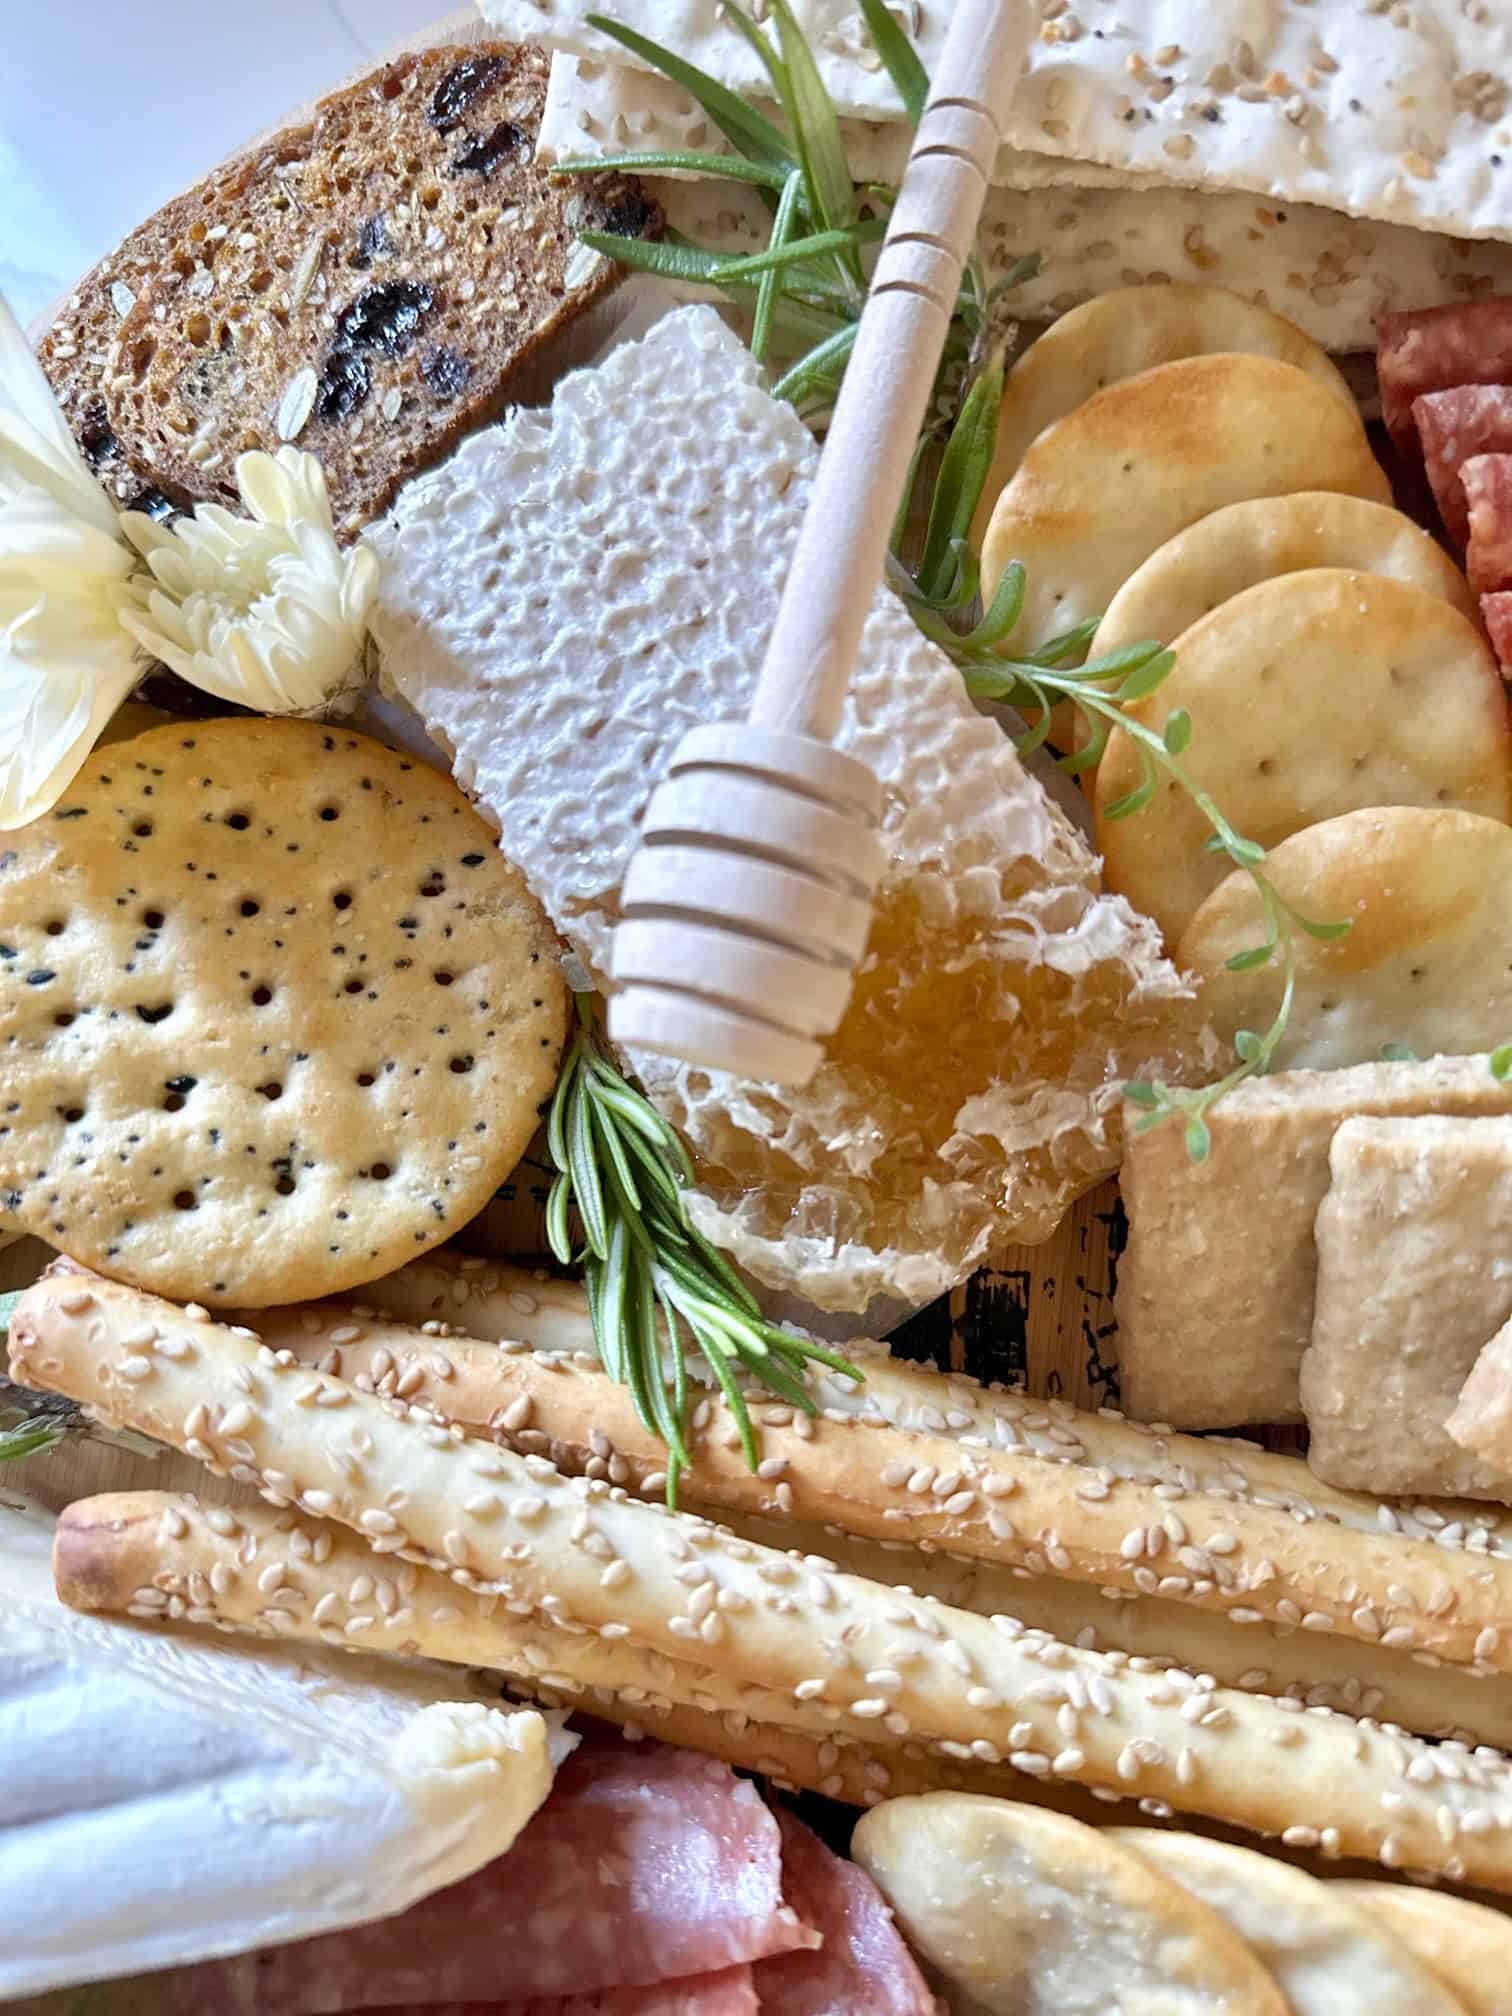
Use parchment when you want the look without the mess
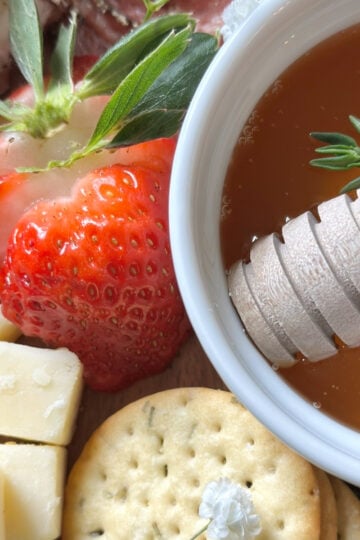
For items like cut fruit or anything slightly sticky like honeycomb, a small piece of parchment or baker's paper gives you the best of both. You keep the layered look while protecting the board underneath.
Small serving tools that make your charcuterie board easier to use
Small bowls do a lot of the work on a charcuterie board, but a few simple serving pieces make everything easier for guests and help the board feel more complete.
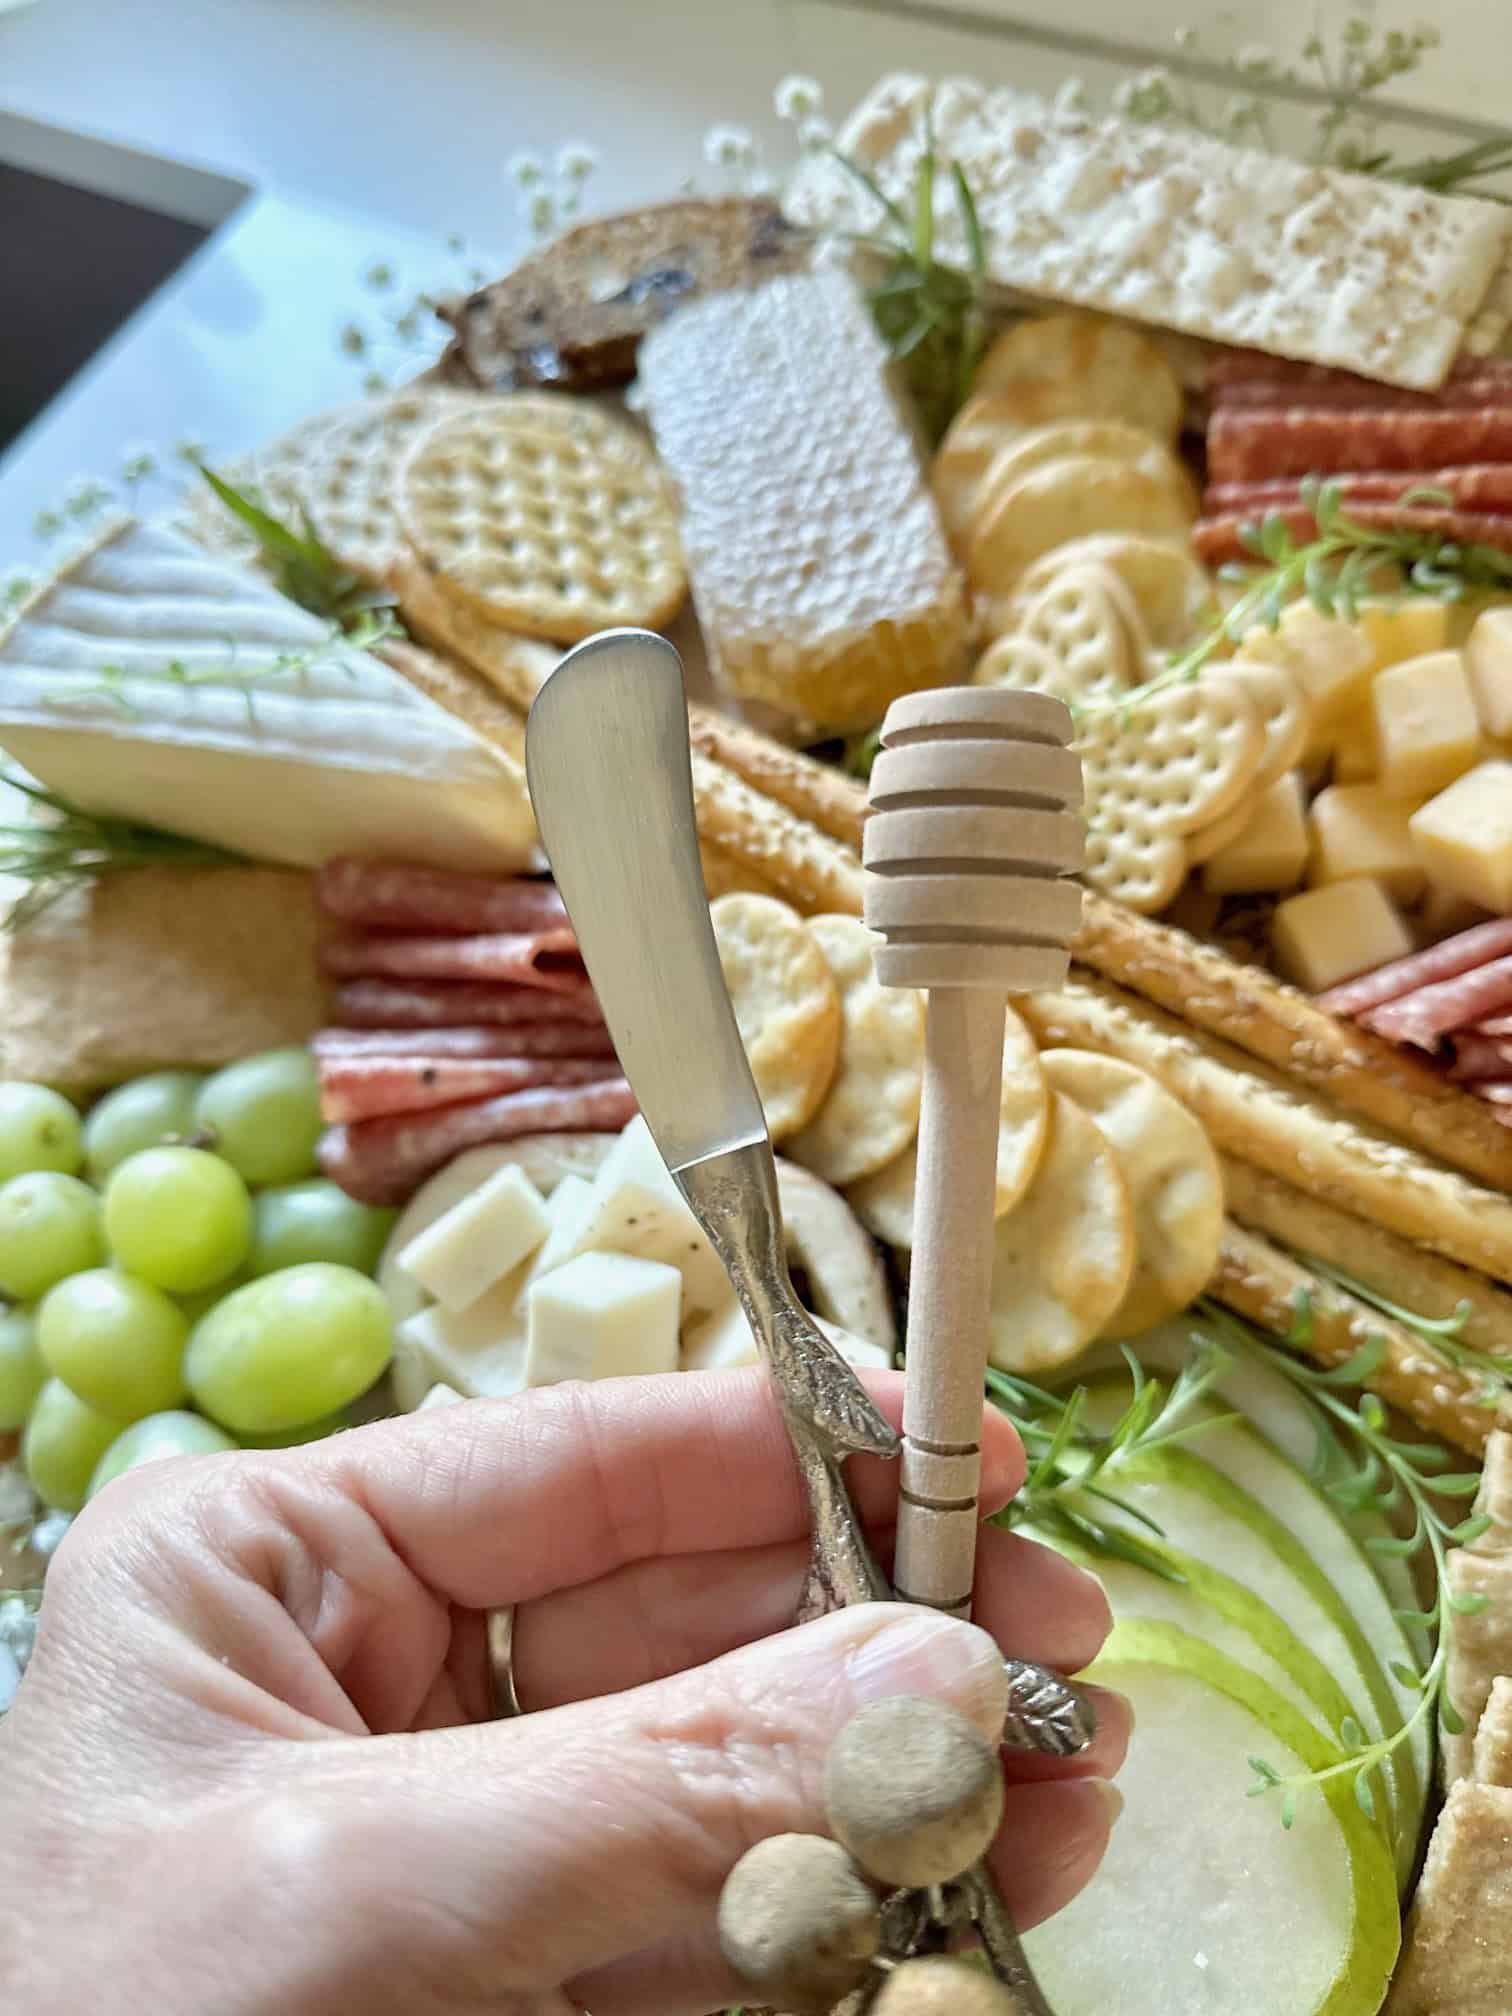
Add small spoons for dips and spreads
If you are including jams, honey, or soft spreads, a small spoon is worth adding. It keeps things from getting messy and makes it easy for guests to serve themselves without using crackers or knives.
Use small knives for cheeses and spreads
Soft cheeses and cream cheese-based spreads are much easier to serve with a small knife. It also keeps people from using the same utensil across different items.
Toothpicks or small forks for grab-and-go items
For olives, pickles, or anything in a bowl, toothpicks or small forks make a big difference. They keep things clean and make it easier for guests to grab what they want without digging around.
Consider simple labels when needed
If you are serving a variety of cheeses or spreads, a small label can be helpful. This is especially nice for guests who may have preferences or dietary needs, but it can be as simple or as minimal as you want.
Frequently asked questions
Most charcuterie boards use 2 to 4 small bowls, depending on the size of the board. Smaller boards may only need one or two, while larger boards can handle three or four for better balance. The goal is to space them out evenly so they add variety without overcrowding the board.
The 3-3-3 rule is a simple way to build a balanced charcuterie board. It means including three cheeses, three meats, and three accompaniments such as fruits, nuts, or spreads. You can easily incorporate small bowls into this by using them for things like jams, olives, or dips to round out your board.
Small, shallow bowls work best for a charcuterie board. Look for bowls that are about 2 to 3 inches wide and not too deep, so they are easy for dipping and don't take up too much space. Ramekins and small dipping bowls are ideal because they fit neatly on the board without overwhelming the layout.
There are a few things that can make a charcuterie board harder to enjoy or less visually appealing. Avoid overly wet foods that can make the board soggy, strong flavors that overpower everything else, large uncut items that are difficult to serve, too many similar textures, and overcrowding the board. Using small bowls helps prevent mess and keeps everything organized.
The small bowls used on charcuterie boards are most commonly called ramekins. They can also be referred to as dipping bowls or condiment bowls. They are used to hold items like jams, olives, nuts, and dips while keeping the board neat and easy to serve from.
If you don't have ramekins, there are plenty of alternatives you can use. Small teacups, espresso cups, sauce dishes, or even small jars work well. The key is choosing something that is small, stable, and easy for guests to scoop from without taking up too much space on the board.


If your charcuterie board has ever felt a little off or unfinished, this is usually the piece that is missing. Small bowls are what bring everything together. They give your board structure, help balance flavors, and make the whole thing feel more intentional without adding any extra work.
Once you start using them this way, building a charcuterie board becomes much simpler. You are not guessing where things go or trying to fill space, it just starts to come together naturally.
It does not have to be complicated to look good. A few well-placed bowls, the right mix of ingredients, and a simple approach can completely change the way your boards turn out.
Happy board styling, friends!