How to Store Used Coffee Grounds for Houseplants, Beauty and Beyond
Confession time: I used to throw away all my used coffee grounds without a second thought. That changed when I started learning about their amazing benefits for houseplants, and now I collect them like the gardening gold they truly are. The challenge? Fresh grounds turn moldy incredibly quickly when stored.
After several trial-and-error attempts (including one memorably fuzzy container experiment), I've figured out the best methods for drying and storing used coffee grounds long-term. This guide pairs perfectly with my popular post on which indoor plants like coffee grounds - your plants will definitely thank you for reading both!

Jump to:
Why bother drying coffee grounds?
You might be wondering if this is worth the effort. Here's the deal:
- Fresh grounds go moldy FAST (like, alarmingly fast)
- Wet grounds attract fruit flies (and nobody wants those tiny party crashers)
- Dried grounds can be stored for ages (I've kept mine for over a year!)
- They're so much easier to handle when dry (no more coffee sludge under your fingernails)
- You can actually measure them without making a soggy mess
Plus, let's be honest - if you're anything like me and drink coffee like it's your job, you're generating a steady supply of spent coffee grounds that can become a valuable resource rather than garbage disposal filler.

Collecting your coffee grounds
First things first - you need some grounds:
- From your own kitchen: Just save what you brew each morning (I keep a small container by the coffee maker for leftover coffee grounds)
- Local coffee shops: Most baristas are happy to bag up their spent coffee grounds (sometimes they even have them pre-bagged by the door - score!)
- Quality check: If old grounds are already growing fuzzy blue-green science experiments, they're better for the compost bin than your drying project
I started by saving our own grounds from each cup of coffee, but when I needed large quantities for a big planting project, our local cafe filled a huge plastic bag for me - completely free! It's a smart way to repurpose what would otherwise become food waste.
Drying methods
The Sun Drying Method (My Go-To Approach)
This is hands-down the best way and most energy-efficient method to dry grounds:
- Gather your gear:
- Any flat screen (an old window screen works perfectly - I found one in our garage)
- Several sheets of newspaper
- A sunny spot (my back deck is perfect)
- Set it up:
- Lay newspaper on your screen (about 6 sheets thick)
- Spread your coffee grinds out in a thin layer (no more than 2-3 inches)
- Break up any clumps (I use a fork to fluff them like I'm aerating soil)
- The drying process:
- Place in direct sunlight with good airflow
- Tuck strips of newspaper throughout to soak up moisture
- Replace damp newspaper daily (it gets surprisingly wet!)
- Give everything a stir once or twice a day
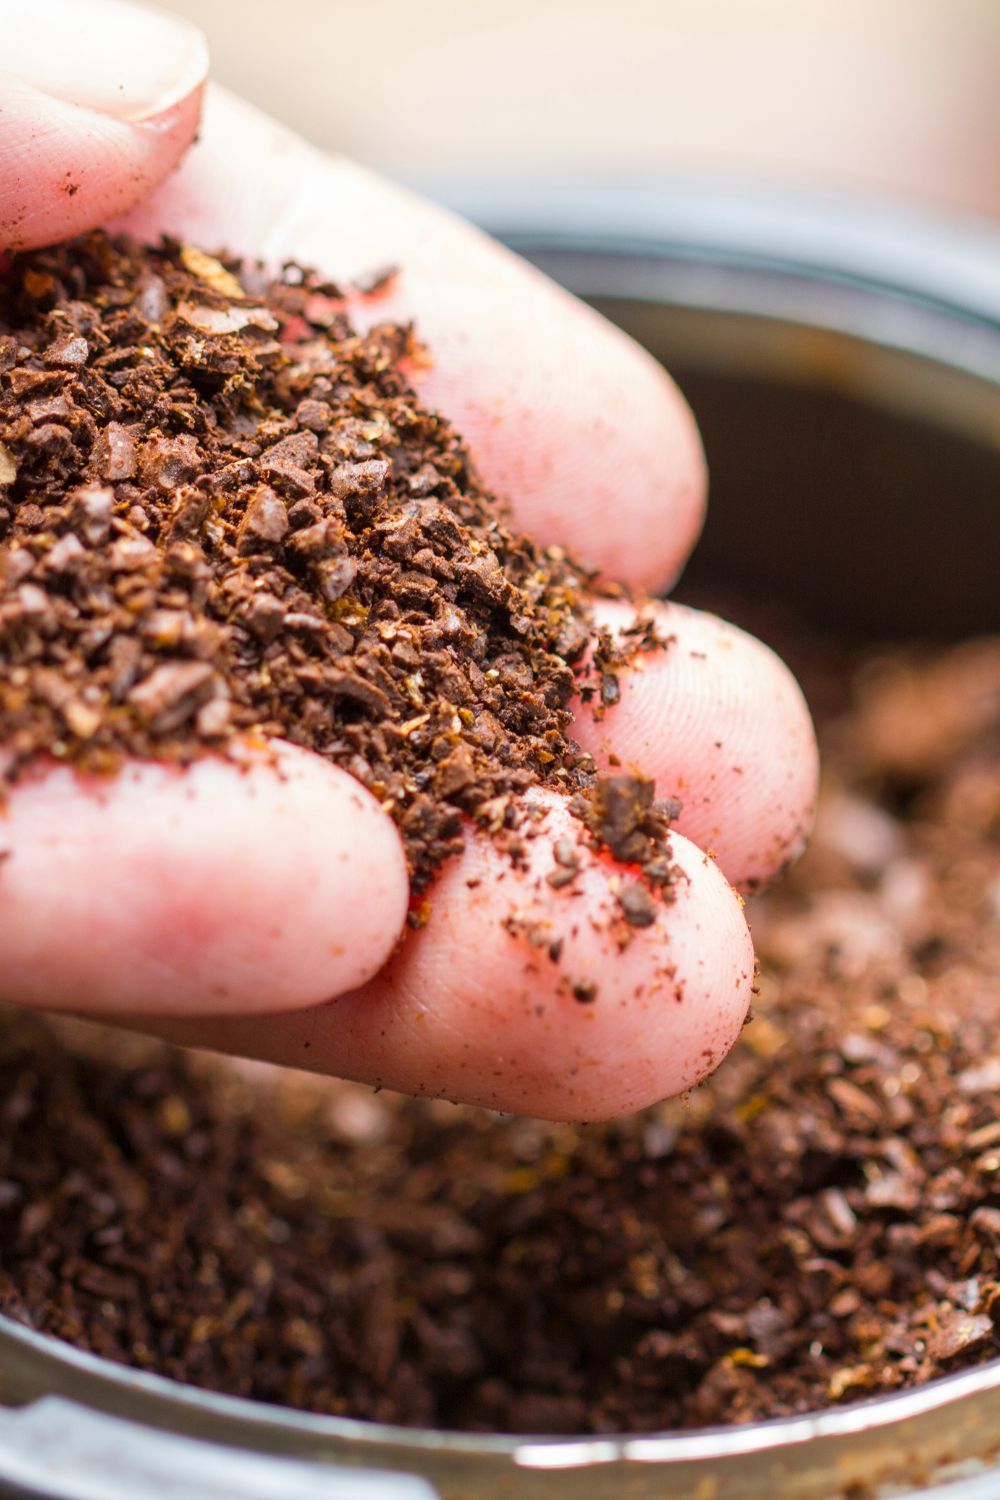
- How to tell they're ready:
- They'll feel lighter with a gritty texture similar to fresh grounds
- The color becomes more consistent
- No more damp spots when you run your fingers through them
- That wonderful smell of coffee remains without any unpleasant odors
Small-batch drying method:
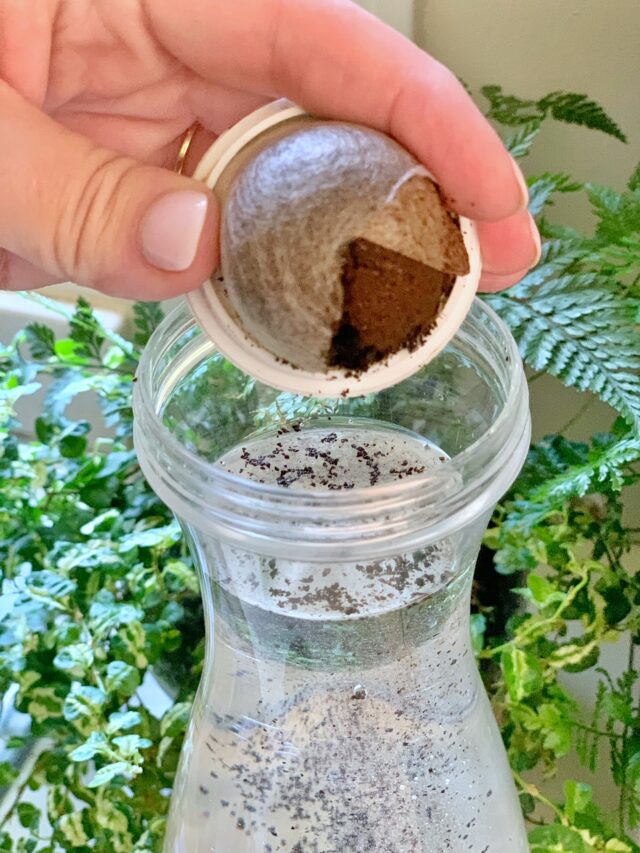
For those collecting grounds from a Keurig or single-serve coffee maker, here's how to dry coffee grounds on a smaller scale:
- Use a paper plate or shallow cardboard box instead of a window screen
- Line with 1-2 paper towels or a coffee filter
- Spread grounds from 3-5 coffee pods in a very thin layer (about ¼ inch thick)
- Place near a sunny window with good airflow
- Stir gently with a fork once daily to expose all surfaces
- Replace damp paper towels if needed
- Allow 1-2 days for complete drying
This scaled-down approach works perfectly for those who drink just a cup or two daily and want to gradually build up their dried coffee ground supply without dedicating too much space to the project. The small batches also dry faster since there's less moisture to evaporate!

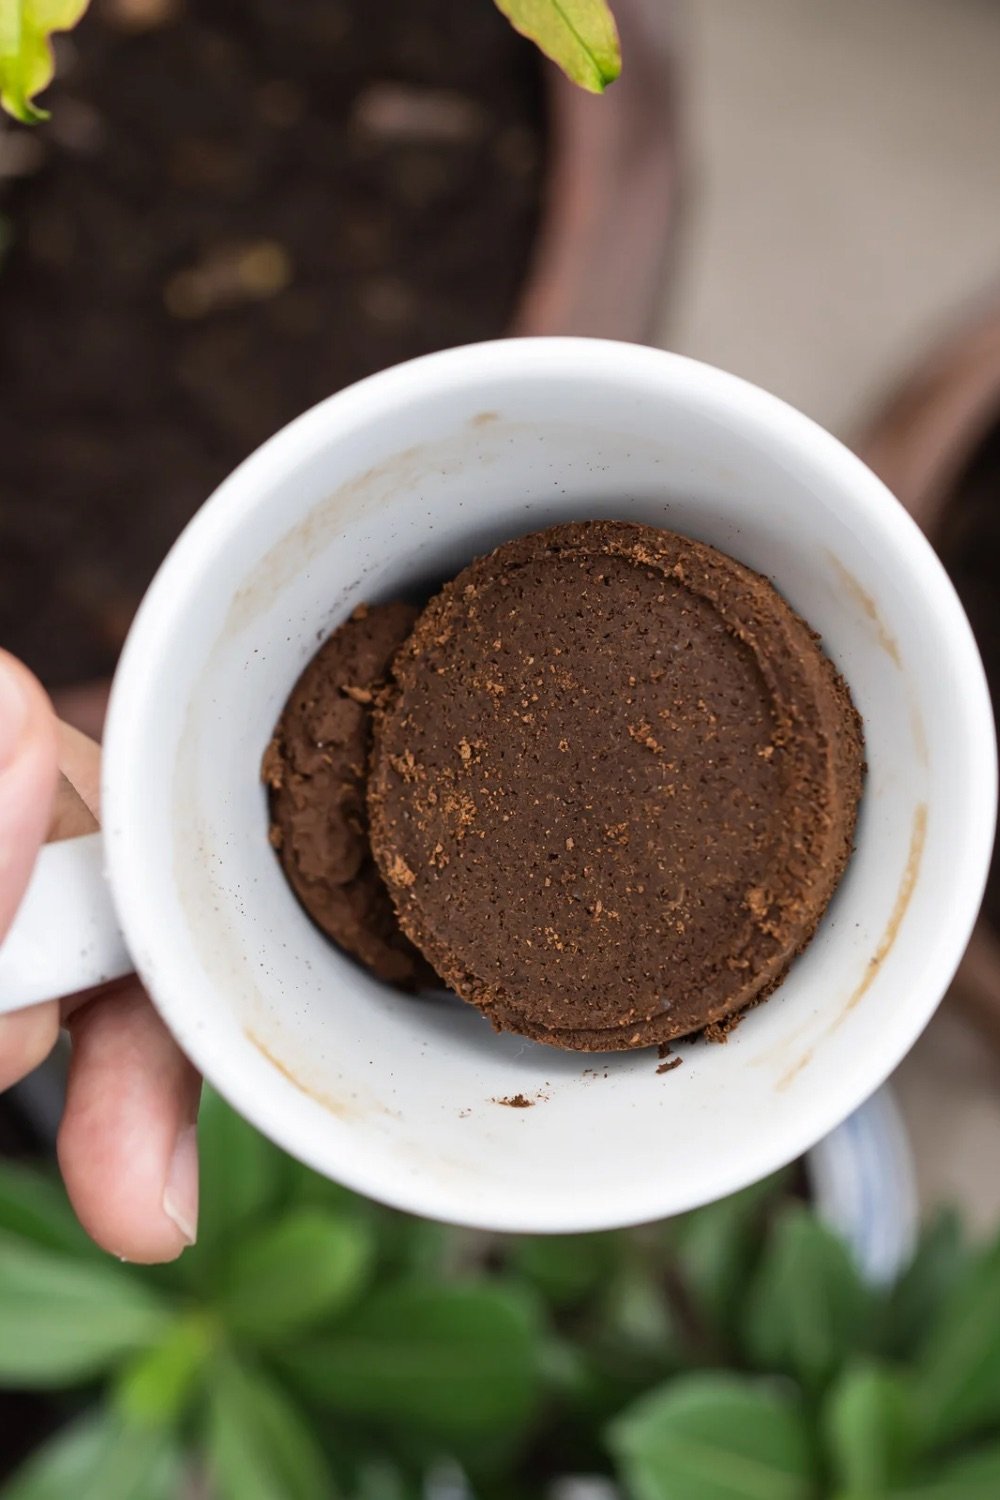
The first time I tried this, I was shocked at how much lighter the grounds became - moisture makes up about 60% of used coffee grounds' weight!
When Mother Nature Isn't Cooperating
Let's be real - sometimes the weather refuses to play nice with our DIY plans:
- Oven method: Spread on a parchment paper-lined baking sheet at low heat (200°F) for 20-30 minutes, stirring occasionally. (Warning: your kitchen will intensely smell of coffee - which I love as a coffee drinker, but it might make you crave a cup at 9pm)
- Room temperature air-drying: Spread them thinly on baking sheets with a fan blowing across them. It's a natural way that takes longer but works when it's raining outside.
- What I learned the hard way: Don't try the microwave unless you want your microwave (and everything you heat in it) to smell like coffee for weeks. Trust me on this one!
Storing your dried coffee gold
Once your grounds are completely dry (and I mean bone dry), proper storage keeps them usable for a long time:
- Container options:
- Glass jars with lids (I reuse pasta sauce jars)
- Any airtight container
- Ziploc or other plastic bags work fine too
- Paper bags for short-term storage
- My favorite storage tips:
- Tuck a small square of newspaper at the top to catch any lingering moisture
- Store in a cool, dry cabinet (I use the one above my washing machine)
- Label with the date if you're super organized (I try, but let's be honest...)
- Check occasionally to make sure they're staying dry
I've kept properly dried coffee grounds for over a year without any issues! Just store them like dried herbs, and they'll be ready whenever your plants need a pick-me-up.
Using for your houseplants
Now for the fun part - putting those dry coffee grounds to work:
- Simple application:
- Sprinkle 1-2 tablespoons onto the soil surface
- Make "coffee tea" by steeping grounds in warm water overnight
- Mix into potting soil when repotting (about 10-20% of the mix)
- Pro tips (learned from a few plant mishaps):
- Less is more! Too much can make acidic soil too intense
- Perfect for acid-loving plants (check my complete guide to which indoor plants like coffee grounds for specifics)
- Once a month is plenty (plants don't need daily caffeine like some of us do!)
- Great for boosting water retention and adding organic materials to soil
If you're looking for more ways to naturally feed your plants, don't miss my guide on Natural Fertilizer for Indoor Plants.
I accidentally over-caffeinated my favorite fern once with too many coffee grounds, and it threw quite the drama-queen fit until I flushed the soil with cold water. Learn from my mistakes!
Troubleshooting
| Problem | The Fix |
|---|---|
| Moldy grounds | They weren't dried thoroughly - sadly, these need to go to the compost bin |
| Clumping after storage | They're absorbing moisture - spread out and re-dry |
| Lost that smell of coffee | Still fine for plants, just less aromatic |
| Taking forever to dry | Spread them thinner and increase air circulation |
| Fruit fly invasion | Not fully dried! Back to the drying board |
If you're dealing with struggling plants, coffee grounds might help, but also check out my guide on plants drooping? for more solutions.
Beyond plants: Other ways I use dried coffee grounds
Once you have a stash of dried grounds, you'll find a million good uses beyond just plants:
- Garden gold: Add to a worm bin or compost bin, work into raised bed soil, or use as a natural pesticide around garden plants
- Cleaning buddy: Mix with a drop of dish soap for a natural cleaning scrub on hard-to-clean surfaces like pots
- Odor fighter: Fill old socks with dry grounds to absorb unpleasant odors in gym bags or shoes
- Beauty treatment: Mix with essential oils and coconut oil for a natural exfoliant that removes dead cells and improves blood flow

More specialized plant care solutions
Explore our collection of targeted guides:
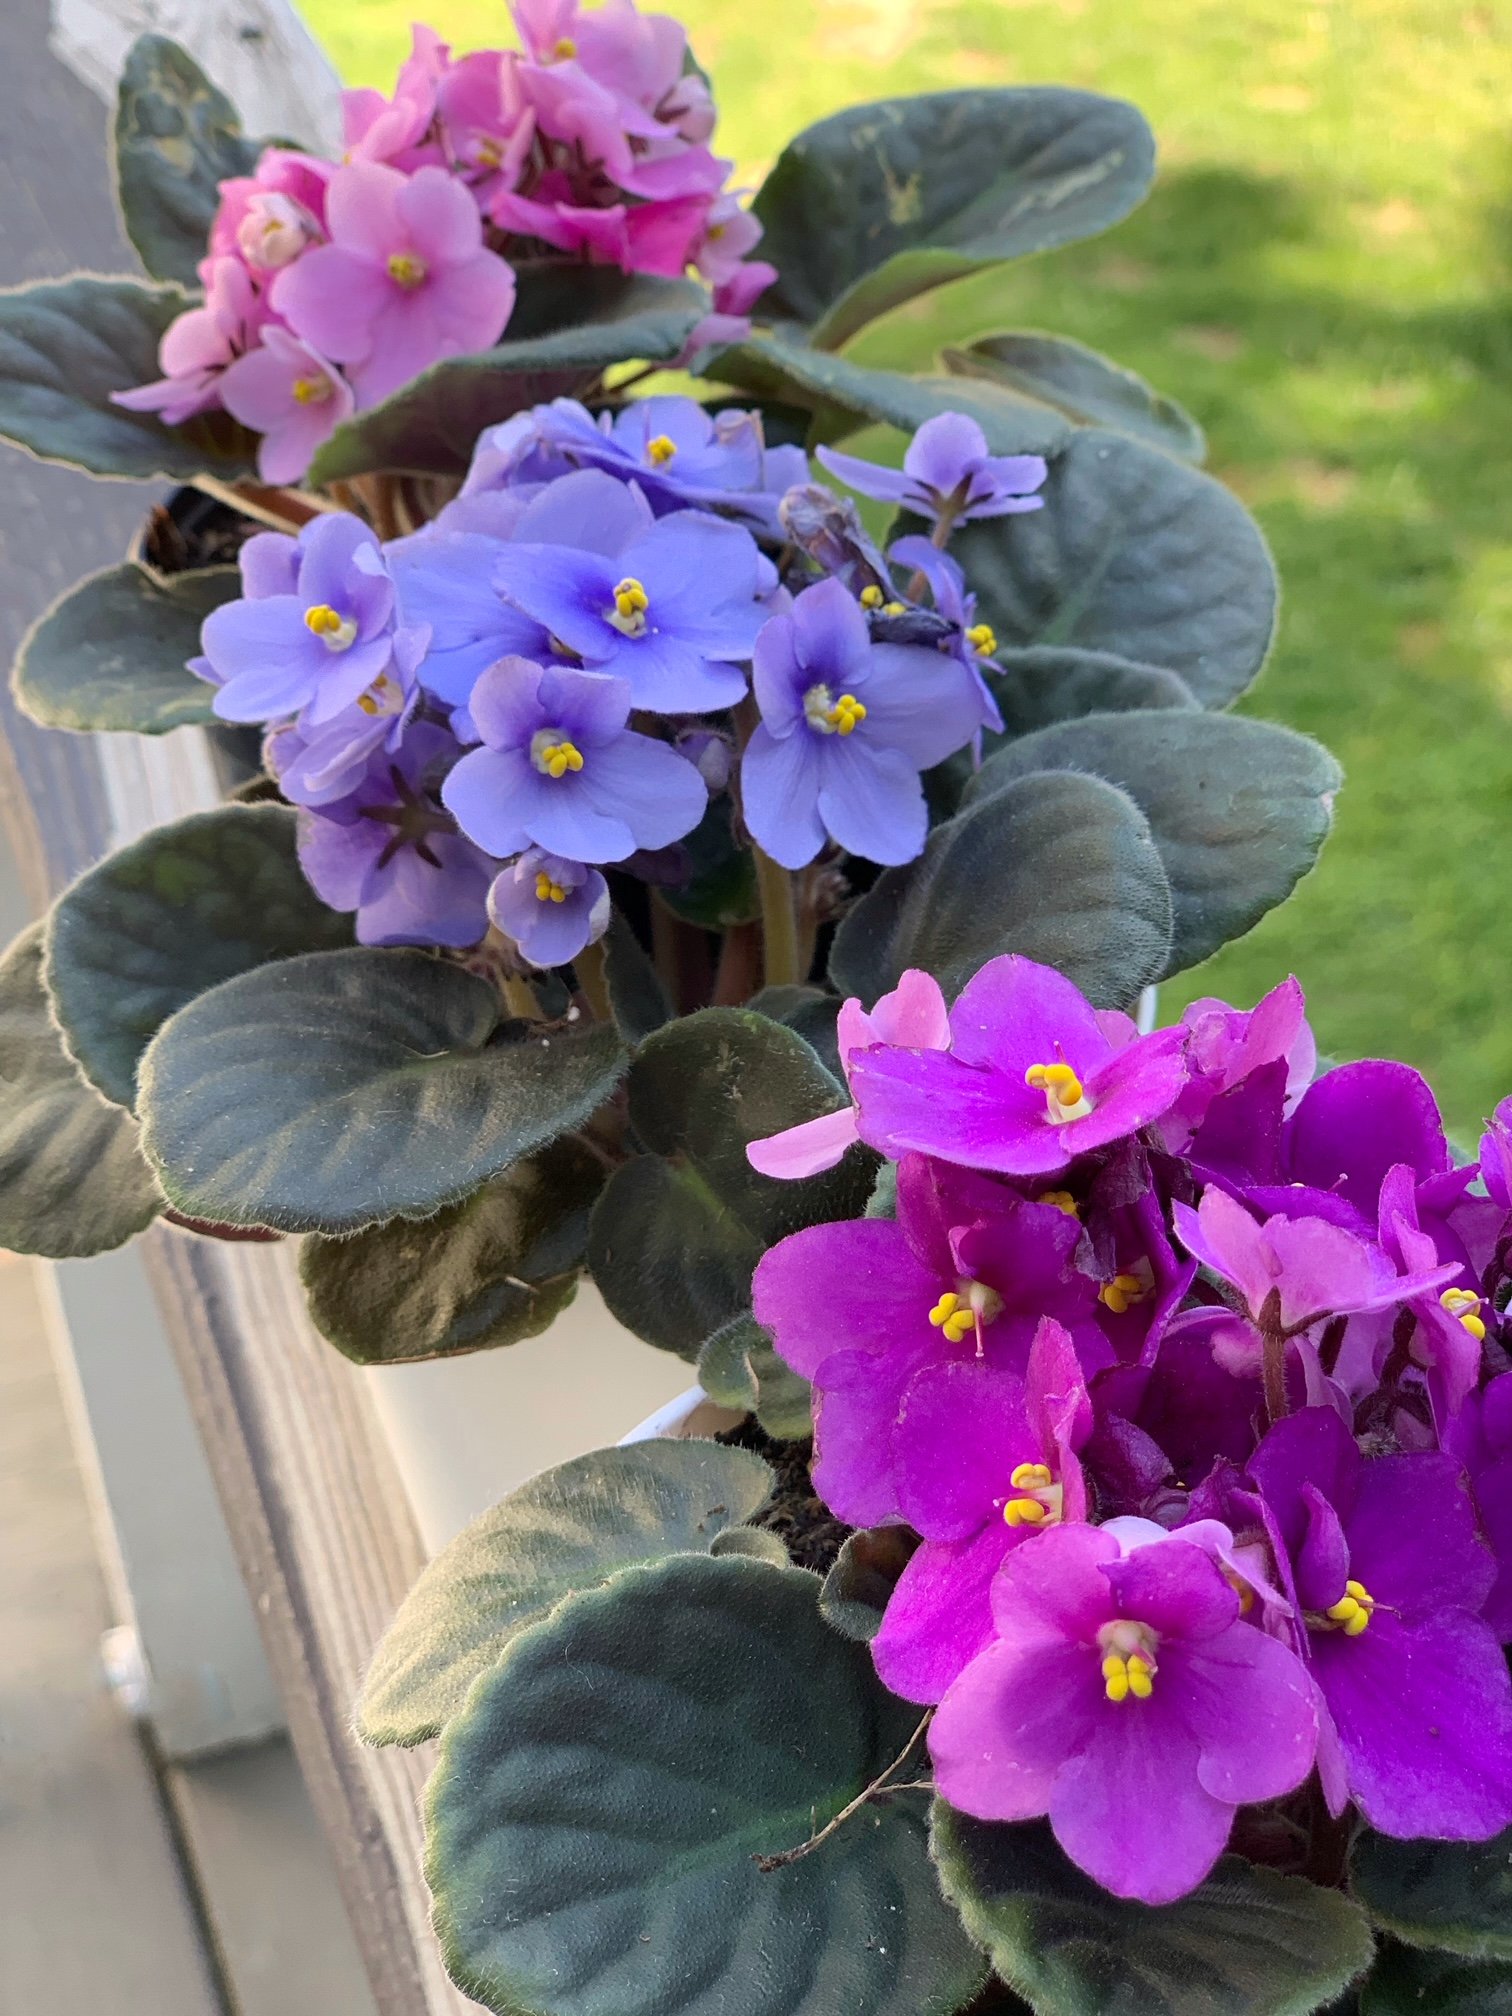
- Create the perfect moisture balance for African violets with our DIY self-watering pot tutorial that prevents both over and under-watering
- Mix up powerful homemade fertilizer for pothos plants specifically formulated to promote lush growth and vibrant foliage
- Discover which natural fertilizers provide ideal nutrition for monstera varieties without harsh chemicals or synthetic ingredients
These custom care guides will help you address the unique needs of your favorite houseplants while using sustainable, budget-friendly methods that deliver professional results.
My personal favorite? I keep a small container of dried grounds under the kitchen sink to scrub stubborn food off cast iron pans - works like magic without scratching!
Who knew that coffee grounds from your brewing process could be so useful? Drying used coffee grounds is that extra step that makes me feel both thrifty and eco-friendly by reducing organic kitchen waste.
From one coffee lover to another - give those old grounds a second life! The versatility of coffee grounds makes this simple process worth the small effort, and your plants will reward you with gorgeous growth. For troubleshooting common plant issues, be sure to read how to grow stephanotis like a pro and budget-friendly natural fertilizers for aloe plants.
Have you tried using coffee grounds in other creative ways? Drop me a comment below - I'm always looking for new favorite ways to reuse what would otherwise be thrown away!
From cup to garden, enjoy the journey friends!