

How To Decorate A Spring Dough Bowl
Ready to breathe fresh life into your seasonal décor? After sharing several fall dough bowl arrangements that readers loved, I couldn't wait to welcome spring with How To Decorate A Spring Dough Bowl that captures the season's renewal and charm!
This garden-inspired creation combines whimsical elements with natural textures for a centerpiece that whispers "spring has arrived." I'll guide you through painting these faux cement bunnies to achieve that perfect weathered patina, crafting authentic-looking grapevine nests that birds would envy, and provide step-by-step instructions on filling the dough bowl for maximum impact. Whether you're hosting Easter brunch or simply celebrating the season's arrival, this project delivers serious cottage charm without complicated techniques. Let's hop to it!

*This post includes affiliate links, for more info on affiliate links visit here
I am sharing 3 separate projects - the first is a simple paint technique I used to make faux bunnies look like cement garden bunnies. The second is how I made little bunny nests out of grapevine wreaths and then I'm sharing some of my tips and tricks for filling a beautiful dough bowl.
Project 1 - The bunnies
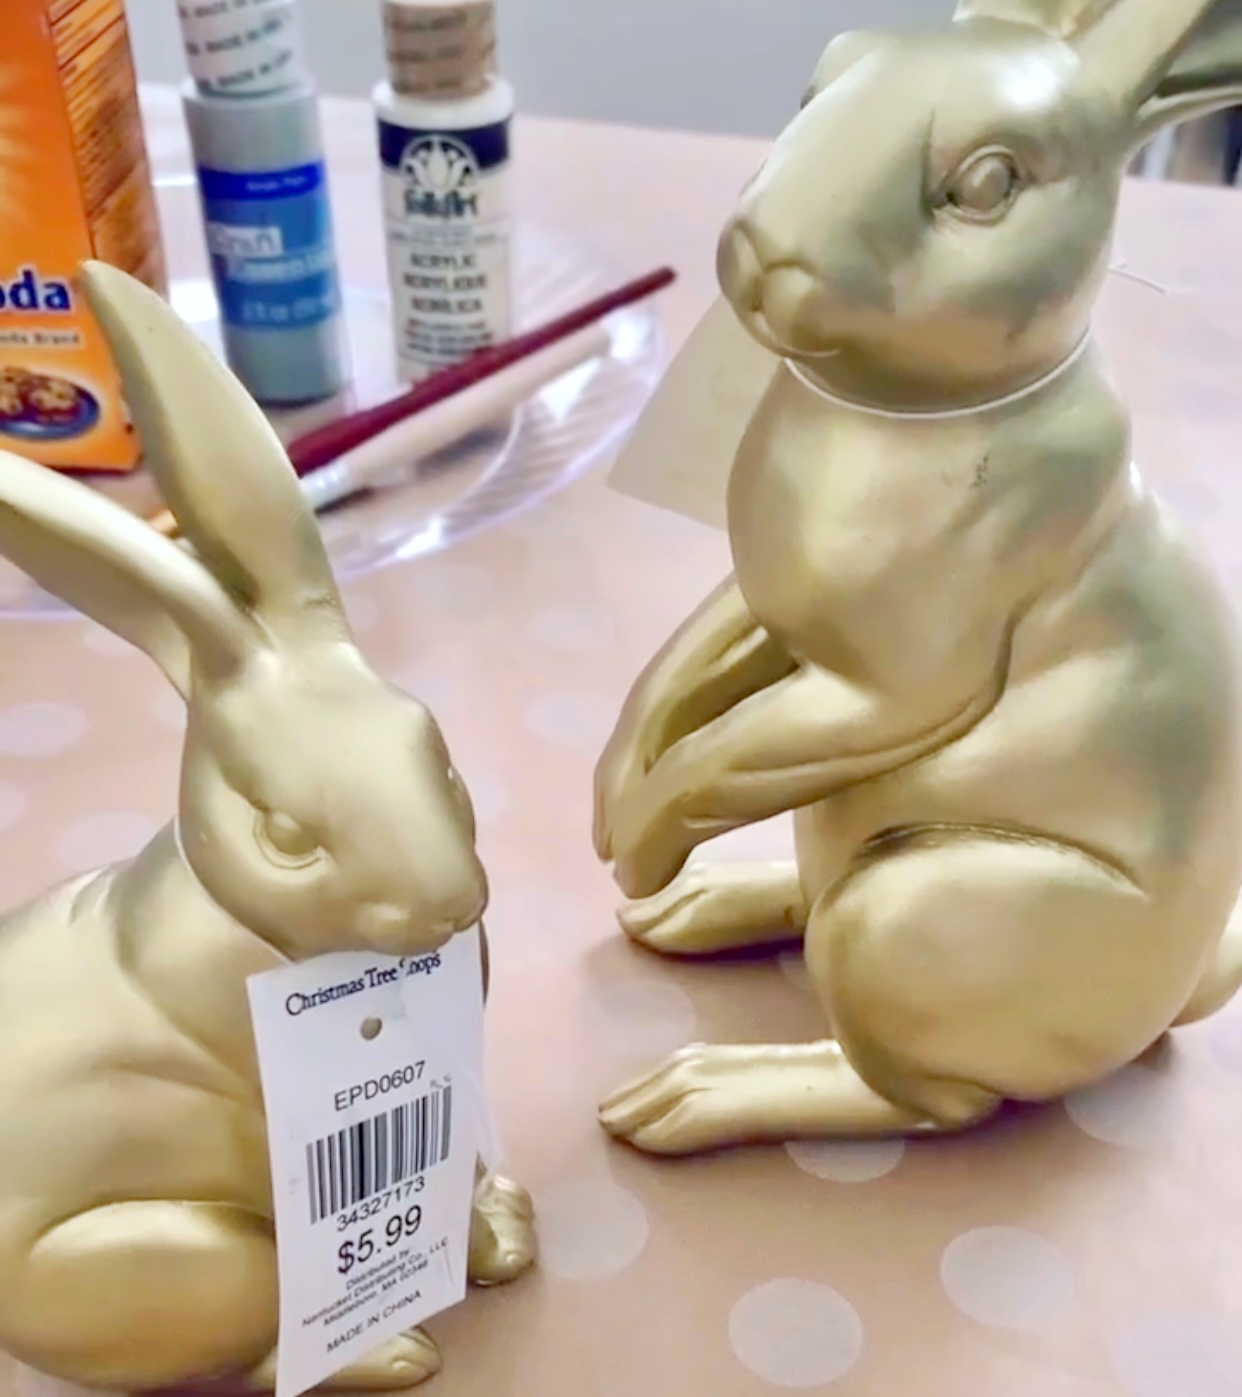
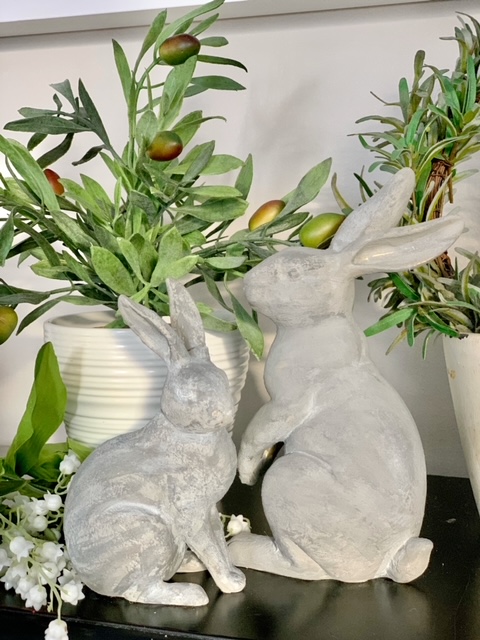
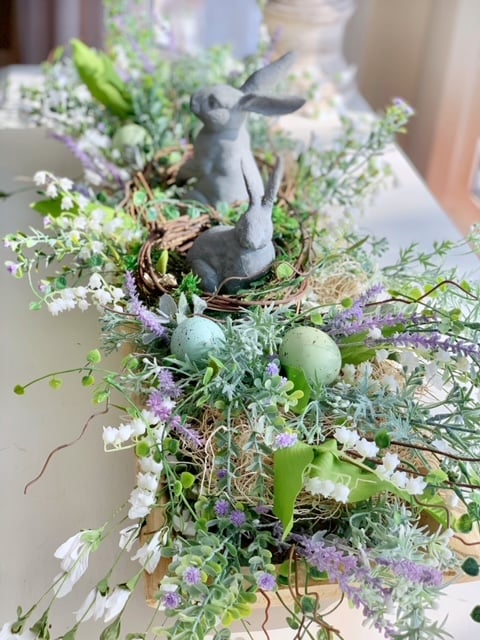
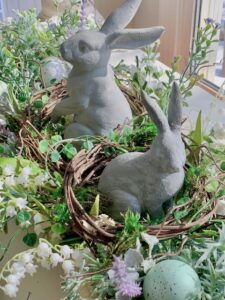
I found some gold-colored bunnies at The Christmas Tree Shops. I loved the shape of them but wanted to change the finish to look more like garden bunnies. My vision was to transform these gold bunnies into looking like they were made from cement (or stone) - similar to some bunnies I found from Pottery Barn.
Steps for painting garden bunnies:
- First, I took a medium gray acrylic paint (craft paint) and mixed it with 2 parts paint to 1 part baking soda. I painted each bunny and let them dry for 1 hour. The paint mixed with baking soda gave me the gritty texture of cement I was looking for.
- Once the bunnies were dry, I took a lighter gray paint, and using a quick stroking motion I added some detail and depth.
- Lastly, I took white acrylic paint and watered it down to make a wash. I put 2 Tbsps of white paint in a bowl and added 1 teaspoon of water then mixed. With a paintbrush, I painted the wash liberally over the bunny in sections. Immediately after the wash was applied I took a damp paper towel and wiped off the excess. I let the wash "pool" around the creases of the little bunny (legs, eyes, ears, etc.).
You can view a video tutorial of this bunny project here on my Instagram page.
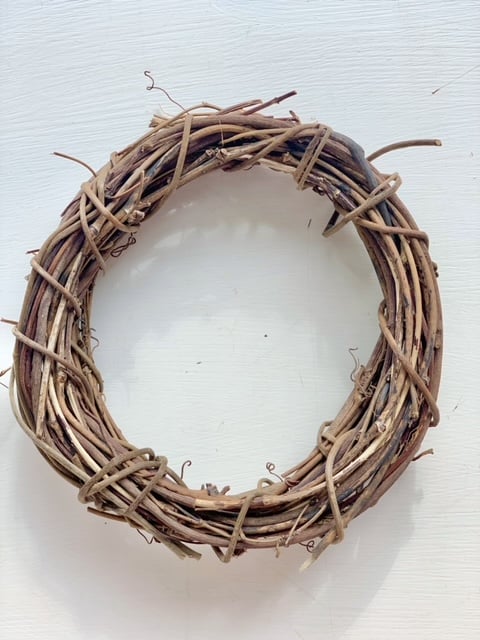
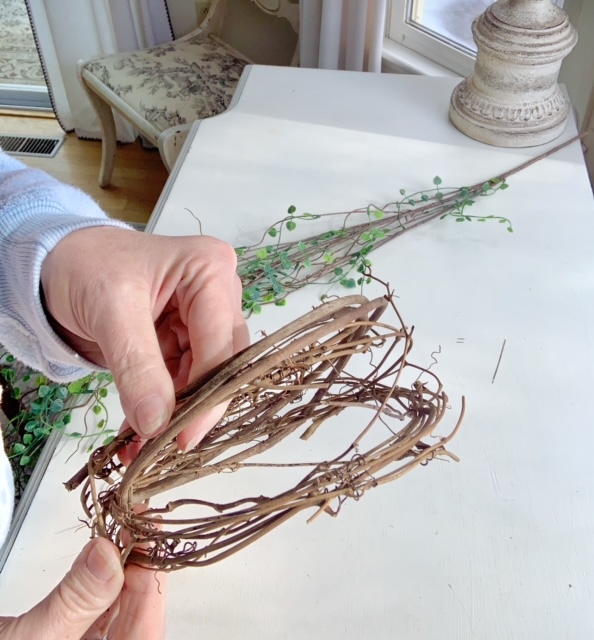
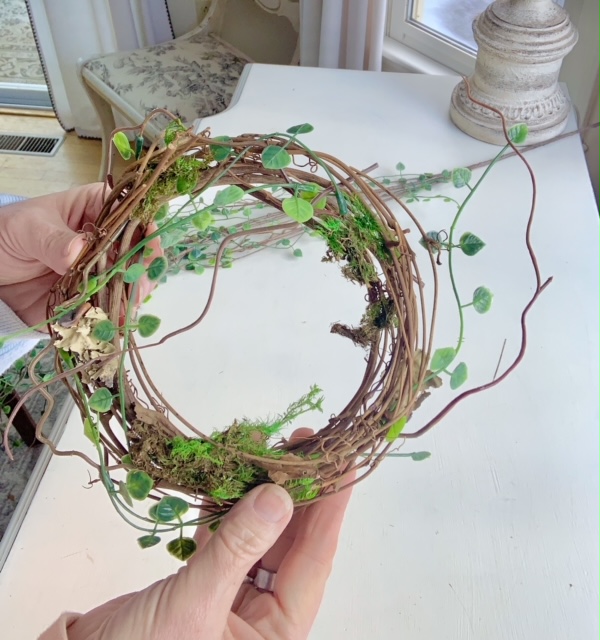
Project 2 - Grapevine wreath nests
Last week I took a trip to Hobby Lobby because I knew they would have great options for fillers. I purchased 2 small 6" grapevine wreaths, a bag of assorted moss, and some fun vine-like branches. My plan was to make little nests for the bunnies to sit in.
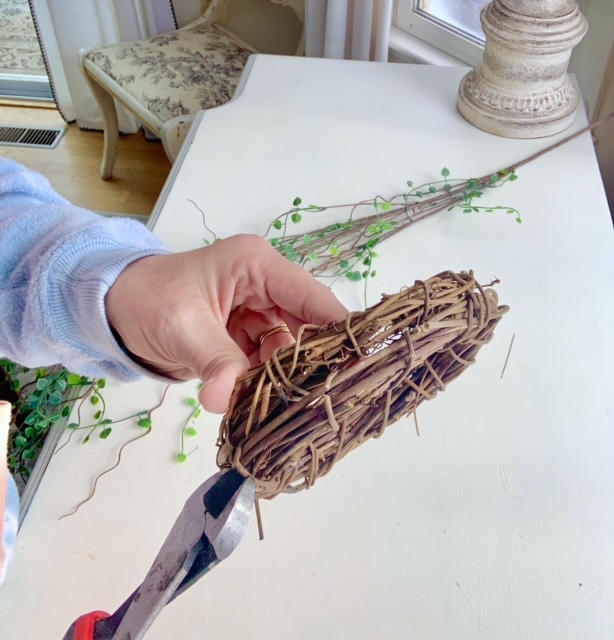
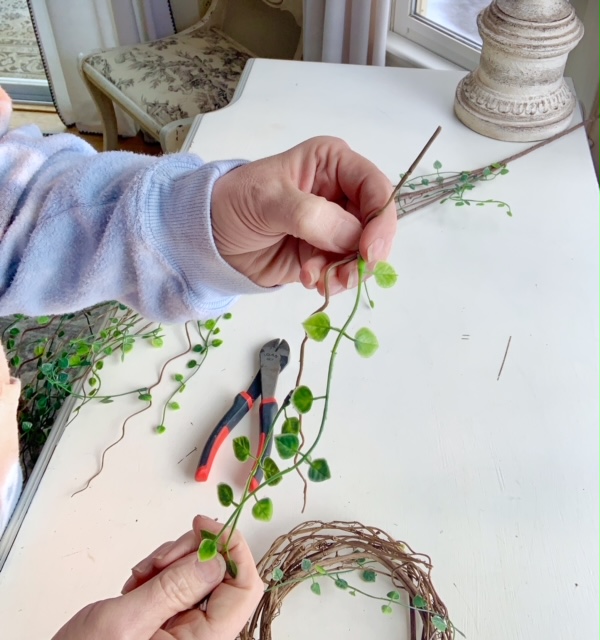
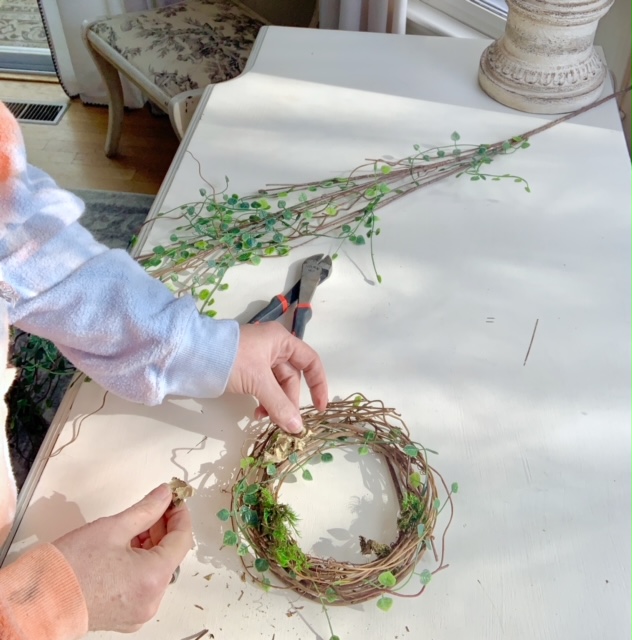
Steps for making grapevine nests:
- As pictured below, with my wire cutters I cut the piece of grapevine that wraps the wreath and holds it together. I did this to loosen the wreath so it would look more like a bird's nest.
- Next, I cut some of the twigs of the faux vines and simply wrapped them in and around the loose grapevine.
- Last, I took pieces of moss, starting with sheet moss then moving to lichen, and tucked these in between grapevine branches. The goal was to make the nests look like a bird had built them.
You can view a video tutorial of these Grapevine nests here on my Instagram page.
Supplies for making grapevine wreaths:

Project 3 - The dough bowl design
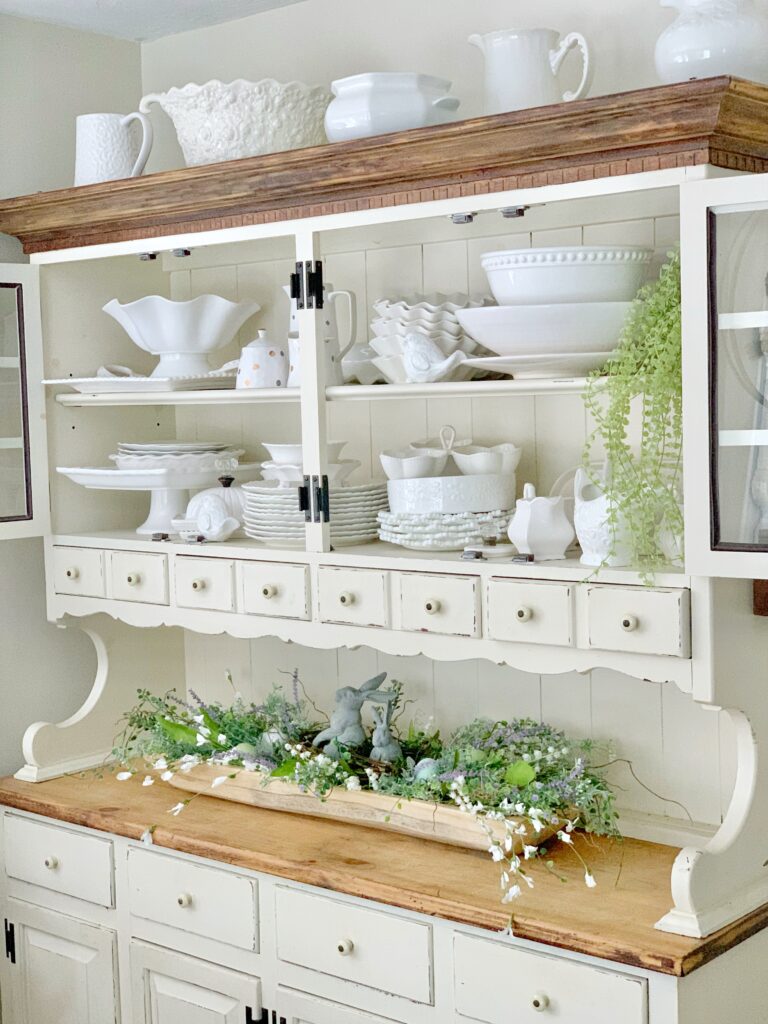
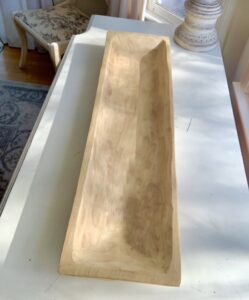
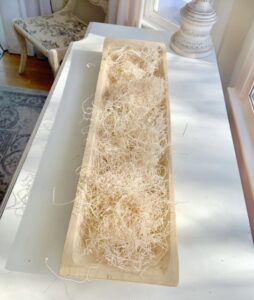
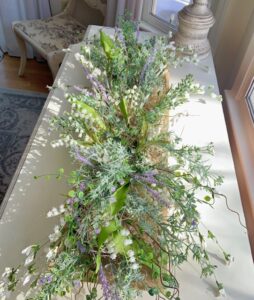
My bowl is a large reproduction dough bowl measuring 36" long so it can hold a lot of faux stems and faux greenery. It also is a bit deep so starting with a base filler works well. Below are my tips and tricks for filling a dough bowl.
Steps for filling the wooden dough bowl:
- To start, I fill the bowl with Excelsior. I find filling the bowl with Excelsior, raffia, or even tissue paper gives a good solid base to build on. I also find the Excelsior holds the faux stems in place and has a nice natural look, making it a great filler.
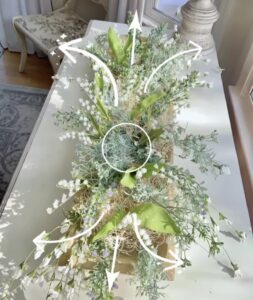
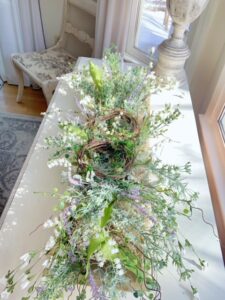
- With the base set to go, I began taking each floral plug and, with my wire cutters, I cut the plugs down into smaller usable stems. I placed one type of flower at a time so I could make sure each type of flower was evenly dispersed for this design. My plan was to nestle the bunnies and their nests in the center of the dough bowl. Because of this, all the flowers to the left of the center faced that way and the ones to the right of the center faced right.
- Once all the flowers were in place, I simply put the mini nests in the center by slightly overlapping them.
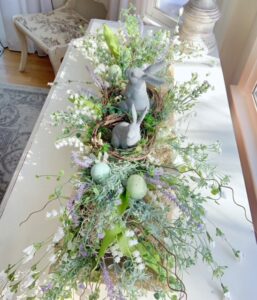
- Then I placed the bunnies in their new home and added a couple of faux Easter eggs for the finishing touches
You can view a video tutorial of this dough bowl design here on my Instagram page.
Similar supplies for filling the dough bowl:
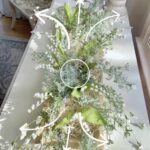
This beautiful dough bowl will make the perfect Easter centerpiece! The design reminds me of a cottage garden-style arrangement with an elegant blend of soft floral notes. There is a mix of grayish-green stems as well as bright green to give a real garden feel. The addition of the cement-looking garden bunnies is perfect for spring seasonal decor. This spring flower arrangement is an easy way to transition your home from winter home decor to spring!
Variations and special considerations
Other types of flowers: The key to picking out faux flowers for a dough bowl is simply to choose what you love. I like to have a color scheme in mind and go from there. When choosing flowers, try to buy some blooms that are elongated, this will give you a flowy feel to your dough bowl. For another spring dough bowl idea, you choose to use faux white tulips as seen in my Grandin road inspired tulip wreath, and ivy with some pussy willow branches! Perhaps faux succulents mixed with candles? The possibilities are endless! Get creative and choose what you love!
Tip: You could also use fresh flowers in your dough bowl, just be sure to place a plastic liner in the bowl to provide the flowers with water and protect your dough bowl.
Other Types of Fillers: a quick dough bowl search on Pinterest and you will find so many great fillers ideas for your style and the season. Easter grass would be fun, small wreaths mixed in with flowers, willow spheres or grapevine spheres are fun too! You can also fill your dough bowl with faux fruit (I used faux pears in this dough bowl design.) Moss is a great addition to a dough bowl - either as a base or as an added effect. You can use sheet moss, Spanish moss, beautiful and earthy bright green moss, or moss spheres (moss balls.)
Types of dough bowls: You can purchase reproduction dough bowls or vintage dough bowls. Some dough bowls are round while most are oblong. Regardless of the shape they are perfect for your farmhouse style. Below I will link similar dough bowls to the one I have and some beautiful vintage bowls as well.
Shop dough bowls
Frequently asked questions
Historically dough bowls were made to...well you guessed it - make dough! Back in colonial times dough bowls (often called trenchers) provided a warm place for bread to rise. The dough bowl was each woman's "appliance" for crafting biscuits, pie crusts, and yeast rolls. It also was a symbol of her mastery of her womanly cooking skills. These bowls were found in every home and passed on through generations. Today they are typically used in home decor.
Cedar and Poplar were common types of wood used during the colonial times. Many of the antique bowls you can find today are from those types of wood.
Today dough bowls are beautifully carved from a variety of straight-grained wood including cottonwood, soft maple, cherry, butternut, mango wood, river birch, and buckeye. Some are left natural, some stained and some are painted (i.e. to make a white dough bowl) Whether it's a reproduction or vintage bowl, you are sure to find a dough bowl that fits your decor style.
This beautiful centerpiece can be placed in a dining room as a dining table centerpiece. It could also be a fabulous addition to a kitchen Island or a coffee table. It could greet guests on a console table in your foyer or perhaps you want to bring some seasonal decor to your kitchen countertop.
How To Make A Spring Dough Bowl
Instructions
- Place a clean, empty dough bowl on your work surface.

- Add excelsior to fill the dough bowl.

- Next place the flowers (instructions below) in the direction that is pictured. The bunnies will be placed in the center of the arrangement so you want to lay the flowers on the left of the center to the left, the right to the right.

- Most flowers come in plugs (meaning there are several stems on one bush). With wire cutters begin by separating the plug into smaller stems. Then place each flower in the bowl. Tuck the stem into the excelsior and lay the flowers in the bowl and around the edges.
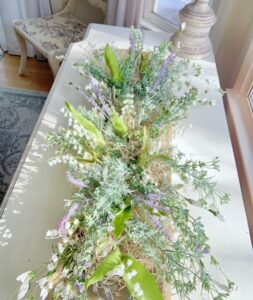
- Then cut the next plug into usable stems and place them in the same manner. Shown in the photo are a beautiful gray/green berry bush.

- Continue to place all the stems in the same manner, filling in the gaps where you see the excelsior. Shown here is a lavender berry bush.

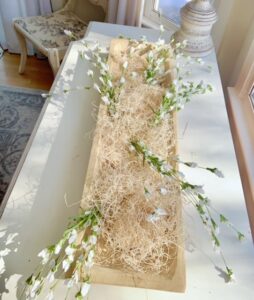
- Repeat process. These are the faux lily of the valley that are being added.
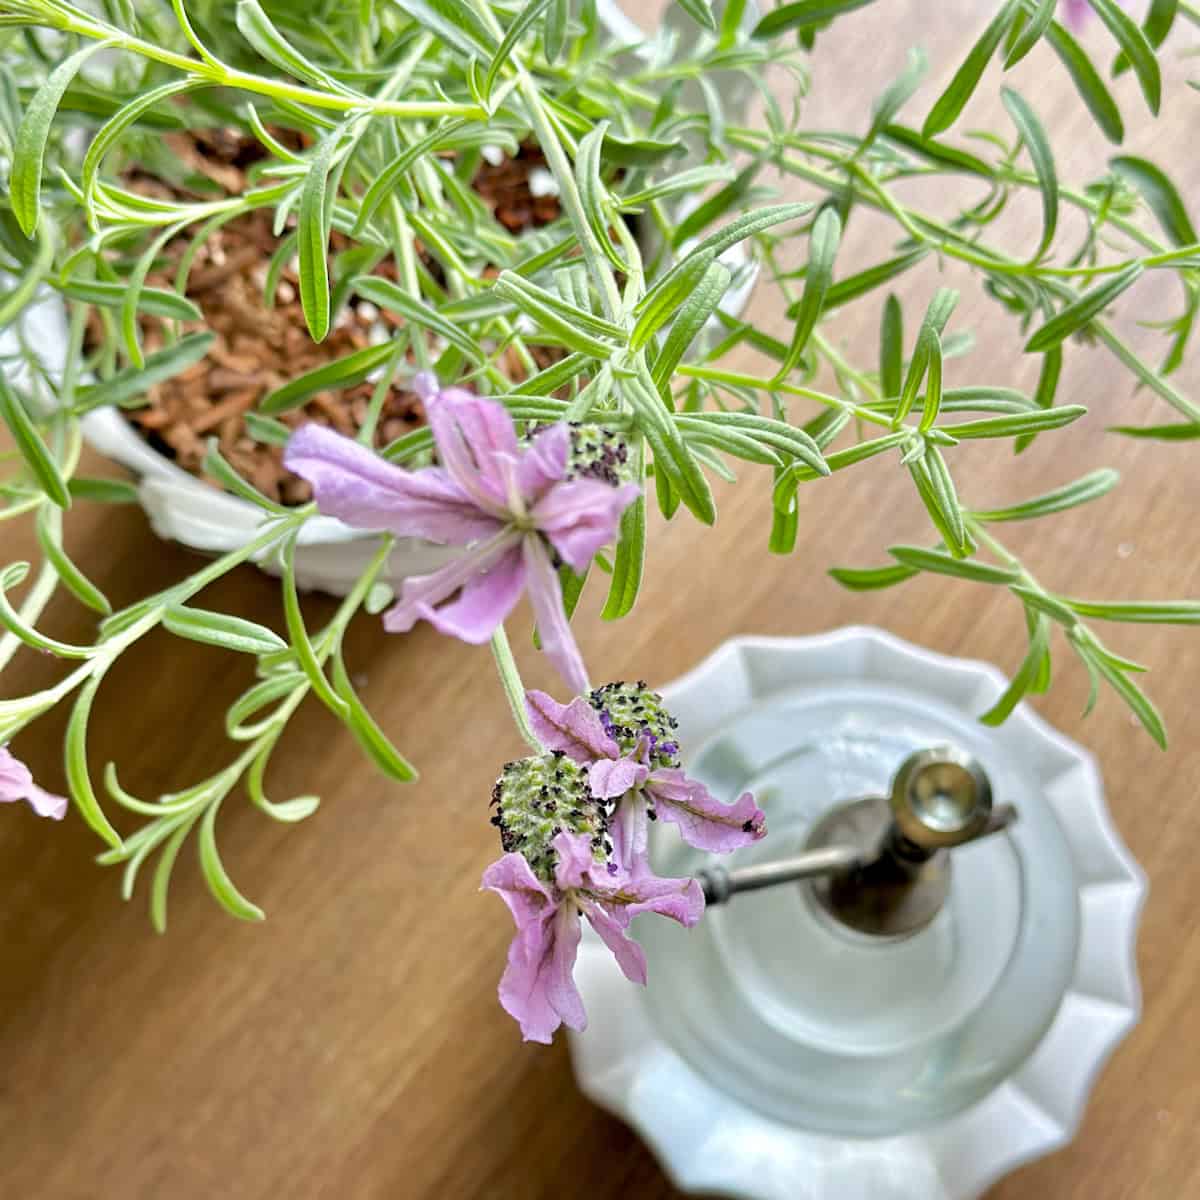
- Cluster dainty blooms together in groups of 3 so they have more of an impact. Shown here are clusters of faux lavender flowers.
- Add greenery in the same manner.
- Place the two grapevine birds nests (instructions for making these are in the blog post) in the center of the design, overlapping a little bit.

- Place the cement-looking bunnies in the centers of the nests to complete the design.

- Add a few faux Easter eggs around the arrangement to complete the look.


More dough bowl decorating inspiration
Explore our collection of seasonal designs:
- Transform a rustic dough bowl into a vibrant centerpiece with fresh flowers and colorful fruits perfect for summer entertaining
- Create a stunning fall dough bowl display using brilliant autumn foliage, berries, and seasonal elements that celebrate harvest hues
- Design an elegant neutral fall dough bowl arrangement that blends subtle textures and tones for sophisticated seasonal décor
These versatile dough bowl designs will help you showcase your creativity throughout the changing seasons while providing beautiful focal points for your home that can be easily updated as your style evolves.
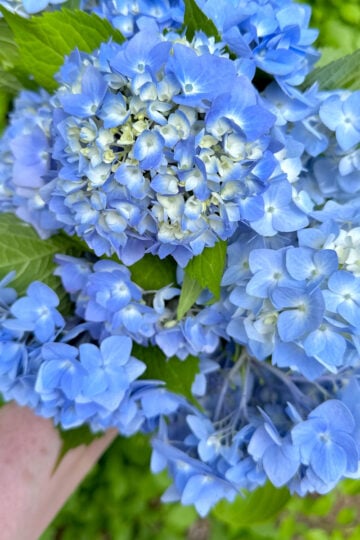
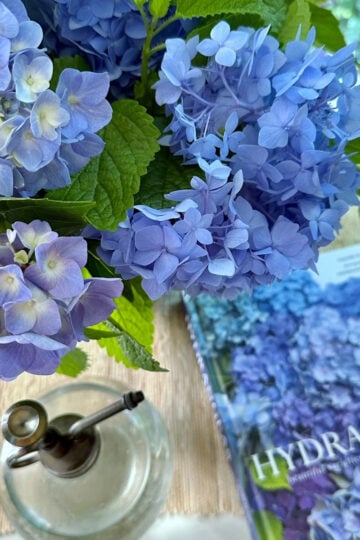
Without a doubt filling a bowl full of spring flowers is a beautiful way to bring spring decor into your home. Next, in this dough bowl series, I'm looking forward to bringing you a summer dough bowl design. I'm thinking about including beautiful white hydrangeas mixed with all sorts of beautiful summer greenery. I cannot wait!
If you love working with faux flowers check out my Peony Kissing Balls. Thank you for visiting the blog today on how to decorate a spring dough bowl! Did you know you can see all of my floral design DIYs in one place now?
With Easter right around the corner be sure to visit my The Best Flowers for Easter (a budget-friendly centerpiece idea) post for a fun and easy design! For more long-lasting floral decor ideas, visit my Faux Floral Project Index - perfect for budget-friendly styling that lasts all season.
Keep Creating Friends!


This is perfection!
Thank you!
Hi Stephanie I'm sharing this post and your green apothecary in a green round up on the blog this week as an FYI.
Thank you Ann!