How to Dry Sage: 4 Easy Methods for Preserving Fresh Sage
Learning how to dry sage is an easy way to preserve this fragrant herb for cooking, tea, simmer pots, and more. In this guide, you'll learn four simple methods for drying fresh sage, including air drying, oven drying, dehydrating, and microwave drying. Plus, discover how to store dried sage properly so it stays flavorful and aromatic for months.
Content may contain affiliate links. When you shop the links, we receive a small commission at no cost to you. Thanks for supporting my small business.
Sage is one of my favorite culinary herbs to grow in our raised bed garden here in Massachusetts. As a member of the Mediterranean herb family, it's also one of the easiest herbs to grow and preserve. By drying sage, you can enjoy its earthy flavor and wonderful fragrance long after the growing season ends.
Whether you're harvesting handfuls of fresh sage from the garden or trying to use up extra leaves from the grocery store, drying is a simple way to extend its shelf life. Properly dried sage can be used in recipes, herbal crafts, simmer pots, and more throughout the year.
In this article, I'll show you four easy ways to dry sage, including air drying, oven drying, dehydrating, and microwave drying. You'll also learn when to harvest sage, how to store it properly, and which drying method works best for preserving flavor and aroma.
At a Glance: How To Dry Sage
_______________________
- Best herb: Common garden sage
- Prep Time: 5 minutes
- Drying Time: 2 hours to 2 weeks
- Difficulty: Easy
- Storage Life: Up to 1 year
- Methods: Air dry, oven, dehydrator, microwave
Summarize and Save this content on:
Jump to:
- At a Glance: How To Dry Sage
- When to harvest sage for drying
- Preparing sage for drying
- Method 1: Air Drying Sage Bundles
- Method 2: Drying sage in the oven
- Method 3: Drying sage in a dehydrator
- Method 4: Drying sage in the microwave
- Which method is best for drying sage?
- Beyond the kitchen: Traditional uses for dried sage
- Storing dried sage
- Troubleshooting common issues
- Frequently asked questions
- To learn more about drying herbs visit
When to harvest sage for drying
Sage is one of the easiest herbs to preserve, but starting with freshly harvested leaves will give you the best flavor and aroma.
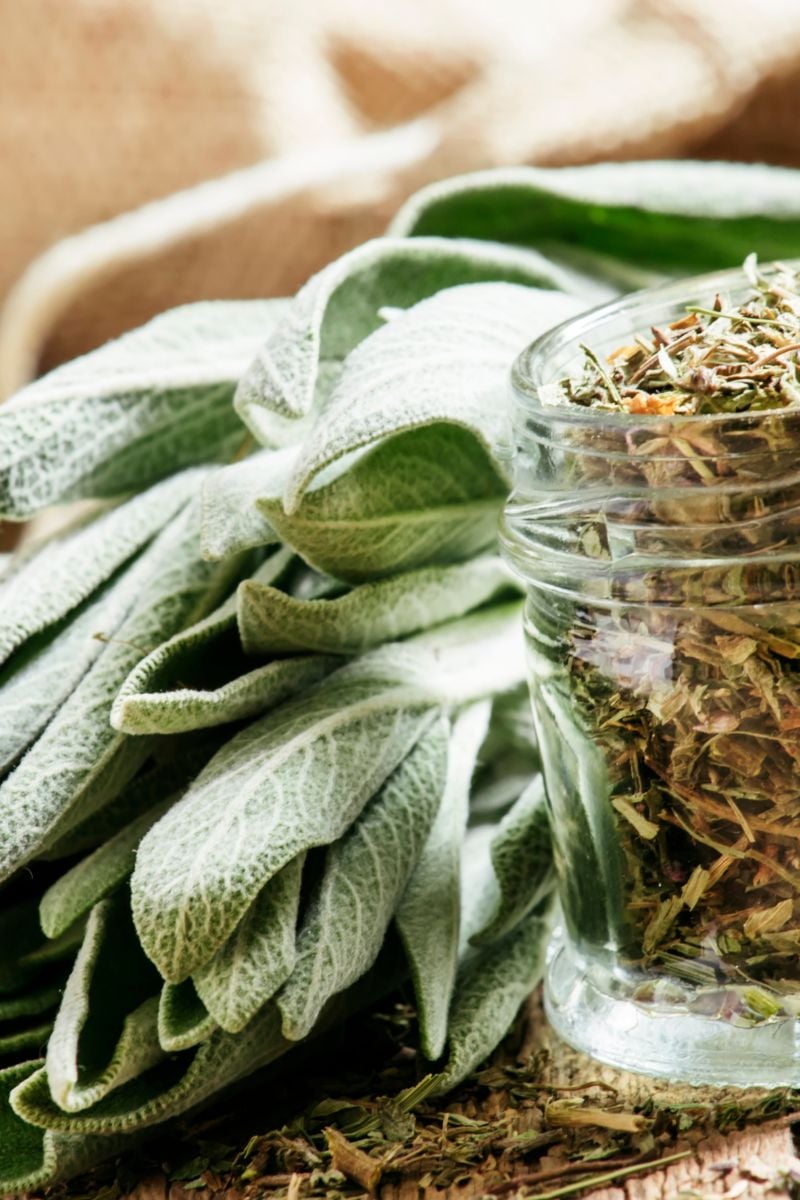
Benefits of drying sage
Drying sage helps extend the shelf life of fresh leaves while preserving much of their flavor and fragrance. Once dried, sage can be stored for months and used in recipes, herbal crafts, tea blends, and infused oils.
Best time to harvest sage
The best time to harvest sage for drying is in the morning after the dew has dried but before the heat of the day arrives. For the strongest flavor, harvest sage before the plant begins flowering, when the leaves contain the highest concentration of aromatic oils.
Use clean scissors or pruning shears to cut stems just above a leaf node, leaving plenty of healthy growth behind so the plant can continue producing throughout the season.
Once harvested, you're ready to choose a drying method. Whether you air dry sage bundles, use a dehydrator, dry sage in the oven, or use a microwave, the goal is the same: remove moisture while preserving the herb's flavor and fragrance.
Preparing sage for drying
No matter which drying method you choose, start by preparing your sage leaves properly.
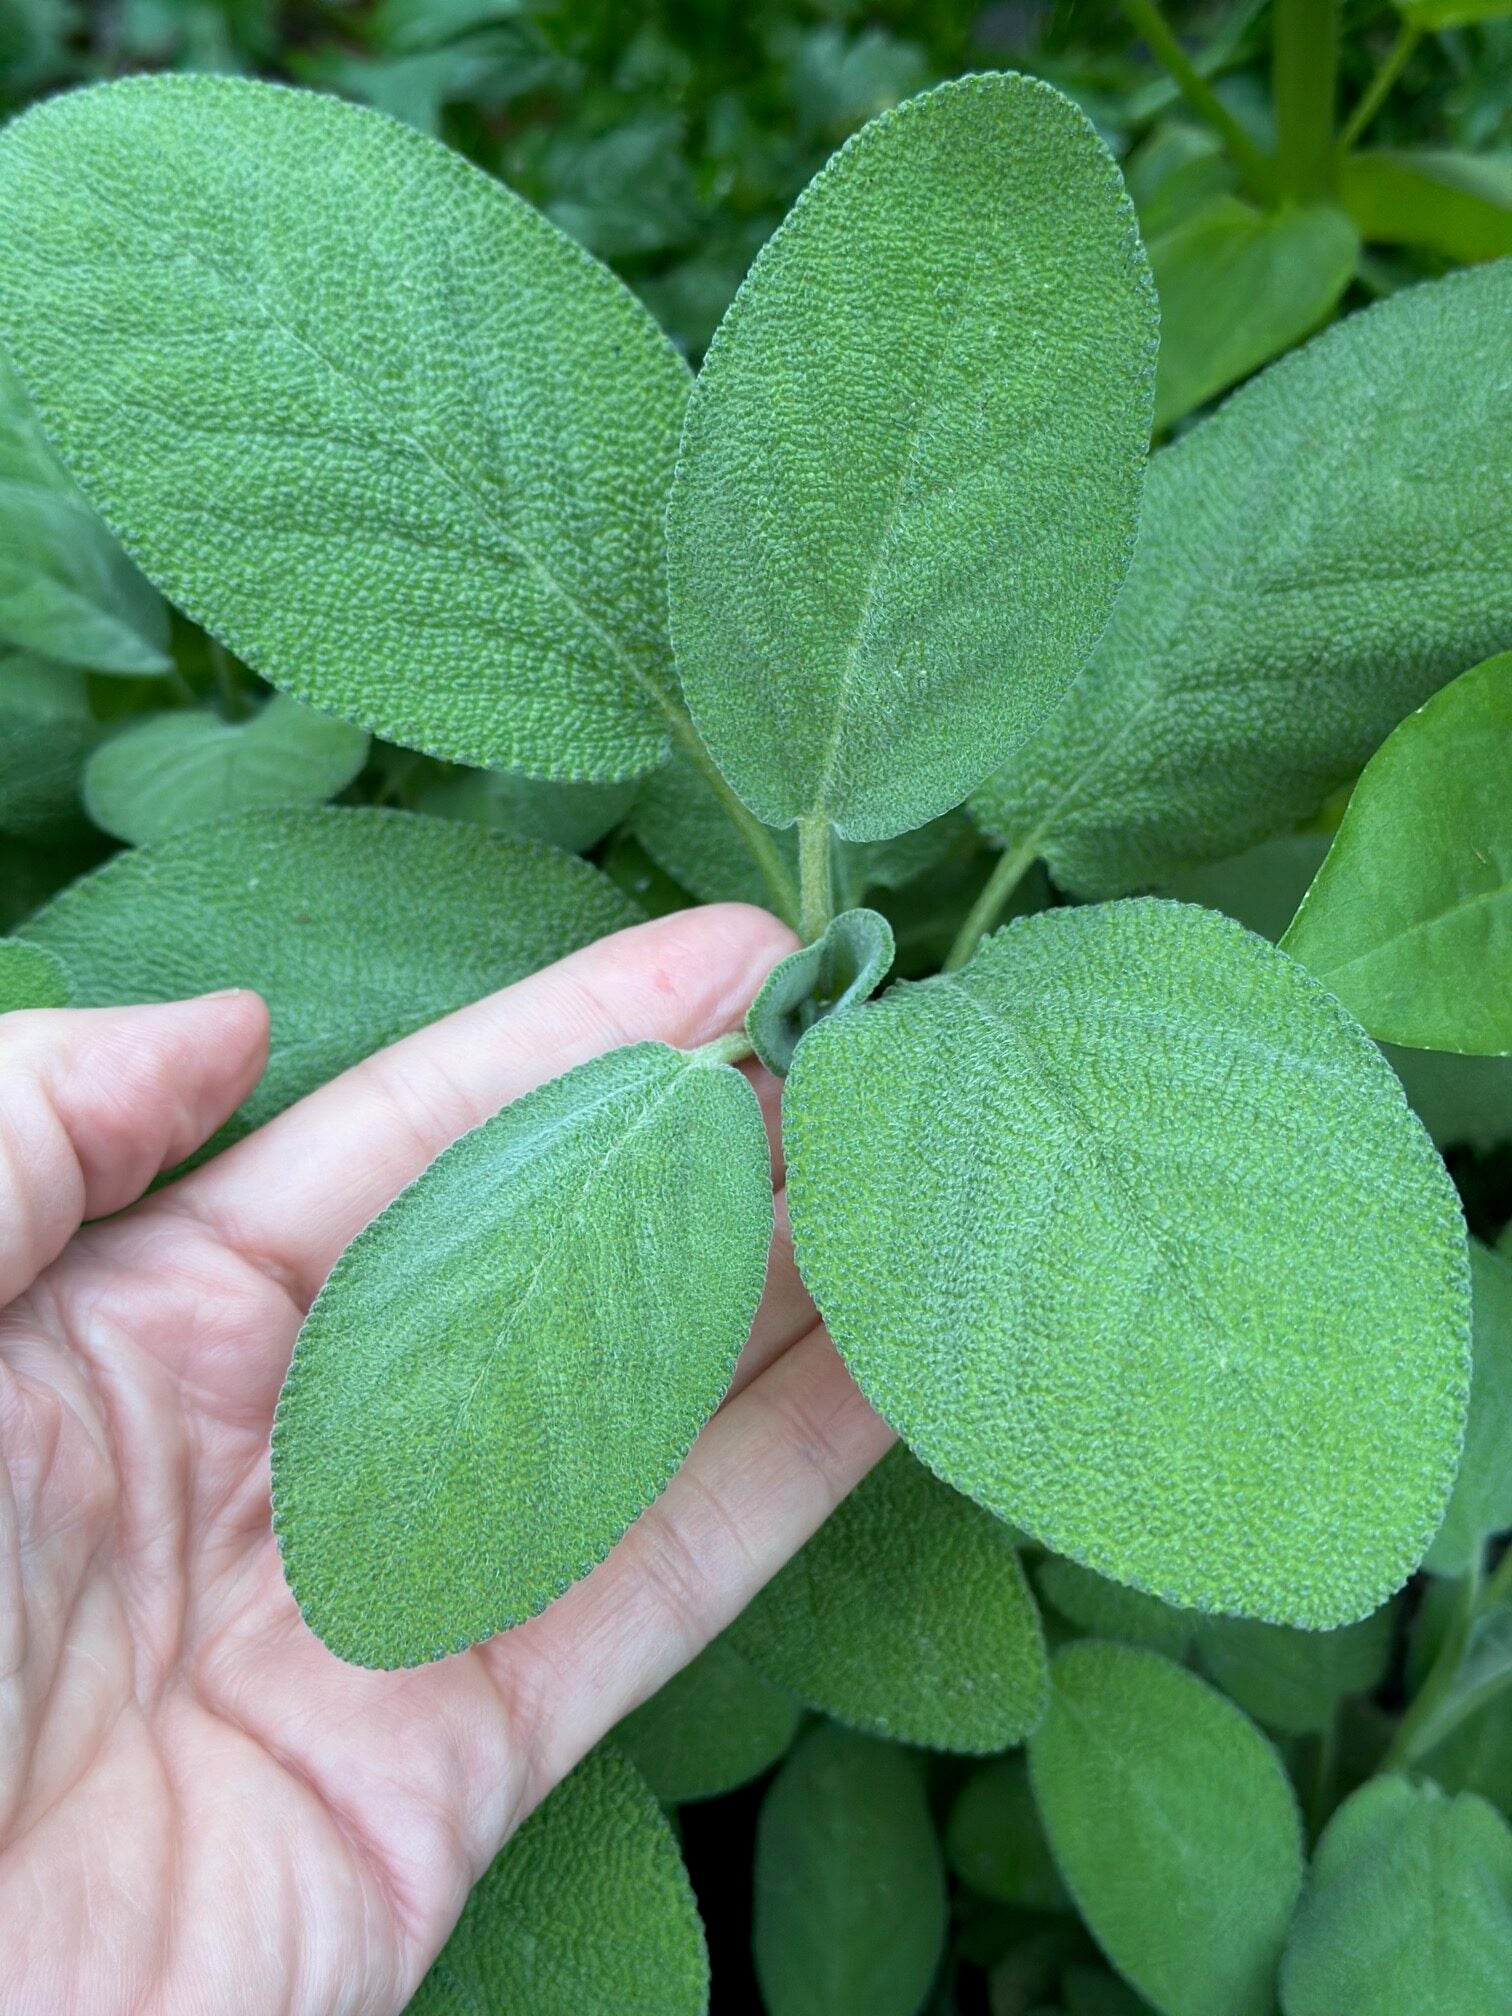
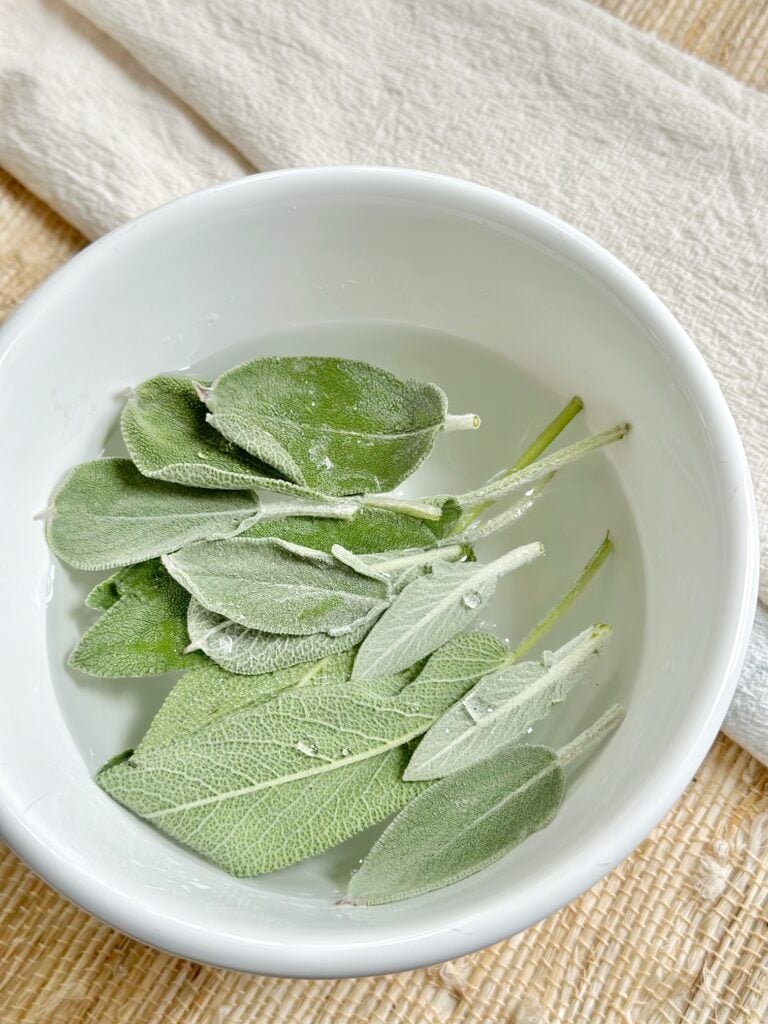
Clean and sort the leaves
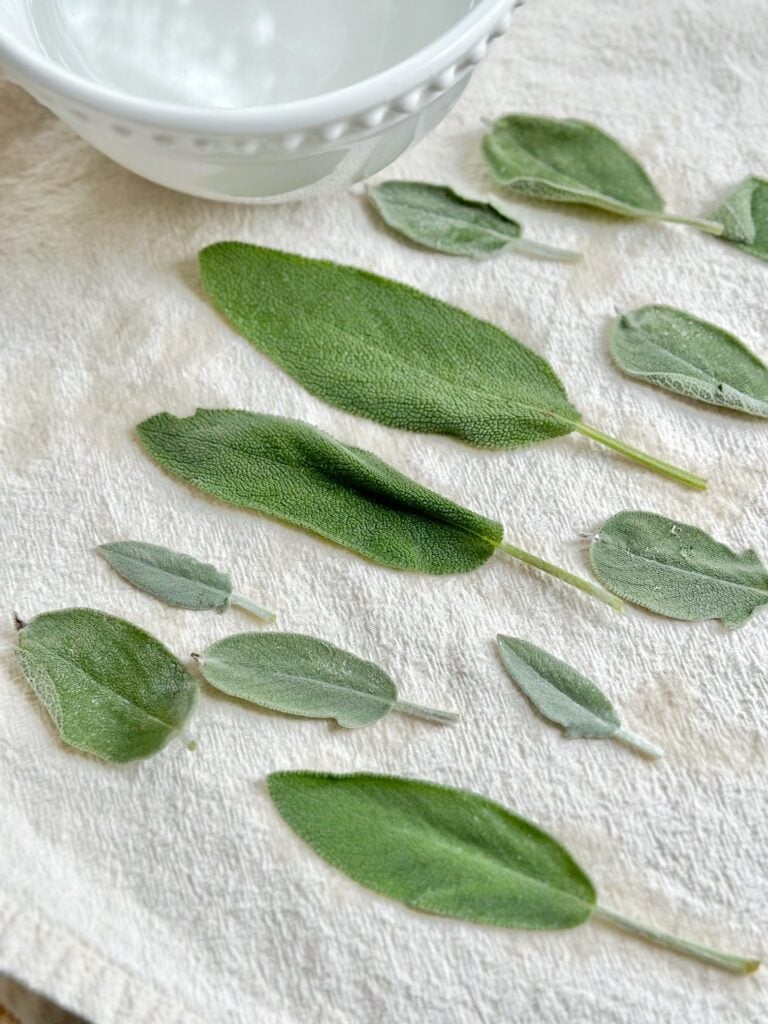
Fill a large bowl with cool water and gently swish the sage leaves to remove dirt and debris. Transfer the leaves to a clean towel and allow them to dry completely.
Next, sort through the leaves and remove any that are damaged, yellowing, or discolored. Starting with healthy leaves will give you the best results.
Once your sage is clean and dry, choose one of the drying methods below.
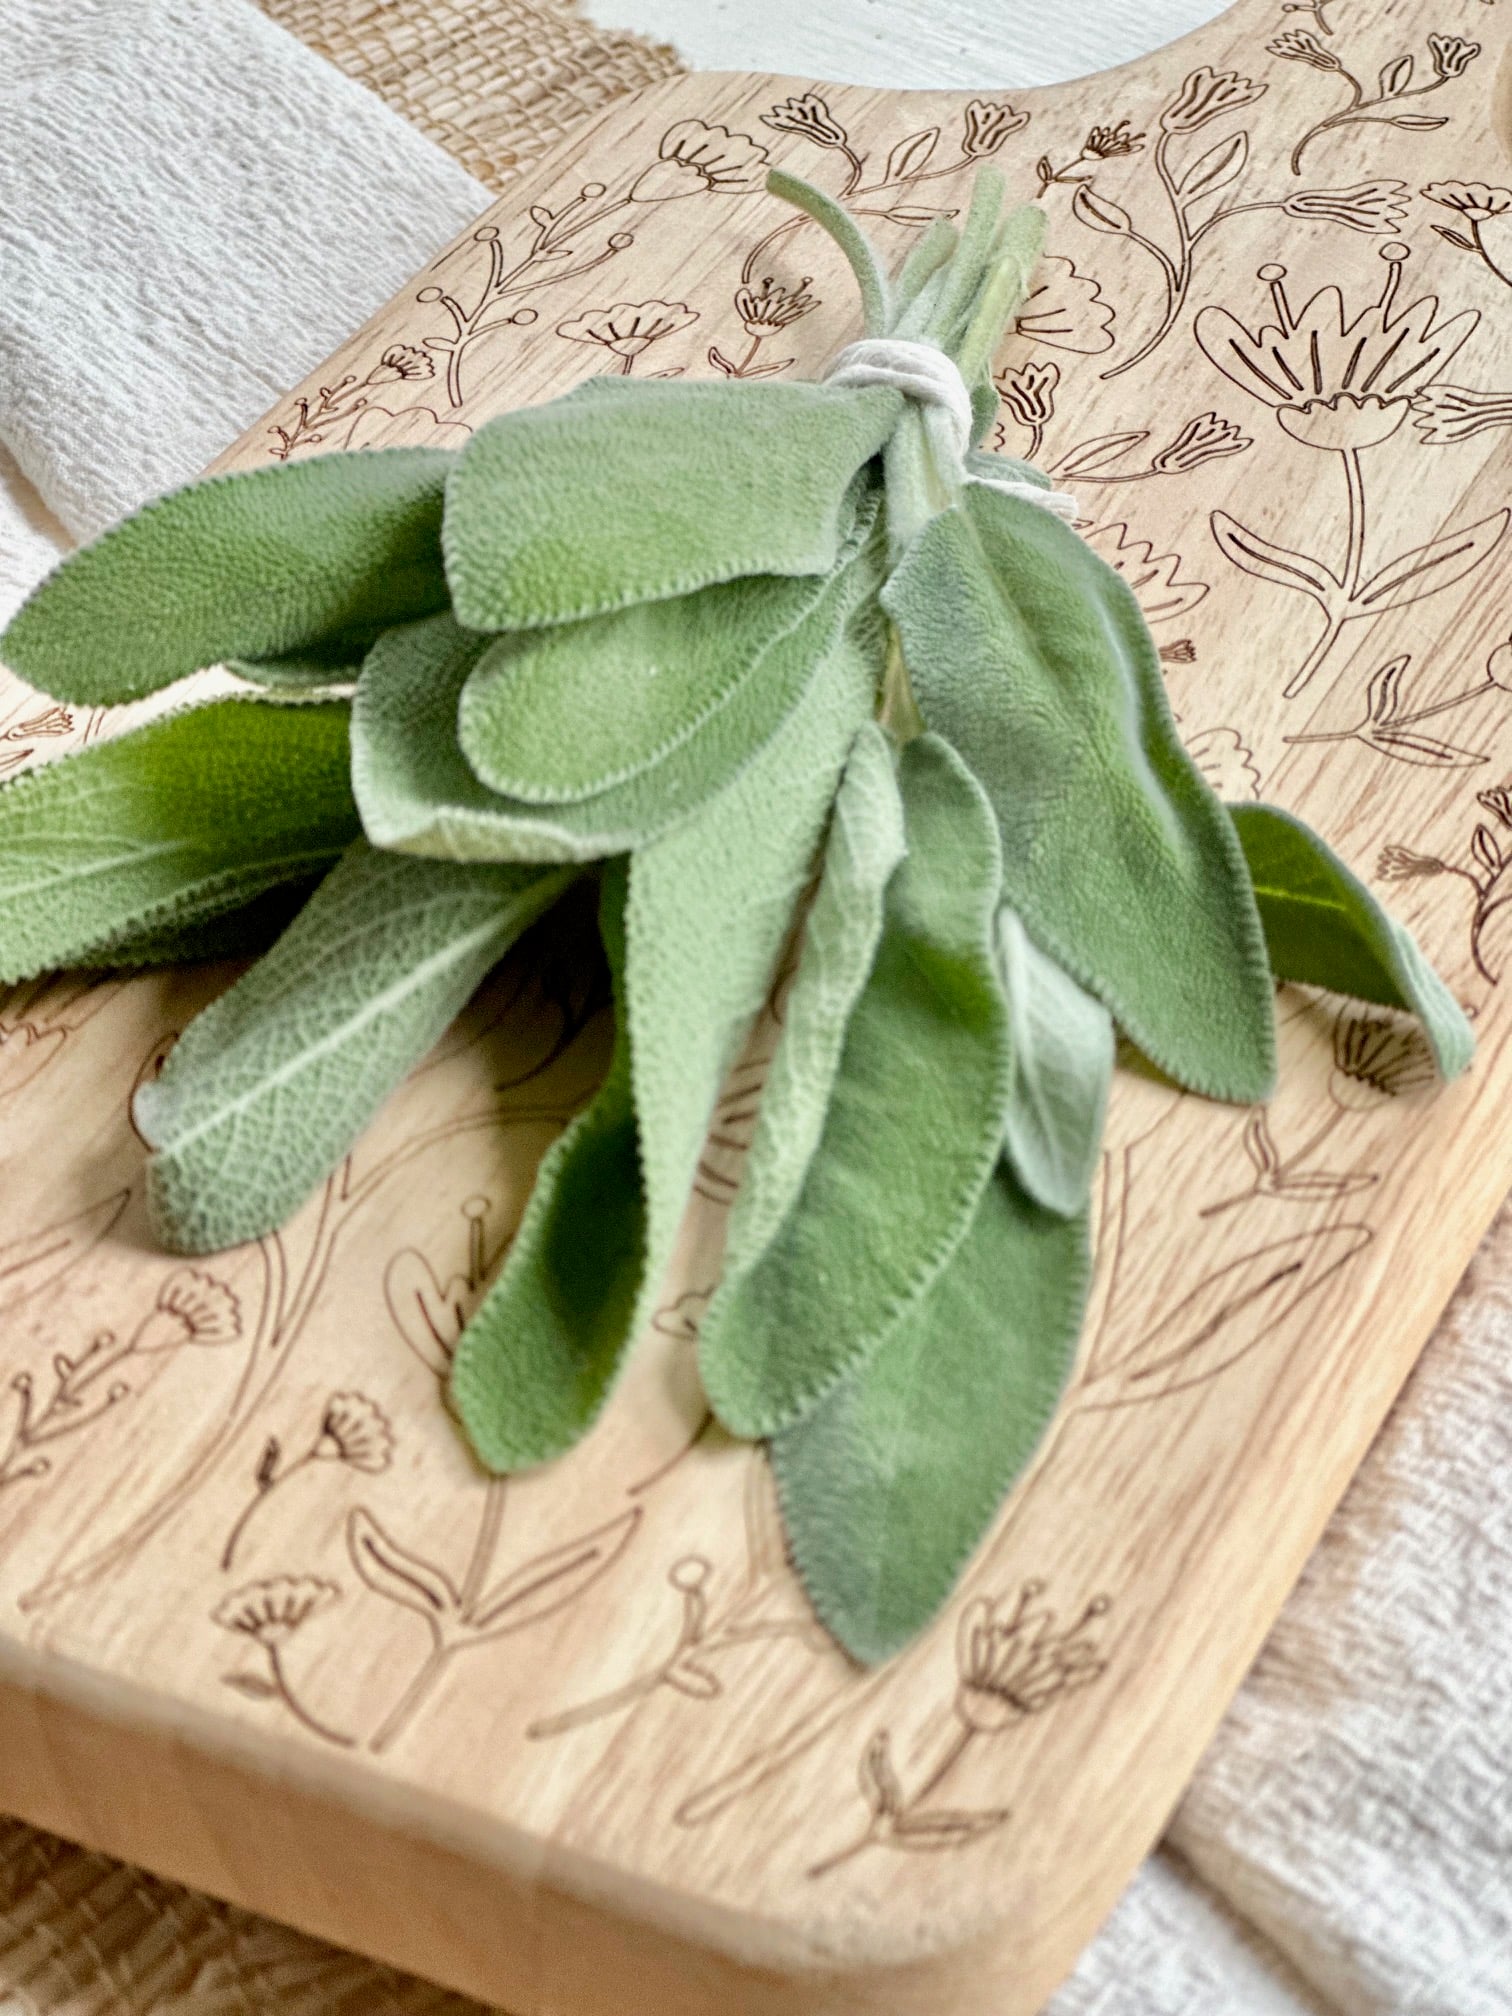
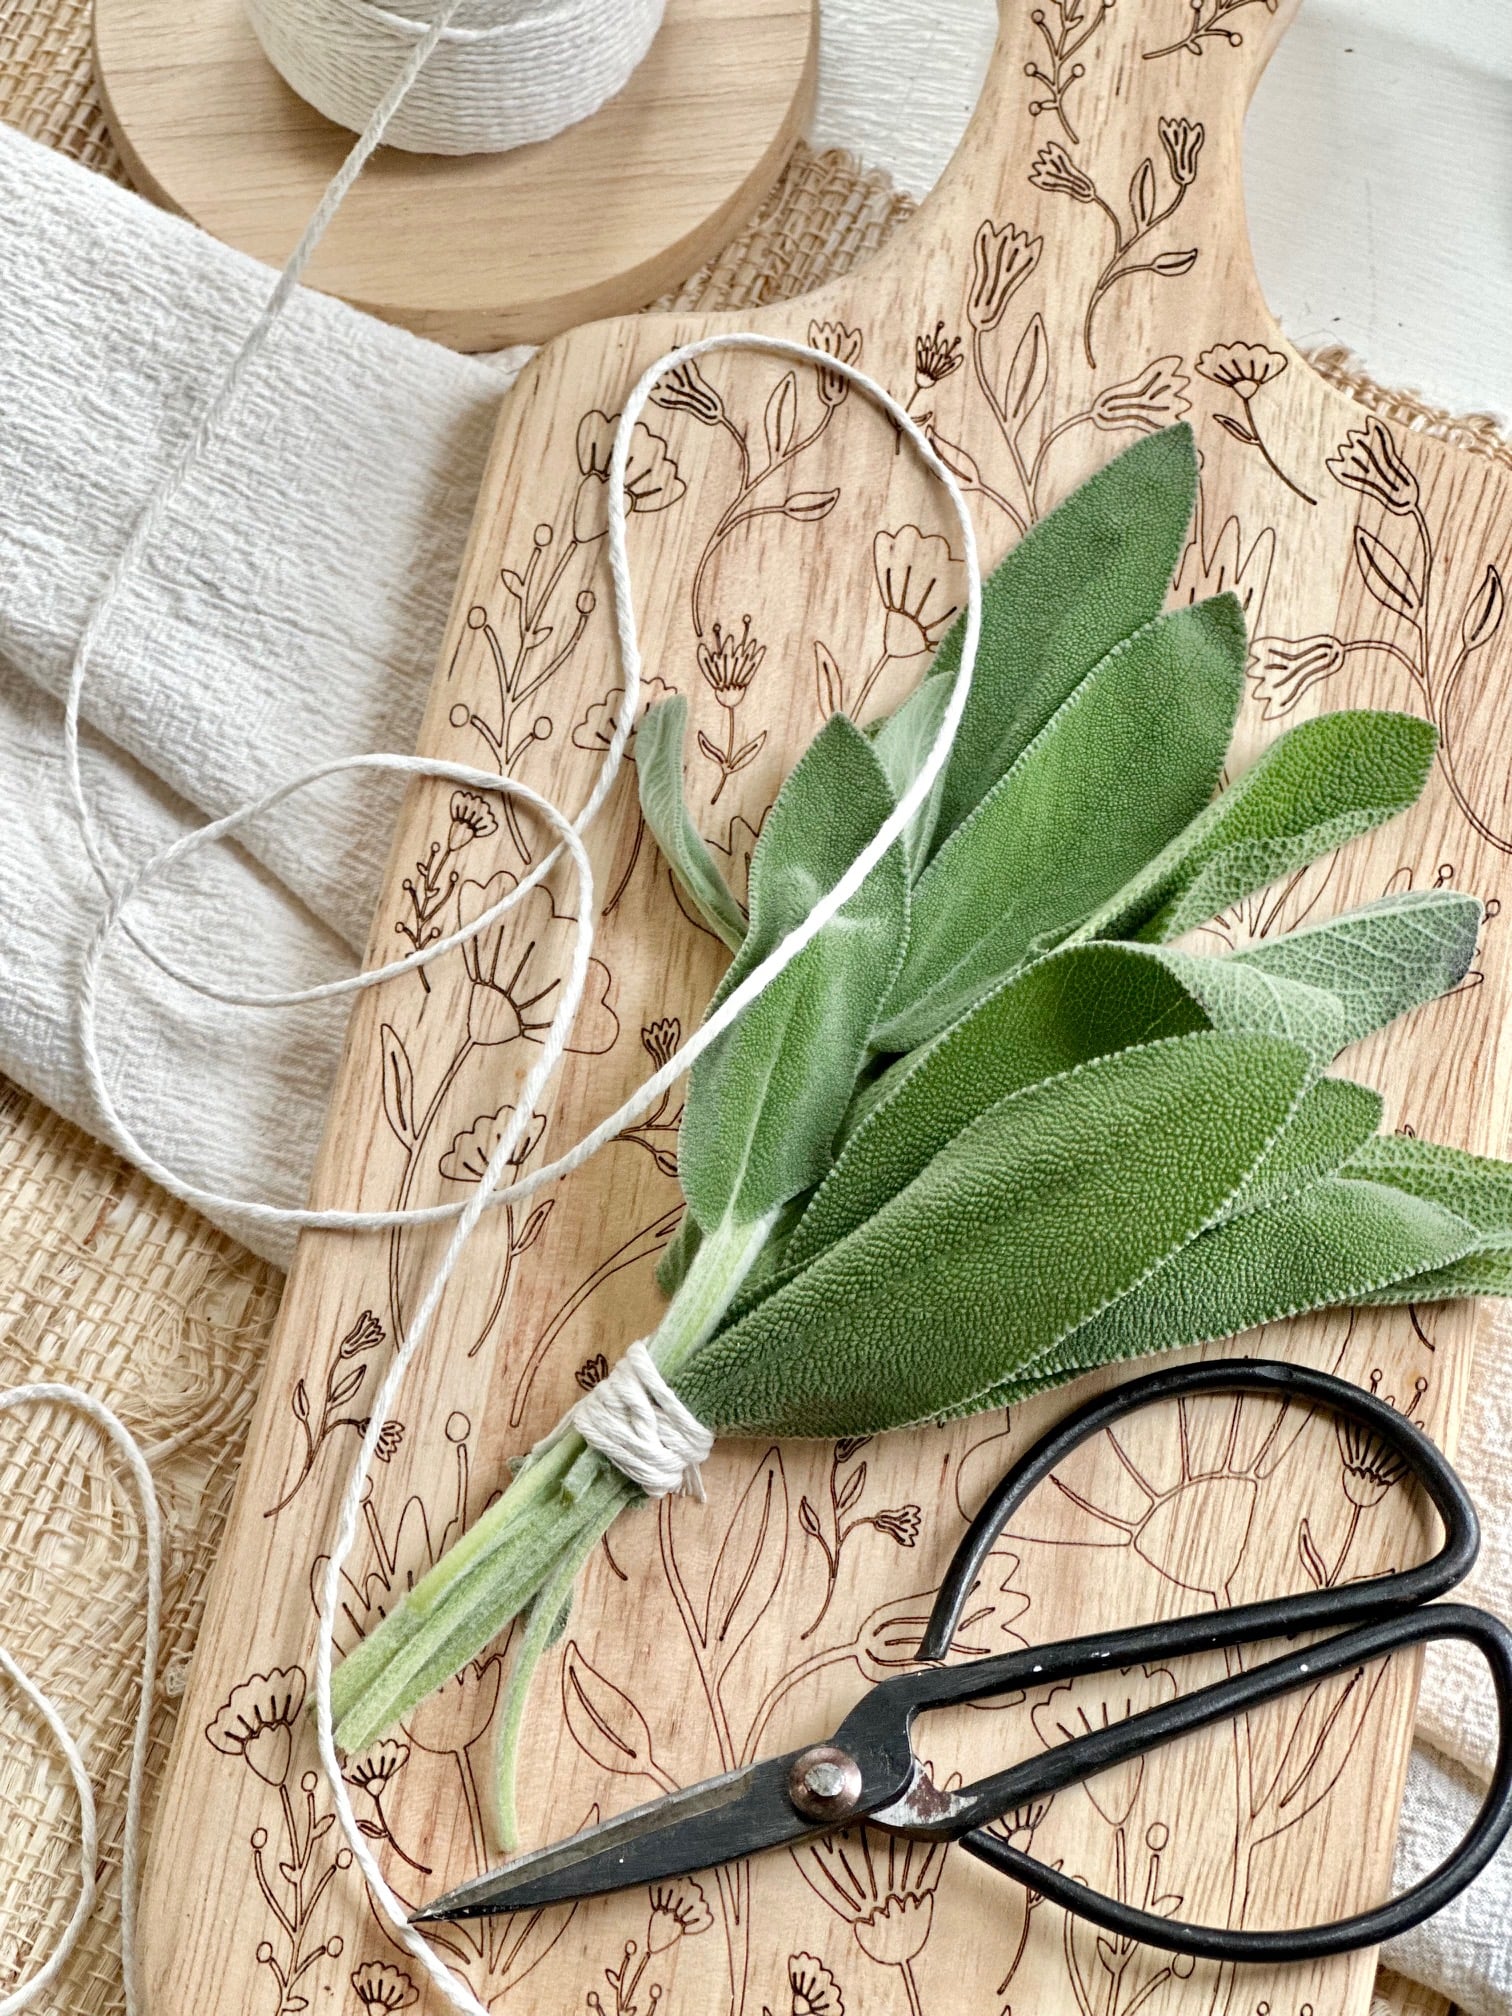
Method 1: Air Drying Sage Bundles
Air drying is my preferred method because it requires no special equipment and helps preserve the natural fragrance and flavor of the leaves.
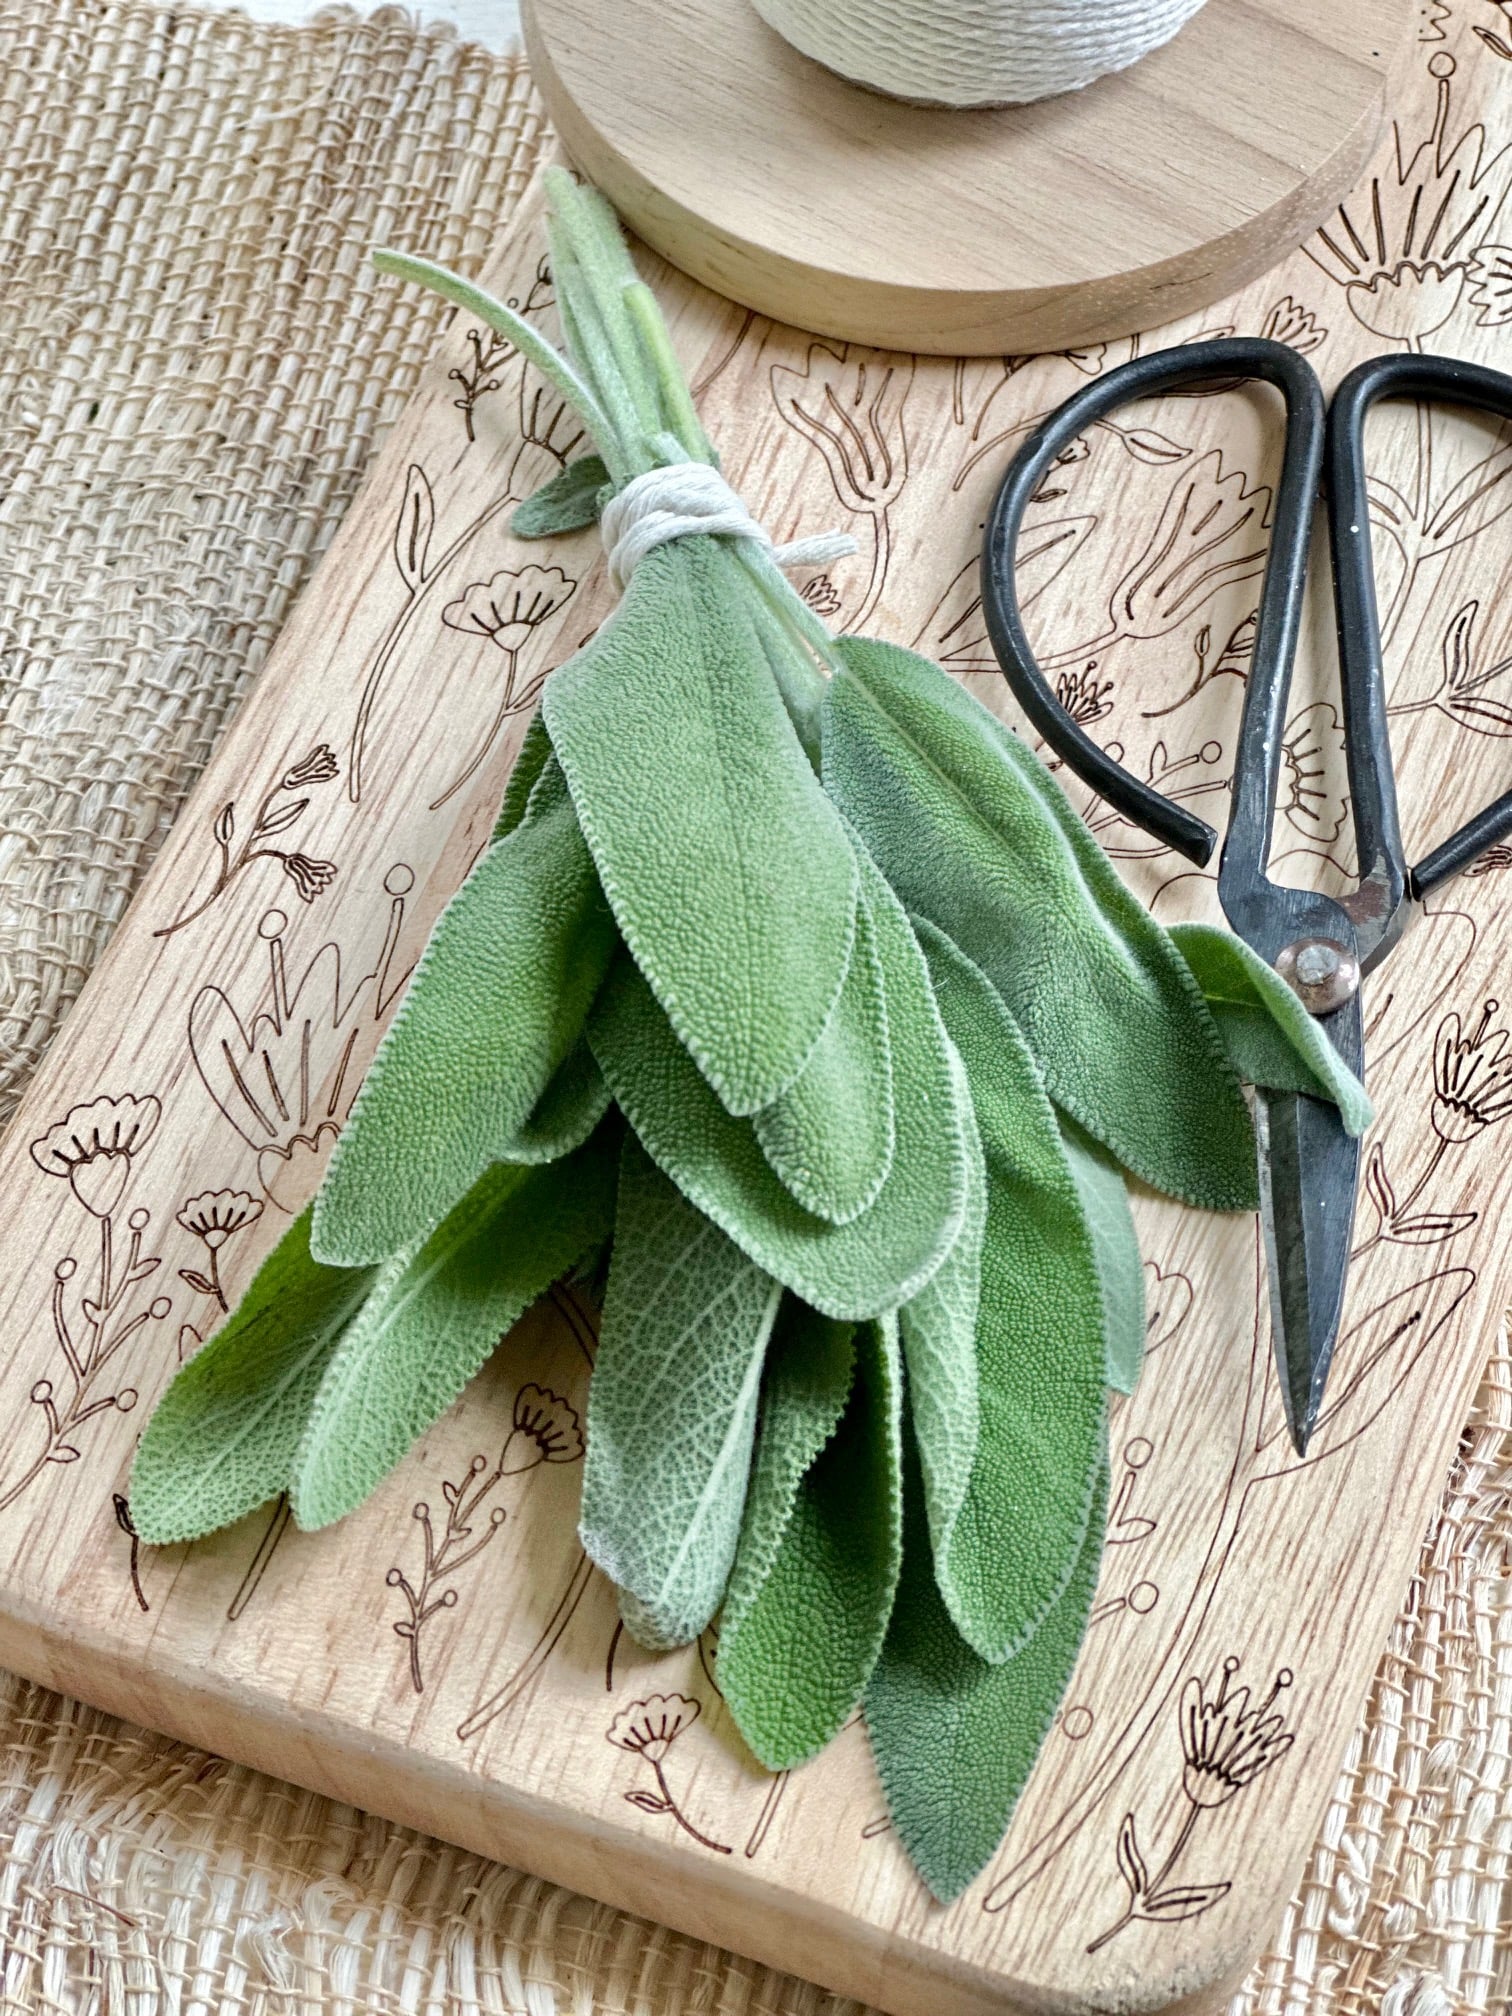
Bundle the sage
Gather several sage stems together and arrange them so the stems face the same direction. Tie the stems loosely with cotton string or twine.
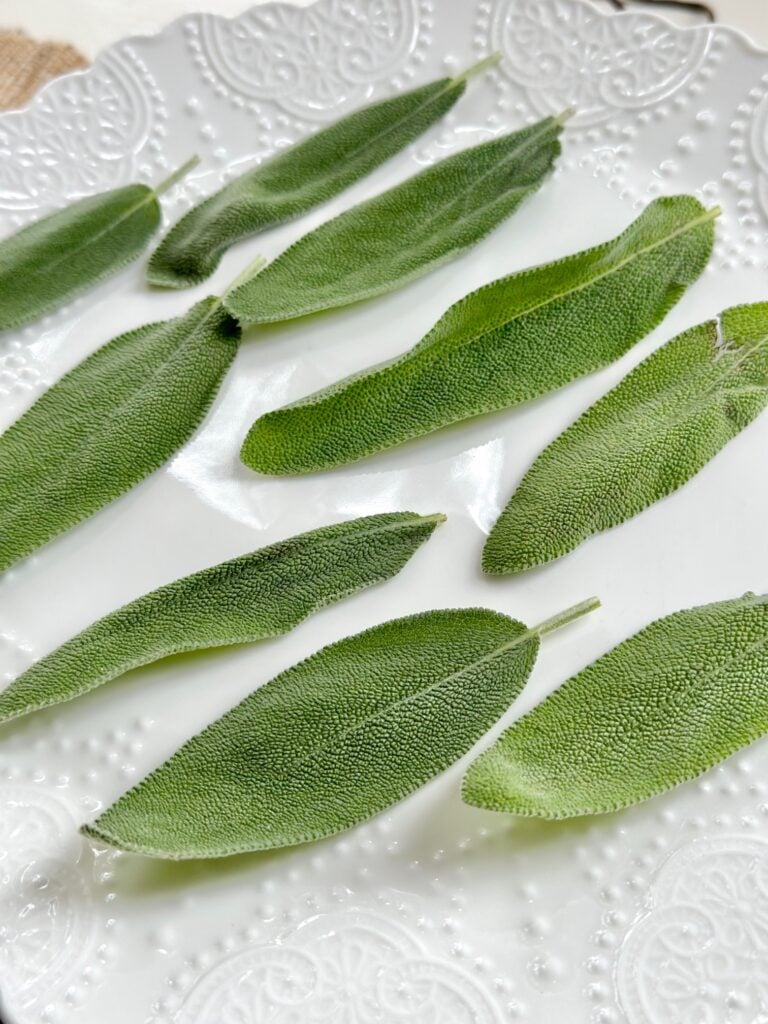
Hang the bundles upside down in a cool, dry location with good air circulation and out of direct sunlight. Depending on humidity levels, the sage should dry completely within 1 to 2 weeks.
Method 2: Drying sage in the oven
Preheat your oven to 170°F (76°C).
Spread the sage leaves in a single layer on a parchment-lined baking sheet. Place the tray in the oven and leave the door slightly ajar to allow moisture to escape.
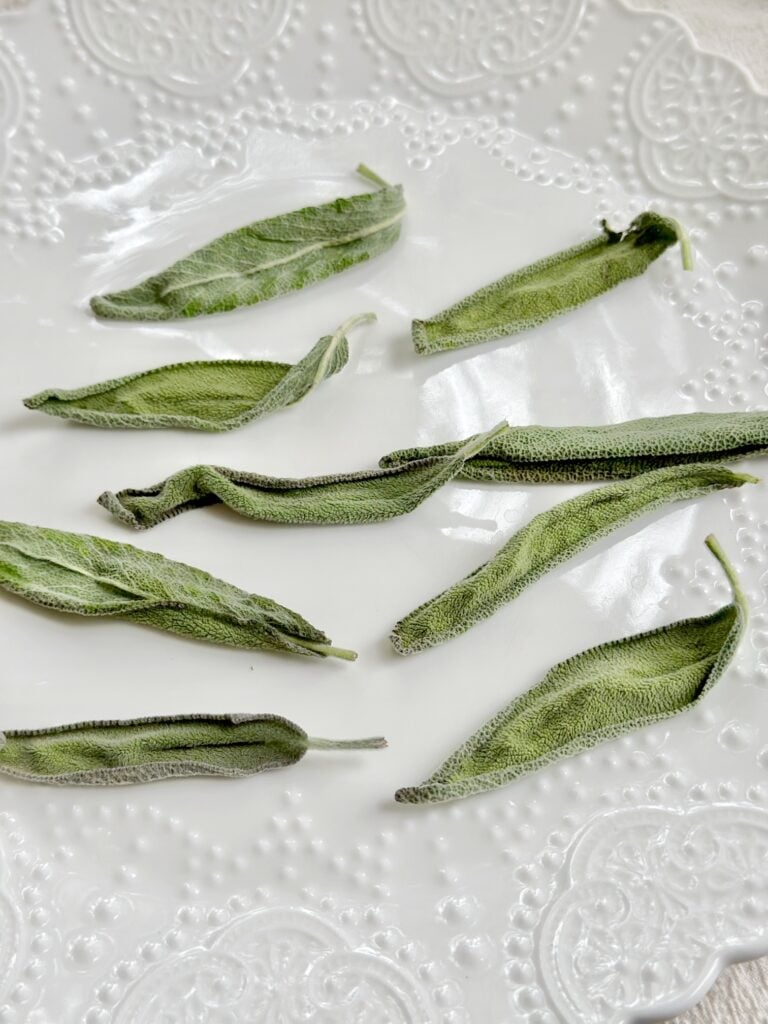
Check the leaves every 30 minutes and turn them as needed. Most sage will dry within 1 to 2 hours.
Method 3: Drying sage in a dehydrator
Arrange the sage leaves in a single layer on dehydrator trays.
Set the dehydrator to 95°F to 115°F (35°C to 46°C) and dry for 2 to 4 hours, checking periodically until the leaves are crisp and crumble easily.
Method 4: Drying sage in the microwave
Place sage leaves in a single layer between two paper towels on a microwave-safe plate.
Microwave in 30-second intervals, checking frequently until the leaves are completely dry. Depending on your microwave and the amount of sage, this usually takes 1 to 3 minutes.
Which method is best for drying sage?
| Method | Time | Best For |
|---|
| Air Drying | 1-2 weeks | Best flavor retention |
| Dehydrator | 2-4 hours | Most reliable |
| Oven | 1-2 hours | Quick drying |
| Microwave | Minutes | Small batches |
Tip: I typically dry sage by hanging small bundles in a cool, dry room. It's the method I use most often because it requires no special equipment and preserves both the appearance and fragrance of the leaves exceptionally well. I also prefer air drying because it allows the sage to dry slowly, helping it retain the aromatic oils that give sage its distinctive flavor and scent.
Beyond the kitchen: Traditional uses for dried sage
Dried sage has been valued for centuries for both its practical and symbolic uses. While many gardeners dry sage for cooking, tea, and home fragrance, sage has also long been associated with wisdom, protection, and purification in various traditions.
If you're interested in the folklore and symbolism of herbs, you might enjoy learning more about herbs traditionally associated with protection, herbs for luck, abundance herbs, and using herbs for success. Sage is often included in these discussions because of its long history as a cleansing and protective herb.
Whether you plan to use dried sage in recipes, crafting, or traditional herb bundles, the drying process remains the same. Allow the leaves to dry completely before storing them so they retain their fragrance, flavor, and quality.

Storing dried sage
Once you have dried your sage, you'll want to store it properly to ensure it stays fresh and flavorful for as long as possible. Follow these tips to store your dried sage:
Choosing the right container
Choose an airtight container to store your dried sage. Glass jars with tight-fitting lids are a great option, as are plastic containers with airtight seals. Make sure the container you choose is clean and dry before adding your dried sage.
Ideal storage conditions
Sage like most dried herbs should be stored in a cool, dry place away from direct sunlight. Exposure to light and heat can cause the herb to lose its flavor and aroma more quickly. A dark place like a pantry or cupboard is an ideal place to store your dried or ground sage.
If you're not sure if your sage is still fresh, give it a sniff. If it smells musty or stale, it's time to replace it. With proper storage, your dried sage should last for up to a year.
By following these simple tips, you can ensure your dried sage stays fresh and flavorful for all your cooking needs.
Want to try traditional air drying for sage?
Visit my step-by-step guide to air drying herbs for more detailed methods. Just keep in mind, these classic techniques take a little more time, but they're worth the wait.
Troubleshooting common issues
Preventing mold and mildew
One common issue when drying sage is the development of mold and mildew. This is often caused by excess moisture and lack of air circulation. To prevent mold and mildew from forming on your sage, make sure to dry it in a spot with good air circulation and low humidity. You can also add a fan near the drying sage to increase air circulation.
Another way to prevent mold and mildew is to avoid overcrowding the sage leaves. Make sure to spread them out in a single layer on a drying rack or screen. If you are using a dehydrator, make sure to leave enough space between the sage leaves to allow for proper air circulation.
Ensuring even drying
Another common issue when drying sage is uneven drying. This can lead to some leaves being crispy while others are still moist. To ensure even drying, make sure to remove any damaged or wilted leaves before drying. These leaves can hold excess moisture and prevent the other leaves from drying evenly.
You can also rotate the sage leaves during the drying process to ensure that they dry evenly on all sides. If you are using a dehydrator, make sure to rotate the trays every hour or so to ensure even drying.
Finally, make sure to check the sage leaves regularly during the drying process. If you notice any leaves that are still moist or have not dried evenly, remove them from the dry area and allow them to dry separately. This will prevent them from affecting the other sage leaves and ensure that all of your sage is evenly dried.
Harvesting more sage than you can use?
Fresh sage adds a warm, earthy fragrance to homemade simmer pots. Combined with fruit, spices, and other garden herbs, it's an easy way to fill your home with natural seasonal scent. Explore these simple simmer pot recipes.
Frequently asked questions
Yes. While hanging sage in small bundles is a traditional drying method, you can also dry individual leaves on a drying rack, baking sheet, or dehydrator tray. Drying loose leaves often speeds up the process and allows for better airflow around each leaf.
If your sage has dirt, dust, or insects on the leaves, gently rinse it under cool water before drying. Be sure to pat the leaves completely dry with a clean towel and allow any remaining moisture to evaporate before beginning the drying process. Excess moisture can lead to mold during drying.
The drying time depends on the method you use. Air drying sage typically takes 1 to 2 weeks, while a dehydrator can dry sage in 2 to 4 hours. Oven drying usually takes 1 to 2 hours, and microwave drying can be completed in just a few minutes.
Yes. Oven drying is one of the quickest ways to dry sage. Place the leaves in a single layer on a parchment-lined baking sheet and dry them at the lowest oven temperature, checking frequently to prevent scorching. The leaves are ready when they crumble easily between your fingers.


I get a lot of questions about what to grow next. That's why I created the Herb Index - it's where I organize everything I've learned herb by herb.
Sage is one of those herbs that continues to give long after harvest. By taking a little time to dry and store it properly, you can enjoy its earthy flavor and wonderful fragrance for months to come.
Whether your sage comes from a herb container garden, a raised bed, or the grocery store, these simple drying methods make it easy to preserve your harvest and reduce waste. I hope this guide helps you enjoy every last leaf.
Happy Harvesting!