Our 16-Foot Raised Herb Garden Bed: Design Ideas, Soil Tips, and Lessons Learned
Our raised herb garden bed has become the heart of my herb garden. In this post, I'm sharing how we designed our 16-foot raised herb bed, including why we chose a tall cedar structure, how we filled the deep bed with branches and soil layers, and what has worked best over time. If you're planning a raised herb garden, these design ideas, soil tips, and lessons learned can help you create a productive and beautiful space for growing herbs.
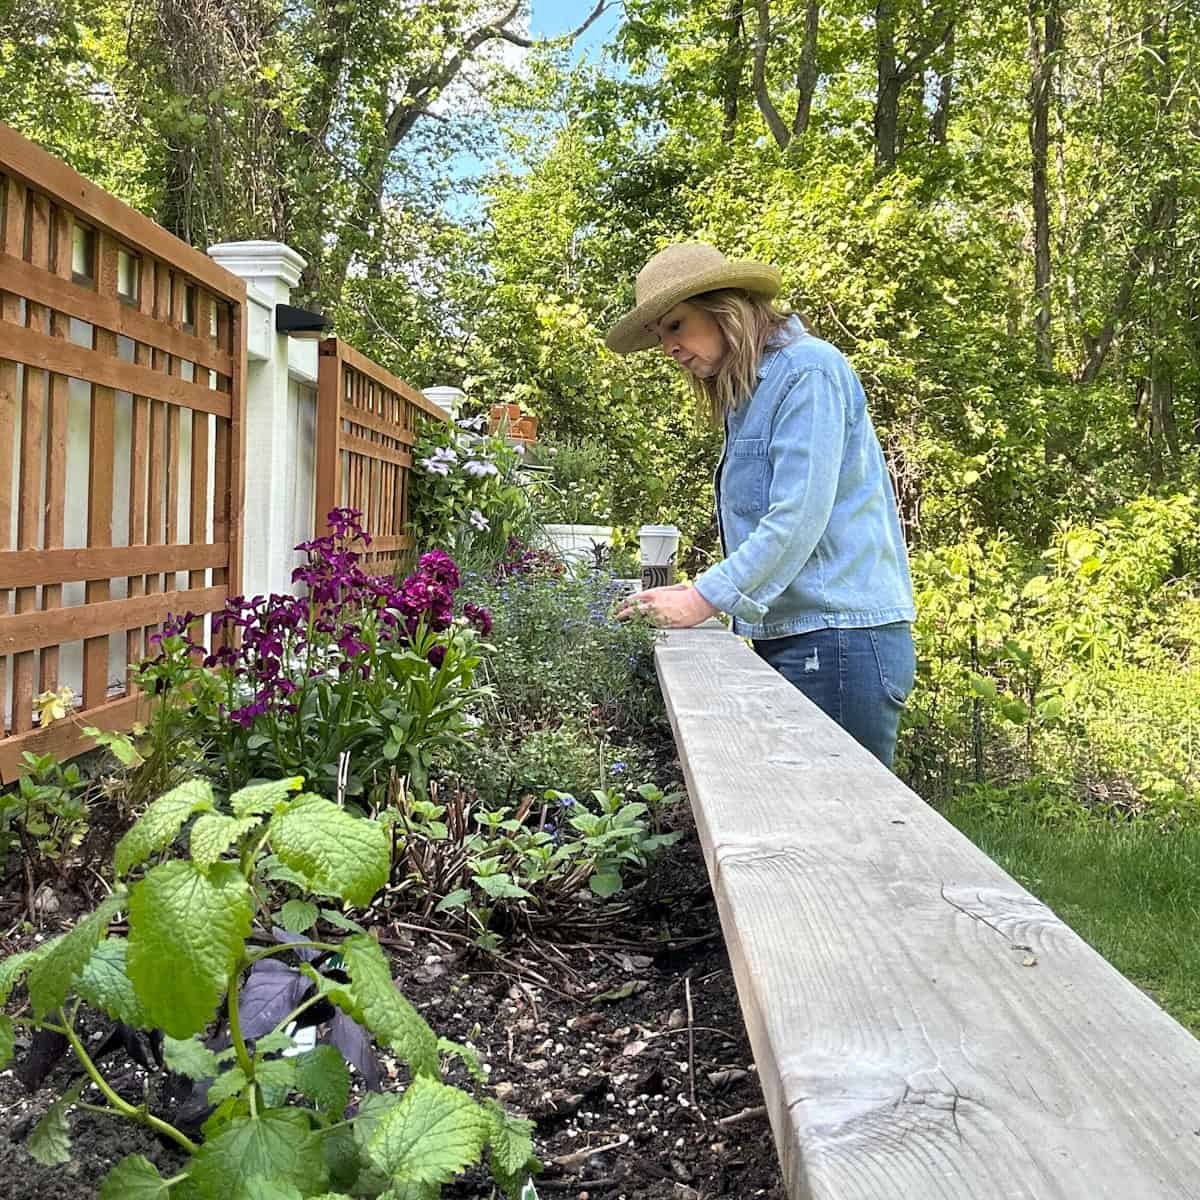
A few years ago, my husband Ray built me the raised herb garden bed I had been dreaming about. It was a combination birthday and Mother's Day gift, which worked out perfectly since those two dates fall close together for me and proceeded the garden season here in New England. Up until then, I had been growing herbs in a small eight-pocket raised planter on our deck, and while it worked for a while, I knew I was ready for something bigger.
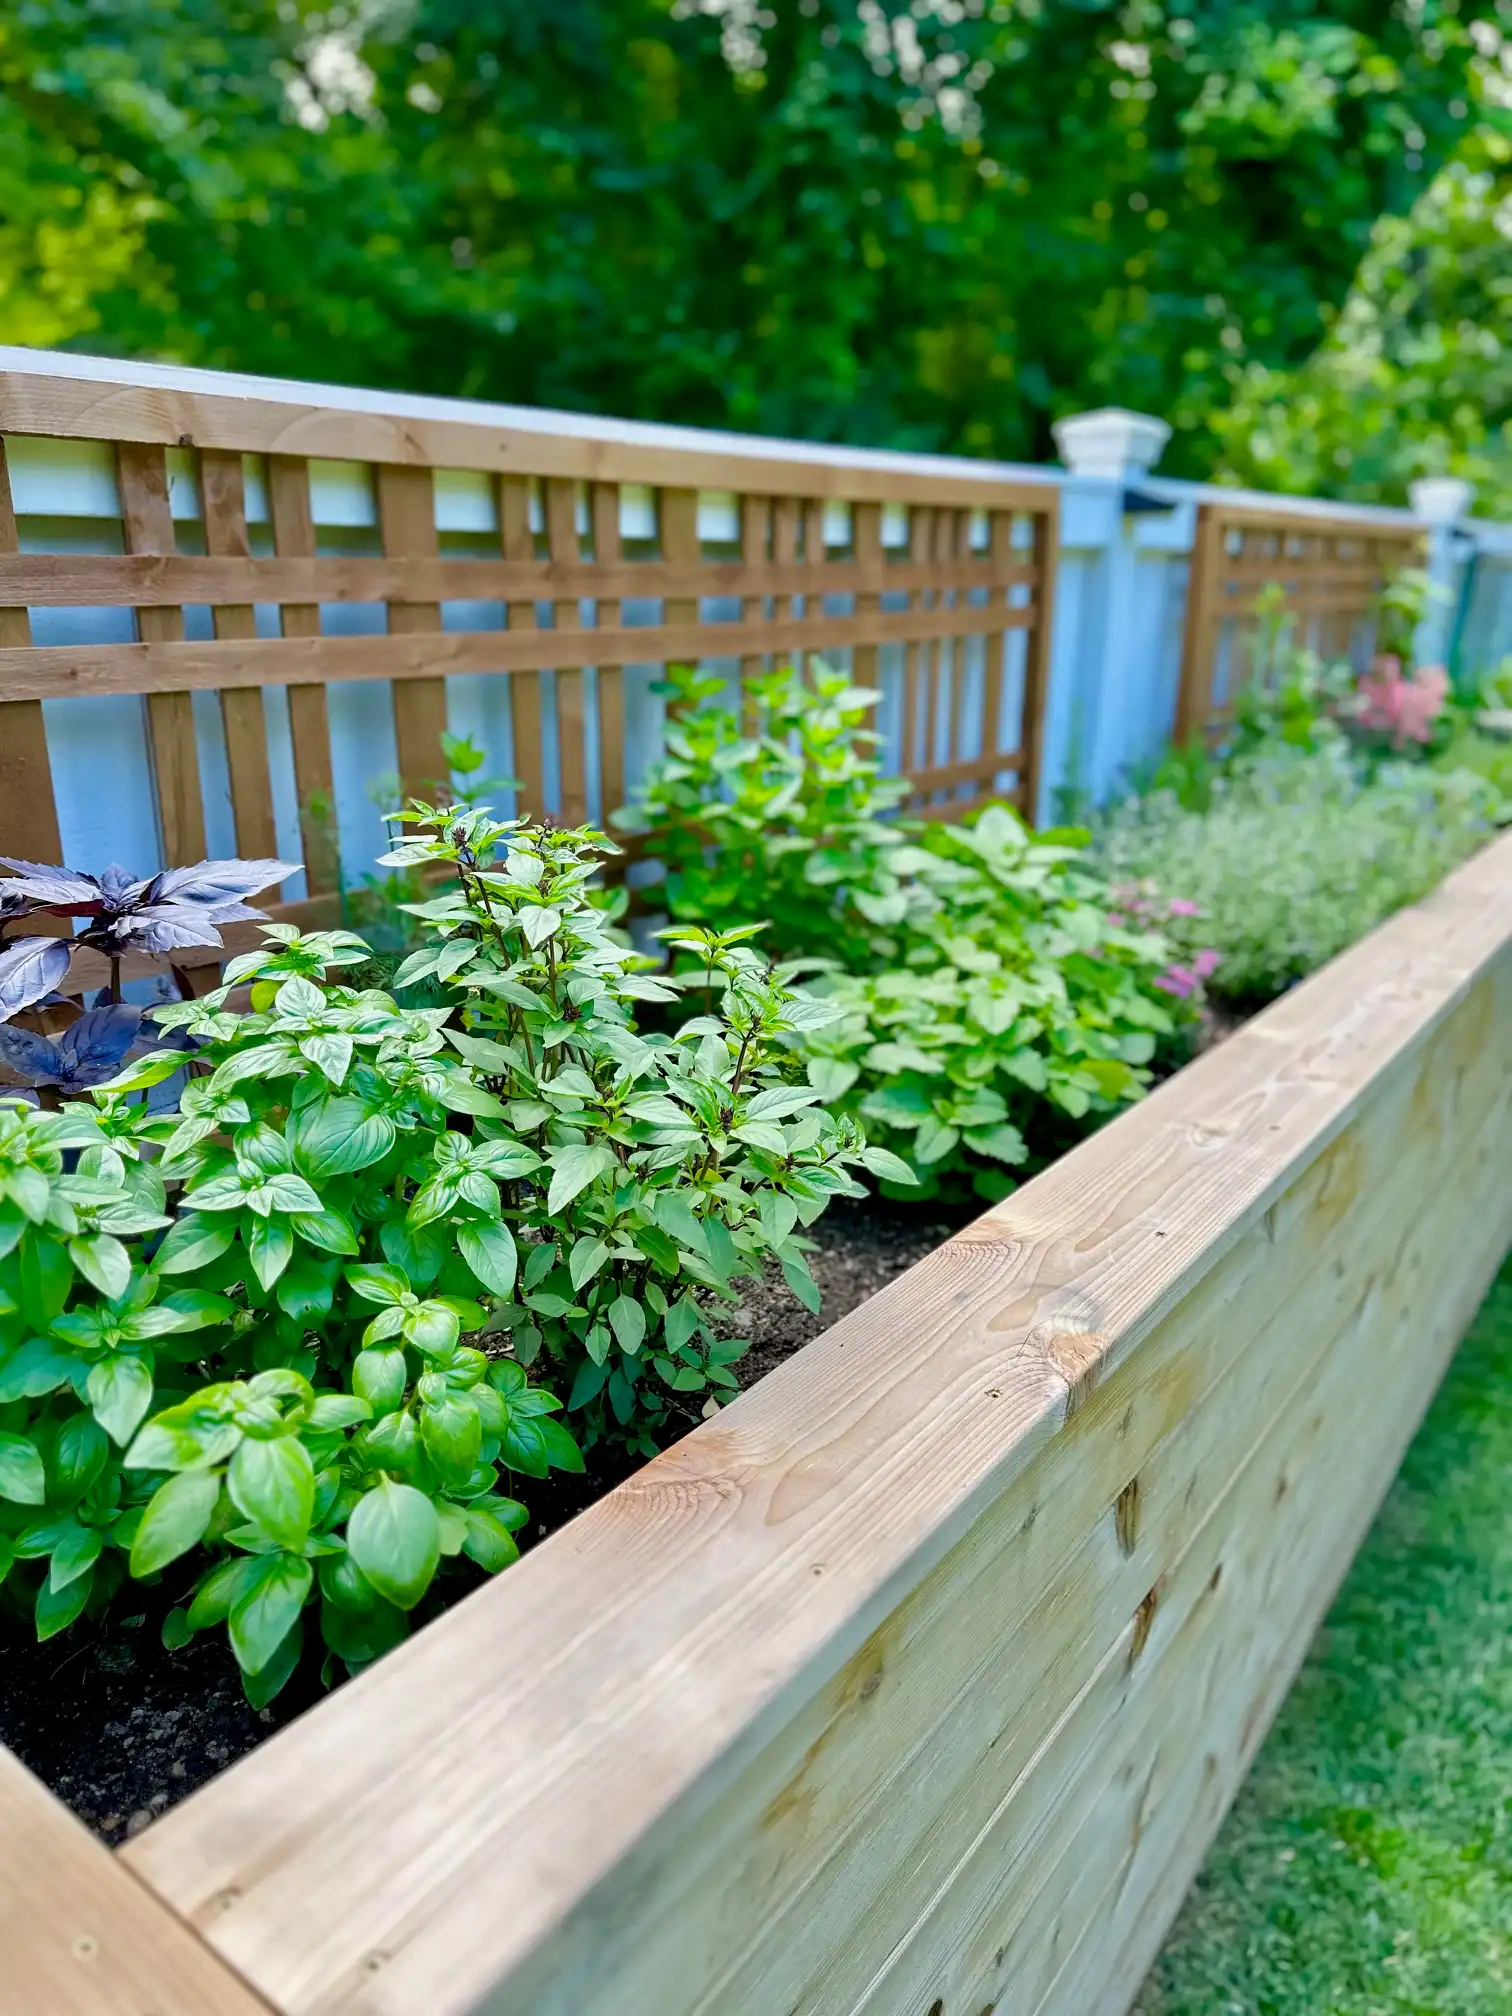
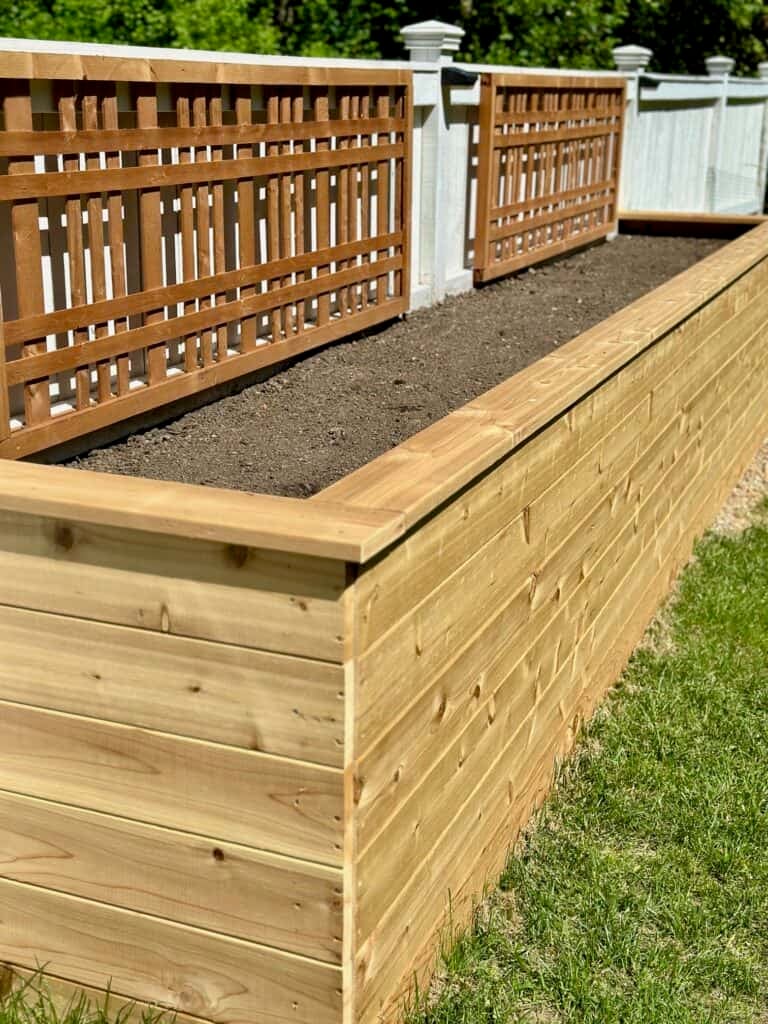
What we ended up with was a 16-foot raised herb garden bed built from cedar, tucked along a sunny fence line in our yard. It completely changed the way I garden.
One of the smartest design decisions was actually Ray's idea. He suggested building the bed waist-high, knowing that if gardening was comfortable and easy to reach, I would spend far more time out there planting, harvesting, and experimenting with herbs. He was absolutely right. Instead of bending down or working on my knees, everything is right at hand, which makes tending the garden feel effortless.
The height also solved another problem in our backyard: our two energetic chocolate labs. Anyone with big dogs knows that a low garden bed can quickly become a racetrack. By building the bed taller, we avoided a lot of potential trampling before it ever started (mostly!)
In this post, I'm sharing how our 16-foot raised herb garden bed came together, along with the design choices that made it work so well. From the location and layout to the soil layers we used to fill such a deep bed, these are the ideas and lessons that have made this herb garden one of my favorite parts of our yard.
At a Glance: Our Raised Herb Garden Bed
_______________________
• Length: 16-foot raised herb garden bed with room to grow many herbs together
• Height: Built at waist height for comfortable planting, harvesting, and daily tending
• Depth: Narrow enough to easily reach every section from the front
• Material: Cedar construction for durability and natural rot resistance
• Location: Positioned along a fence line in the sunniest part of our yard
• Sunlight: Receives about 6-8 hours of sun each day, ideal for most herbs
• Garden layout: Taller plants and trellised vines toward the back, trailing herbs toward the front
• Soil base: Filled using layered materials at the bottom to help with drainage and reduce soil volume
• Purpose: A dedicated space for growing culinary herbs, experimenting with plant combinations, and enjoying the garden every day
Summarize and Save this content on:
Jump to:
- At a Glance: Our Raised Herb Garden Bed
- Why I love growing herbs in a raised garden bed
- Choosing the best location for a raised herb bed
- Designing our long, narrow raised herb garden bed
- Why we built a tall raised herb bed
- Why we chose cedar for the raised bed
- What we put in the bottom of the raised bed
- How we maintain the soil each year
- Adding a trellis behind the herb bed
- How I arrange herbs in the raised bed
- 8 Lessons learned from our raised herb garden bed
- More herb garden inspiration to explore
Why I love growing herbs in a raised garden bed
This raised herb garden bed has become one of my favorite places in the yard. It's a little bit of a playground, a science experiment, and a peaceful ritual all rolled into one. Every time I walk out the door, I have a hard time not stopping to check on it. What's blooming today? What's growing faster than expected? Did I plant the taller herbs in the right spot? Are the trailing plants spilling over the front the way I imagined?
Herb gardening invites curiosity like that. It's a chance to try new varieties, move plants around, and see which combinations work beautifully together. Some years I add new annual herbs just to experiment, while the perennials greet me like old friends returning each season.
Growing herbs in a raised garden bed makes all of that easier and more enjoyable. The soil drains well, which most herbs prefer, but because the bed is deep and holds a generous amount of soil, it also retains enough moisture that the plants stay happy between waterings. That balance of drainage and moisture is one of the things that makes the bed work so well.
Having everything gathered in one place also makes harvesting incredibly convenient. Instead of wandering around the yard searching for a few sprigs of thyme or rosemary, I can step right up to the bed and gather what I need for the kitchen.
Over time, this raised herb bed has become more than just a place to grow plants. It's where I experiment with new herbs, mix in flowers for pollinators, and enjoy the simple pleasure of tending something that grows a little differently every season.
Thinking about starting your own herb garden? I walk through exactly how to choose herbs, set up your space, and get everything growing step by step.

Choosing the best location for a raised herb bed
One of the most important decisions we made before building the bed was where to place it. Most culinary herbs grow best with six to eight hours of sunlight each day, so finding the sunniest part of the yard really matters.
In our case, the perfect spot turned out to be along the fence at the end of our driveway. It's one of the few places in our yard that consistently gets strong sunlight throughout the day. Once we realized that, the location of the raised herb bed became an easy decision.
Placing the bed against the fence also helped define the garden space and gave us the opportunity to add a trellis behind it for climbing plants later on. But the real priority was sunlight. Easy to grow herbs like rosemary, thyme, basil, oregano, and sage simply perform better when they receive plenty of direct sun, producing stronger growth and better flavor.
Tip: If you're planning a raised herb bed, take some time to watch how sunlight moves across your yard during the day. Finding a location that consistently receives six to eight hours of sun will make growing herbs much easier and more rewarding. Alternatively be sure to choose herbs that tolerate some shade.
Designing our long, narrow raised herb garden bed
Once we chose the sunny spot along the fence, the next question was how big the raised herb bed should be. Because the bed sits directly against a solid fence, I knew I would only be able to work it from one side. That meant the depth of the bed mattered just as much as the length.
A good rule I often suggest to readers is to start with sunlight first, then design the bed around how you'll actually reach and maintain it. In our case, we decided to make the bed long rather than deep. The finished bed is about 30 inches deep, which allows me to comfortably reach every section of the garden from the front without stepping into the bed or stretching awkwardly.
Keeping the depth manageable makes a big difference when planting, harvesting, and rearranging herbs throughout the season. I can easily reach the back row of plants, which means the bed stays tidy and well cared for.
Because we kept the bed narrow, we were able to extend it to 16 feet long, giving plenty of space for different herbs while still keeping everything accessible. That long, narrow layout works beautifully against the fence and provides a generous growing area without creating sections that are difficult to reach.

Why we built a tall raised herb bed
Another design feature that made a big difference was the height of the raised bed. Instead of building a low garden bed, Ray suggested bringing it up to about waist height, and that decision has made herb gardening far more enjoyable.
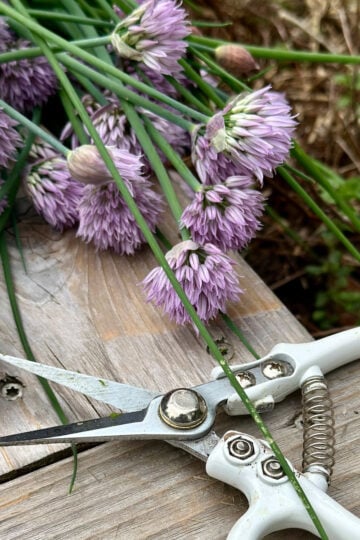
Working at a comfortable height means I can plant, prune, and harvest without bending down or kneeling. It turns everyday tasks like trimming thyme or snipping cilantro into quick, easy moments rather than chores that require hauling out a kneeling pad.
The taller structure also gives the bed a generous depth of soil, which herbs seem to love. The extra soil allows for excellent drainage while still holding enough moisture to keep plants happy between waterings.
And as it turns out, the added height has another benefit. With two energetic chocolate labs racing around the backyard, a taller bed helps keep curious paws from trampling the herbs (mostly).
In the end, building the bed taller wasn't just about comfort. It made the entire garden easier to maintain and more protected, which means I spend more time enjoying it and less time worrying about it.

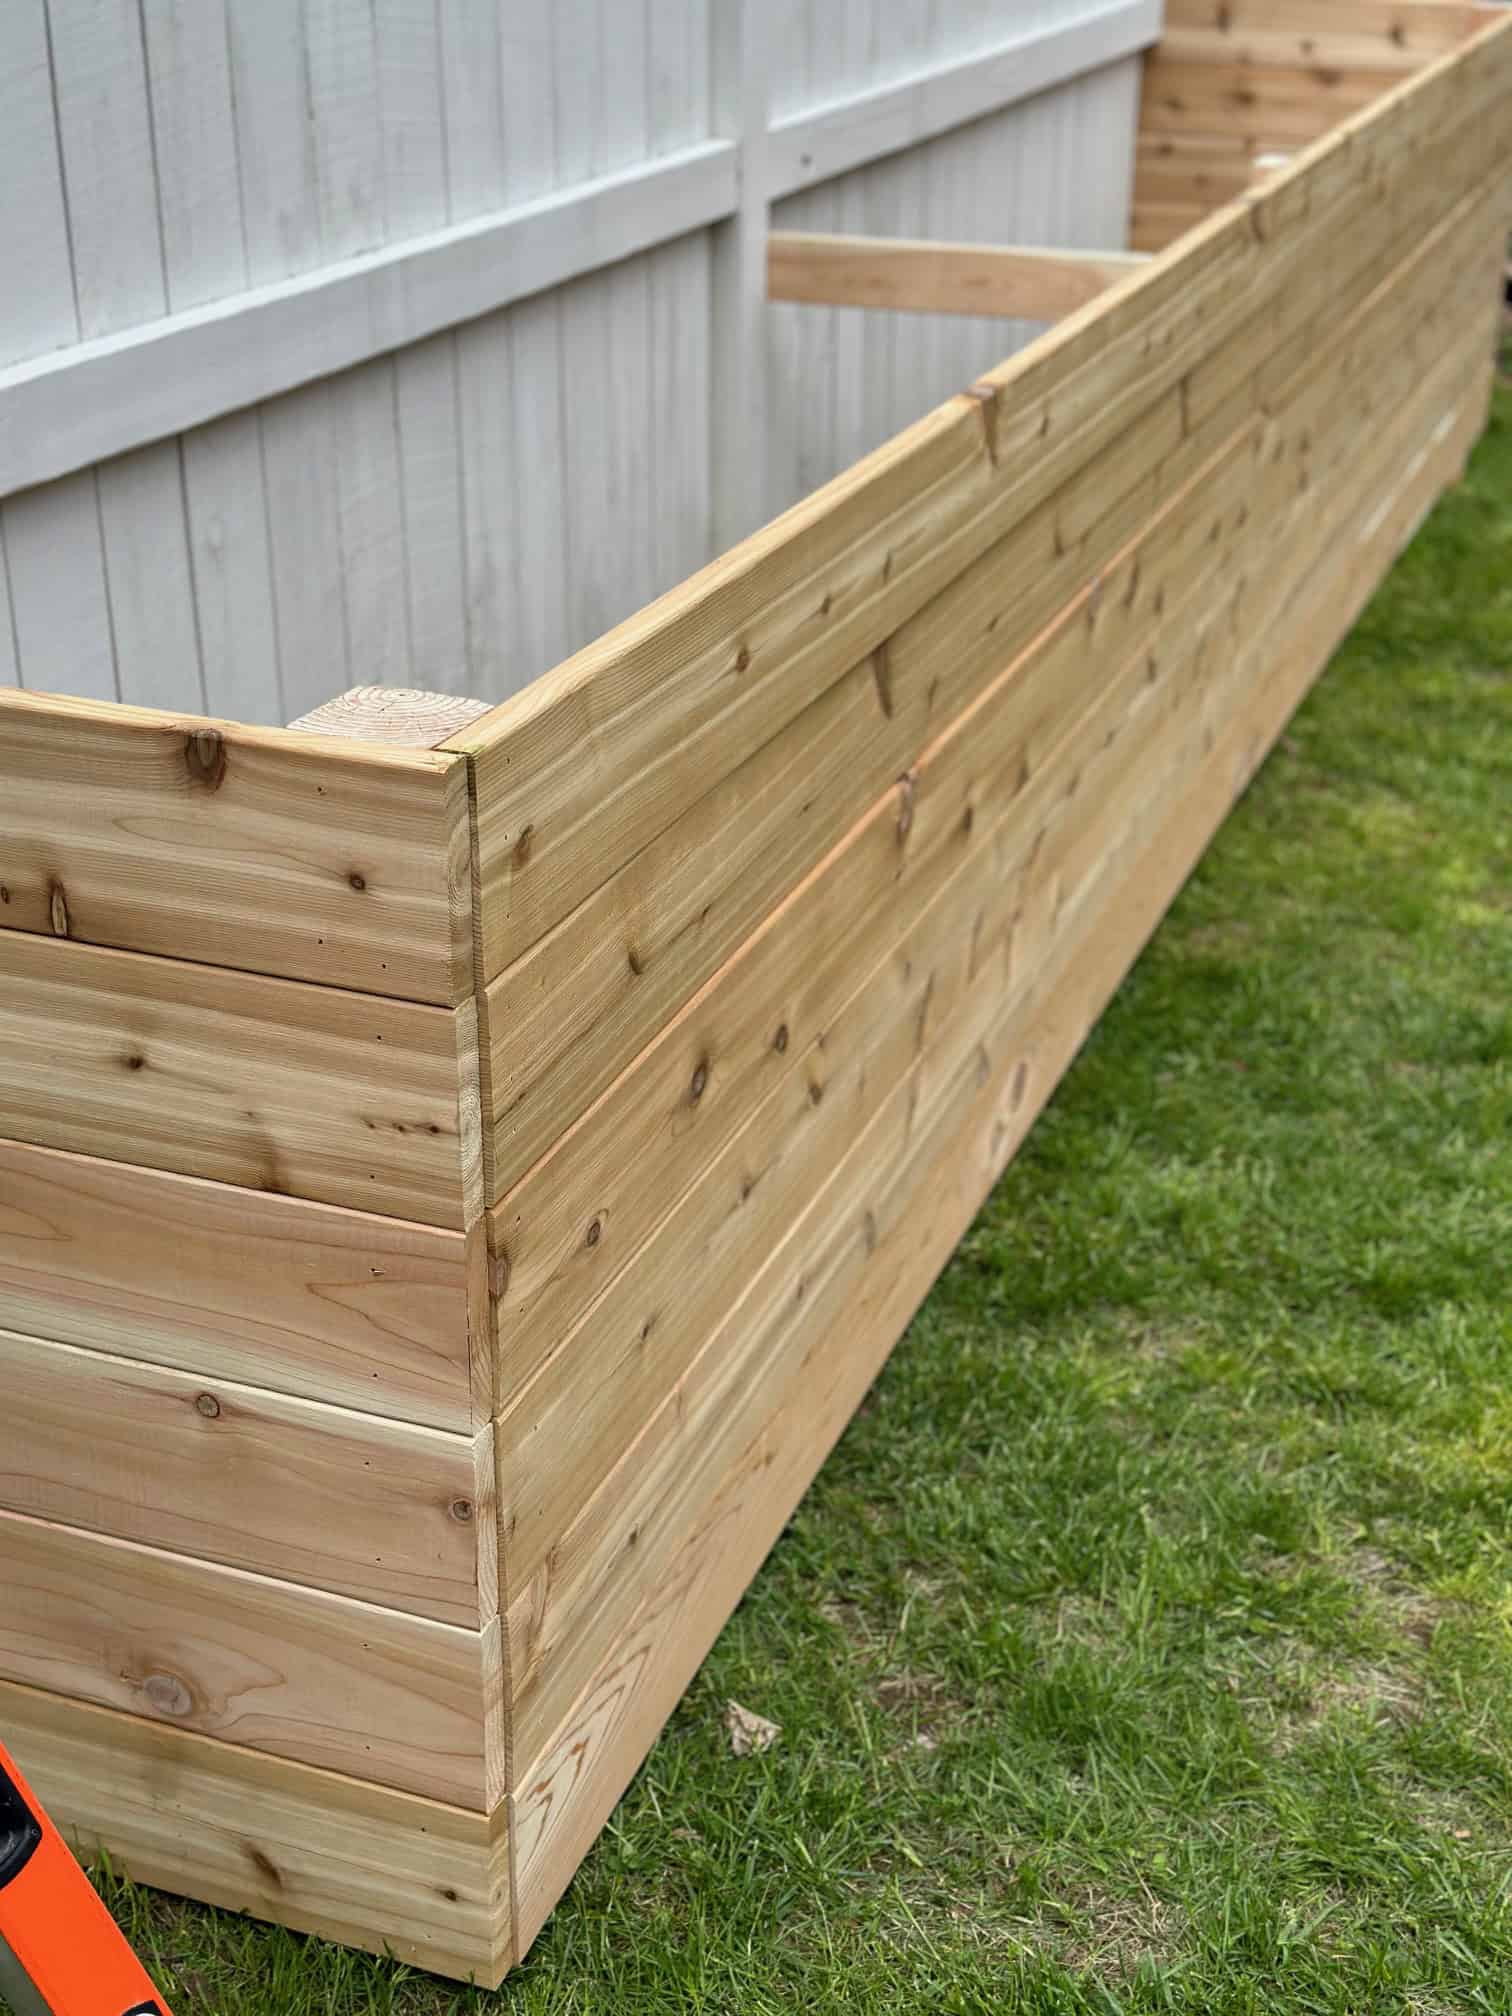
Why we chose cedar for the raised bed
When it came time to choose materials for the raised herb garden bed, cedar was the obvious choice. Cedar is widely used for raised garden beds because it naturally holds up well outdoors and doesn't require chemical treatments to resist decay.
One of the biggest advantages of cedar is its natural rot resistance. Garden beds are constantly exposed to moisture from soil, rain, and watering, so using a wood that can tolerate those conditions is important. Cedar tends to last much longer than many other untreated woods in outdoor garden settings.
It's also a common material for raised garden beds, which made it easy for us to find and work with. The warm tone of the wood blends beautifully with the garden, and over time it weathers into that soft gray color that looks right at home in a backyard landscape.
For us, cedar struck the perfect balance between durability, appearance, and practicality, making it a great choice for a raised herb garden bed that we wanted to enjoy for many years.

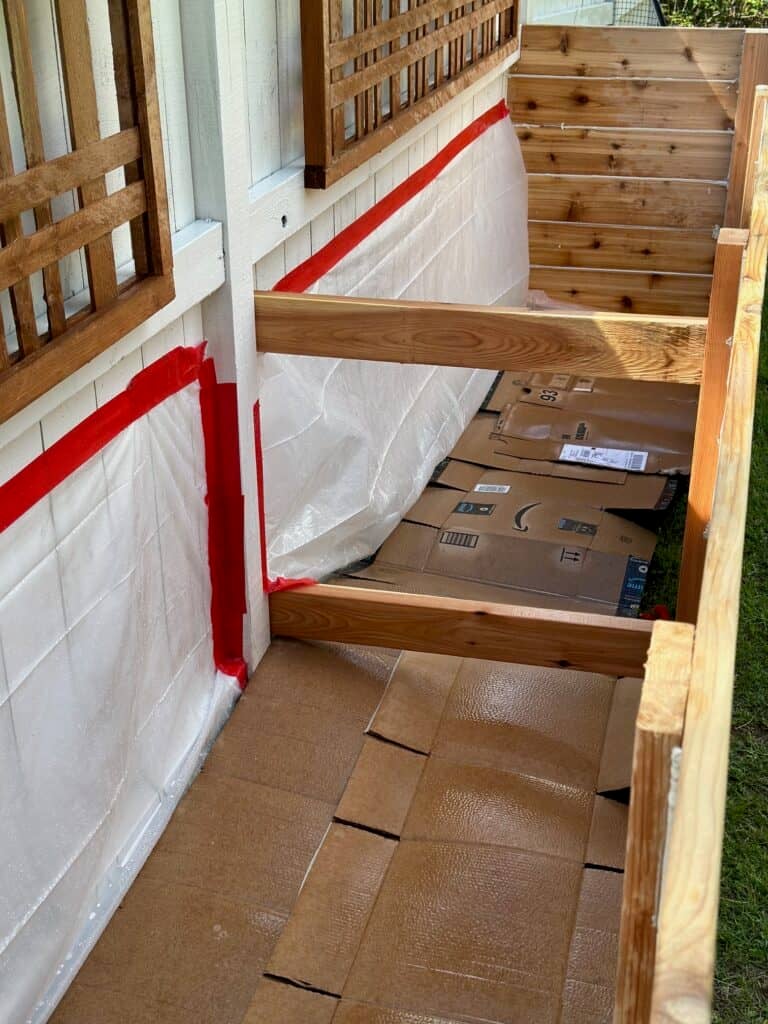
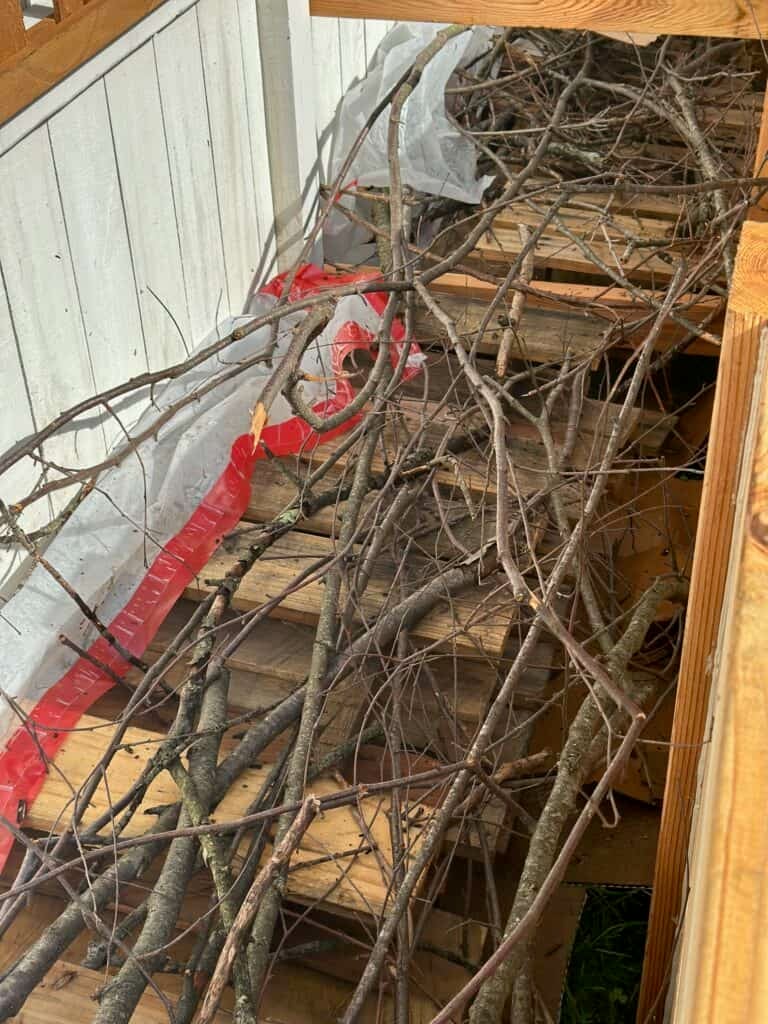
What we put in the bottom of the raised bed
Because our raised herb garden bed is quite deep, we didn't want to fill the entire space with soil alone. Instead, we started by layering materials in the bottom of the bed to help fill space and improve drainage.
We placed cardboard along the base, followed by a layer of branches and woody yard debris. These natural materials slowly break down over time, improving the soil structure while also reducing the total amount of soil needed to fill such a deep bed.
This layering approach also helps promote good drainage, which is especially important for herbs like rosemary, thyme, oregano, and sage that prefer soil that doesn't stay overly wet.
Once those base layers were in place, we filled the rest of the bed with soil.
Because the bed is so large and deep, buying bagged soil simply wasn't practical. Instead, we ordered a truckload of garden soil from a local landscape supply yard, which was far easier and more cost-effective than hauling dozens of individual bags from the store.

How we maintain the soil each year
One of the benefits of a deep raised herb garden bed is the amount of soil it holds. The generous soil volume helps retain moisture while still draining well, which herbs tend to appreciate.
Because the bed contains so much soil, replacing it every year would be nearly impossible. Instead, I simply refresh and amend the soil each season.
In the spring, I usually mix in compost or other organic matter to replenish nutrients and improve soil structure. To winterize my garden, I may add another light layer of compost to help the soil continue building organic matter over time.
This simple routine keeps the soil healthy without the need to completely replace it each year, and it allows the bed to keep improving season after season.


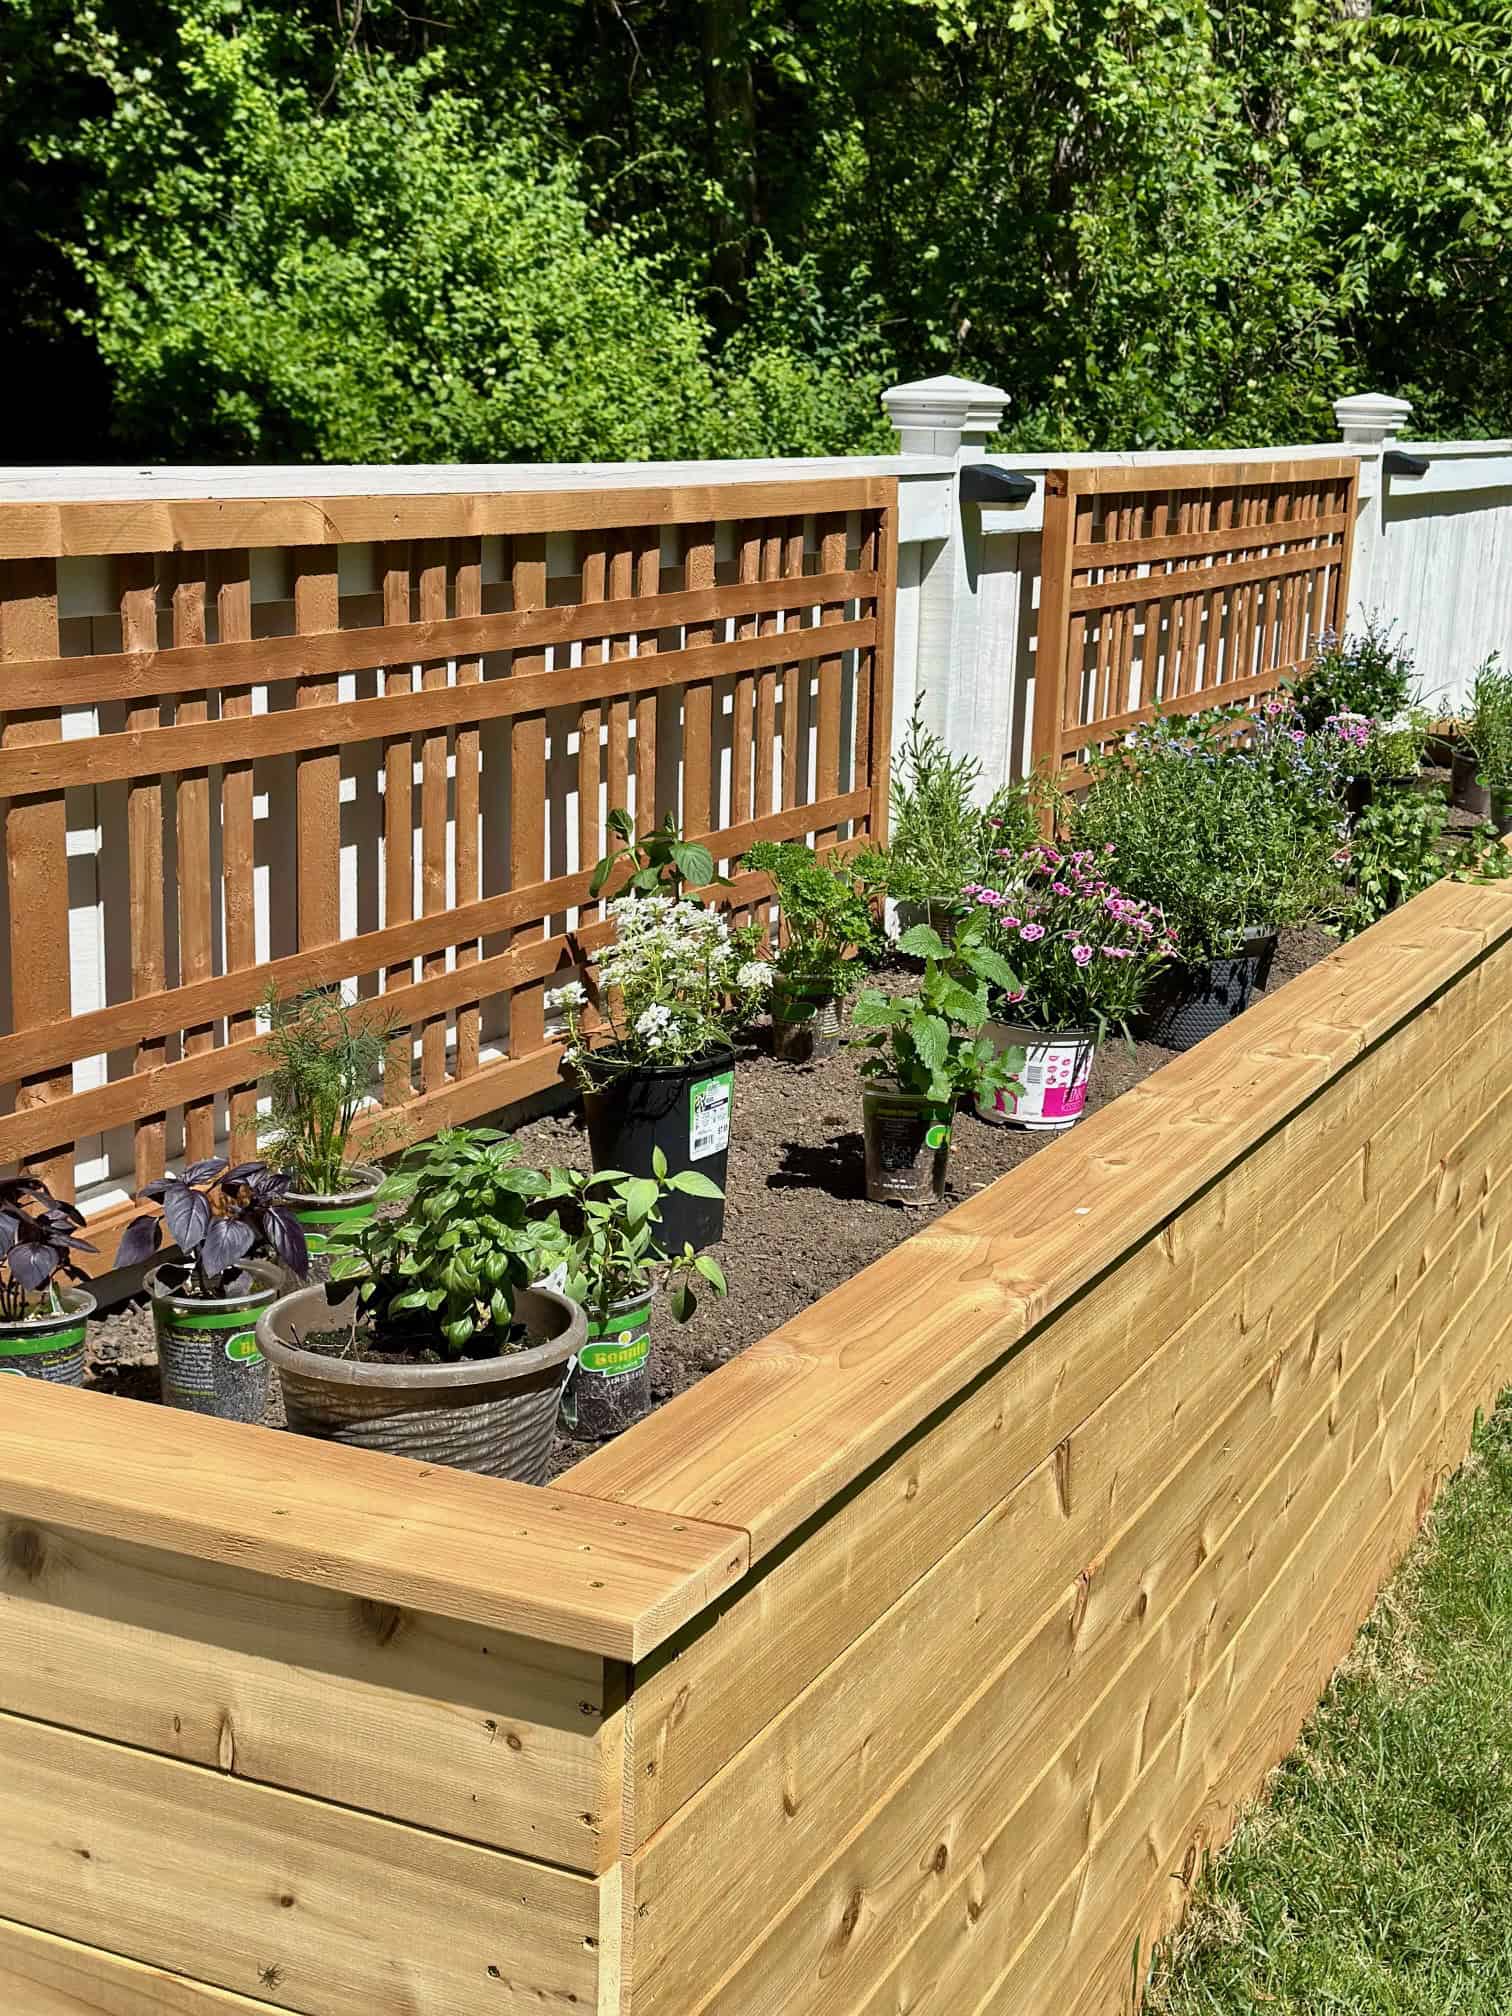
Adding a trellis behind the herb bed
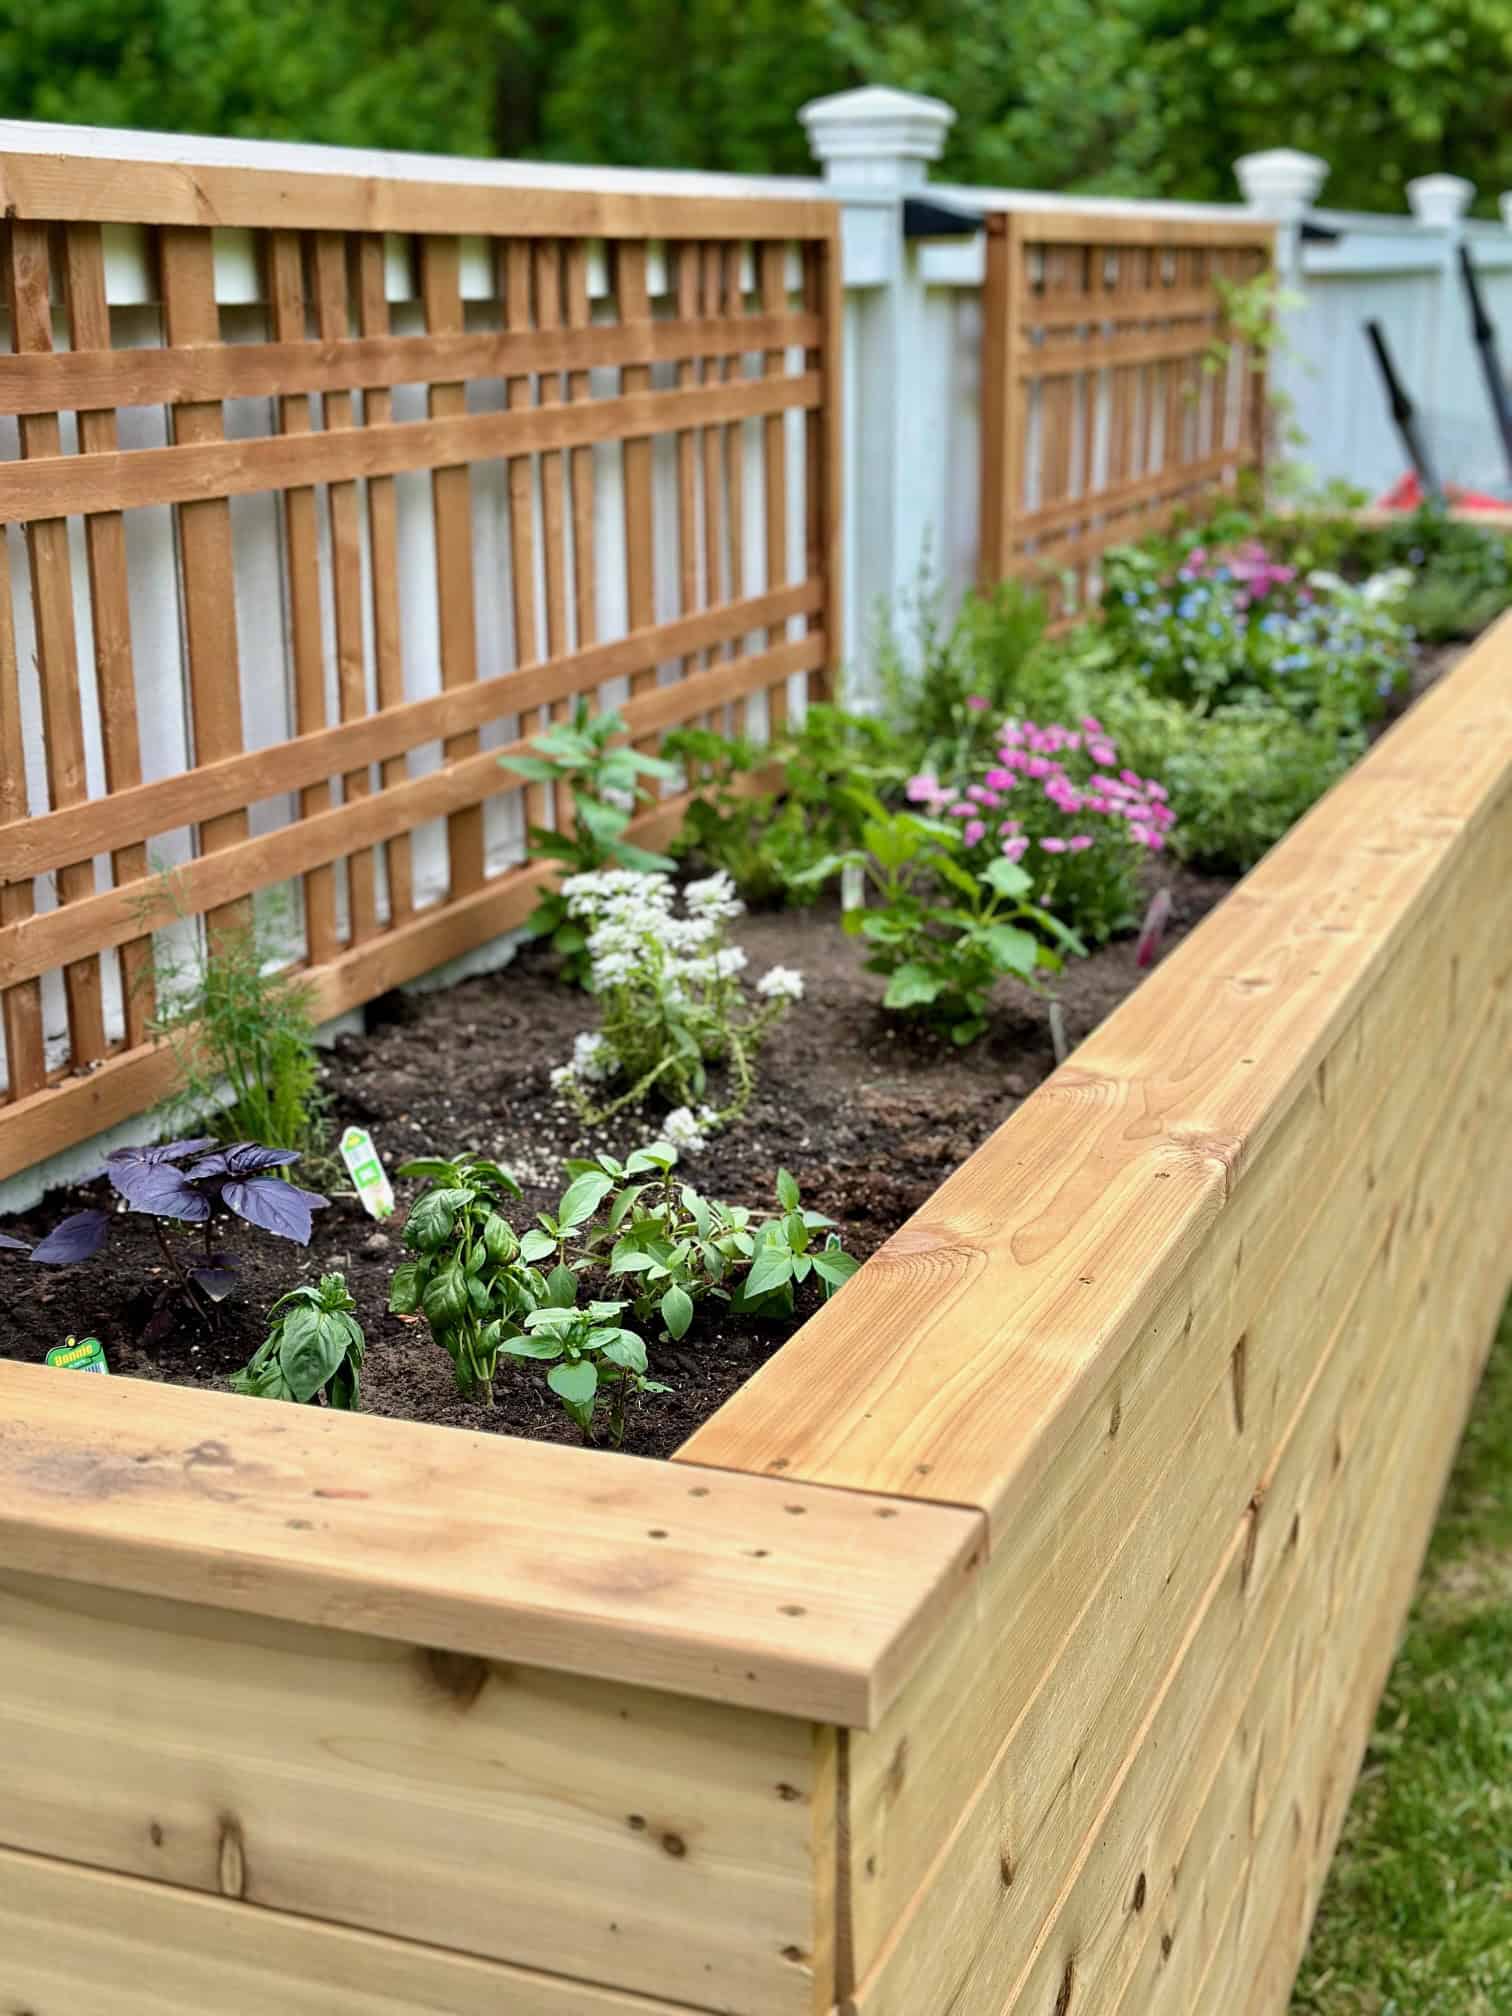
Because the raised herb garden bed sits directly against a solid wood fence, we decided to add a trellis along the back of the bed. The fence gave us a natural support structure, and the trellis allowed us to take advantage of the vertical space behind the garden.
These trellises were actually a happy afterthought. I spotted them on clearance at Lowe's for about $7 each, and it was one of those moments where you realize they would fit perfectly into the garden plan. Sometimes the best additions to a garden happen that way.
The trellis allows vining flowering plants to climb upward instead of spreading across the bed, adding another growing dimension to the space. It also creates a layered look, with taller growth in the back and herbs spilling toward the front of the bed.
Using vertical space like this is a simple way to get more out of a raised garden bed, especially when the bed sits against a fence where you only have access from one side.


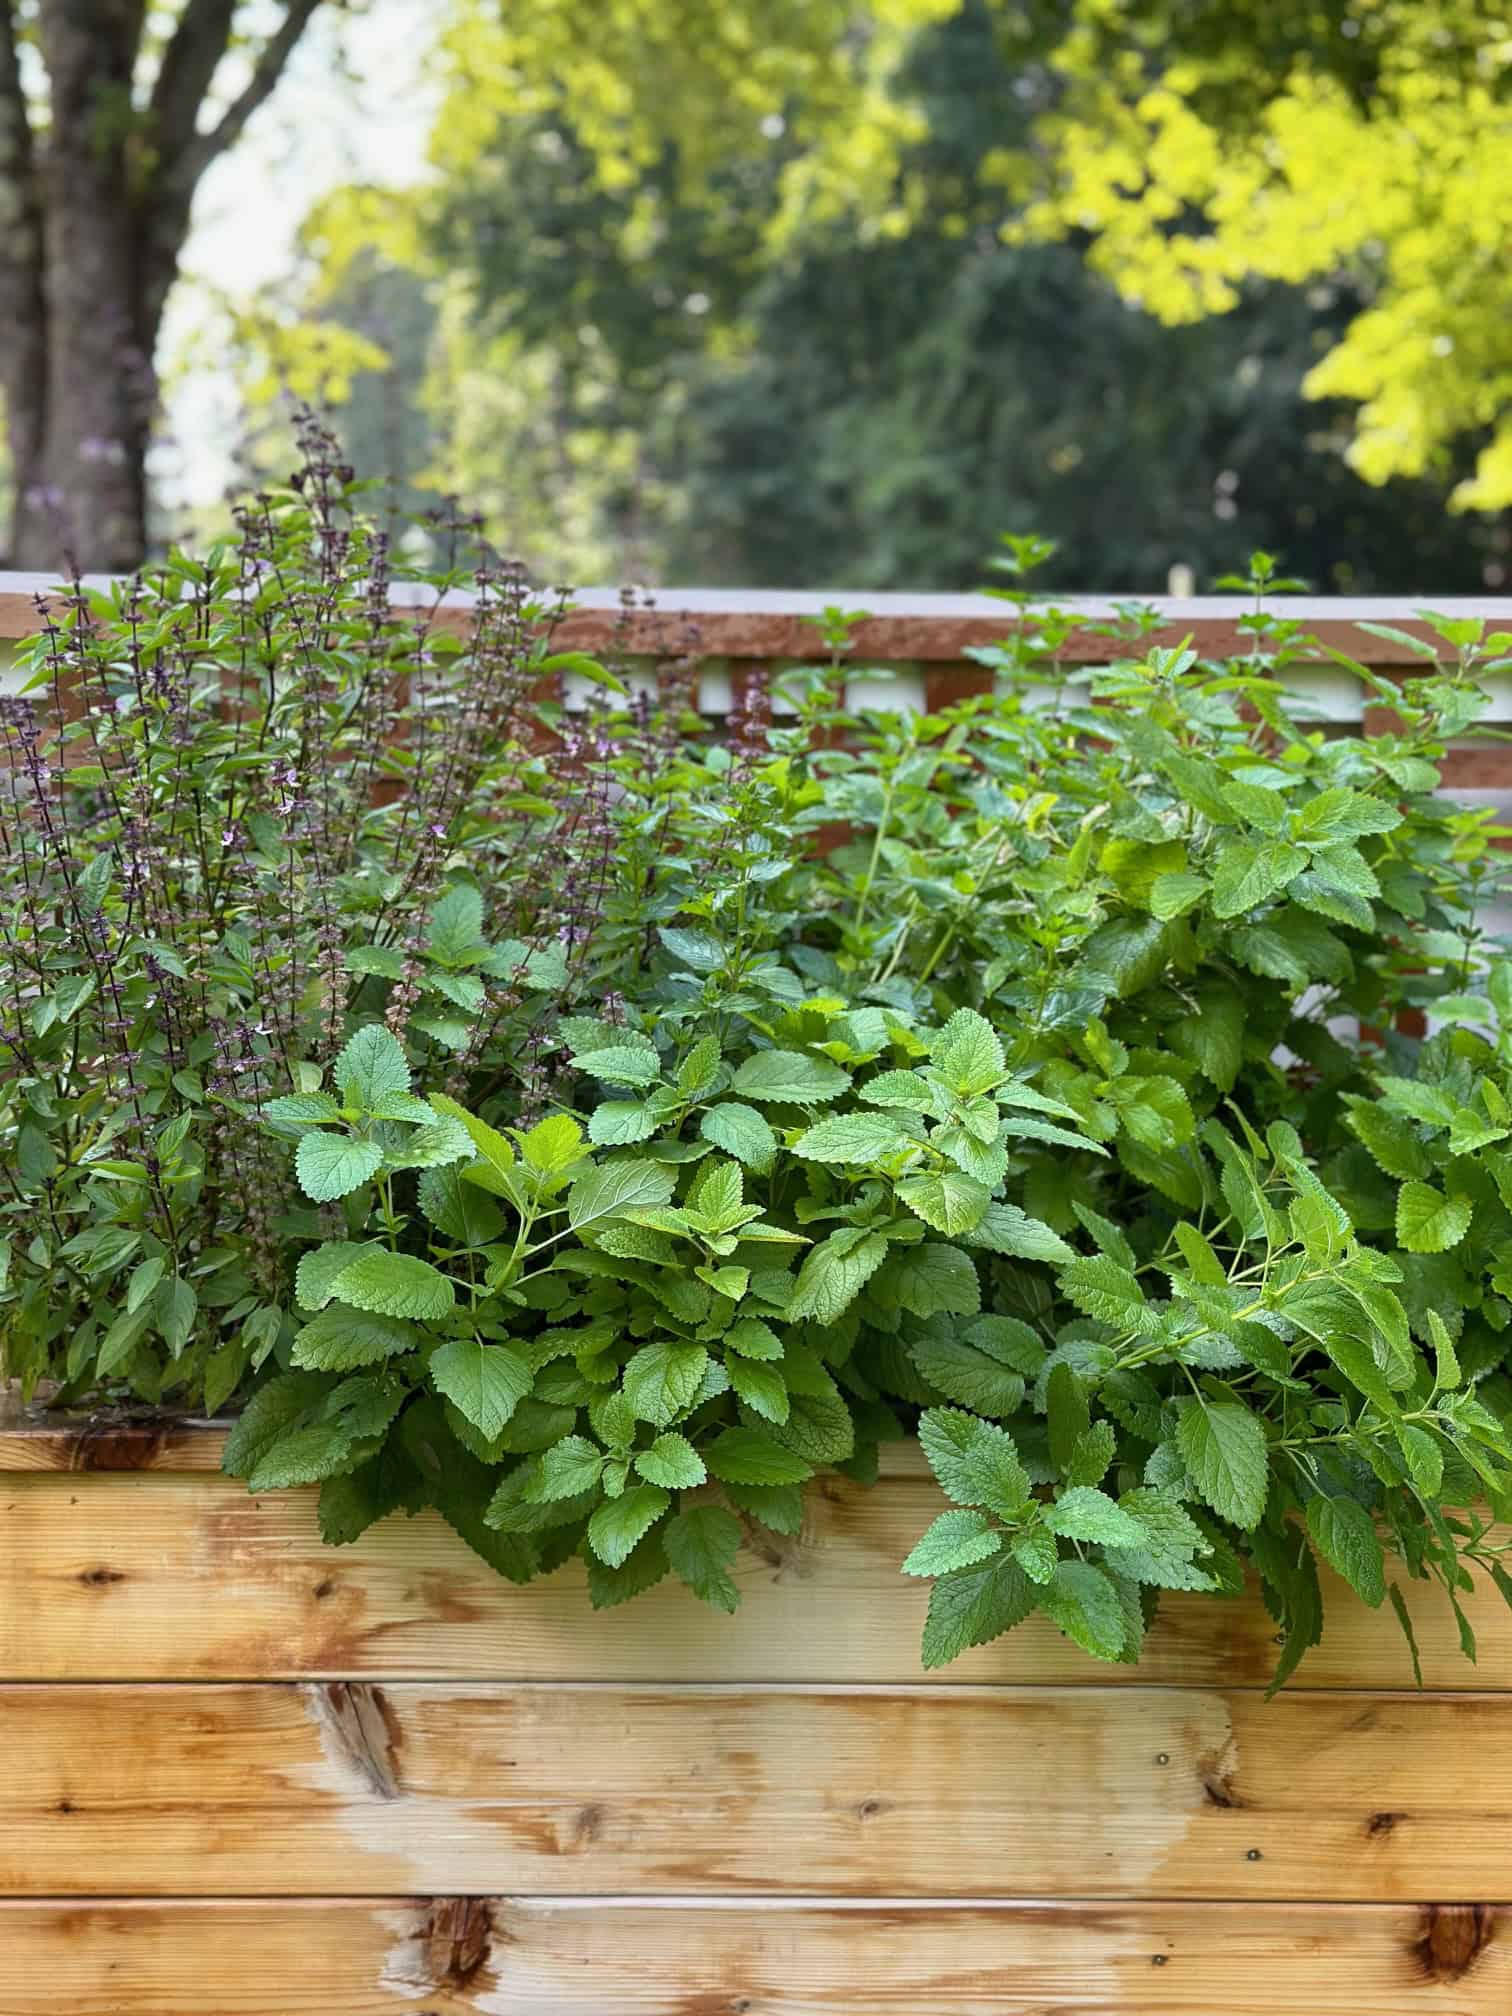
How I arrange herbs in the raised bed
Because the raised herb garden bed sits against a fence and is viewed and tended from one side, I try to arrange the plants so everything is easy to see and reach from the front.
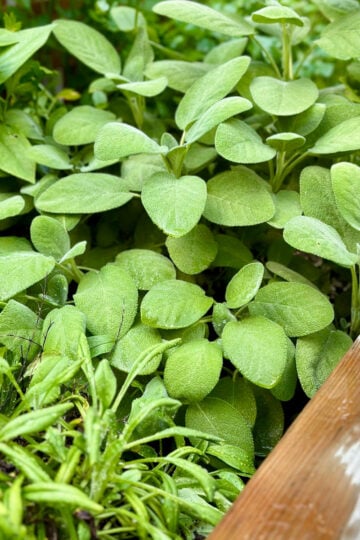
In general, I place taller herbs toward the back of the bed, like dill, closer to the fence. Plants like rosemary, sage, and larger varieties of basil can grow quite tall, so positioning them behind the lower herbs keeps them from shading the rest of the garden.
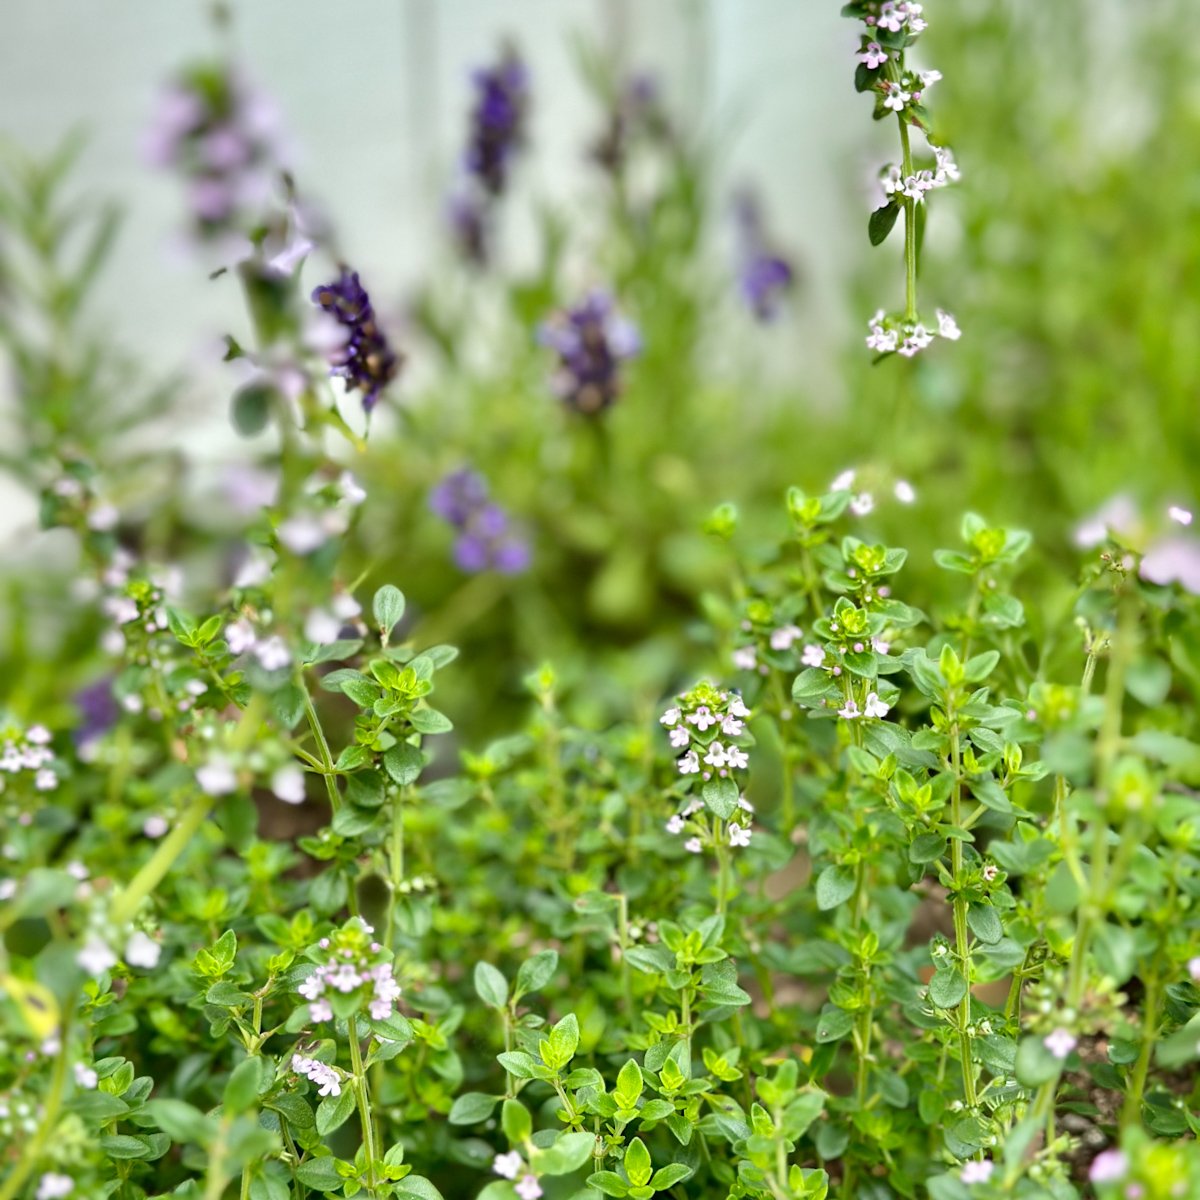
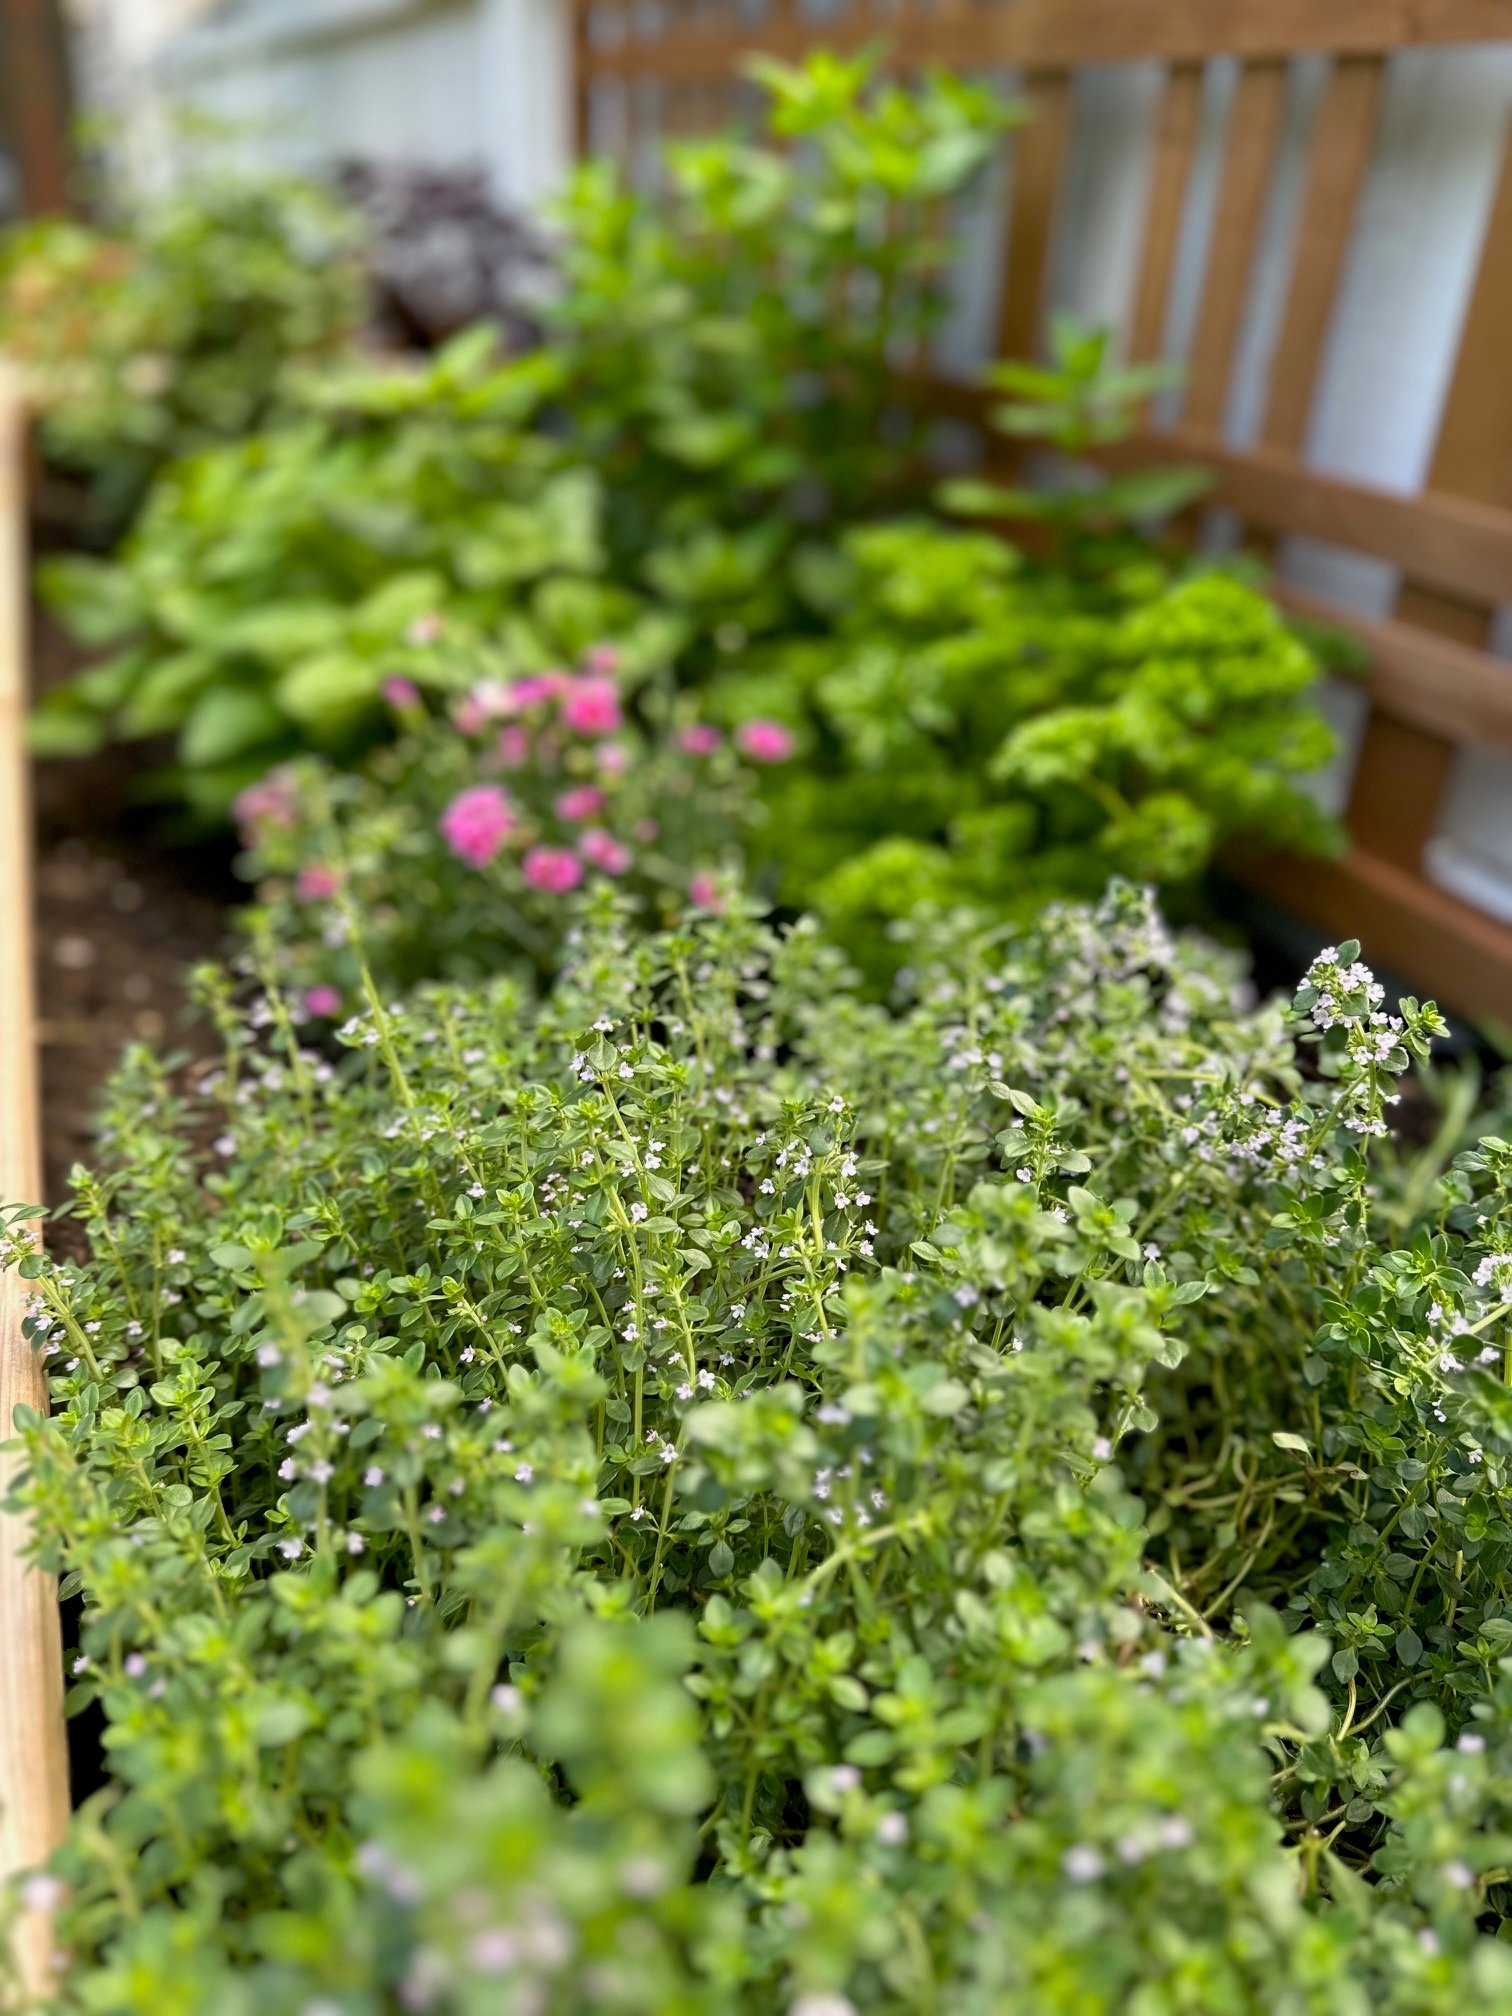
Toward the front of the bed, I like to plant lower-growing or trailing herbs that can spill gently over the edge. Herbs like thyme and oregano work especially well here, softening the front of the bed and creating a layered look.
Behind the herbs, the trellis gives me the option to grow vining plants vertically, which adds height and visual interest without taking up valuable space in the bed itself.
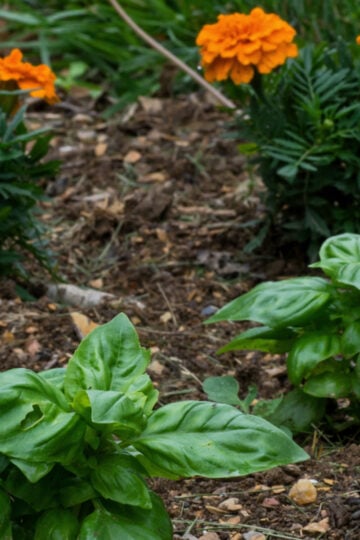
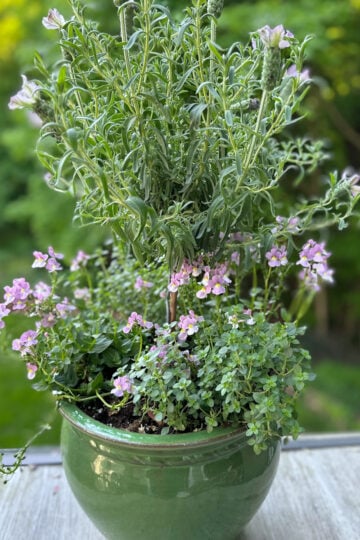
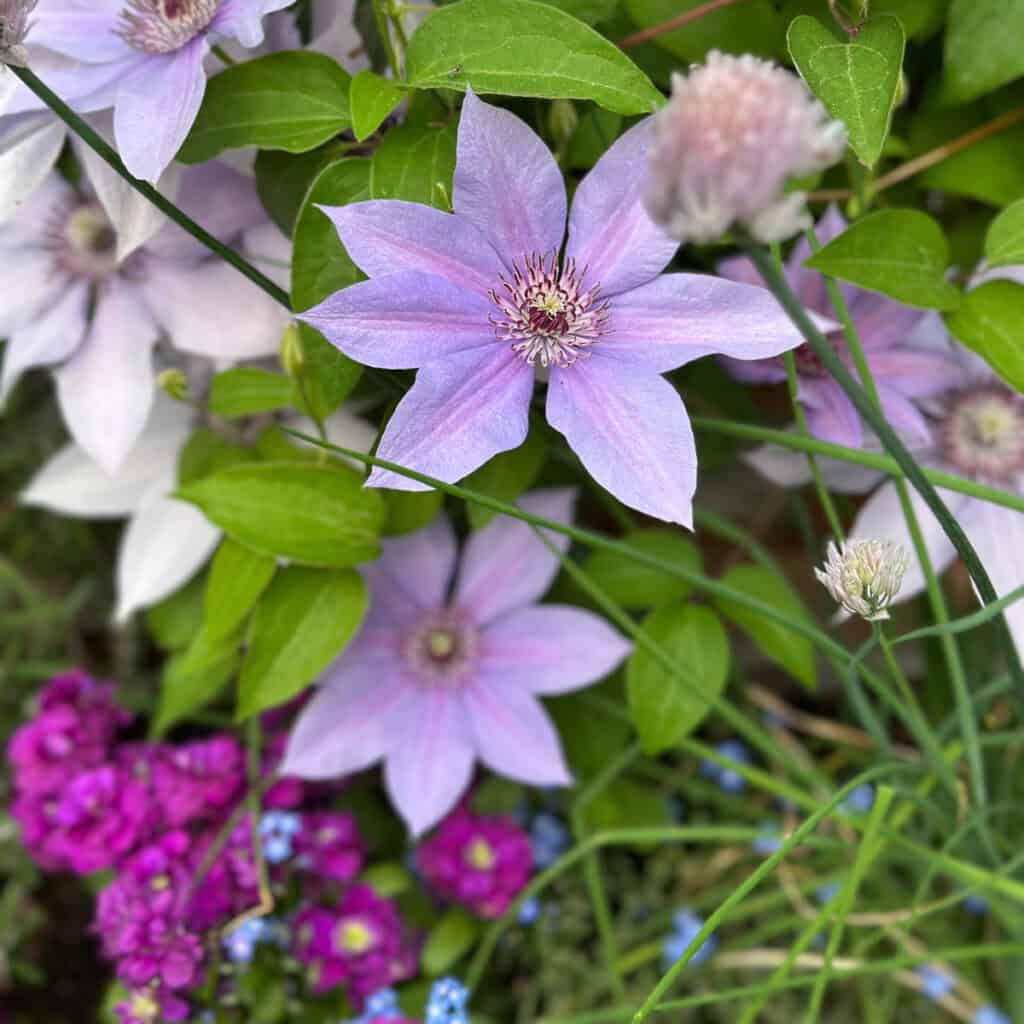
I also love to mix flowers among the herbs, both for color and to attract pollinators. Blooms tucked between the herbs make the bed feel more like a small garden landscape than a simple row of plants. If you enjoy that combination too, you might like my guide on why I add flowers to my herb garden, where I share some of my favorite herb and flower pairings, along with my DIY butterfly bath for adding even more charm and pollinator appeal to the garden.
Some years I get the combinations exactly right, and other years not quite as much. But for me, that's part of the fun of herb gardening.

8 Lessons learned from our raised herb garden bed
After gardening in this raised herb bed for a while, there are a few things I'm especially glad we did and a couple of small lessons that came along the way.
1. Keep the bed narrow enough to reach
Because the bed sits against a fence, I can only work it from one side. Keeping the bed about 30 inches deep means I can comfortably reach every section without stepping into the garden or stretching awkwardly. That simple design decision makes planting, harvesting, and rearranging herbs much easier.
2. Building it tall was the right choice
The waist-high design has made herb gardening far more comfortable. Instead of bending or kneeling, I can plant, prune, and harvest everything at a natural standing height. It's one of the reasons I spend so much time tending the garden.
3. Sunlight really matters for herbs
Placing the bed in the sunniest spot in our yard made a big difference. Most herbs thrive with six to eight hours of sun each day, and building the bed along the fence at the end of our driveway gave the plants the light they needed to grow well.
4. A long bed works surprisingly well
At 16 feet long, the bed gives me plenty of room to experiment with different herbs and flowers without everything feeling crowded. The long layout also makes it easy to group plants and adjust things as the season changes.
5. Watering takes a little creativity
One small challenge is that the bed sits a bit away from our spigot, so watering sometimes requires a little troubleshooting. I also have to cross a walkway to reach it, which means I try not to leave a hose stretched across the path.
6. The cedar has aged beautifully
Ray occasionally threatens to paint the cedar, but I've grown really fond of the way the natural wood has aged over time. The weathered cedar looks right at home in the garden. I may eventually paint the trellis, but the bed itself - for now - will probably stay natural.
7. The potting bench was the perfect addition
I eventually nestled a potting bench right next to the bed, and it has turned the whole space into a little herb gardening station. I use it for potting herbs into containers, organizing supplies, and keeping harvesting tools close by.
8. Apparently one herb bed is never enough
As large as this raised herb bed is, I've already caught myself thinking about where another one might go someday. Gardening has a funny way of doing that. You start with one space, fill it with plants you love, and before long your mind is wandering to the next project.
For now, this 16-foot bed keeps me happily experimenting with herbs, flowers, and new combinations each season. But if history is any indication, it probably won't be the last herb bed in the yard.

This raised herb garden bed has become one of my favorite parts of the yard. It's where I experiment with new herbs, enjoy familiar favorites each season, and pause for a few minutes whenever I walk past to see what's growing or blooming.
Designing it to fit our space, with plenty of sun, comfortable height, and room to grow, has made herb gardening easier and far more enjoyable. If you're thinking about creating your own raised herb garden bed, I hope these ideas and lessons help you design a space that works beautifully for your yard and your gardening style.
And if you're anything like me, don't be surprised if you find yourself checking on your herbs every time you step outside.
Happy gardening, friends!